Showing posts with label cardmaking. Show all posts

Tuesday, October 28, 2025

Let's Get Spooky - Whimsy Stamps

I still have Halloween inspiration to share!This was a quick card that focused on fussy cutting. I made it on Satruday October 25th for World Fussy Cutting Day in honor of Sharon Klima (who I did not know but who was a craft store owner and friend to many in the craft industry)  who passed away in Jan of 2025 from a heart attack, and to bring awareness to heart disease in women. Since I have faced heart issues the last few years, I wanted to participate and say that if you don't feel right, there is no shame in seeking out a cardiologist. I put it off for too long because I was afraid of having a cardiologist on my list of doctors. I should have been seen years before I finally met with one. You matter and your health is important, so if you don't feel well, please see a doctor. Any doctor. The world is a better place with you in it! 

Now on with the make! 

Here is my short video tutorial. 

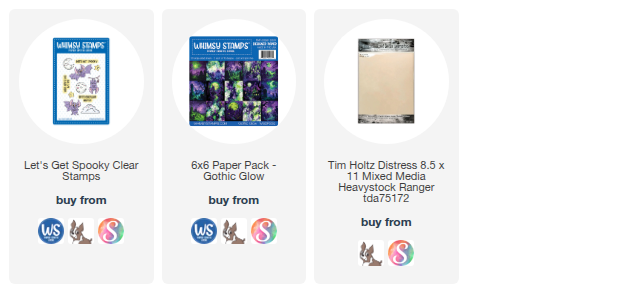
I used the Gothic Glow paper and Let's Get Spooky stamps from Whimsy Stamps.
This little bat is so cute hanging upside down.
I stamped the moon image on the moon on the paper, and the sentiment is colored with Crushed Olive Distress Ink to match the Charteuse Cardstock Warehouse Cardbase.
The bats are popped up on foam squares.
This bat was placed to look like he is flying down the street in front of the houses. 

This bat is standing in the middle of the street with his wings positioned like Dracula holds his cape. I love it!

Now let’s go have a creative day! 😃

Tami

I am an affiliate with Simon Says Stamp, Whimsy Stamps, and Scrapbook.com. The links below send you to one of those stores. If you wish to purchase something and use one of my links below, I get a small percentage of your order at no additional cost to you. This helps me to defray the costs of this channel, the time, the ideas and tutorials I post here. Your help is greatly appreciated! Thank you

Sunday, June 29, 2025

Focus on the Good - Easy Z Fold card

Making this card is actually very easy and it's fun to decorate. I made this for the Stampers Anonymous Tim Holtz Summer Travel 2025 Curation. 
To begin, take an A2 side folding card and fold the front of the card back towards the fold. Then measure each secotion and make patterned, stamped or stenciled papers to fit on those sections,
For my card I stenciled my own patterned paper using the stencil in the Mixed Media Set Bold Sayings THMM140I used Uncharted Mariner and Brushed Corduroy Distress Inks.
On the backside of the front flap (which would normally be the front of the card) I taped off the edges and stenciled right on the Mixed Media Heavystock card base. You don't really see it, but if it is sitting on a desk, from the left side you would be able to see these panels and they would be plain so you do want something on them. This is a quick and easy solution but you could also use the other side of the papers you used on the front of the card.
To make it easier to pull the front panel out, I added this tab from one of my die sets and stamped the word Focus from the Focus on the Good sentiment in the Noteworthy 2 THMM162 Mixed Media Set.
The focal point is the camera from the Travel Blueprints CMS148. I stamped it in Black soot Archival Ink and colored it with Distress Inks.
The main sentiment is from the Bold Sayings Mixed Media Set and is also stamped in Black Soot Archival Ink.

I added a few retired metal embellishments from Idea-ology and there is my first Z Fold card. So fun!

 I sure hope you enjoyed that. Thanks so much for visiting. Now let’s go shine brightly, and have a creative day! ðŸ˜ƒ

Tami  

I am an affiliate with Simon Says Stamp, Ranger Ink, and Scrapbook.com. The links below send you to one of those stores. If you wish to purchase something and use one of my links below, I get a small percentage of your order at no additional cost to you. This helps me to defray the costs of this blog, the time, the ideas and tutorials I post here. Your help is greatly appreciated! Thank you!

Thursday, June 26, 2025

Rose Masterpiece Card

I'm really enjoying making with the Mixed Media Sets from Stampers Anonymous and Tim Holtz. I hadn't owned one before making for the curations this year so it's been fun to try out something new. These sets have a stencil that is half one stencil in the Tim Holtz line and half of another. Someone commented to me the other day and called it a Frankenstencil which made me laugh but it is a great description. Then the stamps are often resided versions of the signature red rubber stamps normally part of the Tim Holtz Stampers Anonymous line as Stampers has been making red rubber stamps over 100 years in Cleveland , Ohio as a multi generational family business. 

Today's card features one of my favorite Sets, Lady Rose THMM19. To finish this card, I added a few bits of Idea-ology and some twine. This card is very simple. I first stenciled the background using both parts of the stencil. The crosshatch side in Tattered Rose and the Burlap side is Frayed Burlap.
Then I stamped the beautiful rose and the sentiments in Distress Archival Ground Espresso. Archival ink isn't water reactive, so I dried it and then could color it in with Distress Inks in Victorian Velvet, Tattered Rose, and Bundled Sage.
I did stamp some of the speckles from the stamp set onto the background in Ground Espresso Archival as well as some of the gothic text in Frayed Burlap Distress Ink. The text is very light but you can see it in person.
I finished off by stamping a few of the cancellation stamps in Victorian Velvet in a few places on the back ground, and coloring two mats with Bundled Sage and Victorian Velvet over a Ground Espresso base.
 It all came together as a very quick and simple, but lovely encouragement card to send to a loved one.

Now let’s go shine brightly, and have a creative day! ðŸ˜ƒ

Tami  

I am an affiliate with Simon Says Stamp, Ranger Ink, and Scrapbook.com. The links below send you to one of those stores. If you wish to purchase something and use one of my links below, I get a small percentage of your order at no additional cost to you. This helps me to defray the costs of this blog, the time, the ideas and tutorials I post here. Your help is greatly appreciated! Thank you!

Saturday, June 11, 2022

Tim Holtz Stampers Anonymous June 2022 Release


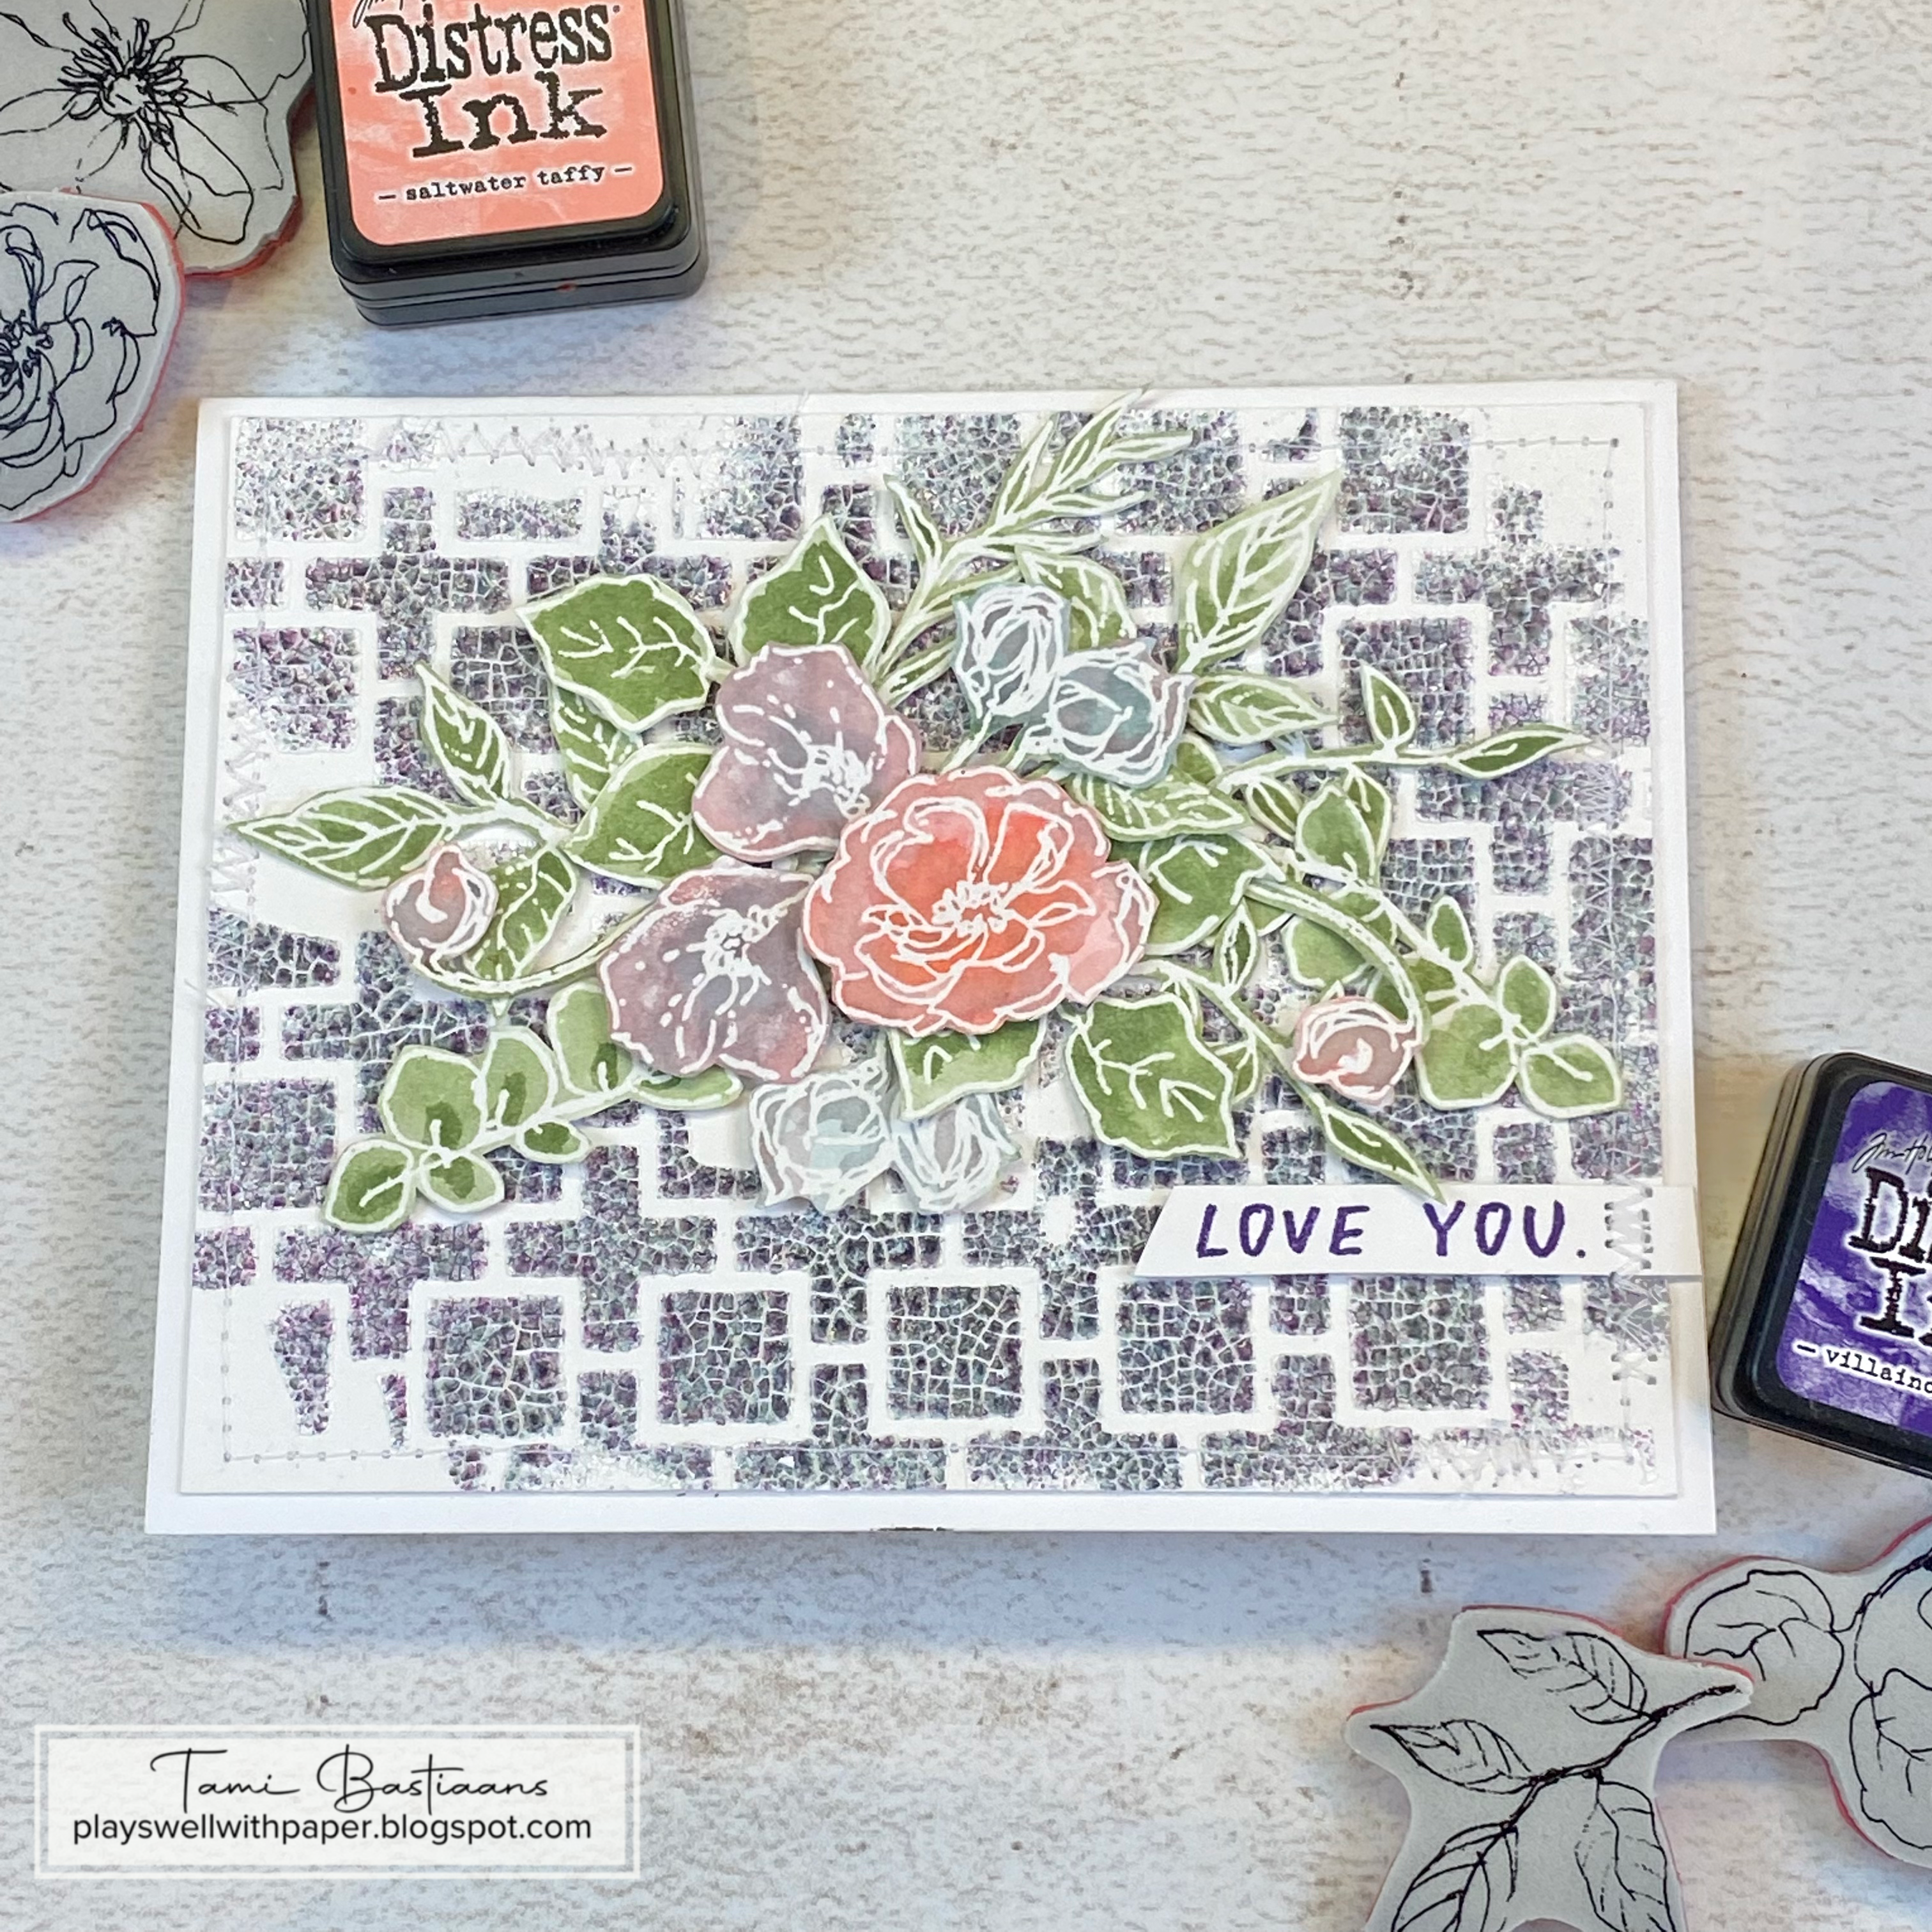
If you are here right now I'm sure it is because you are excited about the new Stamps and Stencils from Tim Holtz and Stampers Anonymous. Hooray for new stamps and stencils! I love that Tim mixes inspiration from the makers with inspiration from his demos all in one live. So good.


I will be posting tutorials for my cards from the live this week. These two cards above are the same basic technique, just different colors.

As Tim pointed out in the live, I was on an Iron-ff faux batik kick....ok, who am I fooling....it is hand's down my favorite stamping technique of all time. I didn't realize it went all the way back to the Carol Duvall days though. I love me some Carol Duvall and even went to a taping decades ago. I learned this technique from Jennifer McGuire 2-3 years ago and have been obsessed with it ever since. 😂 

Several people asked for tutorials on the Iron-off technique, and I would say that Jennifer McGuire is the queen of tutorials. I will make this one as a video to show how I did the whole thing, including the iron-off.

Until then, this card uses watercolor stamping and faux batik iron-off. I posted a tutorial on this earlier last week, so if you want to check it out here: You will see how I did it. 

Also, check out some of my first Iron-off cards here and here for the technique.

I also already posted the tutorial for making these decorative pots for my fake plants using the new stencils. You can see it here.
Stay tuned this week for more inspiration! I'll be posting tutorials for the cards above and some all new things I haven't shared yet.

Thanks you so much for stopping by. I truly appreciate your support!

Have a crafty day!

Tami

I am an affiliate with Simon Says Stamp and Scrapbook.com so the links below send you to one of those stores depending on which logo you choose.  If you wish to purchase something from either store and use one of my links below, I get a small percentage of your order, at no additional cost to youThis helps me to defray the costs of this blog, the time, the ideas and tutorials I post here. 

Your help is greatly appreciated! Thank you!


Sunday, November 18, 2018

Falalalala - December Doodles

 These little December Doodles CMS 355 by Tim Holtz and Stampers Anonymous are so cute aren't they? I've seen so many adorable cards made with this set!
 It comes with multiple holiday doodle stamps as well as quite a few sentiments as well. I've included just the falalalala sentiment on this card.
 The background may appear at first glance to just be white, but in fact, it has a white on white stamped embossing pattern. I stamped the Advert background and embossed it with Superfine White Embossing powder.
 To make the banners I cut 1.25' strips of Distress Watercolor paper and colored them with Distress Inks and then stamped the various December Doodles on them multiple times.
If you wanted to make multiples of this card, I would ink and stamp a whole 4.25x5.5 piece of Distress Watercolor Cardstock and then cut the strips afterward.
This is a very quick and simple card to make!

Saturday, November 17, 2018

Joyful - Alcohol Ink Metallic Mixatives Meet Whimsy Decor

This summer, long before Tim Holtz introduced his new line of fantastic Metallic Kraftstock, I wanted to used the new Christmas Whimsy Decor die cuts to make a metallic Christmas card. So here is what I did.
I started by applying a single color of Alcohol Ink Metallic Mixative to one felt covered applicator. I pounced it all over a piece of Alcohol Ink Cardstock. When the Cardstock was mostly covered, I did the same thing with the next color.  I did this with (from L to R) Pearl, Gold, Copper, Gun Metal, Silver, Rose Gold)  I love how little bits of the white paper shows through.
NOTE: For this card you don't need to cut any ornament pieces from the pearl mixative paper, save it for the background, and you will need three gold and three silver to finish the card.
 
 Then I cut all the pieces of the three ornaments in Whimsy Decor from all of the colors.
Don't be intimidated by all these wonderful little pieces. I lay them all out and then glue the pieces on in order so that each ornament gets a different color. You will end up with 5 of each ornament, so you can make several cards or tags with the extras.
NOTE: For this card you need to save one set of ornament decor though for the step below.
I wanted this card to be a shaker card, so what I did is to take the pearl mixative paper, cut it out with the largest Stacked Label die, then dry emboss it with the Star Bright embossing folder.
Once that was done, I looked at where I would place two ornaments on the card and then I taped the bell shaped outer ornament on the pearl piece and cut it out.  I then backed it with a clear transparency film and attached the Decor pieces onto the window as if it was an ornament. 
Since it is a shaker, I added the foam tape to the underside of the piece for dimension and to seal the area for glitter, and then poured in a little bit of Glitter Dust before adhering it to the Gold Mixative backing 4x5 1/4, as seen below. Then I attached the entire piece to a 4 1/8x5 3/8 piece of Silver Mixative that was finally attached to a copper colored cardstock base 4.25x5.5.
 To finish it off I added a sentiment from Thin Holiday Words in metallics and cut some of the Funky Festive greenery and bow to add to the top. I did pop the copper ornament up with dimensional adhesive.

I also added a little glitter dust to the brads with some Glossy Accents just for a fun additional touch of "whimsy!"

Thursday, March 15, 2018

A Perfect Fit

Today’s blog post features two new Stampers Anonymous stamps by Tim Holtz. I used the Batik CMS327 background stamp and the Inventor 3 CMS342 dress form to make a card that could be a love note, a Valentine, or just a note to celebrate something that ended up being a perfect fit.
 I wanted to take a minute to talk a little about color with this card. I don’t have a particular design style. I just go with whatever inspires me in that moment, and that includes color. Sometimes if I’m working on multiple projects at once, you might see a similar color theme or common design element that is my favorite in that moment. That is the case with a lot of the Stampers Anonymous samples I made this year. I found myself reaching for many of the same colors over and over. This year’s favorites were Brushed Corduroy, Chipped Sapphire and Aged Mahogany. Peeled Paint is quite possibly one of my all time favorite colors, so of course it always makes its way into many of my cards.
For this card I pressed Chipped Sapphire, Aged Mahoghany, and Peeled Paint Distress Inks onto the Batik Stamp, the gave it two light overall spritzes of water, and stamped it onto Distress Mixed Media Heavystock. Then I measured two more pieces of Heavystock and I used a blending tool to load Chipped Sapphire onto the edges to make matching mats. I sprayed them and dried them before layering them all onto a Peeled Paint Cardstock base card.

All that to say, don’t be afraid to pull out some of those Distress Colors you don’t think you really like and give them a whirl! They might become a new favorite!

Sunday, February 18, 2018

Numbers, Numbers and More Numbers

While making Stampers Anonymous samples for Creativation, I heartily embraced a little challenge from Tim and Paula. The challenge was to limit the number of stamp sets used on each card to no more than one or two sets. With some stamp sets this is easy, but with others it’s a little more challenging. So when I put the Merchant CMS331 stamps on my desk, I had to think a bit about how to meet that challenge.
This birthday card is the result of that little additional challenge. I used only Merchant and the sentiments from Glorious Bouquet CMS325 to make this card, and it may be shocking to those who follow me, but I didn’t use any other outside inspiration for this one, just the challenge.

I started by scattering the various numbers from smallest to largest onto a piece of Distress Watercolor Cardstock on my Tonic Stamp Platform, and then applying Distress Inks from light to dark in a sort of ombré style. Before stamping I misted the stamps with water so the Inks would blend nicely on the watercolor paper. Then I used the Distress Splatter Brush and added a few tiny splatters of Chipped Sapphire across the background.

Then I used a blending tool to color the watercolor mats with Chipped Sapphire Distress Ink and misted them with water for a vibrant, saturated color. I found myself reaching for my Chipped Sapphire a lot this time. It was my “go to” blue for some reason. My favorite colors change frequently and I was really feeling Chipped Sapphire while I was designing samples in December and January.

The sentiment was the large 8 from Merchant and the Happy Birthday from Glorious Bouquet. The th for 8th is from the thanks sentiment from Glorious Bouquet and I just inked the first two letters and stamped them after the 8. The mat and sentiment piece were cut from the new Sizzix Alterations Stacked Labels dies.
The decorative border is a 1/2” piece of Distress Water Color paper that was colored with Chipped Sapphire and then I stamped one of the smaller 8 stamps sideways also in Chipped Sapphire.
For the balloons, I stamped two different sizes of Os from Merchant in the various background colors and then used my waterbrush to color them in and make the little tie thingy. I cut them out and adhered some with some pop dots for dimension. Then attached pieces of Eclectic Elements Crafters Thread to each one and tied them at the bottom.

And there you have it, a festive birthday card using only number stamps!