Most of the details are in the video tutorial above. At the half-way mark I do a quick tutorial on how to put the oven together because I got some requests for that. I know it isn't something everyone needs, but for some who are new to Colorize and wanted to start with the Retro Oven, I was happy to attempt to help.

I assembled the Retro Oven from all Metallic Kraftstock. Then I covered the whole thing in a layer of Icicle Holiday Texture Paste. I crackled beautifully and some even chipped off. I love it. I added a tiny bit of Snowfall Holiday Grit Paste around the outside edges and the inside edge. Then attached a rectangle dome.

Look at that crackle!!

I cut a second oven base from Distress White Heavystock and attached a piece of Frosted Film to it. You could use vellum.

Then I wanted something that looked cold to be inside the dome so I added some Idea-ology Bubbles.

If you saw my Snow Techniques video, I showed how to make these sparkly ice balls out of Bubbles, Glossy Accents and Distress Glitter, It's a few posts back so check it out here if you missed it.

When the ice balls are dry, put them in the dome and seal it up with the second oven base cut from White Heavystock.

The base of the piece is a framed panel. I painted it white, the sprayed some Dsitress Snow Flurries Mica Stain on it. Then I spread a nice layer of Icicle Holiday Texture Paste all over the back panel an pressed some acetate pieces into it that had been embossed with the new Cobblestone 3D Texture Fade. You need to press it into the Texture Paste and lay some books on it and let it dry at least overnight.

The frame was also painted white, then I put Distress Crackle Texture Paste over the frame, let it dry and crack, then added a layer of the Icicle Holiday Texture Paste over that. I finished it off with some Snow Flurries Mica Stain that I rubbed into the cracks and then wiped off the excess. You also add some of the Scalloped Etcetera Trim as a shelf on the bottom of the frame once you have adhered it to the dry background.

I wanted the Retro Oven to light up but look cold, so I used a set of 2020 Halloween Tiny lights in purple. I wrapped them around some coffee stirrers at the top and bottom of the window and then put Foam Tape all around the edges of the oven before I adhered it in place on the shelf.

Here it is in place on the shelf. Now to decorate around it.


If you would like some help putting together the Eugene colorize die, Sizzix has a video here. He is so cute!
I hope you found something inspiring or at least learned an idea or tip that will help your creative projects. Thank you so very much for stopping by!
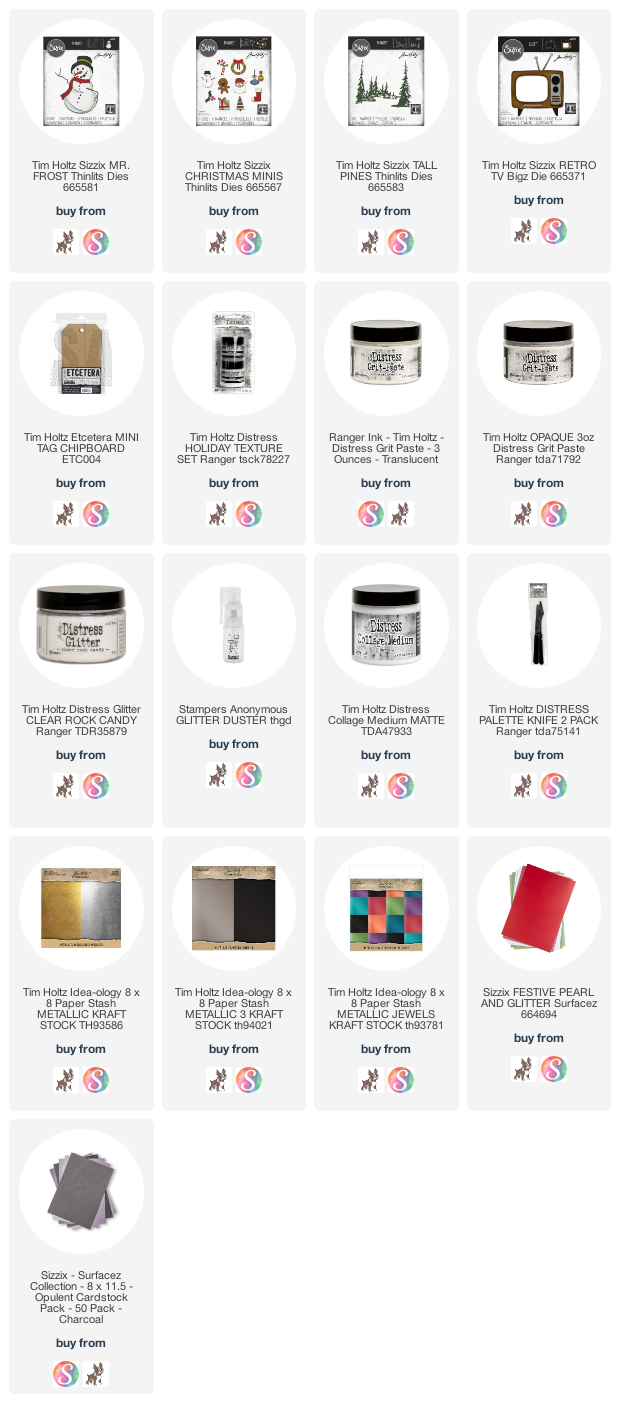
I am an affiliate with Simon Says Stamp and Scrapbook.com so the links below send you to one of those stores depending on which logo you choose. If you wish to purchase something from either store and use one of my links below, I get a small percentage of your order, at no additional cost to you. This helps me to defray the costs of this blog, the time, the ideas and tutorials I post here.
Your help is greatly appreciated! Thank you!