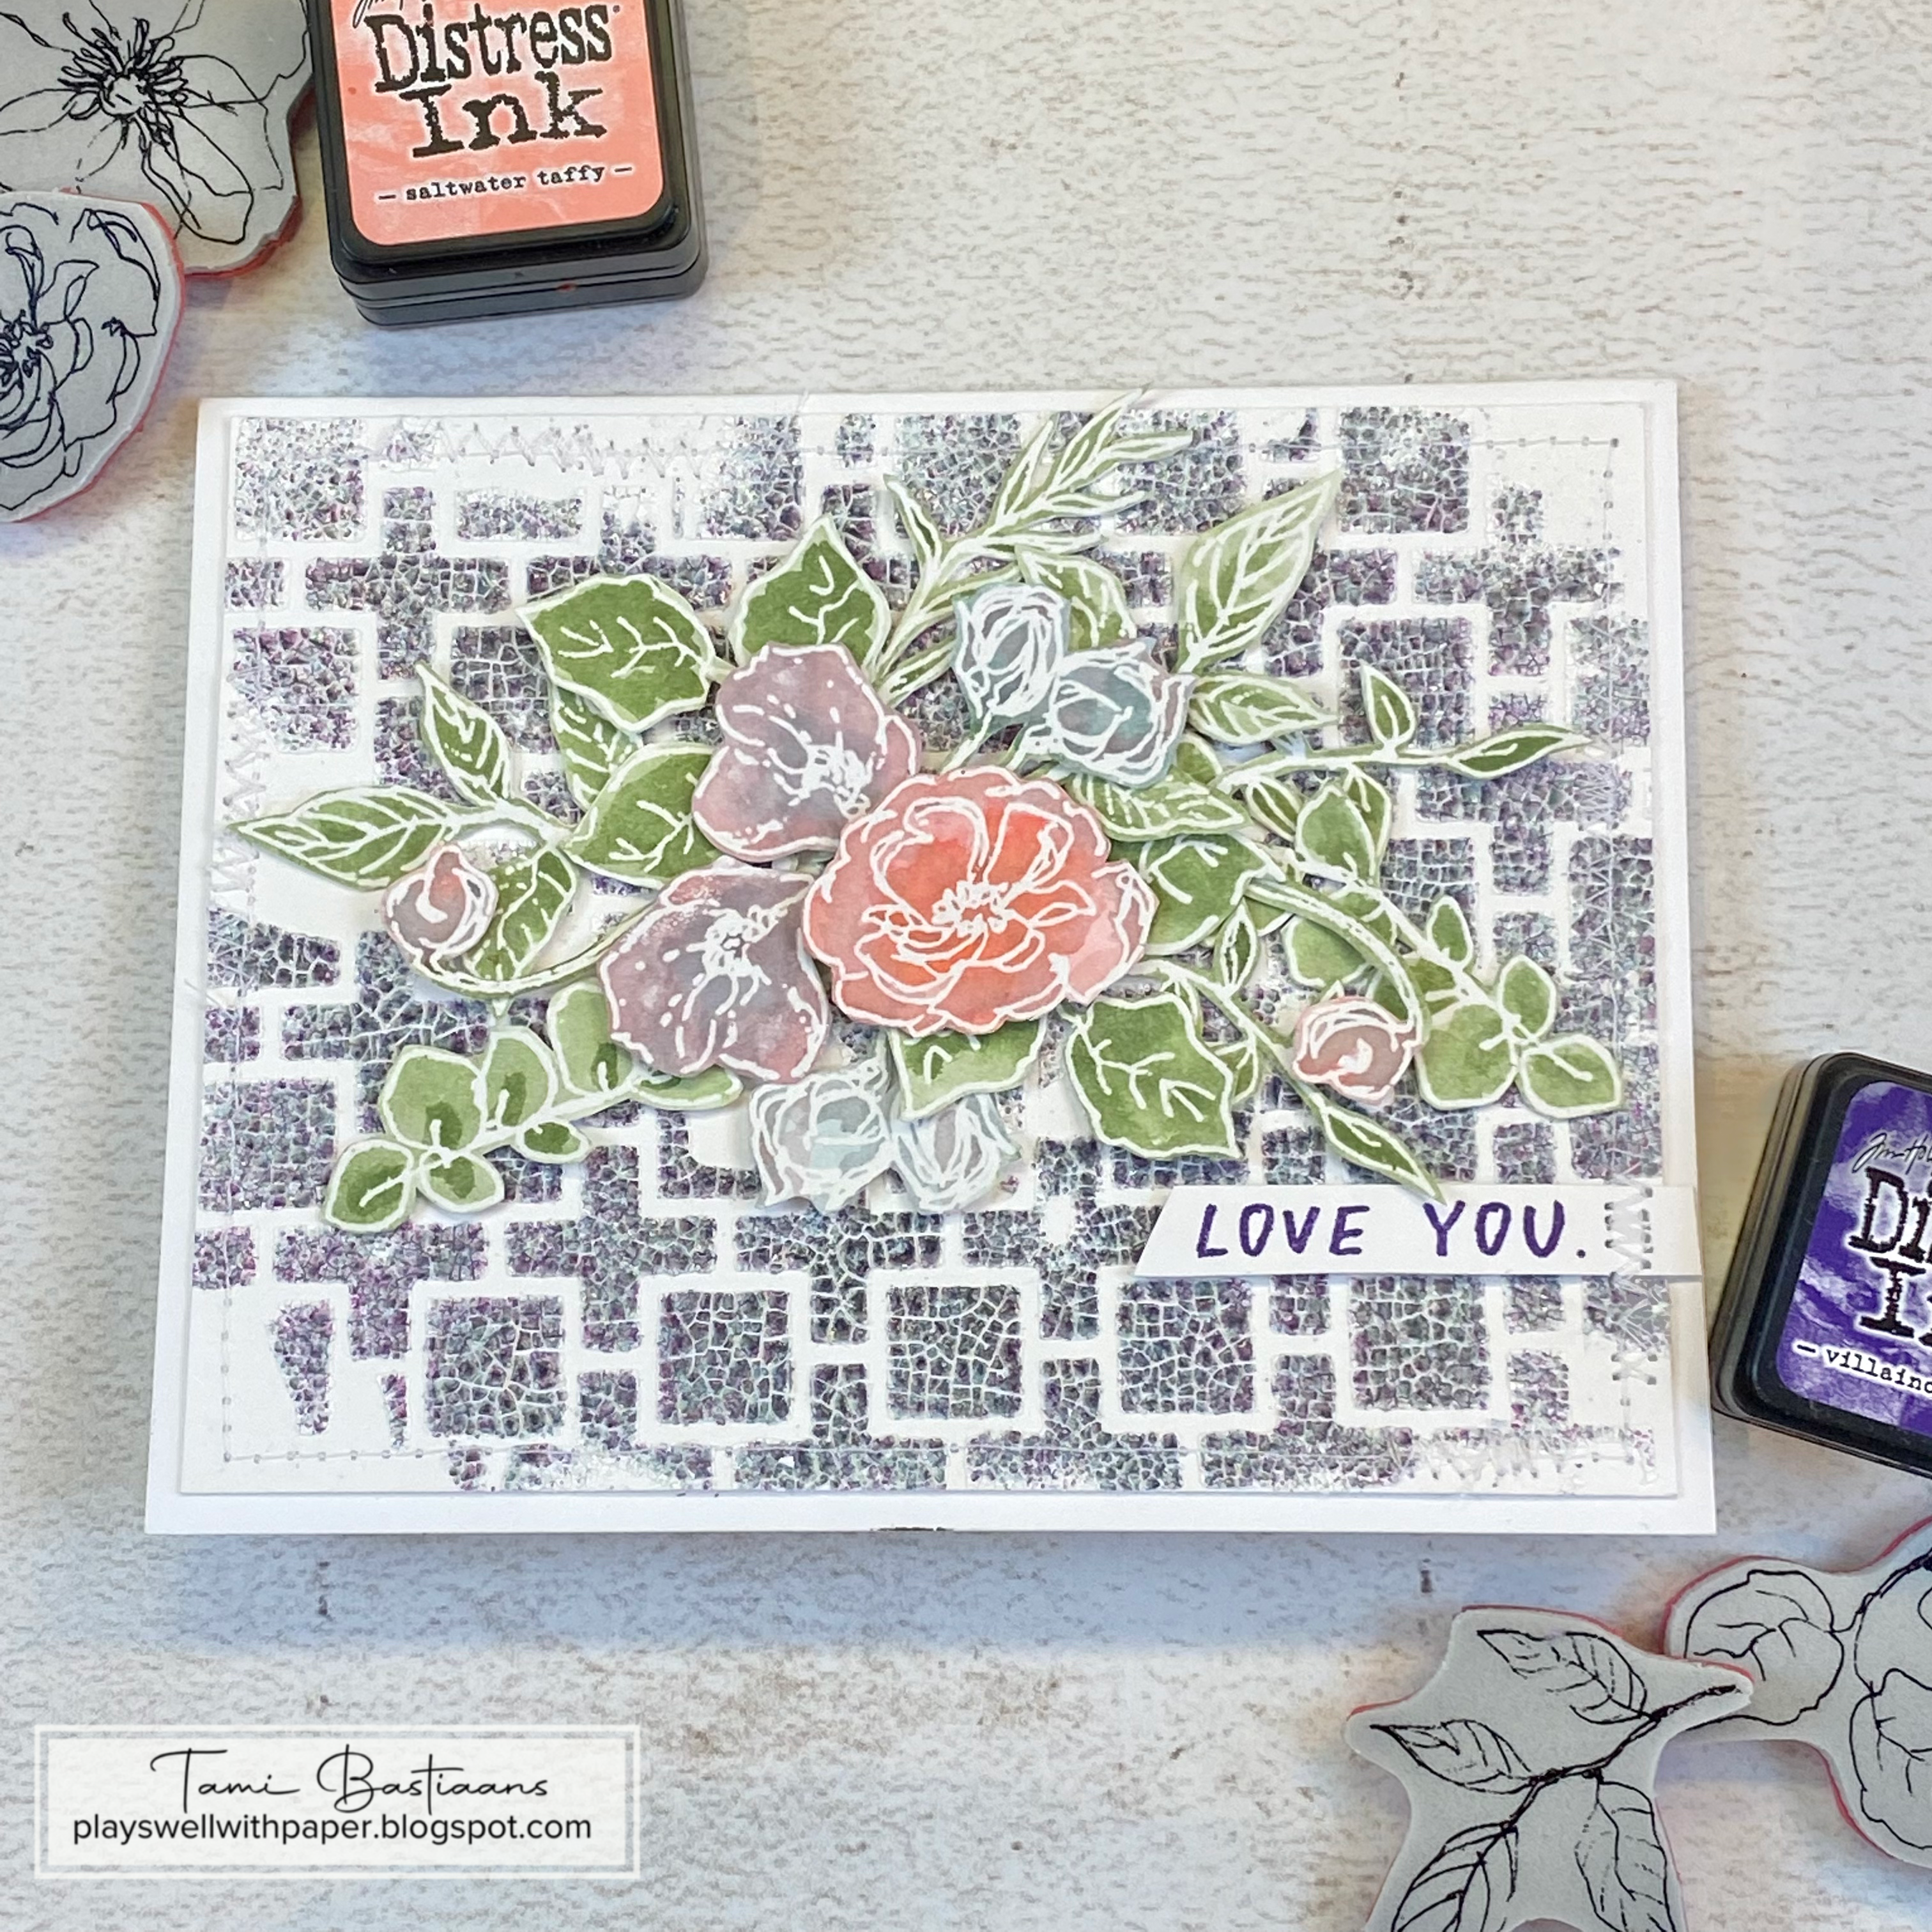
Yes! It's more pots for my fake plants! 😄 I love Lamb's Ear and found these lovely fake ones at Hobby Lobby with a matching wreath for my door, so I needed more pots to "plant" them in. I figured I'd use some of the new number stencils from Tim Holtz and Stampers Anonymous to make some rustic, kind of industrial feeling pots.

I began by using my fingers to cover the outsides of three terra cotta pots (without lips) with Distress Opaque Grit Paste. The coverage does not need to be even. You can paint the pots first, but I wanted to leave it so some of the terra cotta color showed through the gesso in the grit paste.

Let the first layer of Grit Paste dry, then using the stencils and a palette knife, add the abbreviation no. and a number on each pot. I did this very thick and not smooth to add to the rustic look.

Once all of the grit paste is completely dry (I just let them sit overnight) use a detail paint brush to paint the letters and numbers. I used Stormy Sky on the letters and Hickory Smoke on the numbers.

Before the paint completely dries, use a paper towel or inky binky to soak off some of the color so it looks old and faded. Then let dry completely. Once it is dry, cover the entire piece with Distress Collage Medium Matte. Let dry completely again.


Have a crafty day!
Tami
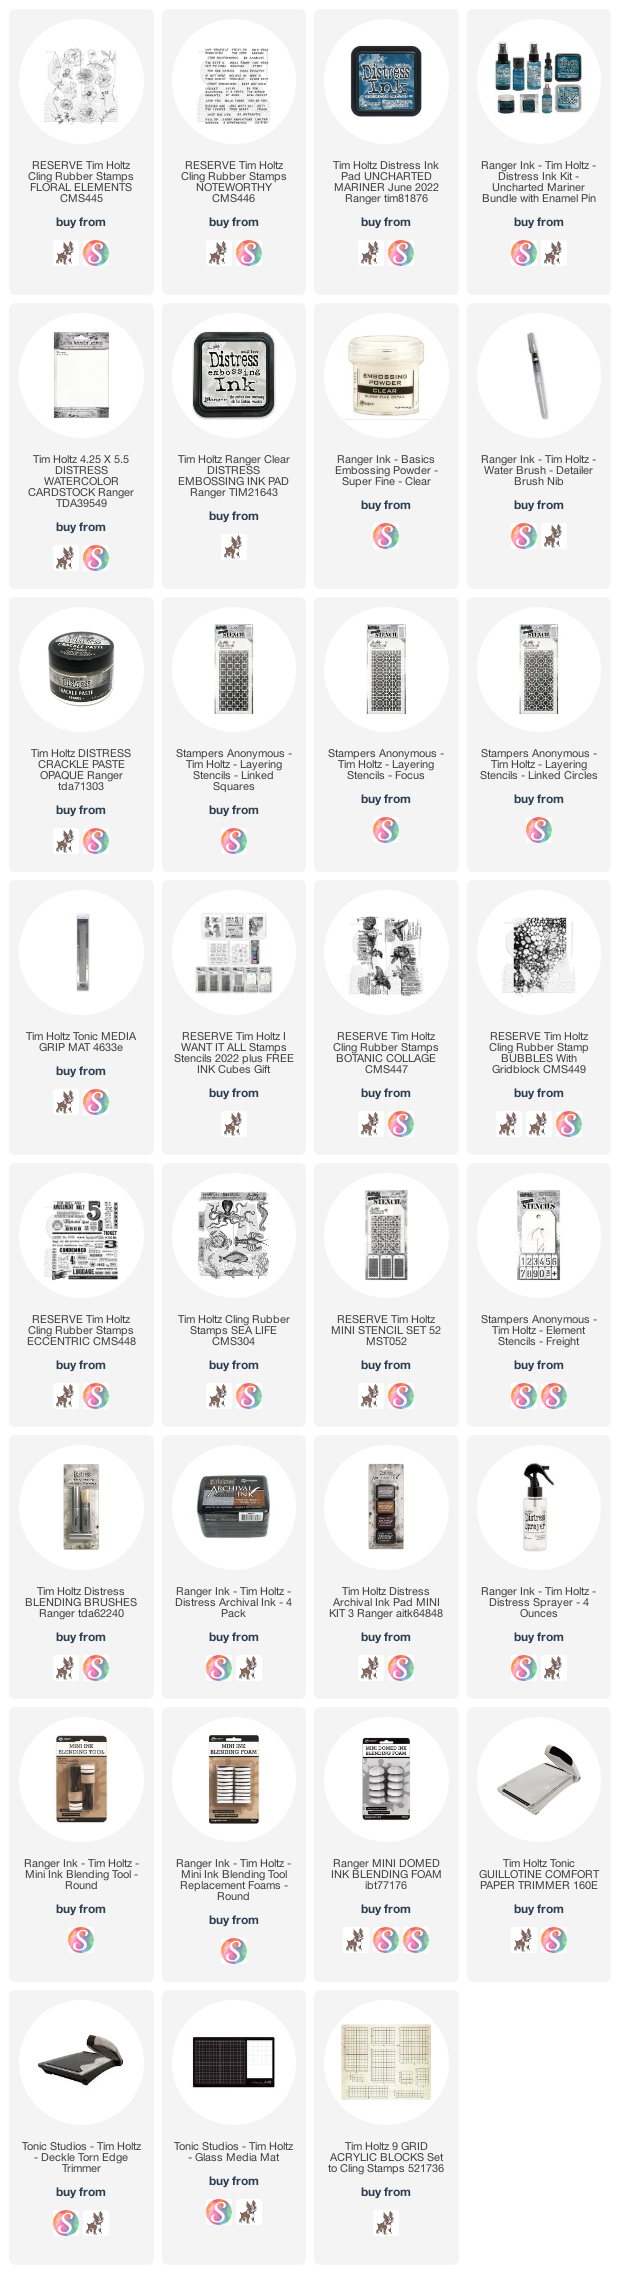
I am an affiliate with Simon Says Stamp and Scrapbook.com so the links below send you to one of those stores depending on which logo you choose. If you wish to purchase something from either store and use one of my links below, I get a small percentage of your order, at no additional cost to you. This helps me to defray the costs of this blog, the time, the ideas and tutorials I post here.