Wednesday, February 26, 2020

Garden Bunny Hop - Tim Holtz Sizzix

 I am so happy to have Sizzix invite me back as a guest blogger for Tim Holtz Chapter 1 dies for 2020. Tim and Sizzix have again outdone themselves with some absolutely delightful dies.

 The Bunny Hop dies inspired me to make this piece. My grandmother used to read Beatrix Potter stories to me when I was little, and that memory prompted me to make a mini version of Mr. McGregor’s Garden using Sizzix Tim Holtz dies.
Yes, even the carrots and cabbages are all Tim Holtz dies! I had so much fun working with Tim's dies to make all of the gardeny goodness in this piece. I am so excited to share how I did it, so please visit The Making Journal Blog for all the details.
 Thank you!
Tami

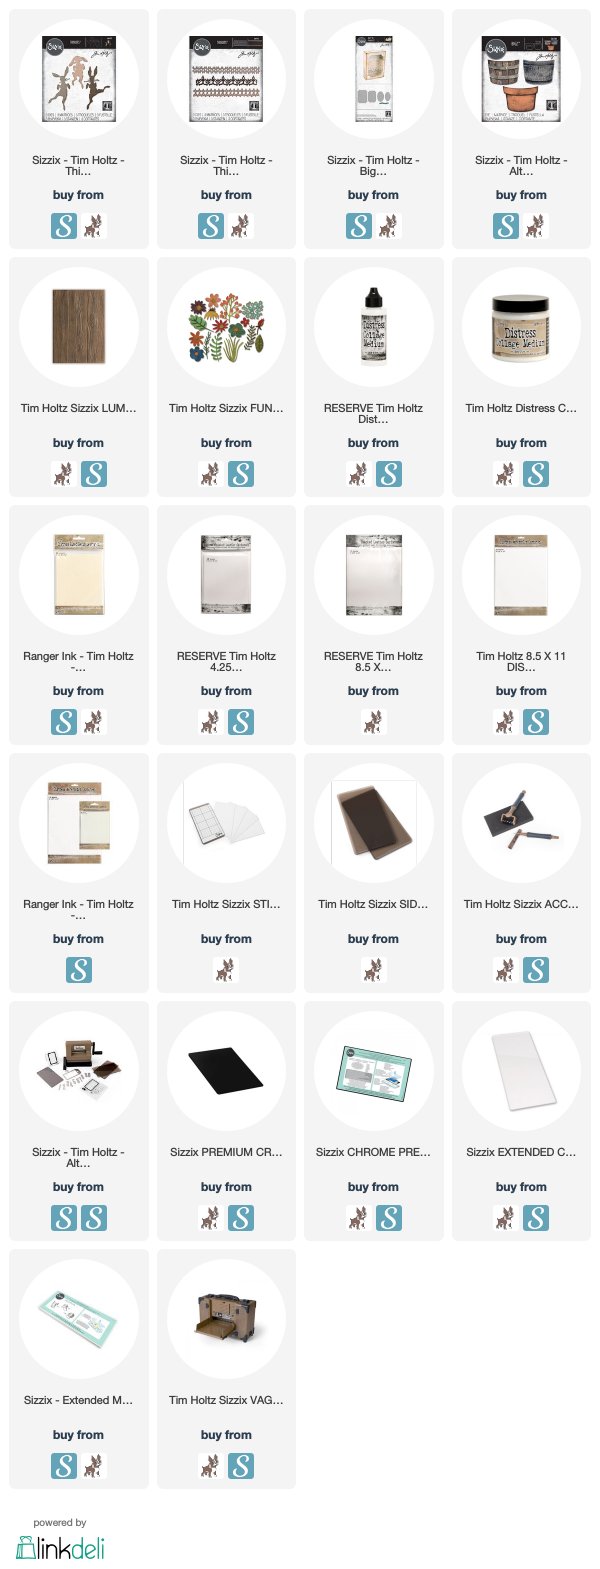
I am an affiliate with Simon Says Stamp and Scrapbook.com so the links below send you to one of those stores depending on which logo you choose.  If you wish to purchase something from either store and use one of my links below, I get a small percentage of your order, at no additional cost to youThis helps me to defray the costs of this blog, the time, the ideas and tutorials I post here. Your help is greatly appreciated! Thank you!
Monday, February 24, 2020

Limited Edition - Stampers Anonymous

You know how sometimes as crafters we get on a certain kick and we keep creating things with a certain color scheme, or technique, or product? Well, that happens to me a lot. One of the creative kicks I was on when I was making samples for Creativation 2020 was canvas. I made several things with canvas and this card is one of them.
Begin by cutting a piece of cotton canvas fabric (usually buy several yards when I'm at the fabric store so that I have it on hand) just a bit smaller than the size card I want, as well as a small piece for the focal point and a small strip for the sentiment. I used Flower Shop, Faded Type and Tiny Type stamps for this project.
Lay the large piece of canvas in a Splat Box and spray it with some water to prep it so it will soak in color.
Then spray it with Distress Oxide Sprays in whatever color you choose. I believe I used Crushed Olive, Stormy Sky, Peeled Paint and then splattered some Chipped Sapphire and Ground Espresso here and there. You might need to spray it with a little more water to make sure it softens the splatters.
Completely dry the piece. (I think this takes the longest.)
NOTE: I always have people ask me what colors I used on things and often I'm so in the moment when I'm creating that I don't stop to take photos and then by the time I can blog about the project it's been months, I don't have the sample, and I can't remember. Sorry. But honestly half the fun is just coming up with your own color combos as you create, right?
Once the piece is dry, I attached it to the large Stamping Platform with Sticky Grid.
Then arranged various stamps from Faded Type CMS397 over the piece.
I applied Ground Espresso Distress Paint to my Glass Media Mat and then ran a brayer through it to apply the paint evenly to the stamps with the brayer.
Then stamp the paint onto the canvas. Repeat with more paint if needed until you have nice coverage.
Immediately remove the canvas and rinse the stamps thoroughly to get all of the paint off of them. Then dry the stamped canvas.
I really love the way it looks!
I had cut a smaller piece of canvas to fit in the center. I colored this piece of canvas by spraying it with Antique Linen Distress Spray and water and then letting it dry.
Then I stamped over the background using the script from Flower Shop CMS401 in Hickory Smoke Distress Oxide.
You don't want the entire image, so just press your fingers down on the parts you want to show.
You can see it makes just light bits of script here and there.
Part of one of the flower stamps from Flower Shop was stamped on the canvas in Distress Oxides using colors from the background. I situated the stamp where I wanted it, again using the Sticky Grid to hold the canvas in place.
I first loaded the Peeled Paint Distress Oxide onto the stamp and then wiped the ink away in spots where I thought the flowers were in the image. Then I sprayed the stamp with a mist of water and stamped. Repeat if needed and dry.
Once the Peeled Paint was stamped I put the Chipped Sapphire in a few areas and misted it with water and then stamped it.
I cut a small strip of canvas for the sentiment from Tiny Text CMS394 and then stamped it in Ground Espresso Distress Oxide and dried it thoroughly.
Once both the background and focal piece were dry I inked the edges with some Walnut Stain Distress Ink. 
As you can see they still needed a little something before I adhered them together. 
So at this point, I sewed around the edges of the larger pieces and sewed a zig zag stitch across the ends of the sentiment strip before I adhered them together.
I adhered the pieces to a black cardbase and to each other, then added a final little touch of two vintage cream buttons.
In the top right corner I added an Ideaology Mini Pin.
I really love all of the color and texture on this piece and how many imperfections and inconsistencies there are in color.
It just adds to the vintage charm.
If you look closely you can see some of the splatters of Ground Espresso and Chipped Sapphire, as well as the light Hickory Smoke script in the background of the flower.

I really love this card and I hope it inspires you to try stamping on fabric.
Tami

I am an affiliate with Simon Says Stamp and Scrapbook.com so the links below send you to one of those stores depending on which logo you choose.  If you wish to purchase something from either store and use one of my links below, I get a small percentage of your order, at no additional cost to youThis helps me to defray the costs of this blog, the time, the ideas and tutorials I post here. Your help is greatly appreciated! Thank you!

Sunday, February 23, 2020

Idea-ology Potting Shed

I'm really not sure what exactly inspired this Tim Holtz Idea-ology piece, but I don't think it was just one thing. I'm sure it was the combination of the fabulous florals in the Field Notes ephemera and snippets packs, the tiny lights paired with the Vellum Scenes, and the glorious chippiness of the Distress Crackle Texture Paste with the Vignette Shrine and Frame.  It just all came together and said it needed to be a potting shed.
To start, I cut some paper from the Wallflower 12x12 Paperstash. You need enough paper for the inside and outside of the sides of the shrine and for the inside and outside back of the shrine as well as for the Tiny Lights Cover. I adhered the paper to the Shrine first with Distress Collage Medium.
Then I "stained" the Vignette Frame and any other bits of raw wood with watered down Ground Espresso Distress Paint. I did this because I didn't want Distress Stain or Ink to color the Distress Crackle Texture Paste. Once the "stain" was dry, I used a Ranger Pallet Knife and spread some of the Distress Opaque Crackle Texture Paste onto the top edges of the sides, the base and the frame. Let it dry and it crackles.  Glorious crackles!!
Then I determined where the frame was going to go and I punched a hole through the back of the shrine to feed the Tiny Lights through. I wrapped the lights around a wooden coffee stir stick that I attached to the top inside of the Vignette Frame. Then I attached the battery pack to the back of the shrine like this.
To attach the window frame to the back of the shrine, I adhered the Vellum Scene to the back of the frame, then I built up the sides by adding some Chipboard to all four sides.
Because I wanted the Vellum Scene to light up, I wound the Tiny Lights around a wooden coffee stir stick and adhered it to the inside edge of the chipboard on the top side of the frame.
If you look closely you can see that after I had adhered some chipboard to the sides of the Vignette frame, I put some Crackle texture past so it would blend right in with the frame. The space the chipboard gives to the frame by moving it away from the back wall of the shrine is what allows you to adhere to lights on the coffee stirrer to the inside top of the frame.
Once you get the frame popped away from the back, lights adhered securely inside the frame, then attach the frame to the back of the shrine with Distress Collage Medium and let it dry.
While that is drying you can age and distress the Idea-ology Apothecary Jars, Thimbles, and Silverware. I already posted a tutorial on doing this, and you can see it here. Once the thimble "terra cotta pots" are made, adhere three of them to the top of the window frame. Also, mount the Wholesale Florist sign from the Field Notes Ephemera pack to a piece of chipboard and then attach it to the back of the shrine above the window. I used this to cover the tiny crack where the window was attached to the back and a bit of the light was shining through. The chipboard sign did a great job of sealing that up.
I put the flower poster from the Field Notes Snippets to the back of the shrine under the window as if it had fallen off the wall and slid down settling against the bottom of the shrine. Once I adhered the jars and pots in place, I filled in around them with a little bit of moss.
Once I adhered the jars and pots in place, I filled in around them with a little bit of moss.
I adhered the garden tools into one pot, and adhered the other pot sideways. Then in the sideways pot I put a bunch of grit paste. Before it dried, I sprinkled some Distress Embossing Powder on it and I added some grit paste and Distress Embossing Powder in the pot with the tools as well.
Fair warning, the Distress Embossing Powder is retired. Long retired. But I have a huge stash of it and love using it to represent dirt whenever I can. If you don't have any, you can use some real sand or ink and stain the grit paste to represent soil.
Oh my, the details on the jars, pots and things are really so worth the work!
From this angle you can see how crackled and chippy the Distress Crackle Texture Paste really is.
It might chip off of its own or you can chip off some of it yourself. this just adds to the chippy goodness!
The finishes and the little details in this piece really make a difference and although they take time, they are all well worth it!
Just have fun experimenting and adding colors here and there until you get the look you want. That's what I do. I just play and try things and delight in the various finishes and details you get as you practice.

I am always grateful that you chose to come to my blog and spent time reading this post. If you have any questions or need clarification on anything, please contact me through the form in the column on the right.
Gratefully!
Tami
I am an affiliate with Simon Says Stamp and Scrapbook.com so the links below send you to one of those stores depending on which logo you choose.  If you wish to purchase something from either store and use one of my links below, I get a small percentage of your order, at no additional cost to youThis helps me to defray the costs of this blog, the time, the ideas and tutorials I post here. Your help is greatly appreciated! Thank you!