I love this beautiful little Holiday Village die set from Tim Holtz and Sizzix. It makes me think about some of the delightful little villages I visited the few times I was in Europe. That's why I needed to pair it with the Alpine dies from last year's Chapter 4 release.
I was imagining what Halstatt, Austria, or Grindelwald, Switzerland (in these photos) would look like in the winter, rather than the summer when this hot weather California girl saw them. So that was my inspiration.
Let's start at the very beginning, it's a very good place to start.....(I couldn't help myself!) But really, cut several of the Holly Berries 3D Impresslits from some heavy kraft paper. Remember when cutting Impresslits that you use the sandwich for embossing and then only one cutting plate. Lightly mist the paper with water and then run it through 3 times for 3D. Once they are all cut, adhere them along the outside edge of a small Vignette Tray. Fussy cut the ends of some so that they fit nicely along each side and the intersections aren't noticeable. If you look closely you can see the intersection just below the berries on the far left side.
In the same manner, cut several of the thinnest Lattice 3D Impresslits from heavy kraft stock. These go along the front edge of the Vignette Tray to cover the unfinished edge.
Next paint the Vignette Tray with Black Soot Distress Paint inside, outside and on the back.
I didn't take step out photos of this next part, but I painted over the Black Soot Distress Paint with Chipped Sapphire Distress Paint and blotted it off before it was dry so that the black showed through in spots. Then I painted the whole thing with Pumice Stone Distress Paint, sprayed it with a bit of water so it would go down in the crevices and then blotted it off as well. I also flicked Picket Fence Distress Paint onto the inside of the tray to mimic snow.
Once that is finished, using your finger, apply some Vintage Collage Medium over the entire tray. That should add just the right touch of age.
You need to drill a hole from the middle bottom of the back of the tray to thread the Tiny Lights through. I usually add a little box to hold the battery pack.
Here is the tutorial for that.
On the inside of the tray, you an add some Opaque Grit Paste to look like snow, BUT, before you do that, seal the paint again just in the area where the snow will be going. Then once it is dry, apply the snow. Let it dry while you assemble the village. Once it is dry you can add the Alpine mountains. I colored some Distress Cracked Leather by lightly rubbing some Distress Paint on the raised areas and then spraying them with Distress Stain.
I wanted the mountains at different levels so I cut one set of the mountains in half. I also raised some up, and put some lower on the bottom of the tray with
dimensional adhesive. The outside mountains need the dimensional adhesive so they stand out away from the back of the tray and make a little space for the tiny lights. Speaking of tiny lights, I wound them around a thin piece of chipboard and attached them to the tray between the two outside mountains.
I used the same paint technique on some Distress Woodgrain Cardstock as I did on the Cracked Leather Cardstock for the mountains. Put a bit of Distress Paint on the raised areas of the woodgrain and let it dry. Then color the paper with Distress Spray Stain. I made both gray and brown versions of the woodgrain.
Begin by cutting the Village base from the grey Woodgrain Cardstock. You will see that there are these boxy indentations on each of the buildings. Use an Tonic Craft Knife to cut out those indentations. It should look like the image above, I just put black behind it so you could see what the cut away area looks like. You also need to cut some yellow vellum from the window die set pictured to the left above.
Looking at the photo of the village will help you to determine which windows get vellum and and which stay dark. I attached the velum to the backside of the windows and the trees that fit over the openings.
Then attach the buildings with the windows already in place, onto the grey woodgrain background. If you flip it to the backside, you can see above how the windows are covered with vellum and will allow the light to shine through.
On the front side you will notice that I did not attach the tree yet. I did attach a separate star for the tree that is cut from yellow paper. It won't matter later, but I did it anyway because I didn't realize that at the time.
When you apply the snow and the walkway pieces, you will need to trim the tree shape once again so that the light will shine through it, once you attach the tree. Then lay the completed village in the splat box and flick it with tiny specks of Picket Fence Distress Paint to mimic snow.
At this point the lights are in place, the tray with the mountains and snow are ready and it is time to attach the village. I gently bent the village so it would bow a bit and the ends would bend in toward the mountains, and bent the front of the snow at the bottom so it would slope into the Grit Paste on the bottom of the tray. I added a few pieces of chipboard to attach it to the back of the tray, and then added collage medium to the bottom, ends and the chipboard and held it in place until it stayed securely.
I love the way the light not only shines through the windows but also up onto the Alps. I was thinking that would naturally take place if light was shining out the back windows of the buildings. I love it!
You can kind of see some of the dimension in this photo. It really makes a lot of difference if you pop some of the items up. Also, I cut several more of the large tree (without the holes for the lights) and more the the small trees to scatter round on the snow around the village. I trimmed the bottom off some of the larger trees too so that there were different sizes.
I like it lit and unlit too. I may need to make a summer version of this Holiday Village so that it matches my memories.
I hope that wasn't too much detail all in one post, but I couldn't find a good place to break it up so I just went for it.
Thank you so much for stopping by, for reading this far, and for your encouragement support here and on my social media posts. It just means so much to me!
Thank you!
Tami
I
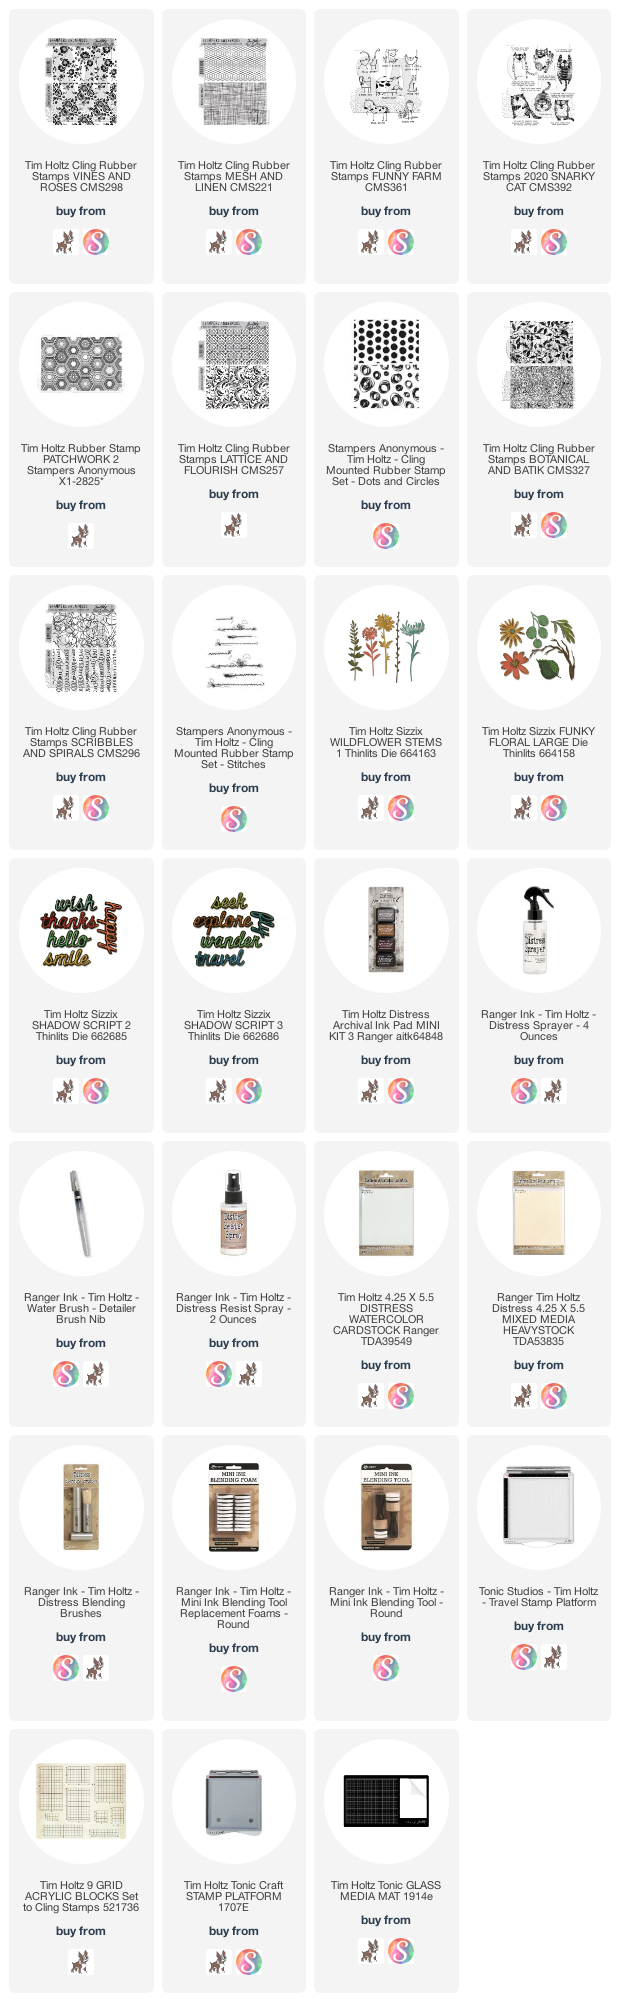
am an affiliate with Simon Says Stamp and Scrapbook.com so the links
below send you to one of those stores depending on which logo you
choose. If you wish to purchase something from either store and use one
of my links below, I get a small percentage of your order, at no additional cost to you. This helps me to defray the costs of this blog, the time, the ideas and tutorials I post here. Your help is greatly appreciated! Thank you!