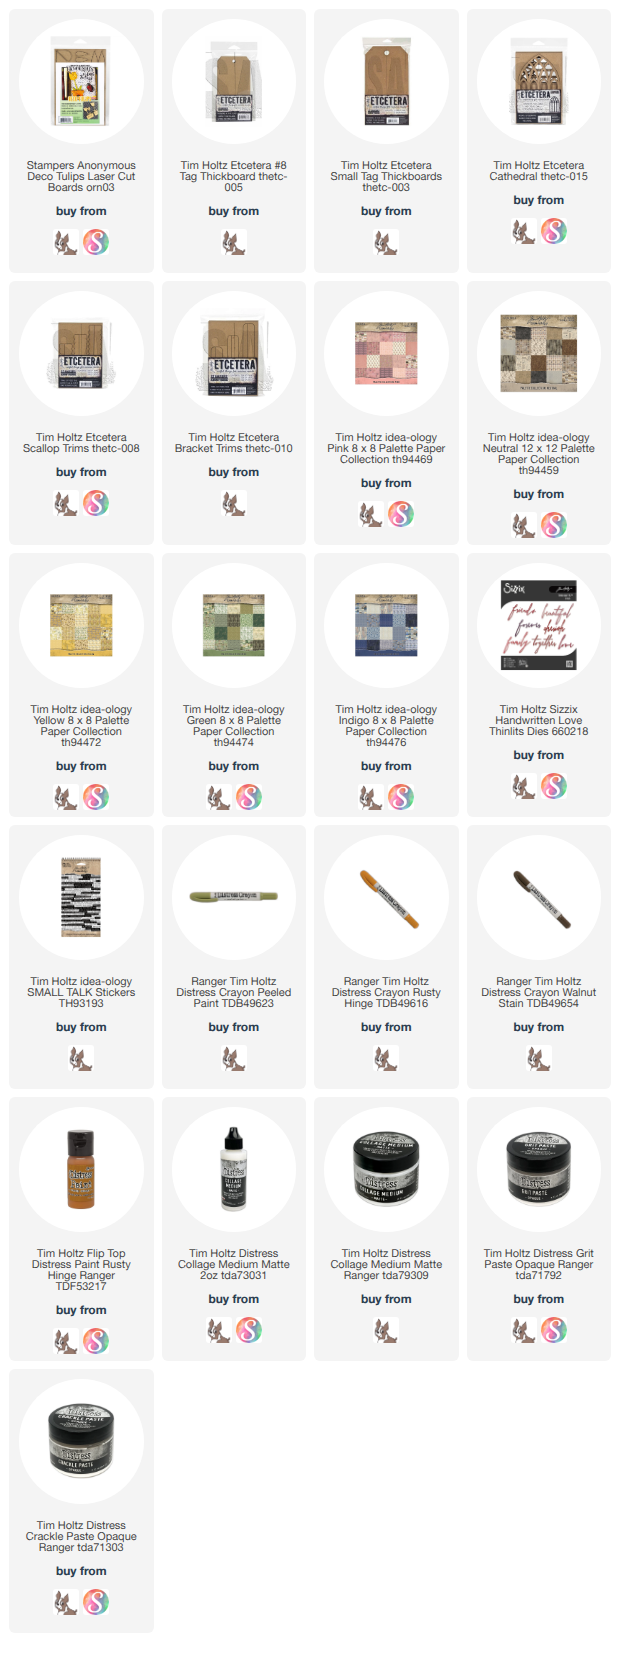
Stampers Anonymous has released two new sets of pressed board Ornamentals that pair well with the Tim Holtz Etcetera Pressed Board line. Today I am sharing two Etcetera tags that I made with the Deco Tulips Ornamentals. Tulips are one of my all time favorite flowers. I absolutely love them.
I recorded myself making these but unfortunately my cell battery died just as I was ready to assemble the second tag. So this tutorial covers most of the parts and then I end up talking you through the finishing touches on the second tag.
I covered a Small Etcetera Tag with a piece of the wood paper from the Idea-ology Palette Paper Brown 12x12 pack. Then I covered the Deco Tulip box, large Cathedral window and long Scalloped and long bracket Etcetera Trims with some Distress Crackle Paste Opaque. Just spread a nice layer right onto the unpainted pieces with our finger. Too thing and it won't ccrack, too thick and ti will just make a hard mound with a few giant cracks. so you want something in the middle that will crackle all over. Set them all aside to dry and crack.
Once the crackle is dry, sand it with a sanding disc. This will cause some chunks to fall off and leave spots with no crackle. That is PERFECT! It's exactly what we want. Once all the pieces are sanded to your liking, Spray them with Pumice Stone Distress Spray Stain. Let it soak into the cracks and into the spots where the board is showing. This will darken all those spots and give us the look of old, cracked, worn away paint.
I also cut a sentiment from Handwritten Love out of paper from the Palette Pink, and added two words from the Small Talk sticker book. The stickers are backed with some kraft stock.
The large and medium tulips were covered with paper from Palette Pink and the leaves are from Palette Green. In order to get them to securely and evenly attach to the tag, I cut little pieces of the left over pressed board sheets that I popped the shapes from, and adhered the little pieces to the backs of the flowers and the leaves to support them like you would with foam dots.
The flower box comes as one piece that is scored to allow you to fold the sides and bottom, and then you add a little Collage Medium to the edges to get them to stick together and form a box. Adhere the diamon shapes to the front and then spread Crackle Paste over it. Once it is dry, do that same process with sanding and staining that you did with the other pieces.
From this angle you can see the dimension with the tulips and the Etcetera pieces underneath.
I added some moss in the top of the box to cover up the base of the tulips and to make it look more like a flower box.
For the #8 tag, I covered it with the blue and white paper from Palette Indigo. I wanted this one to feel a little like something from the Netherlands, and I thought this pattern looked the most like Delft.
I colored the reiforcer with w bit of paint. I wanted my Chipped Sapphire but I couldn't find it so I used Blue Print Sketch and then sanded it. The little hearts and tulip are covered with paper from Palette Yellow.
The leaves and stem are covered with paper from Palette Green. As with the tulips above, I needed to support the tips of the leaves when I attached them to the stem, so I trimmed some bits off the excess from the board shapes and that did the trick.
For the flower pot, I uses all 3 risers and the pot shape with the lip. I bent the pot and lit so they bowed out a bit and then attached them to the three risers. This gave a nice shape to the piece. Then I covered the whole thing with some Distress Grit Paste Opaque. Once that is dry, paint it with Rusty Hinge Distress Paint.
When the paint is dry, to give it some detail add some Rusty Hinge Distress Crayon as it is a little darker than the paint. Then brush on some Walnut Stain Distress Crayon, and lastly, and a few spots of Peeled Paint Distress Crayon so it looks like it has some areas covered in moss. To finish I added a sentiment from Small Talk Sticker Book and backed it with paper from Palette Yellow.
I really enjoyed making these tags. Save for the drying time of the crackle and grit pastes, these tags went together really quickly.
I hope you give the new Deco Tulips a try! They make for a quick bit of home decor or a fiun little topper for a gift.
Have a creative day,
Tami
I am an affiliate with Simon Says Stamp and Scrapbook.com.
If you wish to purchase something and use one of my links below, I get a small
percentage of your order at no additional cost to you. I greatly appreciate it!
Thank you!


 t
t