Sunday, August 2, 2026

Boo to You - Whimsy Stamps


Hey Makers! It's the atart of a new Halloween season at Whimsy Stamps! For my first spooky make I ended up with two cards from the same design. It is amazing how just changing up the color scheme and papers really makes the card feel completely different!

https://youtu.be/LrNni0zFA1I 

Of course I made a process video as I was muddling through the design on this one. 

This first card uses the Wonky Frame 4 and papers from the Haunted Graveyards 6x6 paper pack. 
The ghosts and sentiment are from the Boo Die Set. 
I cut the ghosts and the Boo shadow from vellum and ran them through my Xyron
The Xyron makes them stick without the squiggely glue lines showing through.
I finished the sentiment with part of a phrase stamped from the You're My Jolly sentiment set.
This second card was a bit out of my Halloween wheel-house. I never reach for pink for Halloween but I had the Pink Autumn and Pink Plaid paper packs from Whimsy so I decided to give it a go.
The pink plaid ghosts are a fun, whimsical addition to this card.
I wanted to frame to be dark brown so I colored kraft paper with Scorched Timber Distress Stain and stamped the Farmhouse Shiplap Background stamp in Black Soot Archival. 
Then added some brown sequin to finish it. 

Thank you for stopping by to see the details of these simple cards as I kick off the Halloween season with Whimsy Stamps. I hope you will follow along from August 1st to October 31st with the team. 

Have a vreative Day!

Tami


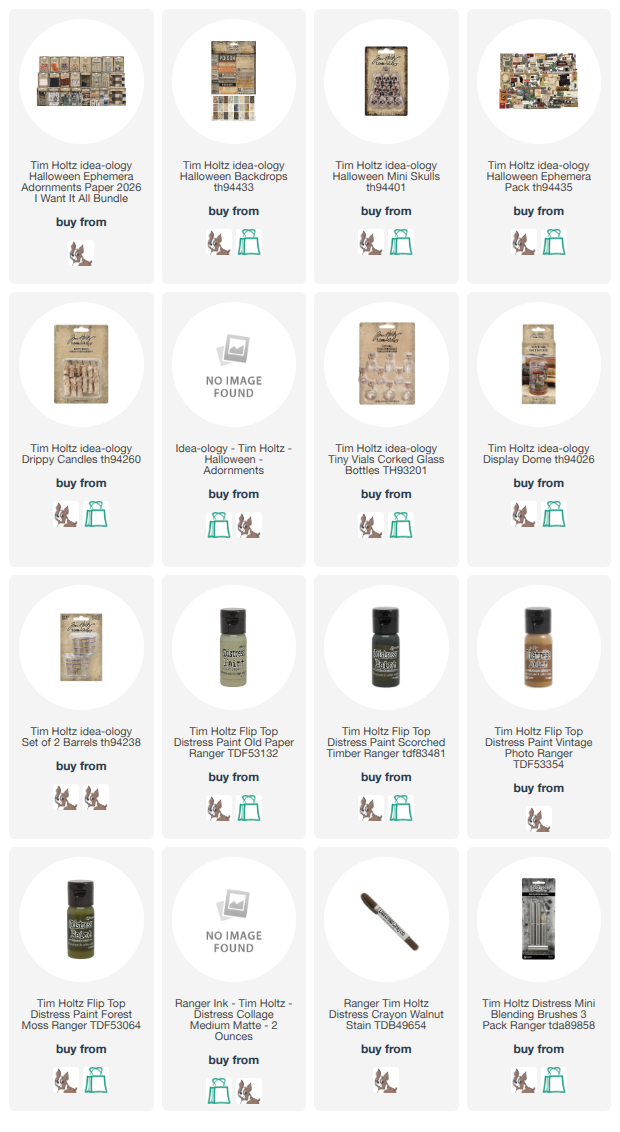
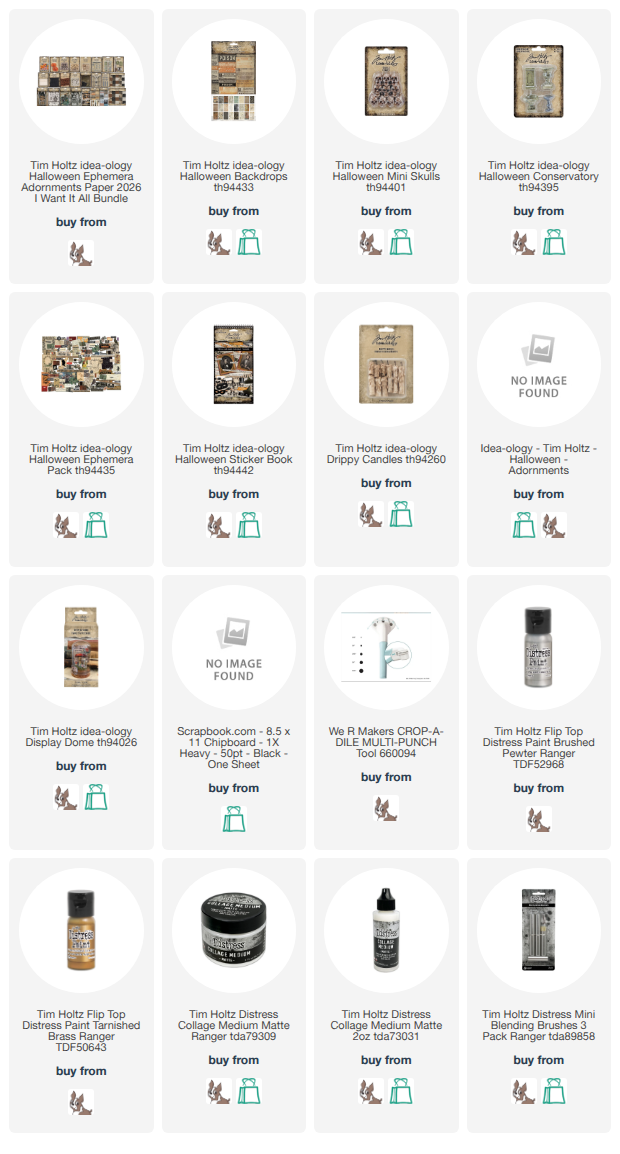
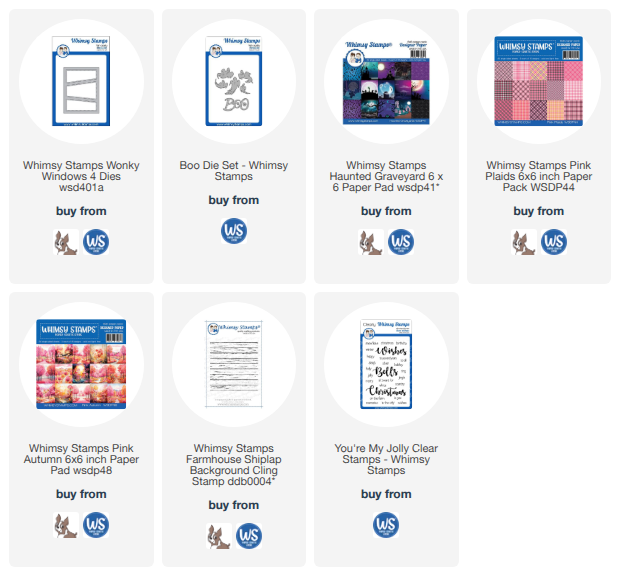
Below are my affiliate links to the products I used to make today's cards. 

Saturday, July 25, 2026

Distress Micro Glaze Embossed Resist Technique

Hello Makers! I am excited to be able to share this technique with you. I have the written instructions and step-out photos on the Ranger Ink Blog here


But of course I also made a video tutorial for those who find it easier to watch a technique. 

Below are just some close up photos of the cards I made with this technique and at the very end is a list of the products I used with my affiliate links. 
Thank you so much for looking! 
Tami
 
Below are my affiliate links for the products I used in this tutorial.  
 

Monday, July 20, 2026

The Dead of Night with Tiny Text

t

Today I'm sharing another card made with Tim Holtz stamps and the exclusive coordinating dies from Simon Says Stamp. This card features the Tiny Text Halloween stamps and dies and the Framed Frights Stamps and Dies.

 Of course I made a quick YouTube tutorial that you can see here.

This was such a fun background to make with the Tiny Text dies and stamps.
I stamped on three different papers with three different inks.
Black Soot Archival on the Distress Kraft Heavystock. Frayed Burlap Oxide on the White Heavystock, and White Pigment Ink on the Black Heavystock.
I stamped the Framed Frights on Mixed Media Heavystock colored with Old Paper Distress Stain. Then I colored in the images with Pumice Stone and Walnut Stain using a Waterbrush. I wanted these to have three colors to go with the background, so I did draw on some highlights with a white gel pen and a white paint pen on the skulls, the outside edge and the highlights on the tomb die cut. 
To make the background, after I stamped all the sentiments on the dies, I attached them with Pawsitively Glue to a piece of cardstock cut to 4 1/8 x 5 3/8. 
The sentiment was stamped from the Framed Frights set and I just fussy cut around it. The tomb, Framed Frights, and sentiment are all attached with foam tap for dimension.

Thank you so much for visiting!

Have a creative day!

Tami

Below are my affiliate links for the products used in this tutorial. 

Monday, July 13, 2026

Tiny Things 2 Tiny Shakers

I so enjoyed making some smaller sized cards in the last tutorial that I decided to make a few more with the Tiny Things 2 stamps from Tim Holtz and coordinating dies from Simon Says Stamp.

For these smaller 4 Bar or A1 cards I chose to make them into shaker cards, but the die I used to cut out the window was a tag, so I made cards out of the tags as well and ended up getting 2fers!

Of course I made a process video that you can see here. 

These are the shaker cards and the close ups are below.


These are the tags that made the windows for the cards above and they turned into really cute cards! Below are the close-ups.


Thanks so much for checking out today's cards!

Below are my affiliate links for the products I used.

Have a creative day,

Tami


Here are my affiliate links:

Thursday, July 9, 2026

Tiny Things Tiny Cards

For these tiny cards I used the 4 Bar cards from Simon Says Stamp with the Tiny Things stamps from Tim Holtz and the coordinating dies from Simon Says stamp.

I made a short video showing how I made these cards.  

 The first tiny card I made represents a hot air ballon safari I took over Masai Mara when I loved in Kenya for a year. 
I stamped the background of all the cards with one stamp in different positions and stamped with Hickory Smoke Distress Archival Ink. Then I colored the shaped in with Pumice Stone Distress Ink and a Waterbrush. 
This made nice backgrounds for each of my three cards, and although simple backgrounds, they were competing with the stamped and die cut focal points. So I embossed a few pieces of 2x3" vellum and attached those to the center of the background.
The second card has an Eiffel Tower in the background and a globe as the focal point with the sentiment See the World. 
Each of the backgrounds are colored with a Blending Foam and Speckled Egg Distress Ink. I wanted to keep the background light, but interesting and something that supports the theme of the card.
I did color in each of the focal stamps with Distress Inks: Peacock Feathers, Rusty Hinge, Walnut Stain and Peeled Paint.
For the last card I used the birds and the birdcages. I wanted the bird cages to be in the background and the birds in the focal point to be free. 
I stamped all of the sentiments and focal points in Hickory Smoke to begin with, but they were too light and looked really washed out. So I re-stamped all of the sentiments and focal points in Ground Espresso Distress Archival Ink and then watercolored them with the colors posted above. 
I finished each card by machine stitching around the embossed 2x3 vellum and the outside edge of the background. I really felt like that detail was what the cards needed. 

Thank you so much for stopping by to check out the details. I hope you give your own Tiny Cards a try. they make it very easy to whip up several little notecards that can be popped in the mail to a friend.
 
Have a creative day, 
Tami
 

 Below are my affiliate links to the products used in today's tutorial.