Monday, January 30, 2023

Lost Shadow Stone Statuaries


The "wonder"ful new Distress color from Tim Holtz and Ranger Ink, Lost Shadow, is a perfect addition to the Distress Family. We needed this new color of light grey. It is perfect for this technique of turning Idea-ology bits and pieces into stone statuaries. So that is the first thing I did with it!

This video focuses on making the statues and not on a completed vignette. The completed piece is in the works for a little later this spring. So stay tuned!

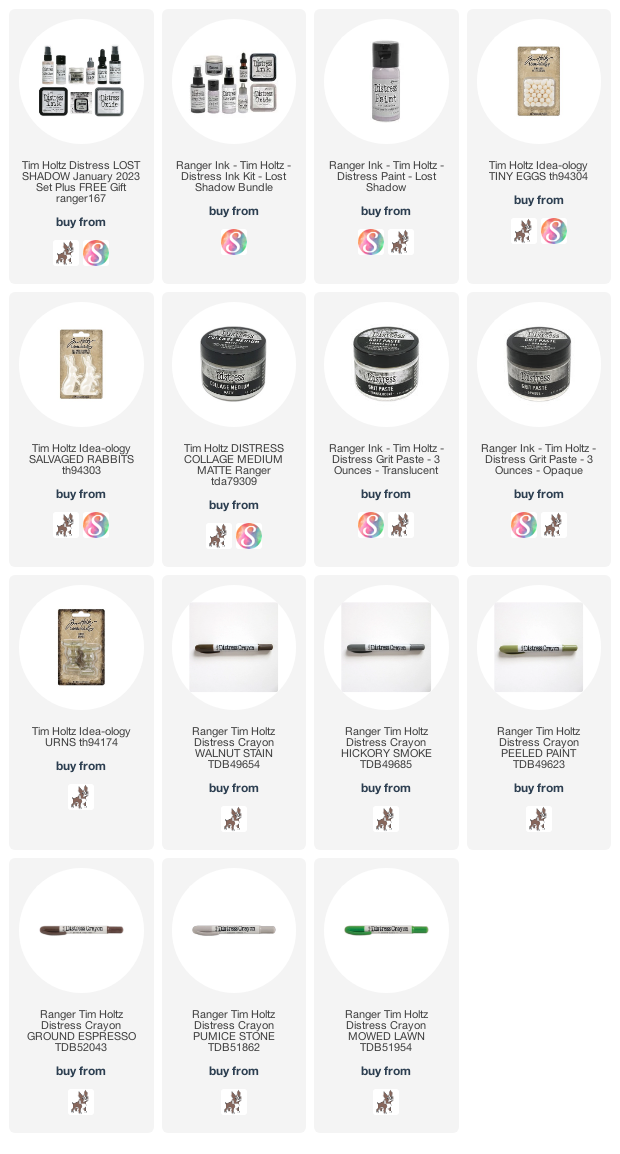
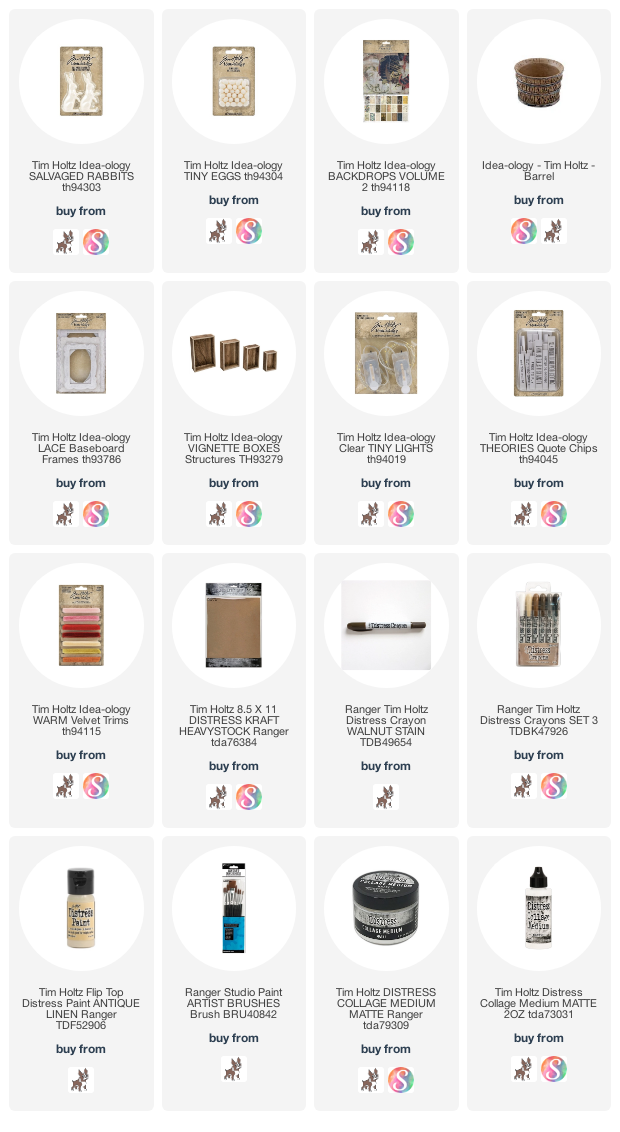
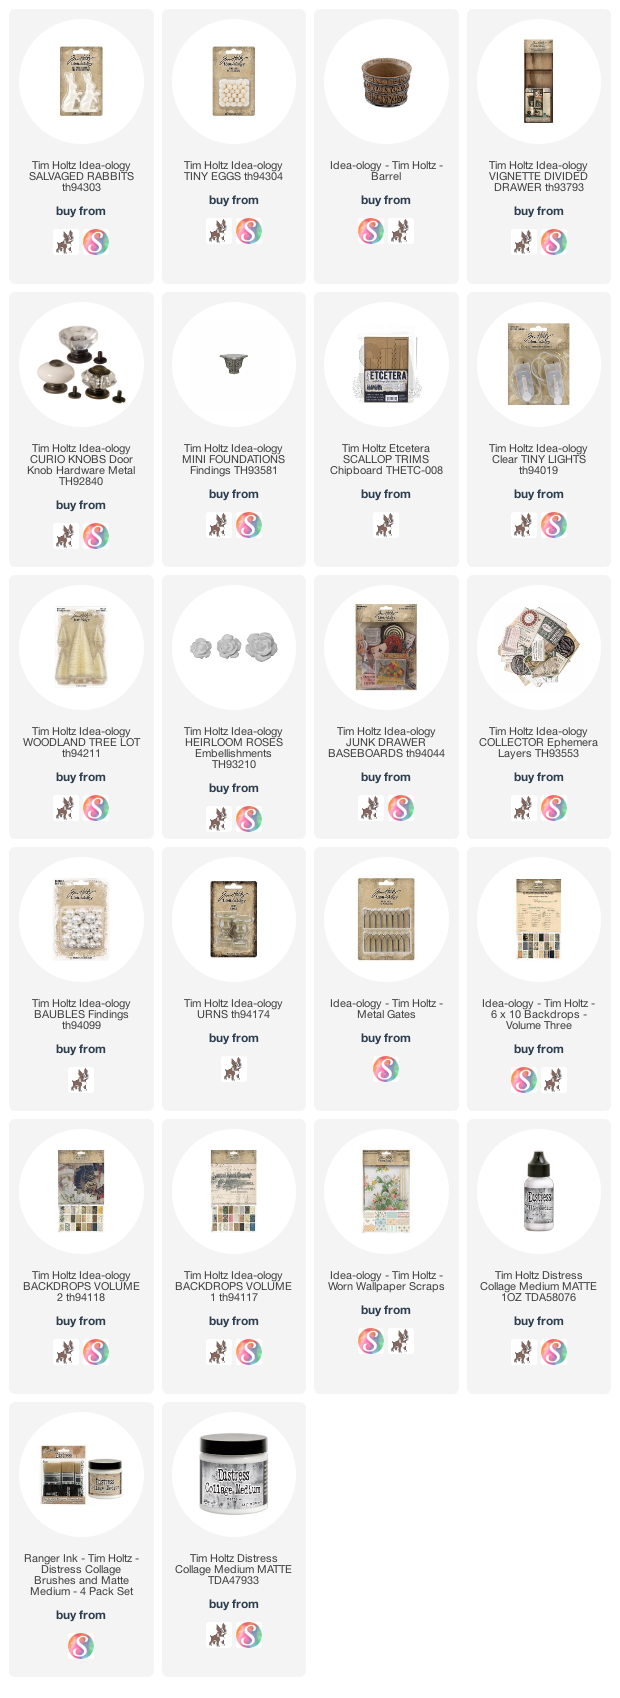
 To make these particular statuaries you will need these products or something like them from your stash or local hobby store. Idea-ology Finials, Urns, Slavaged Dolls, Salvaged Rabbits, Tiny Eggs, Distress Grit Paste, Distress Collage Medium, Distress Paint in Lost Shadow and some Distress Crayons in browns, greys and greens.


Cut the top part of the small finial off and sand it flat. Use this as a tiny base for the Salvaged Doll. Attach with Collage Medium.

 Attach the Rabbit and a few eggs to the top of the large Finial base with Collage Medium.
 
 Attach one egg in the bottom of the urn with Collage Medium. Then attach the other three eggs on top if the first.
 
Once all the pieces are dry and secure using your finger and a tiny brush, pounce Grit Paste over the pieces so they have a weathered stone texture. You want the grit paste pushed down into the little crevices so the separate piece look like they were sculpted.
See how pushing the grit paste into the crevices makes all the pieces look like one?
Including the Rabbit and Tiny Eggs!
When the grit paste is dry you will want to paint the pieces with Lost Shadow. Two coats should do it but more if needed.
You want to cover the entire piece with Lost Shadow paint.
It should look something like this when it is dry and completely covered.
Then add layers of Distress Crayons to color the gritty bits to make them look like moss and aged stone.


 I think they look great! I hope you like the close-ups and details in these still shots.


Here are some blog posts to check out for other statuaries I have made and used in projects in the past.

Garden Dome 

Finial Graveyard Statuaries 

Ghastly Graveyard

I hope you will try making your own statuaries with grit paste and Lost Shadow paint! Please tag me if you do. I love to see you makes!

Have a creative day, 

Tami

I am an affiliate with Simon Says Stamp and Scrapbook.com so the links below send you to one of those stores depending on which logo you choose.  If you wish to purchase something from either store and use one of my links below, I get a small percentage of your order, at no additional cost to youThis helps me to defray the costs of this blog, the time, the ideas and tutorials I post here. 

Your help is greatly appreciated! Thank you!

Wednesday, January 25, 2023

Easter Vignette Box Book - Spring Idea-ology

This Vignette Box Easter Book is the second project I'm sharing using the new Tim Holtz Spring release of Tiny Eggs and Salvaged Rabbits. I have links below to past tutorials for making the Vignette Box Books (you can also search my blog for Vignette Box Books and they should pop up.) I really had so much fun making with the new Spring release. I can't wait to share more ideas!

This is the video tutorial I made for this project.

This is another rendition of the Vignette Box Books that I love to make! This version, much like the Ode to Poe is a book with an opening that lights up. I made this a little differently than the Ode to Poe, so I hope the video shows that. 

Here are links to other makes where I have tutorials for making Vignette Box Books:

The sides of the Vignette Box get scratched to make them look like pages of a book. You have to layer some 1/8" strips of chipboard along the edges of the top, bottom and side of the book and wrap with Backdrops paper used for the cover. Dark brown Distress Crayon will hide any imperfections.
I love this piece from the retired Adornments Nature pack. It's just so perfect for adding some texture and interest across the top of an oval opening.

For Tim's tutorial on making the barrel Easter basket visit: 

Don't overlook the things you have in your stash that may have been there forever! Quote chips, Baseboard Frames, Adornments.....we buys so many things when they are new and then don't use them, or only use a few things. Take time to really search your stash before starting a project and you might find some really wonderful things you had forgotten and would fit perfectly in your makes.

Thank you very much for visiting my blog. I hope you were able to take time to watch the tutorial too. I appreciate your support!

Have a creative day, 

Tami

I am an affiliate with Simon Says Stamp and Scrapbook.com so the links below send you to one of those stores depending on which logo you choose.  If you wish to purchase something from either store and use one of my links below, I get a small percentage of your order, at no additional cost to youThis helps me to defray the costs of this blog, the time, the ideas and tutorials I post here. 

Your help is greatly appreciated! Thank you!

Tuesday, January 24, 2023

Spring Vignette Divided Drawer - Tim Holtz Idea-ology


What a great surprise to have Tim Holtz and Advantus produce a small Spring release for Idea-ology! I love creating for a holiday or theme and this was no exception. I had an absolute blast making things with the Salvaged Rabbits and Tiny Eggs. Along with the three makes I sent to Tim for the live release/demo, I have two more makes in the wings. But let's not get ahead of ourselves. Today, let's enjoy this Vignette Divided Drawer.

This is an indepth tutorial showing you how to make this Spring Divided Drawer.

This make has three distinct spring scenes using the Salvaged Rabbits and Tiny Eggs, along with lo9ts of Idea-ology from my stash. The top scene is a rabbit gathering fresh carrots.
I painted the rabbit with Distress Paint, made the carrots by following this tutorial by Tim Holtz, and added some layer from Collector and dimesion with Junk Drawer Baseboards.
What a cute bunny face!
I love the pretty garden feel of this scene. I didn't need a ton of eggs to tell the story of this box, just four.
A little robin happened upon an empty urn planter and made it into a nest. A few Heirloom Roses and a metal gate and we have a lovely garden scene.
An how can I make a bunny scene with out my signature cabbages? The just say Spring to me!

Baubles were a good base for the cabbages, but I think a ball of paper works just as well. I love how the bunny's paws are shapped so he can be holding something or reaching into something....like a big barrel of yummy cabbage for his lunch!
 Thank you very much for visiting my blog. I hope you were able to take time to watch the tutorial too. I appreciate your support!

Have a creative day, 

Tami

I am an affiliate with Simon Says Stamp and Scrapbook.com so the links below send you to one of those stores depending on which logo you choose.  If you wish to purchase something from either store and use one of my links below, I get a small percentage of your order, at no additional cost to youThis helps me to defray the costs of this blog, the time, the ideas and tutorials I post here. 

Your help is greatly appreciated! Thank you!

Sunday, January 22, 2023

Rustic Valentine Etcetera Tag

This rustic, masculine valentine was made with my husband in mind. I used Tim Holtz Sizzix Everyday 2023 release dies to make it. They are all linked at the bottom if you are looking for any.

I have a short tutorial posted on my youtube channel.


Thank you for stopping by! I hope you enjoyed the short tutorial. 
Tami

I am an affiliate with Simon Says Stamp and Scrapbook.com so the links below send you to one of those stores depending on which logo you choose.  If you wish to purchase something from either store and use one of my links below, I get a small percentage of your order, at no additional cost to youThis helps me to defray the costs of this blog, the time, the ideas and tutorials I post here. 

Your help is greatly appreciated! Thank you!