The STAMPtember collaboration between Tim Holtz and Simon Says Stamp is something I look forward to every September. This year's stamp set is delightful and one you don't want to miss!
Please note that this is an EXCLUSIVE collaboration stamp set only sold through Simon Says Stamp as part of the SSS STAMPtember celebration. It is not part of the Tim Holtz Signature Brands releases and will not be sold anywhere else. It is a one and done, so if you don't order and it sells out, it is gone. That means you may have to pay extra for shipping or tarriffs, or taxes if you are in another country, so please keep that in mind. Just wanted to be sure you have fair warning.

I am so thankful that I was asked to make a few samples with this year's release. Below are my cards, but I will add a link to the LIVE Facebook reveal Tim had this morning so that if you missed it you can see all of the amazing cards and inspiration, including one from Tim! Also, be sure to check Tim's blog for photos of all the cards and links to all the makers.


The background of this card uses two older background stamps from Tim and Stampers Anonymous, Slate and Stone CMS299 for the stone background, and Wallpaper and Wood CMS126 for the mantle pieces. I just cut a couple of strips of the woodgrain and adhered it to chipboard to make the mantle, .5 and .75 by 4.
Then I fussy cut both of the stockings, and cut the cat off one. Then I transferred that cat behind the other stocking so I could pop it up in front of the cat for dimension. Then added the sentiment and judgey little bird. I imagined in this scene that he was looking at the ridiculous cat stuck in the stocking, but also thinking those pieces of pine would be perfect for his DIY nest project.

Isn't it great that there are some snowflakes on this set? Stampers Anonymous is so awesome about letting Tim add all kinds of fillers and bits of things in their sets. I used a technique I learned from Jennifer McGuire for this background. I've been obsessed with it this summer! LOL. It was made by stamping the snowflakes in clear embossing ink on a piece of Distress Watercolor Cardstock. Then I heat embossed them with clear embossing powder. I colored the background with Speckled Egg Distress Ink and Weathered Wood on the edges, then I ironed off the embossing powder so that it left a resist impression of the white snowflakes. I love this look!!
The cat is fussy cut, colored like my calico cat Leota, and then I stamped an extra set of arms holding a cup, fussy cut them and popped them up for dimension. Then added a judgey bird again. I imagined him thinking, "You couldn't even have dropped a few crumbs for me? I'm working hard here! DIYing my nest!"

The card I made originally with this kitty didn't get sent to Tim. I fussed with it and fussed with it and just ended up not being happy with it so I only sent him three cards. Once they were in the mail, it allowed my mind to relax and clear and I was able to make this card.
On a piece of Distress Watercolor Paper, I stamped the cat, bird, sentiment and branches in Black Soot Archival Ink. Then I lightly went around the entire piece with a little bit of Speckled Egg Distress Ink, and stamped the little sparkles in Speckled Egg as well. I colored the floor and shadows with Pumice Stone and Black Soot Distress Ink. Then I colored the cat with the new Crackling Campfire and Vintage Photo Distress Inks. I have orange kitties too so I needed to represent! Then on a separate piece of watercolor paper, I stamped the cat with the lights in Black Soot Archival. I colored the lights and then sprayed the entire piece with two layers of Distress Resist Spray. When that was dry, I fussy cut the lights off the cat and adhered them in little strips and some individually, along the pine branches so thay looked like they were on a tree.
The judgey little bird is just judging this guy for even thinking about messing with the lights because he knows it won't go well. LOL
That's it! So much fun! Thank you Tim Holtz, Heidi Crowl, Simon Says Stamp, and Stampers Anonymous. I'm so grateful to have been asked to participate in this year's STAMPtember release.
Tami
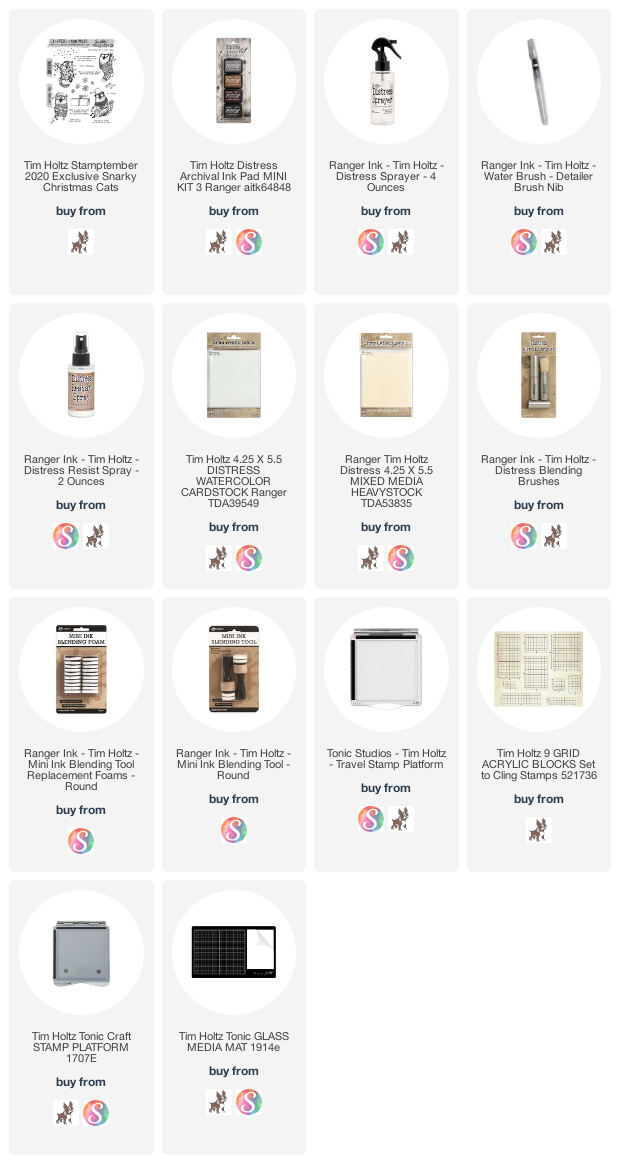
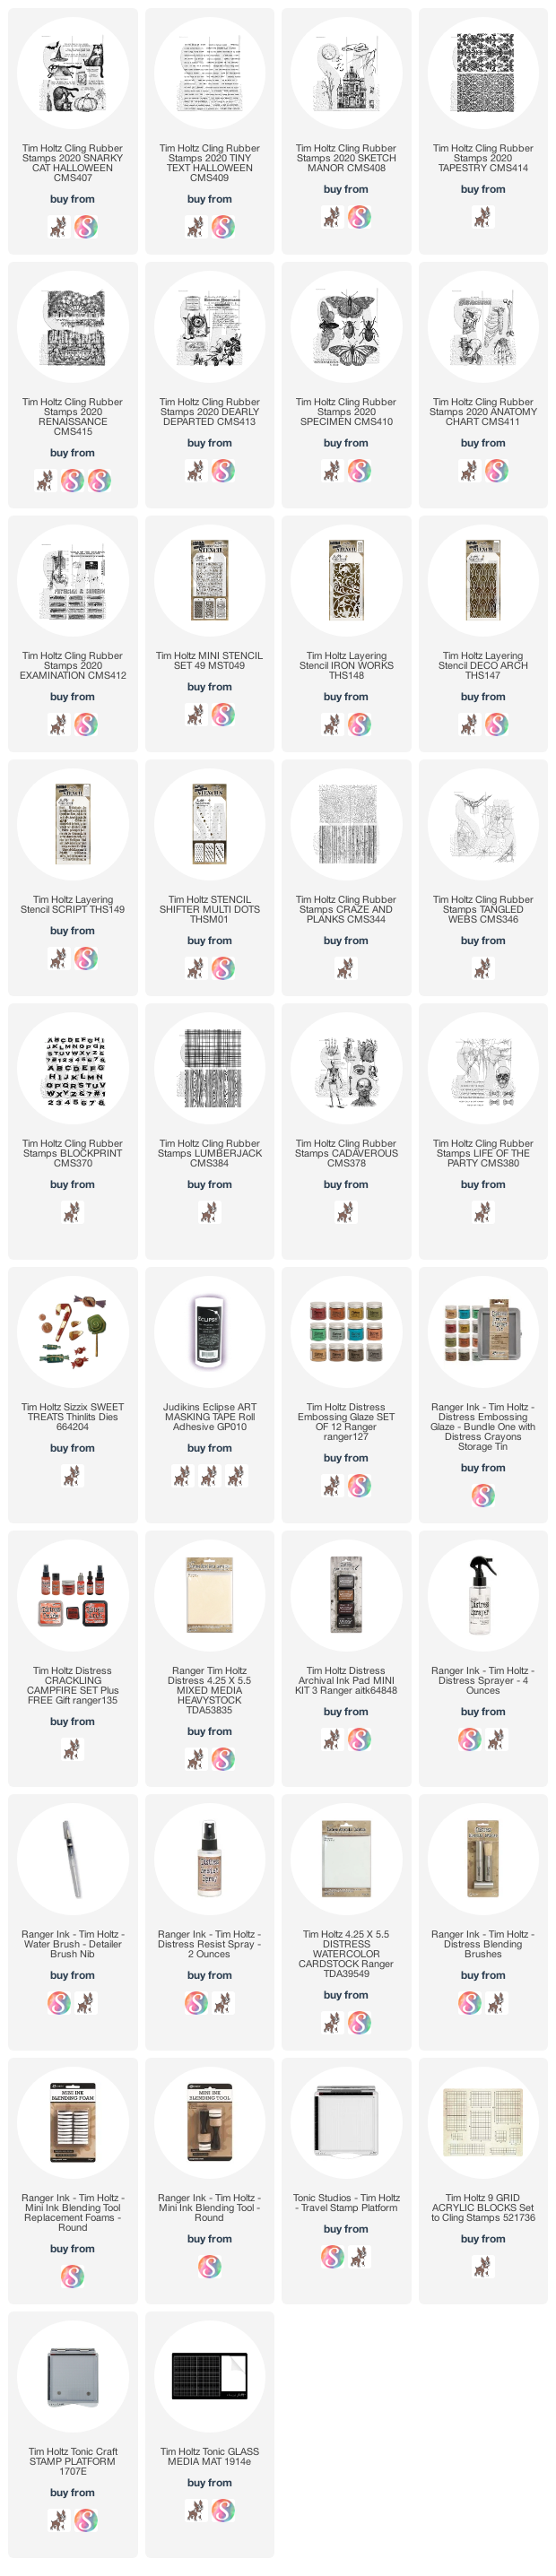
I am an affiliate with Simon Says Stamp and Scrapbook.com so the links below send you to one of those stores depending on which logo you choose. If you wish to purchase something from either store and use one of my links below, I get a small percentage of your order, at no additional cost to you. This helps me to defray the costs of this blog, the time, the ideas and tutorials I post here. Your help is greatly appreciated! Thank you!