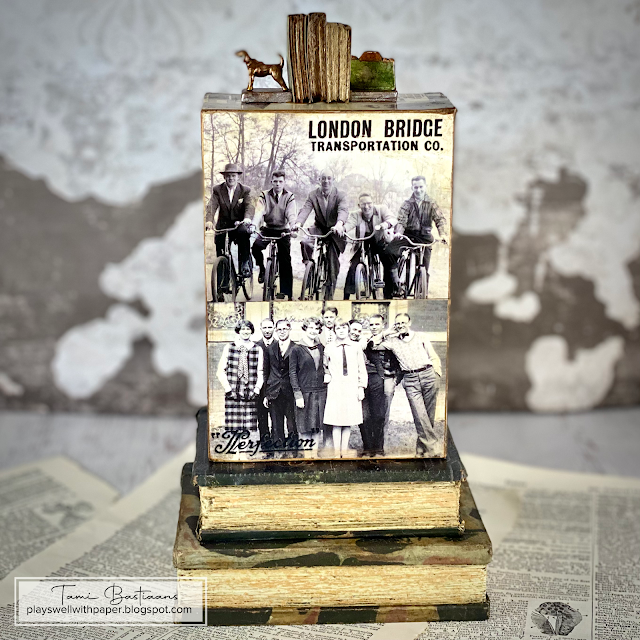
This is a sample project I made with the new Tim Holtz Idea-ology 2022
release. I thought the new Vignette Boxes Squares would make a great
base for a birdcage and the Backdrops Volume 3, Memoir Ephemera, and
Collage Tiles have some lovely spring colors that inspired this piece.
It could make a lovely spring or Easter gift basket or favor for an
adult or teenager.

I used the Cathedral Bigz die from Tim and Sizzix, as well as the Decorative Trims dies.
Cut the following:
- 4 cathedrals from thin chipboard or Sizzix Mat Board, 4 from Black Kraft stock, 2 from one back drop and 2 from another. Cut the center section from chipboard and Backdrop paper for a faux door
- 4 thin Decorative Trims scallops from backdrop paper, 2 large scallops from the same Back drop as the sides and 2 large from the other Backdrop for the sides, and 4 large scallops from Black Kraftstock.


Once the box and cathedral pieces are covered, adhere the cathedral pieces to the inside of the scallop trims as shown above.

Then attach the large scalloped trim that is the same Backdrop as the Cathedral piece.


It looks like this on the inside. Now you need to use a bone folder or something round, to cure the tops of the cathedrals inward so that they meet at the top to for a bird cage.


These were simple to make. I purchased 2" styrofoam eggs, covered then with Entomology Collage Paper and Distress Collage Medium. Then dry naturally. When they are completely dry I colored them with some Distress Mica Crayons in Winterberry and Snow Flurries. Then I added a piece of Velvet Trim and a Heart Adornment. These should be glued together with Hot Glue and then adhered into the birdcage on some Spanish Moss with Hot Glue as well or they will migrate and flip over due to the heaviness of the adornment.
If you have any questions, please feel free to contact me through the space in the right columns.
Thank you so very much for stopping by!
Have a creative day,
Tami
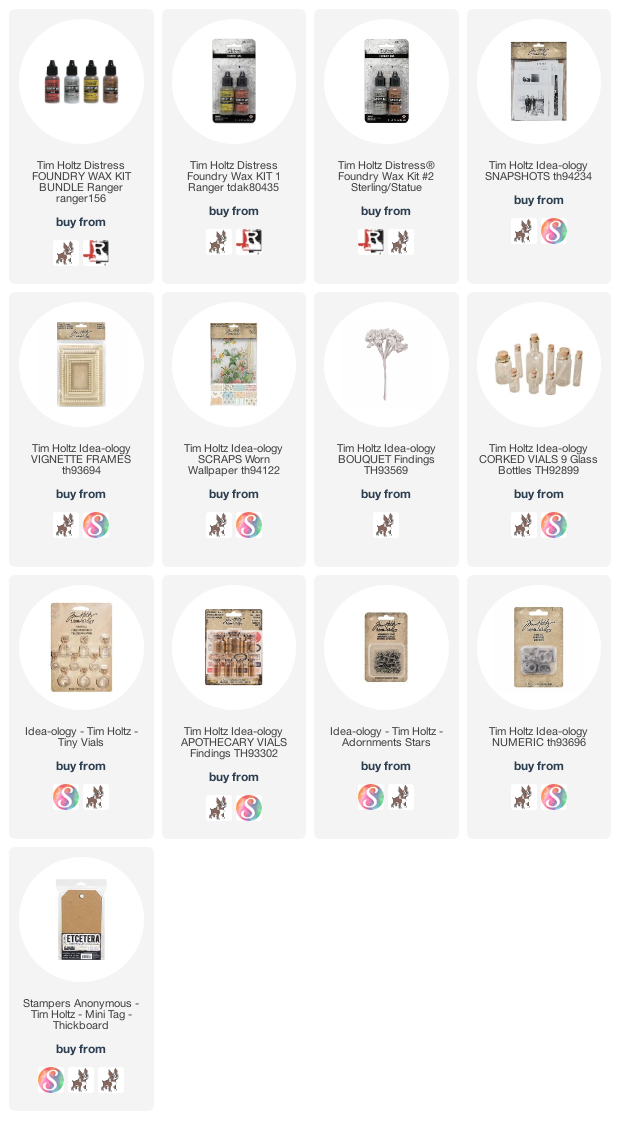
I am an affiliate with Simon Says Stamp and Scrapbook.com so the links below send you to one of those stores depending on which logo you choose. If you wish to purchase something from either store and use one of my links below, I get a small percentage of your order, at no additional cost to you. This helps me to defray the costs of this blog, the time, the ideas and tutorials I post here.