Showing posts with label Stenciling. Show all posts

Sunday, January 18, 2026

Stencil Stamped Background - Stampers Anonymous Valentine Curation

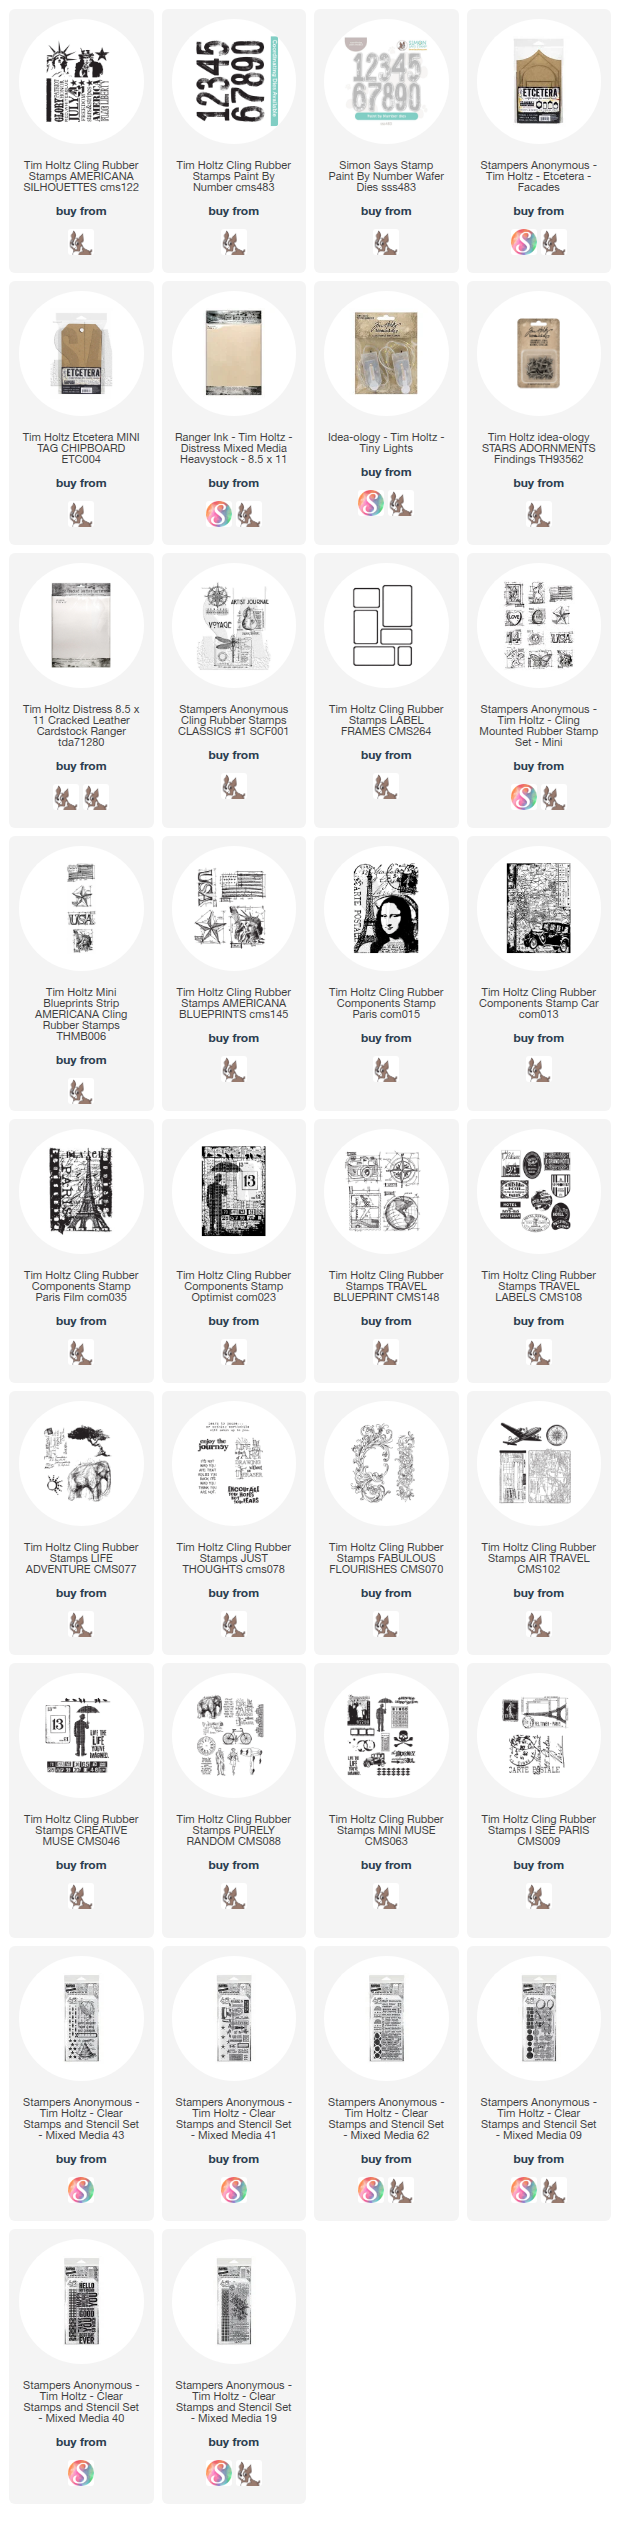
Stencils can be a versatile tool. You can obviously stencil with them, which will give you one pattern, and then you can stamp with them which will give you another version of the pattern. For the background of today's card, I used the Heartstruck stencil from the Stampers Anonymous Tim Holtz Valentine Curation as a stamp. 
 

Here is the video tutorial of the card, and below are the close-ups so you can see the details add to the finished card. 
In this top left corner of the card you can see the watercolor stamping of the scroll from the Shabby French CMS087 stamp, as well as the twine bow, and the script stamping I did on the paper that I stamped the Cupid on.
This photo of the top right corner really shows the hearts from the stencil stamping as well as more of the scrip in the cupid word and image. 
 If you wanted you could pop up the cupid with some foam squares. It would add some dimension, but even just the extra layer of cardstock added some fabulous dimension. 
 This close-up really lets you see the script stamping behind the sentiment. See how protecting the script with the Micro-glaze really protected itwhen I watercolored the letters?
 
 Here iin the bottom you can see the stamps I added from the Love Struck CMS082 set. 
 
Another card that was pretty simple, but now you can see how each of the steps added little details that really set this card apart. 
 
Thank you for the visit. I hope you have a very creative day,
Tami 
 

I am an affiliate with Simon Says Stamp and Scrapbook.com. If you wish to purchase something and use one of my links below, I get a small percentage of your order at no additional cost to you. I greatly appreciate it! Thank you!
Sunday, June 29, 2025

Focus on the Good - Easy Z Fold card

Making this card is actually very easy and it's fun to decorate. I made this for the Stampers Anonymous Tim Holtz Summer Travel 2025 Curation. 
To begin, take an A2 side folding card and fold the front of the card back towards the fold. Then measure each secotion and make patterned, stamped or stenciled papers to fit on those sections,
For my card I stenciled my own patterned paper using the stencil in the Mixed Media Set Bold Sayings THMM140I used Uncharted Mariner and Brushed Corduroy Distress Inks.
On the backside of the front flap (which would normally be the front of the card) I taped off the edges and stenciled right on the Mixed Media Heavystock card base. You don't really see it, but if it is sitting on a desk, from the left side you would be able to see these panels and they would be plain so you do want something on them. This is a quick and easy solution but you could also use the other side of the papers you used on the front of the card.
To make it easier to pull the front panel out, I added this tab from one of my die sets and stamped the word Focus from the Focus on the Good sentiment in the Noteworthy 2 THMM162 Mixed Media Set.
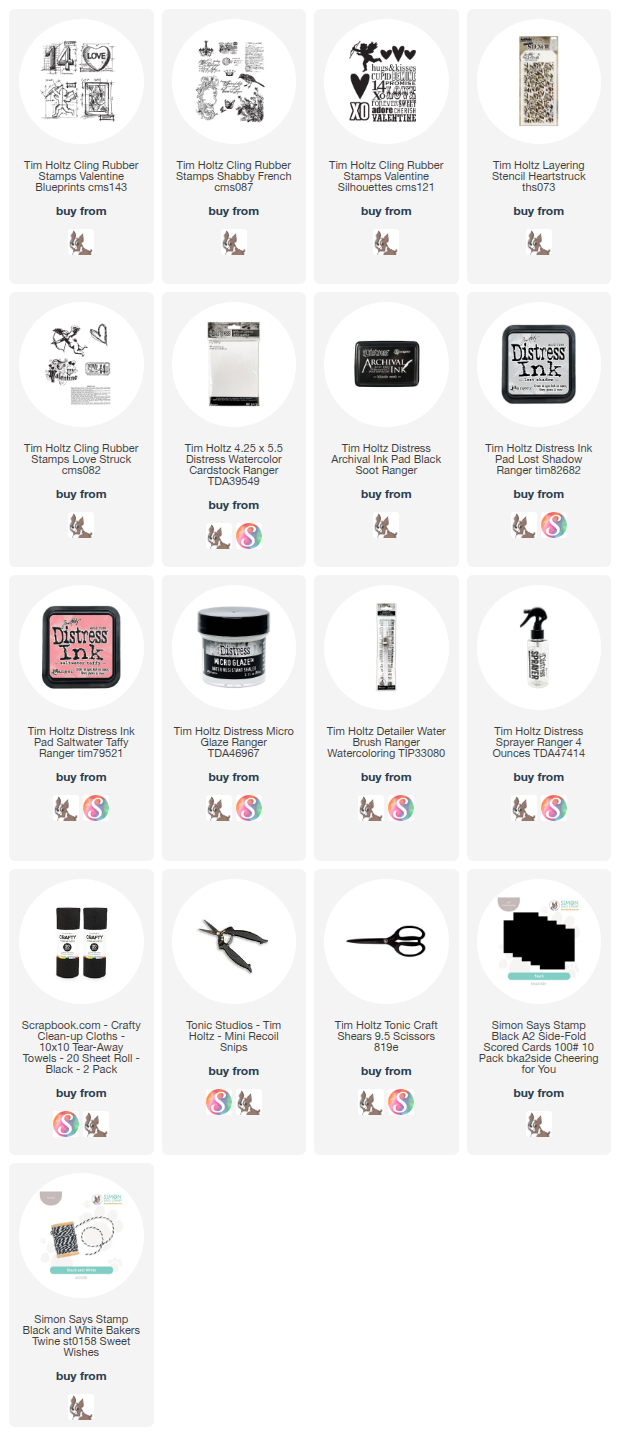
The focal point is the camera from the Travel Blueprints CMS148. I stamped it in Black soot Archival Ink and colored it with Distress Inks.
The main sentiment is from the Bold Sayings Mixed Media Set and is also stamped in Black Soot Archival Ink.

I added a few retired metal embellishments from Idea-ology and there is my first Z Fold card. So fun!

 I sure hope you enjoyed that. Thanks so much for visiting. Now let’s go shine brightly, and have a creative day! ðŸ˜ƒ

Tami  

I am an affiliate with Simon Says Stamp, Ranger Ink, and Scrapbook.com. The links below send you to one of those stores. If you wish to purchase something and use one of my links below, I get a small percentage of your order at no additional cost to you. This helps me to defray the costs of this blog, the time, the ideas and tutorials I post here. Your help is greatly appreciated! Thank you!

Thursday, June 26, 2025

Rose Masterpiece Card

I'm really enjoying making with the Mixed Media Sets from Stampers Anonymous and Tim Holtz. I hadn't owned one before making for the curations this year so it's been fun to try out something new. These sets have a stencil that is half one stencil in the Tim Holtz line and half of another. Someone commented to me the other day and called it a Frankenstencil which made me laugh but it is a great description. Then the stamps are often resided versions of the signature red rubber stamps normally part of the Tim Holtz Stampers Anonymous line as Stampers has been making red rubber stamps over 100 years in Cleveland , Ohio as a multi generational family business. 

Today's card features one of my favorite Sets, Lady Rose THMM19. To finish this card, I added a few bits of Idea-ology and some twine. This card is very simple. I first stenciled the background using both parts of the stencil. The crosshatch side in Tattered Rose and the Burlap side is Frayed Burlap.
Then I stamped the beautiful rose and the sentiments in Distress Archival Ground Espresso. Archival ink isn't water reactive, so I dried it and then could color it in with Distress Inks in Victorian Velvet, Tattered Rose, and Bundled Sage.
I did stamp some of the speckles from the stamp set onto the background in Ground Espresso Archival as well as some of the gothic text in Frayed Burlap Distress Ink. The text is very light but you can see it in person.
I finished off by stamping a few of the cancellation stamps in Victorian Velvet in a few places on the back ground, and coloring two mats with Bundled Sage and Victorian Velvet over a Ground Espresso base.
 It all came together as a very quick and simple, but lovely encouragement card to send to a loved one.

Now let’s go shine brightly, and have a creative day! ðŸ˜ƒ

Tami  

I am an affiliate with Simon Says Stamp, Ranger Ink, and Scrapbook.com. The links below send you to one of those stores. If you wish to purchase something and use one of my links below, I get a small percentage of your order at no additional cost to you. This helps me to defray the costs of this blog, the time, the ideas and tutorials I post here. Your help is greatly appreciated! Thank you!

Sunday, June 22, 2025

Happy Birthday - Tim Holtz Collection Summer Curation

 This fun little Happy Birthday card  made for the Stampers Anonymous Tim Holtz Summer Travel Curation 2025. 

I used two of the Mixed Media sets from this curation. For the circular purple piece and the sentiment around the edge I used Noteworthy 2 - THMM162. To make the purple piece, I lightly colored a piece of Mixed Media Heavystock with Dusty Concord Distress Ink, and then I smooshed my inkpad on the circular part of the stencil, sprayed it with water and pressed it onto the inked paper using a paper towel. Then lifted it off the paper and let dry. I speckled it with drops of Peacock Feathers.
I made the teal grid paper the same way, but with part of the stencil from Snarky Cat THMM109 Mixed Media Set. I then stamped the cat, bow tie, sentiment and two balloons from that set, colored them and attached them to the center of the card.
Let's take a minute to talk about the background. I sprayed a piece of Mixed Media Heavystock with Distress Spray stain in Disty Concord, Crushed Olive, and Peacock Feathers. Then Let them dry. 
Instead of finisheing this card with a bit of sewing, I stamped the Best Day Ever sentiment all around the outside edge. It was fun to do! It's not perfectly spaced, but that really doesn't matter. It works fine being a little wonky.

This card came together much better than I had planned. These little Mixed Media sets have been so much fun to work with. Some of them need to be used in conjuction with other sets, as seen here, like Noteworthy 2 and Correspondence. But how great is it to have some sets with lots of sentiments to pull from as well?

Many thanks again for stopping by to check out this card. I hope it inspires some ideas for your own making session.

Now let’s go have a creative day! ðŸ˜ƒ

Tami  

I am an affiliate with Simon Says Stamp, Ranger Ink, and Scrapbook.com. The links below send you to one of those stores. If you wish to purchase something and use one of my links below, I get a small percentage of your order at no additional cost to you. This helps me to defray the costs of this blog, the time, the ideas and tutorials I post here. Your help is greatly appreciated! Thank you!