Hello Makers! I'm back with another card using Whimsy Stamps products. You all know by now that I have been on a huge Pirate kick this season, and today's card is no exception. The birthday link may be a surprise though. Last week was Deb Davis's birthday and she is the delightful creative director for Whimsy Stamps. In the craziness of the last month I missed wishing her a Happy Birthday, so this is my birthday card for sweet Deb. Happy Birthday Deb!
I did film and edit a tutorial for this card. There are a few details that you may miss just looking at it that give extra life to this die cut, so I hope you find something beneficial from it.
Here you can see the stamped Farmhouse Shiplap to mimic the sides of a sunken ship.
And here you can see some of the details that add interest and texture to the stamped and die cut frame.
The Blimey Pirates stamps and dies are so creepy! The stamps are still available, but the dies are being retired so once they are gone, they are gone. I have them linked below so you don't miss out.
I had to sneak in a little pirate treasure to this make. I glued mine to the background, but it you were inclined to make this a shaker card, they would certainly be perfect for that!
For the sentiment, I put two together and then fussy cut them out. Deb designed these cards so I know she will appreciate the pirate birthday humor.
Thank you so much for stopping by!
Tami
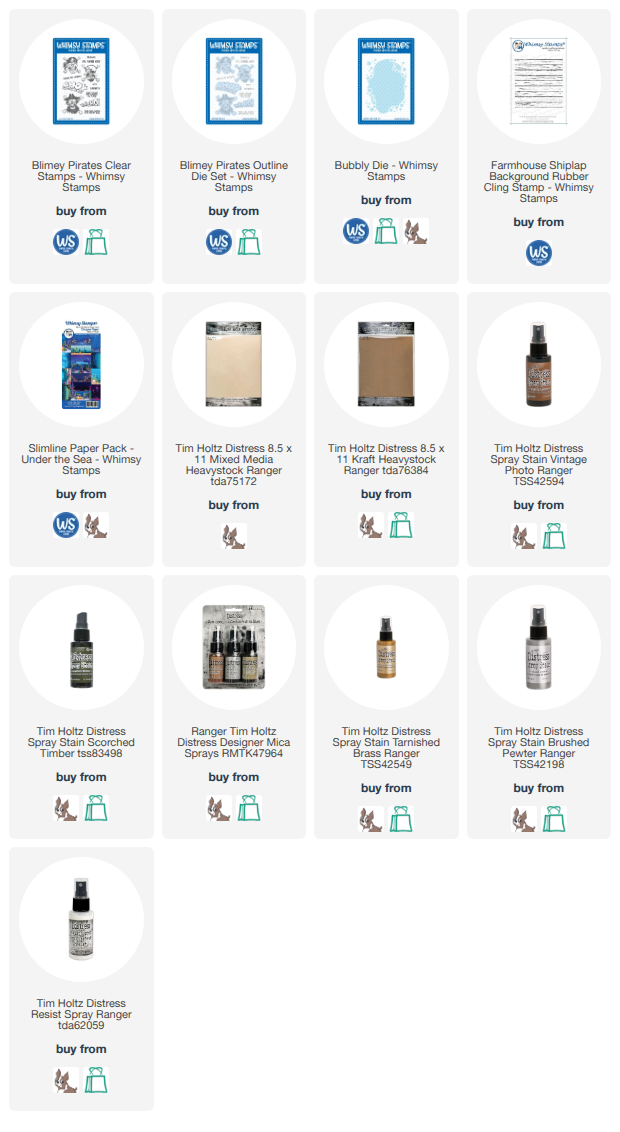
Below are my affiliate links to the products I used in today's card.
Today's make is the second in a trio of pirate domes that I made for the Tim Holtz Halloween 2026 release. The structure is again a Display Dome so it is small so you have to make the most of the space you have under the glass. Today's dome is inspired by the Poison Raven Tavern from a large pirate make I did in 2023.
Of course I filmed as I made, so I do have a process video tutorial for this make. It is difficult to film while making and sometimes I forget to hit record or I accidentally work off camera, but I hope I captured enough to help inspire you in your own making process.
The glass on the domes is really limiting, but it looks amazing. And I really need help editing my ideas so everything fits and I love that domes force me to do that. The Bar ftom the Halloween Adornments is fabulous on the front of this dome. I did have to bend it a little and I did that with some metal bending pliers I got off Amazon.
Here is a side view.
And the back view.
Here you can see the drips I added to the candles.
And here is a skull and crossbones adornment I also bent and added to the front of the barrel. I did happen to break on ebone and just glued it back on in place and I think it looks fine.
I ended up painting the bottles and the skull. The skull was painted with Old Paper, the green bottle with Forest Moss.
The tan bottle was Vintage Photo and the smalles bottle was colored with Scorched Timber. All of the little labels were part of the Halloween Ephemera Pack.
The coins I included were from the stash I made for the treasure dome. I didn't add that to today's video, but you can see it in this tutorial called The Rich Stuff.
Thank you so very much for watching!
Have a creative day,
Tami
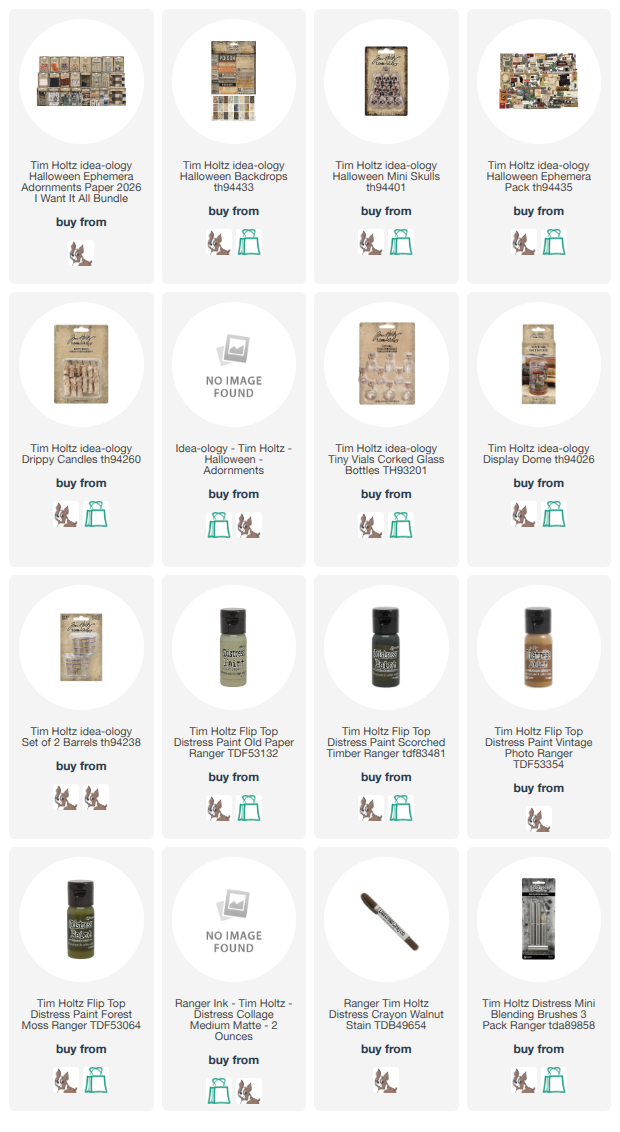
Below are my affiliate links to Simon Says Stamp and Scrapbook.com and I get a small percentage of your purchase if you shop through my links, at no additional cost to you.
Inspired by a favorite childhood movie, The Goonies, where they go off
in search of the rich stuff to save the Goondocks, I made this pirate
treasure Display Dome for the Tim Holtz Halloween Idea-ology release.
In 2023 I made a large pirate inspired, four-sided vignette piece. that you can see called Avast Me Hearties. It was a
blast to make! However, since 2023, I have wanted to break that piece
down into smaller, more manageable pirate inspired scenes. Thus my trio
of domes for this Tim Holtz release.
I am going to share these domes one at a time so they are more
manageable.
I did film myself making the domes so I have a video tutorial of each one, however, there are a few things I missed when filming because
my phone either ran out of battery or storage. Hahahaha! But you get
most of it, so I hope that what I did capture is helpful.
One last thing, as we move along with Idea-ology video tutorials again, they
will always be longer than most other tutorials. These projects take
anywhere from a couple of days to a week in my studio and I try to edit
them down so you see the important bits, but don't end up sitting for a
marathon tutorial either.
I would really appreciate if you would like and comment on my videos on YouTube.
This really helps me as these free video tutorials take a lot of time to make.
Thank you so much.
This blog is not a tutorial. I will post close ups and still photos of each piece so you can see the details. I always find that helpful when I am making. Sometimes an instructor will think their directions are clear but they just don't click with others. So photos will often be beneficial as you can see details and it will help it make sense.
Thank you for stopping by. I hope the video and the still photos help inspire to make your own version of the rich stuff!
Have a creative day,
Tami
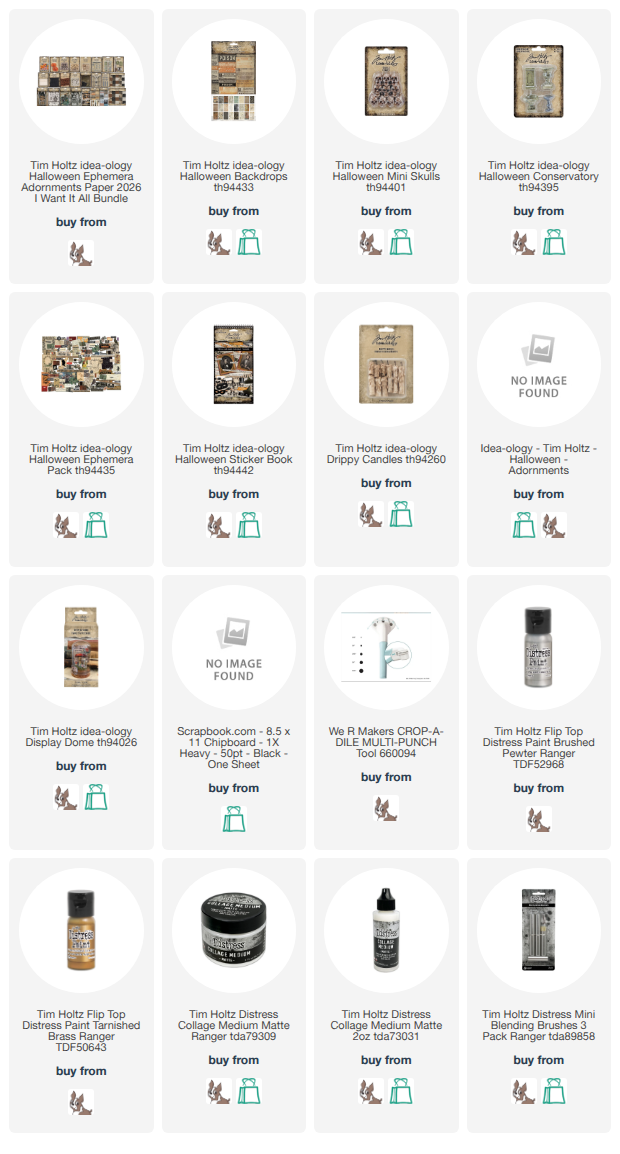
Below are my affiliate links: I'm incredibly grateful to each of you who shop through my links. I get a small percentage when you shop at no extra cost to you, and I truly appreciate your support!
Hello and welcome to the Simon Says Stamp blog Hop for the Halloween Coordinating dies with Tim Holtz Stamps. I hope you are ready for a ton of spooky fun and inspiration today.
If you started the hop at the Simon Says Stamp blog, then you just came fromJean Doeringsfeldand you will be going to Barb Englernext. But I hope you will stick around to check out my card.
I chose to use the Anatomy Chart stamps and dies for this card.
Before we get started with the written instructions and the step-out photos, if you prefer a video style tutorial, I've got you covered with this video on my You Tube Channel.
I gathered my supplies that are listed at the end of this blog with my affiliate links.
I began by coloring so Distress Mixed Media Heavystock with Old Paper and Antique Linen Distress Sprays.
Next I cut a few pieces of Idea-ology Halloween Backdrops into A2 sized pieces and colored them with Aged Mahogany Distress Spray Stain and dried. I chose my favorite to be the background for todays card.
This is what they looked like after I had sprayed them with the Aged Mahogany and splattered them with Antique Linen Dsitress Spritz.
Next I stamped the skull and femur bones onto the paper I stained earlier with Old Paper and Antique Linen. I stamped the images in Distress Archival Ground Espresso.
Once the images were stamped and dried I colored them with a bit of Frayed Burlap and Old Paper Distress Inks with a water brush.
I decided the Antique Linen Spritz splatter I had done on the background wasn't gold enough for me, so I reached for my Pawsitively Gold Splatter from Simon Says Stamp and splattered with it and it was perfect! Then I machine stitched around the outside of the backdrop with gold metallic thread.
Before putting the backdrop on a card I wanted more gold, so I grabbed some gold cardstock and cut a piece on my Tonic Deckle Trimmer at 5 3/8 x 4 1/8 This gave the smallest little gold deckle mat around my backdrop that was cut to 5 1/4 x 4
To assemble the card I reached for my Pawsitievely glue and foam squares from Simon Says Stamp.
To finish it off I stamped a Halloween Tiny Text sentiment and cut it out with one of the Tiny Text Coordinating Dies. I also added a few little gold coins I made by cutting some small pieces of chipboard with a large hole punch and painting them with gold paint. I thought they went well with the sentiment.
Here you can see the dimension that the coordinating dies add. I made a card similar to this when these stamps were first released and I had to hand cut them all out. It wasn't fun, but die cutting them this time was a breeze! I'm so excited to have dies for these stamps now!
For this sentiment I cut it out with a smaller die because I only wanted part of the Tiny Text sentiment for this card. I wanted it to suggest that all he ever loved was gold.
I don't know that this would be a card you would send to just anyone, but if you know someone who likes pirates or if you wanted to frame this and make a little decor piece out of it that would be great too!
Thank you so much for stopping by today.
I hope you enjoy the rest of the hop and get a lot of great inspiration for using these new dies.
Have a creative day,
Tami
And here is a quick reminder of today's hop order:
Exciting news! Simon Says Stamp has just released a new set of Halloween dies that coordinate with six Tim Holtz Stampers Anonymous Halloween stamp sets. These dies are exclusive to Simon Says Stamp.
Today I am sharing a set of four bar thank you cards made with the Leaf Prints 2 stamps and coordinating dies. These little cards and envelopes can be boxed or tied together and gifted as a set. Who wouldn’t love to receive a box of beautiful handmade thank you cards?
Thanks so much for looking at this set of Thank You Cards. I hope it inspires you to want to make a quick set of cards for a gift or a donation. These dies make it so much faster than fussy cutting everything and I love that the Simple Sayings sentiment fit on the Tiny Text die! How great is that?
Have a creative day,
Tami
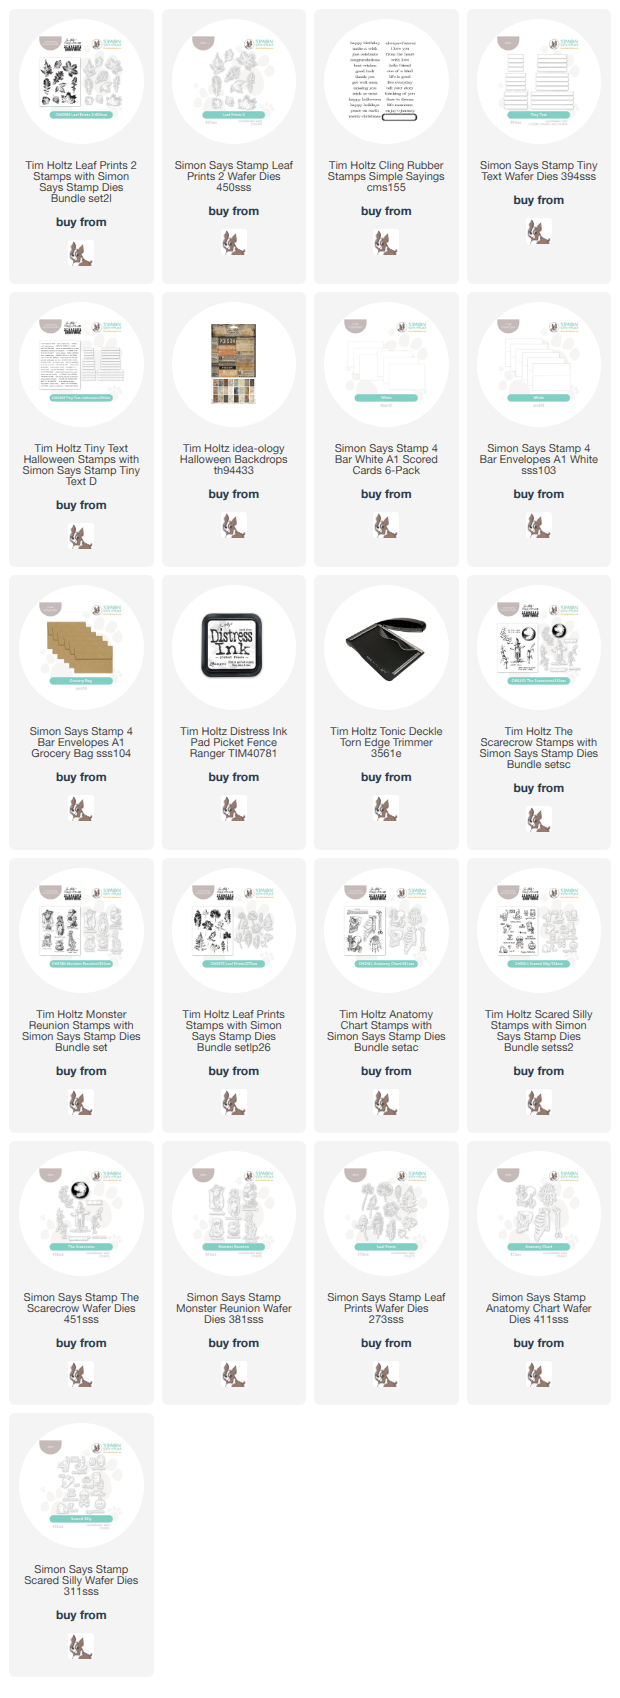
Below are my affiliate links to the products I used for these cards as well as the other dies.