Hello and welcome to the Simon Says Stamp blog Hop for the Halloween Coordinating dies with Tim Holtz Stamps. I hope you are ready for a ton of spooky fun and inspiration today.
If you started the hop at the Simon Says Stamp blog, then you just came fromJean Doeringsfeldand you will be going to Barb Englernext. But I hope you will stick around to check out my card.
I chose to use the Anatomy Chart stamps and dies for this card.
Before we get started with the written instructions and the step-out photos, if you prefer a video style tutorial, I've got you covered with this video on my You Tube Channel.
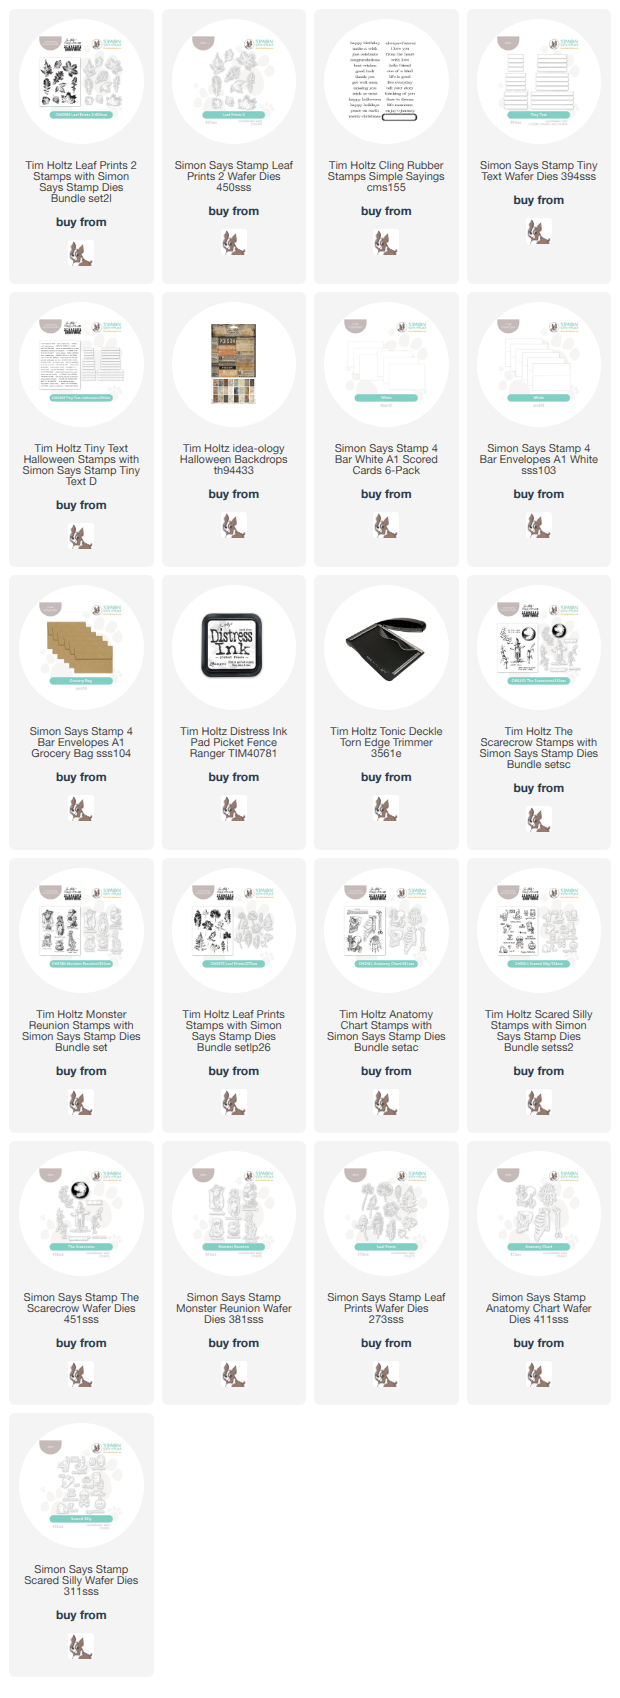
I gathered my supplies that are listed at the end of this blog with my affiliate links.
I began by coloring so Distress Mixed Media Heavystock with Old Paper and Antique Linen Distress Sprays.
Next I cut a few pieces of Idea-ology Halloween Backdrops into A2 sized pieces and colored them with Aged Mahogany Distress Spray Stain and dried. I chose my favorite to be the background for todays card.
This is what they looked like after I had sprayed them with the Aged Mahogany and splattered them with Antique Linen Dsitress Spritz.
Next I stamped the skull and femur bones onto the paper I stained earlier with Old Paper and Antique Linen. I stamped the images in Distress Archival Ground Espresso.
Once the images were stamped and dried I colored them with a bit of Frayed Burlap and Old Paper Distress Inks with a water brush.
I decided the Antique Linen Spritz splatter I had done on the background wasn't gold enough for me, so I reached for my Pawsitively Gold Splatter from Simon Says Stamp and splattered with it and it was perfect! Then I machine stitched around the outside of the backdrop with gold metallic thread.
Before putting the backdrop on a card I wanted more gold, so I grabbed some gold cardstock and cut a piece on my Tonic Deckle Trimmer at 5 3/8 x 4 1/8 This gave the smallest little gold deckle mat around my backdrop that was cut to 5 1/4 x 4
To assemble the card I reached for my Pawsitievely glue and foam squares from Simon Says Stamp.
To finish it off I stamped a Halloween Tiny Text sentiment and cut it out with one of the Tiny Text Coordinating Dies. I also added a few little gold coins I made by cutting some small pieces of chipboard with a large hole punch and painting them with gold paint. I thought they went well with the sentiment.
Here you can see the dimension that the coordinating dies add. I made a card similar to this when these stamps were first released and I had to hand cut them all out. It wasn't fun, but die cutting them this time was a breeze! I'm so excited to have dies for these stamps now!
For this sentiment I cut it out with a smaller die because I only wanted part of the Tiny Text sentiment for this card. I wanted it to suggest that all he ever loved was gold.
I don't know that this would be a card you would send to just anyone, but if you know someone who likes pirates or if you wanted to frame this and make a little decor piece out of it that would be great too!
Thank you so much for stopping by today.
I hope you enjoy the rest of the hop and get a lot of great inspiration for using these new dies.
Have a creative day,
Tami
And here is a quick reminder of today's hop order:
Exciting news! Simon Says Stamp has just released a new set of Halloween dies that coordinate with six Tim Holtz Stampers Anonymous Halloween stamp sets. These dies are exclusive to Simon Says Stamp.
Today I am sharing a set of four bar thank you cards made with the Leaf Prints 2 stamps and coordinating dies. These little cards and envelopes can be boxed or tied together and gifted as a set. Who wouldn’t love to receive a box of beautiful handmade thank you cards?
Thanks so much for looking at this set of Thank You Cards. I hope it inspires you to want to make a quick set of cards for a gift or a donation. These dies make it so much faster than fussy cutting everything and I love that the Simple Sayings sentiment fit on the Tiny Text die! How great is that?
Have a creative day,
Tami
Below are my affiliate links to the products I used for these cards as well as the other dies.
This little etymology vignette was made for the release of the exclusive
stamps from Simon Says Stamp that coordinate with six stamp sets from
Tim Holtz and Stampers Anonymous.
The vintagey feel of this etymology display would make it a perfect gift for any bug lover!
Here is my video tutorial, and for any of my followers who have missed hearing Leota, she was
playing in the background during my voice over and she is loud when she
plays with her fake mice. So enjoy!
Adding the little labels from Moth Study and Curator was simple and fun. I think it is a great detail.
The three layers of foam in each box really helped to raise the back so the moths really stood out while still being framed in a box.
I love the way the shredded mummy cloth looks like old timey packing material around the edges of each moth.
Thank you as always for stopping by! I truly appreciate you more than you
will ever know!
Have a creative day,
Tami
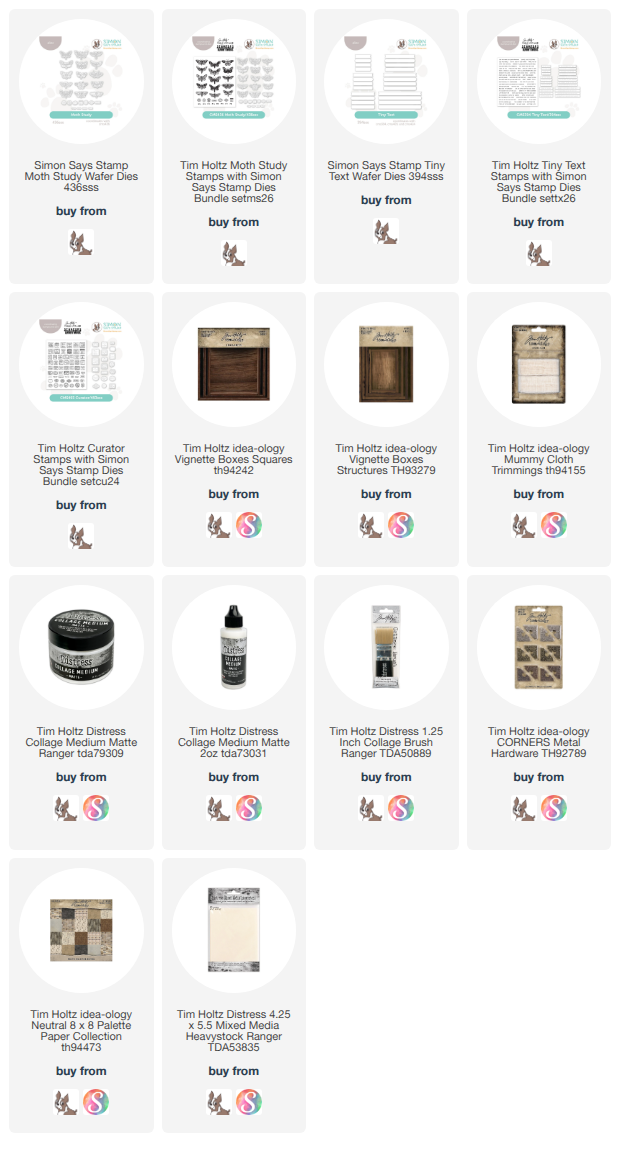
Below are my affiliate links to the products I used in this project:
Hello! Welcome to my post for the Simon Says Stamp blog hop featuring six new coordinating dies to match six of our favorite Tim Holtz Stamps.
If you are hopping in order, you came from Mindy Eggen's blog and will be going to Barb Engler's blog after this. Thank you so much for taking a few minutes to check out my makes with the stamps for this release. I appreciate you!
For today's hop I made these Idea-ology Display Domes featuring the Sealife stamps and dies as well as Moth Study. These little cuties were pretty easy to make.
And if my explanations below aren't clear, here is the video tutorial.
I used Sea Life and Moth Study for these domes.
I stamped the seahorse from Sea Life in Crackling Campfire and Ground Espresso onto Mixed Media Heavystock. You can see from right to left that I merely changed up the amount of each color I put on the stamp.
Color in any blank spaces with a waterbrush and a coordinating color of Distress Ink before die cutting.
One last touch was to add some darkspots with a dark brown marker, I also added some white stripes and white speckles here and there as well. The coloring was inspired from a picture I saw of some sea horses and I liked the Nemo feel to this one.
Once all of your images are stamped and colored, then find the coordinating die and cut them all out.
I used memo pins from Tim Holtz Idea-ology to attach to the back of each piece with Distress Collage Medium.
Here is the view from the back.
Put some Distress Grit Paste Crypt on the top of the cork base. Then gather the items to start assembling. I used some green moss from the floral department to fill in any little gaps and cover up problem areas.
Begin assembling the piece by pressing the focal stamp (in this case the seahorse) in the middle of the cork. Then build out from there, checking now and again to be sure it all fits under the dome.
I pressed the pieces with the memo pins into the cork. Then I cut the second piece of seaweeed in half so I could go in front of the seahorse without covering too much. Just enough to cover the part of the pin that was showing. I added a little collage medium to the base and stuck it in the Grit Paste, then used moss to help hold it up until it dried.
Add some moss around the rest of the pieces on the base and you are almost finished.
Here is a side view to see the space between pieces.
I cut a 1/2" strip of the water looking paper from Tim Holtz Palette Teal to go around the bottom lip of the glass dome. Then I added a sentiment die cut strip with Tiny Text stamped on it. The strip with postage stamps went around my second dome with the Moth Study elements.
Here is the finished seahorse die.
Isn't it such a fun little vignette?
I love the colors and all the seaweed.
That is it for today's Sea Life Display Domes.
Thank you for visiting and enjoy the rest of the hop!
Tami
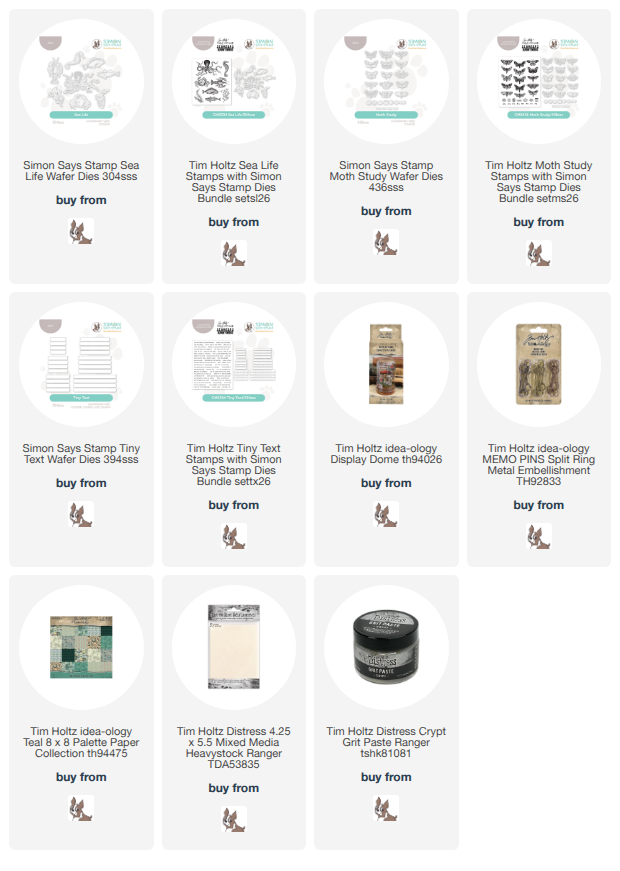
Below are my affiliate links to the products I used for this project
Simon Says Stamp has done it again! Their latest release of exclusive coordinating dies for some of our favorite Tim Holtz stamps. There is something for everyone with this release.
I made a card with the Floral Elements CMS445 and Floral Elements dies 445SSS. Both are linked below.
I used the leaf stamp from Floral Elements to stamp the background with Distress Paint in Forest Moss.
I added the bee from Tiny Things 2 which is also part of this release.
Aren't the flowers in this set so lovely? I stamped them with Distress Paint and colored them in with Distress Inks.
At the bottom of the card I stamped on of the Crochet Trims and then cut it out with the coordinating SSS dies from a previous release. Then I used one of the Tiny Text dies to cut out the sentiment.
The card front was machine stitched and attached to a kraft card base.
Thank you so much for checking out the details of this piece.
Have a creative day,
Tami
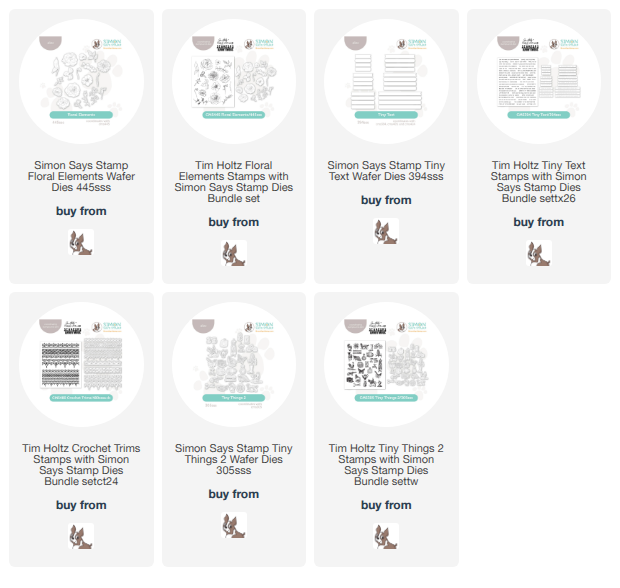
Below are my affiliate links to Simon Says Stamp for the products used in this card.