Hello Makers! Today I get to share the last in my Trio of Pirate Domes that I made for the Halloween 2026 release of Tim Holtz Idea-ology.Today I'm sharing the largest one, the Reliquary Dome.
I did make a video tutorial for this one as well, but remember that there are tons of steps to most Idea-ology makes as we apply layers of texture and color, or need to build things, so these tend to be more involved than a card. I speed it up when I can, but also want to give you information and let you see when I make mistakes or a design plan doesn't go the way I thought it would. It's all part of the process when you are making something for the first time while filming it.
This scene was also inspired by part of the large pirate make I did a few years ago. I had a cannon and cannon balls on top and had made a terrible mistake and poked a hole through a area of an adjoining box where it shouldn't be. I thought I had ruined it, but decided to embrace it and make it bigger so I could stick a cannon ball in it.
So I made a hole in the grate of the ship to look like a cannon had shattered through it.
I added the ravens this year because I love ravens but also because I thought it was creepy tho have them handing about on the deserted pirate ship.
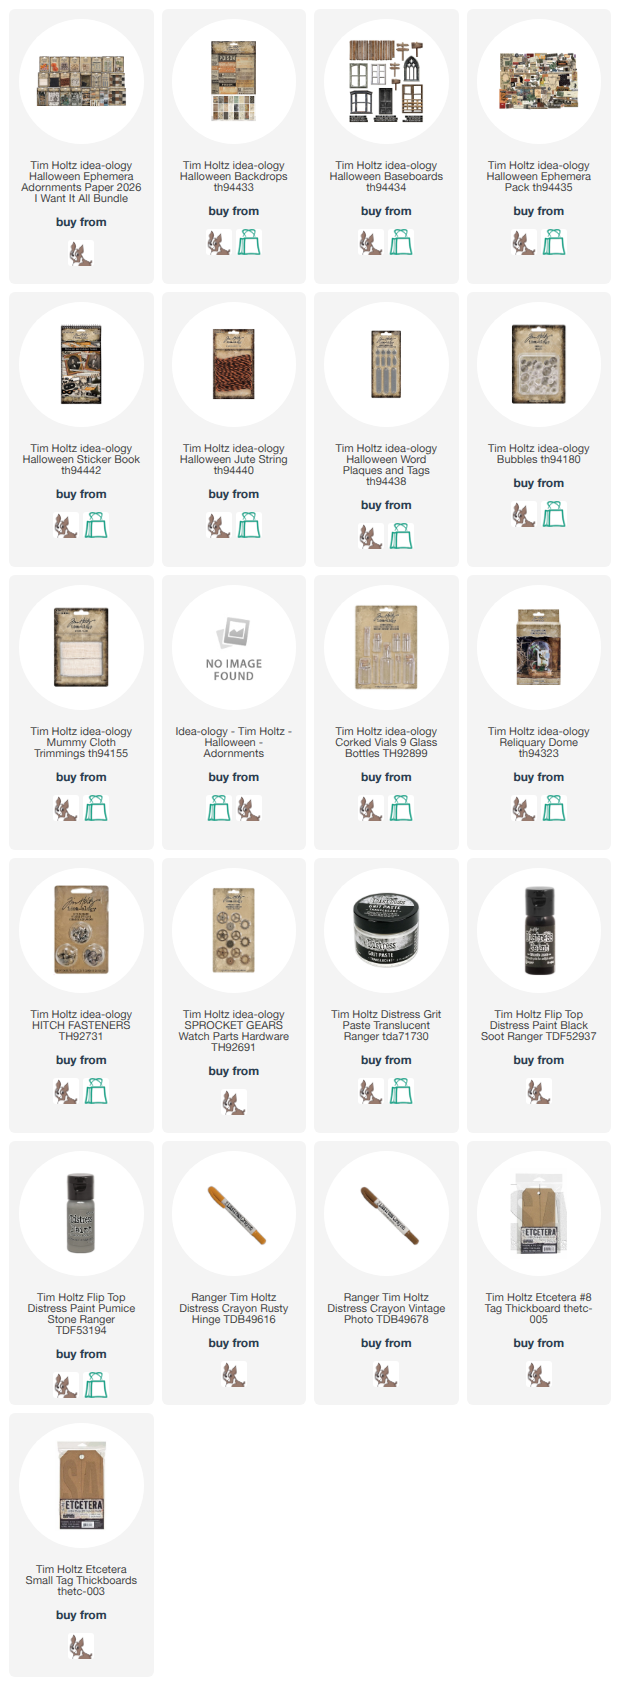
The cannon is made out of the largest Corked Vial and the front end of the cannon is a reinforcer from a #8 Etcetera Tag.
The wheels are reinforcers from the small Etcetera tags and then I put a Sprocket Gear in the middles and Fastener. I have a Hitch Fastener on the back wheel, but had to remove it from the front because it didn't fit under the dome.
The back of the vial has another Sprocket Gear and Hitch Fastener. The top middle of the cannon has a Skull and Crossbones from the Halloween Adornments Pack. Then I just have loads of Transluscent Grit Paste, Distress Crayons, Black Soot and Pumice Stone Distress Paint...the layers add all the character.
I covered behind the grate and the back of the grate with a grungy piece of Halloween Backboard paper.
Then I chose some Clippings from the Halloween Sticker Book to tell the story.
I hope you enjoyed this make as much as I did. I loved taking a large make and shrinking it down to smaller little scenes. Please tag me if you make one as I would love to see your version.
Have a creative day,
Tami
Below are my affiliate links for the products I used. Thank you so much for using them! It truly helps!
Today's make is the second in a trio of pirate domes that I made for the Tim Holtz Halloween 2026 release. The structure is again a Display Dome so it is small so you have to make the most of the space you have under the glass. Today's dome is inspired by the Poison Raven Tavern from a large pirate make I did in 2023.
Of course I filmed as I made, so I do have a process video tutorial for this make. It is difficult to film while making and sometimes I forget to hit record or I accidentally work off camera, but I hope I captured enough to help inspire you in your own making process.
The glass on the domes is really limiting, but it looks amazing. And I really need help editing my ideas so everything fits and I love that domes force me to do that. The Bar ftom the Halloween Adornments is fabulous on the front of this dome. I did have to bend it a little and I did that with some metal bending pliers I got off Amazon.
Here is a side view.
And the back view.
Here you can see the drips I added to the candles.
And here is a skull and crossbones adornment I also bent and added to the front of the barrel. I did happen to break on ebone and just glued it back on in place and I think it looks fine.
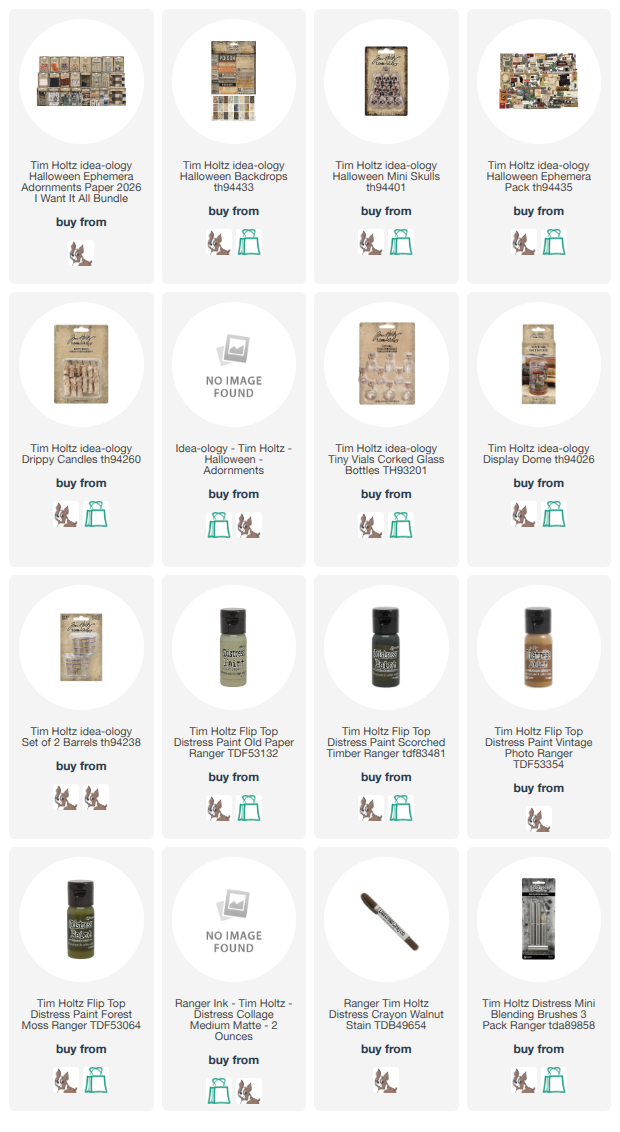
I ended up painting the bottles and the skull. The skull was painted with Old Paper, the green bottle with Forest Moss.
The tan bottle was Vintage Photo and the smalles bottle was colored with Scorched Timber. All of the little labels were part of the Halloween Ephemera Pack.
The coins I included were from the stash I made for the treasure dome. I didn't add that to today's video, but you can see it in this tutorial called The Rich Stuff.
Thank you so very much for watching!
Have a creative day,
Tami
Below are my affiliate links to Simon Says Stamp and Scrapbook.com and I get a small percentage of your purchase if you shop through my links, at no additional cost to you.
Inspired by a favorite childhood movie, The Goonies, where they go off
in search of the rich stuff to save the Goondocks, I made this pirate
treasure Display Dome for the Tim Holtz Halloween Idea-ology release.
In 2023 I made a large pirate inspired, four-sided vignette piece. that you can see called Avast Me Hearties. It was a
blast to make! However, since 2023, I have wanted to break that piece
down into smaller, more manageable pirate inspired scenes. Thus my trio
of domes for this Tim Holtz release.
I am going to share these domes one at a time so they are more
manageable.
I did film myself making the domes so I have a video tutorial of each one, however, there are a few things I missed when filming because
my phone either ran out of battery or storage. Hahahaha! But you get
most of it, so I hope that what I did capture is helpful.
One last thing, as we move along with Idea-ology video tutorials again, they
will always be longer than most other tutorials. These projects take
anywhere from a couple of days to a week in my studio and I try to edit
them down so you see the important bits, but don't end up sitting for a
marathon tutorial either.
I would really appreciate if you would like and comment on my videos on YouTube.
This really helps me as these free video tutorials take a lot of time to make.
Thank you so much.
This blog is not a tutorial. I will post close ups and still photos of each piece so you can see the details. I always find that helpful when I am making. Sometimes an instructor will think their directions are clear but they just don't click with others. So photos will often be beneficial as you can see details and it will help it make sense.
Thank you for stopping by. I hope the video and the still photos help inspire to make your own version of the rich stuff!
Have a creative day,
Tami
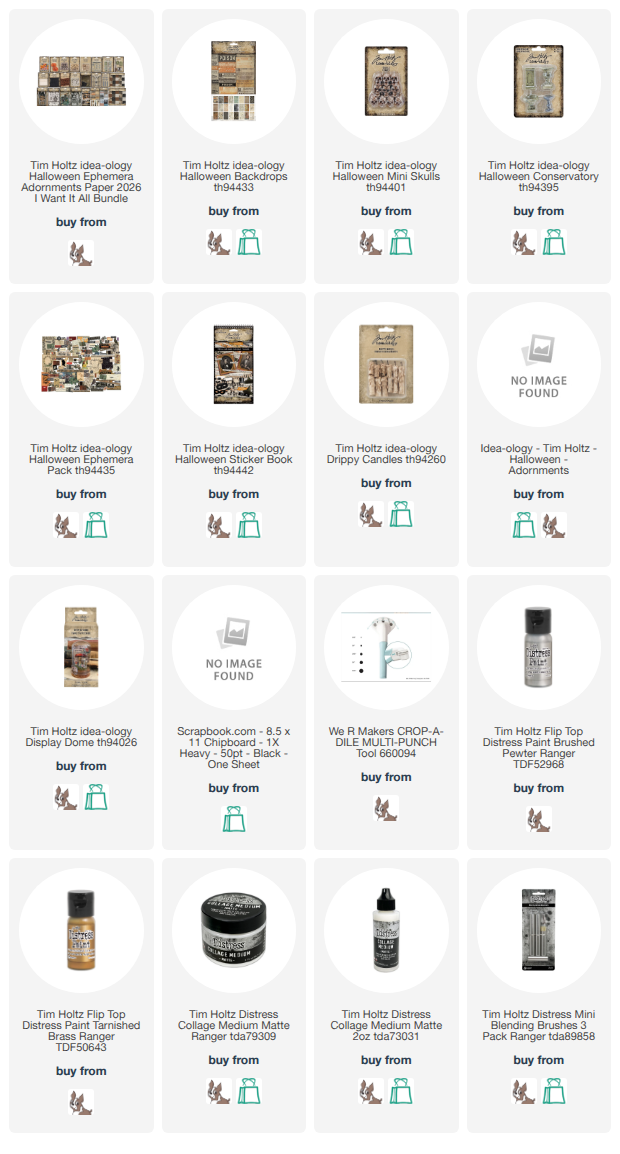
Below are my affiliate links: I'm incredibly grateful to each of you who shop through my links. I get a small percentage when you shop at no extra cost to you, and I truly appreciate your support!