Hello Makers! Today I get to share the last in my Trio of Pirate Domes that I made for the Halloween 2026 release of Tim Holtz Idea-ology.Today I'm sharing the largest one, the Reliquary Dome.
I did make a video tutorial for this one as well, but remember that there are tons of steps to most Idea-ology makes as we apply layers of texture and color, or need to build things, so these tend to be more involved than a card. I speed it up when I can, but also want to give you information and let you see when I make mistakes or a design plan doesn't go the way I thought it would. It's all part of the process when you are making something for the first time while filming it.
This scene was also inspired by part of the large pirate make I did a few years ago. I had a cannon and cannon balls on top and had made a terrible mistake and poked a hole through a area of an adjoining box where it shouldn't be. I thought I had ruined it, but decided to embrace it and make it bigger so I could stick a cannon ball in it.
So I made a hole in the grate of the ship to look like a cannon had shattered through it.
I added the ravens this year because I love ravens but also because I thought it was creepy tho have them handing about on the deserted pirate ship.
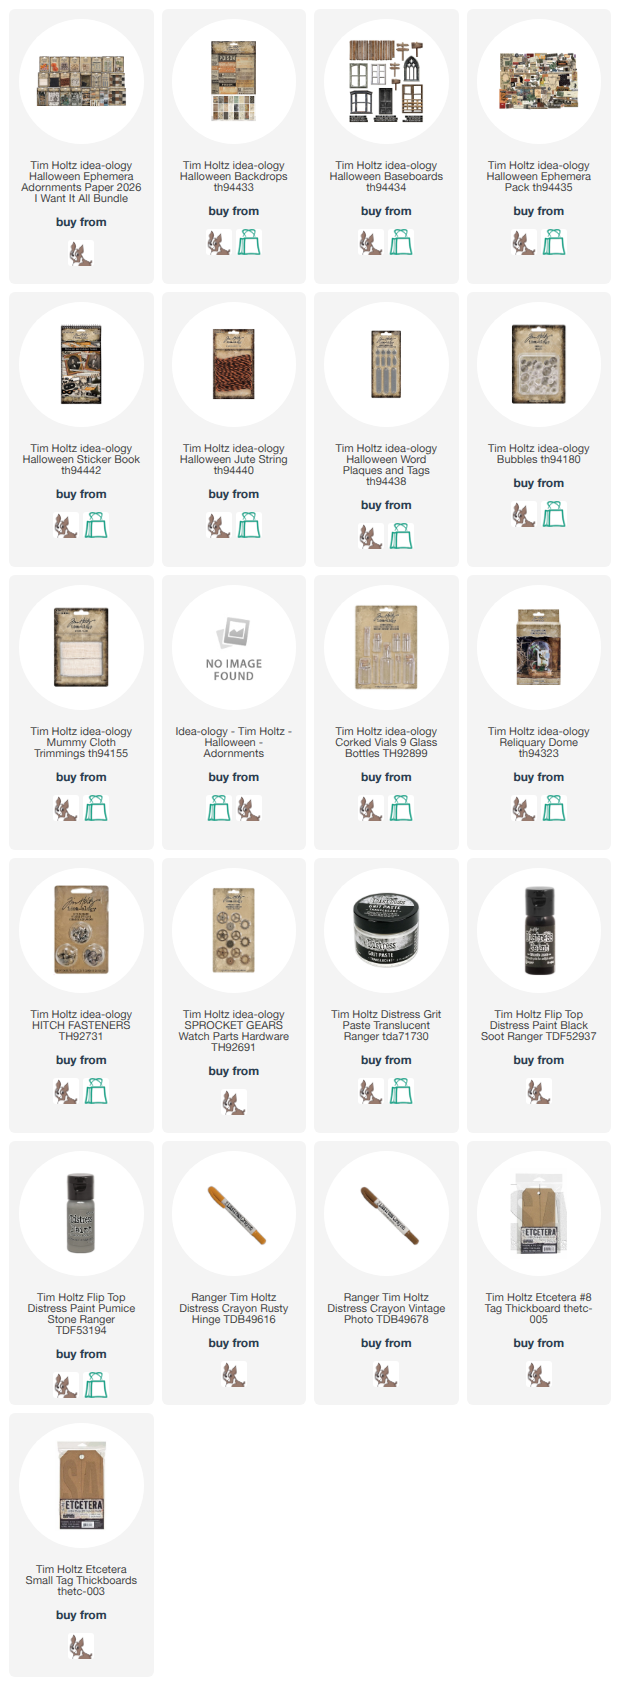
The cannon is made out of the largest Corked Vial and the front end of the cannon is a reinforcer from a #8 Etcetera Tag.
The wheels are reinforcers from the small Etcetera tags and then I put a Sprocket Gear in the middles and Fastener. I have a Hitch Fastener on the back wheel, but had to remove it from the front because it didn't fit under the dome.
The back of the vial has another Sprocket Gear and Hitch Fastener. The top middle of the cannon has a Skull and Crossbones from the Halloween Adornments Pack. Then I just have loads of Transluscent Grit Paste, Distress Crayons, Black Soot and Pumice Stone Distress Paint...the layers add all the character.
I covered behind the grate and the back of the grate with a grungy piece of Halloween Backboard paper.
Then I chose some Clippings from the Halloween Sticker Book to tell the story.
I hope you enjoyed this make as much as I did. I loved taking a large make and shrinking it down to smaller little scenes. Please tag me if you make one as I would love to see your version.
Have a creative day,
Tami
Below are my affiliate links for the products I used. Thank you so much for using them! It truly helps!
Hello Makers! I'm back with another card using Whimsy Stamps products. You all know by now that I have been on a huge Pirate kick this season, and today's card is no exception. The birthday link may be a surprise though. Last week was Deb Davis's birthday and she is the delightful creative director for Whimsy Stamps. In the craziness of the last month I missed wishing her a Happy Birthday, so this is my birthday card for sweet Deb. Happy Birthday Deb!
I did film and edit a tutorial for this card. There are a few details that you may miss just looking at it that give extra life to this die cut, so I hope you find something beneficial from it.
Here you can see the stamped Farmhouse Shiplap to mimic the sides of a sunken ship.
And here you can see some of the details that add interest and texture to the stamped and die cut frame.
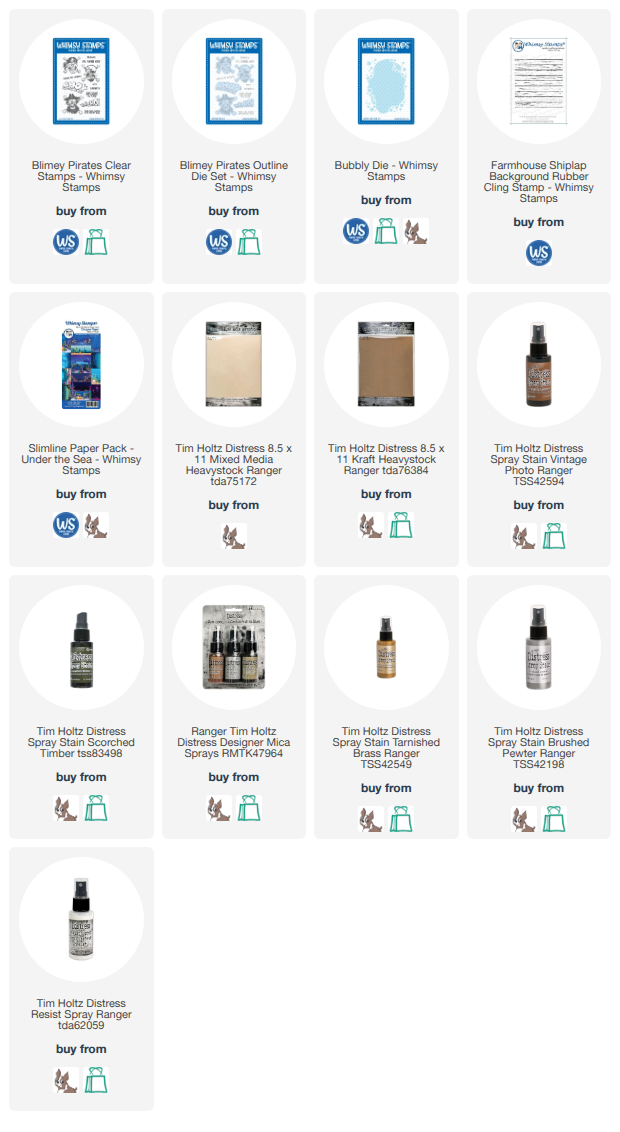
The Blimey Pirates stamps and dies are so creepy! The stamps are still available, but the dies are being retired so once they are gone, they are gone. I have them linked below so you don't miss out.
I had to sneak in a little pirate treasure to this make. I glued mine to the background, but it you were inclined to make this a shaker card, they would certainly be perfect for that!
For the sentiment, I put two together and then fussy cut them out. Deb designed these cards so I know she will appreciate the pirate birthday humor.
Thank you so much for stopping by!
Tami
Below are my affiliate links to the products I used in today's card.