Monday, August 24, 2026
Yo Ho and a Bottle of Rum - Tim Holtz Idea-ology
Monday, October 20, 2025
In the Dead of Night
Tim Holtz and Sizzix released three Large Texture Fades in October, and two of them happen to be my favorite Texture Fades, so I am thrilled that we have them in three different sizes now for use in various projects.
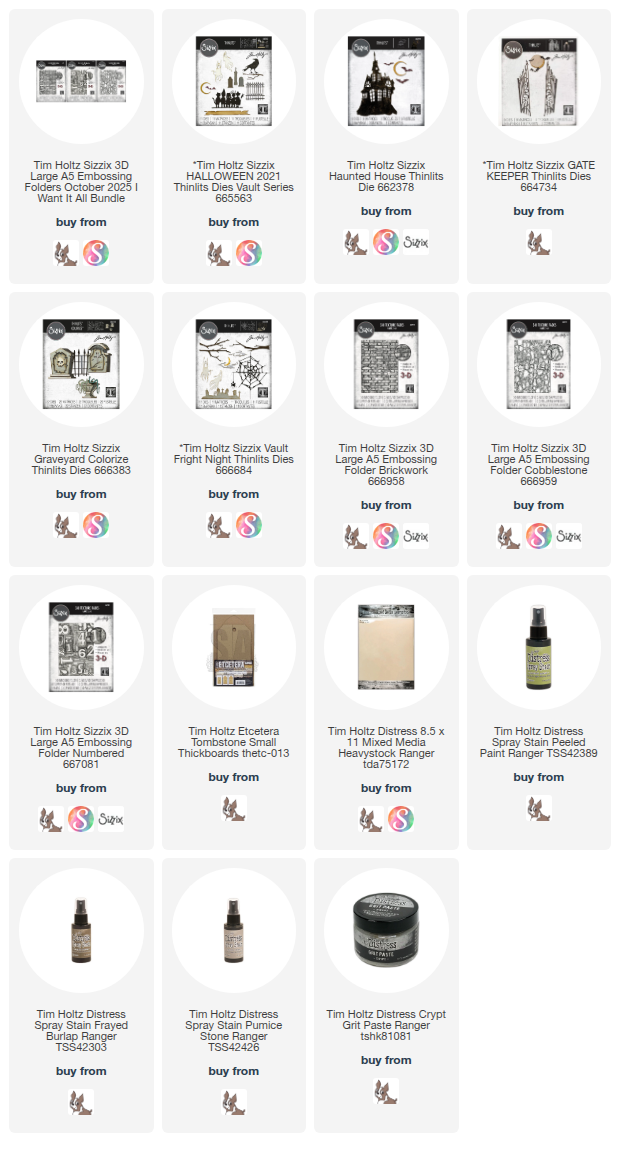
This tutorial focuses on how to use the Texture Fades to make an old brickwork cover for the Small Etcetera Tombstone using the Brickwork Large 3D Texture Fade. It is not focused on the part where I pulled some of my collection of Tim Holtz Halloween Dies to decorate it. Just a disclaimer that I don't show the final portion where I decorate this piece, but I do show it and talk about all the parts.
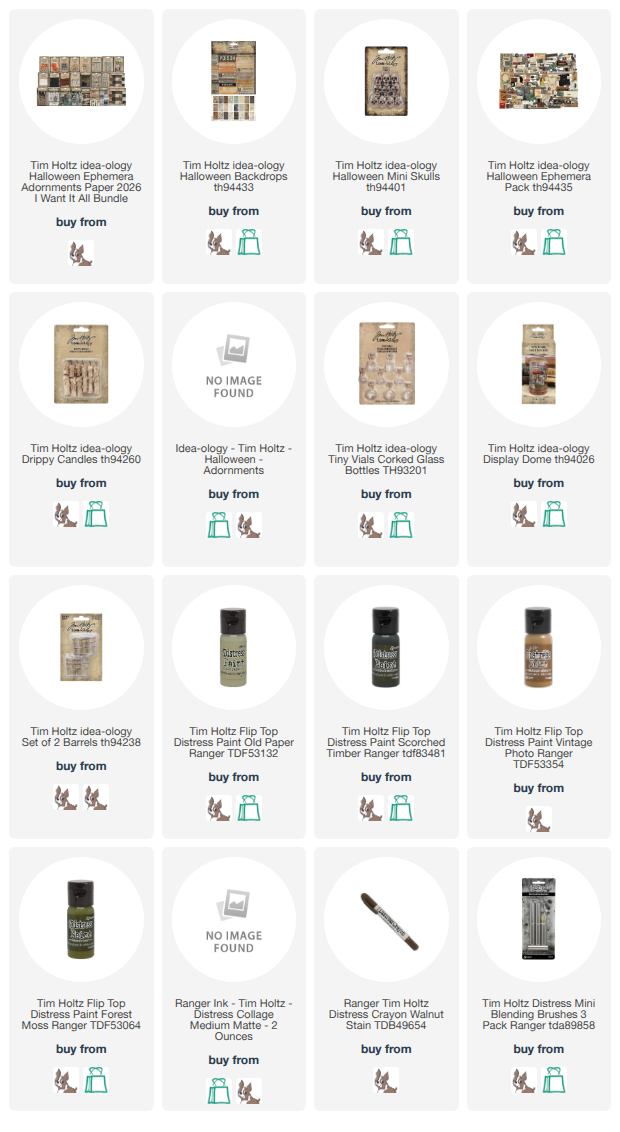
I used Spencer at the top of the tombstone because older tombstones, especially those in the Puritan graveyards of New England, have skulls to remind people of their mortality.For the Haunted House and the gates I colored some black cardstock with a little bit of Distress Oxide Pumice Stone to age the paper.On the gates and fences I added some Distress Grit Paste Crypt and colored it with a bit of Distress Crayon and a waterbrush.I added some grit paste to the urns also. All of the pieces are colored with Distress Stains and Inks in similar colors, Pumice Stone, Forest Moss, Peeled Paint, Black Soot, Scorched Timber, Frayed Burlap.Before I attached the gates, I established where they would go, and then cut apart the little grave yard from Fright Night and attached the pieces on both sides of an imagined path, I added Grit Paste Crypt to try and make some mounds of soil. The larger tombstones in the front are and the fences are from the Vault Halloween 2021 dies. Here you can see the other urn and the other side with the tombstones behind the fence.The bottom sentiment is from a set of Halloween Baseboards.
Thank you so much for watching and I hope this gives you a great idea for how to make a different type of brickwork.
Have a creative day,
Tami
I am an affiliate with Simon Says Stamp, Ranger Ink and Scrapbook.com. The links below send you to one of those stores. If you wish to purchase something and use one of my links below, I get a small percentage of your order at no additional cost to you. This helps me to defray the costs of this channel, the time, the ideas and tutorials I post here. Your help is greatly appreciated! Thank you!
Sunday, October 12, 2025
Classic Monster - Stampers Anonymous
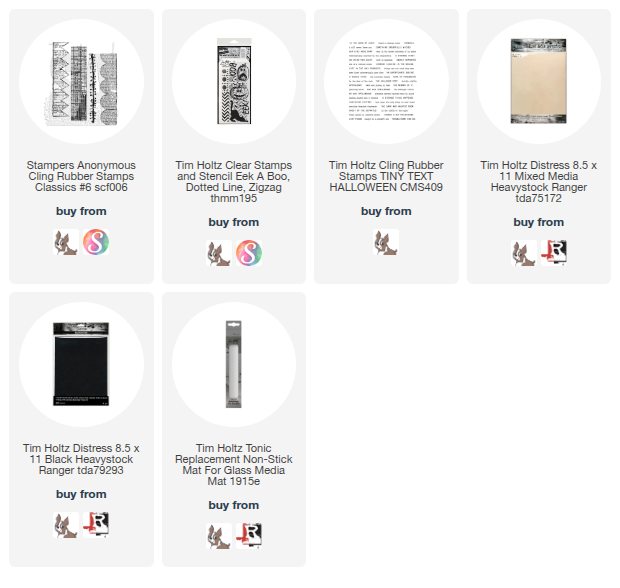
That pinked border is the one that inspired this make. I saw it and immediately thought ...Frankenstein's Monster hair!
The eyes took a bit more thinking, and as I often do, I stared at the set for awhile and then went to sleep on it. It's usually while I'm sleeping or showering that I get an idea to work with that's when I realized the scallop border would be a great shape for the eyes.
Have a creative day,
Wednesday, August 20, 2025
Beware! - Sketch Manor Coordinating Dies
HOP ORDER:
Simon Says Stamp Blog
Nina-Marie Trapani
Caly Person
Stacy Hutchinson
Nichol Spohr
Tami Bastiaans
Sandi MacIver
Zoe Hillman
Tina Smith
Jean Doeringsfeld
Barb Engler
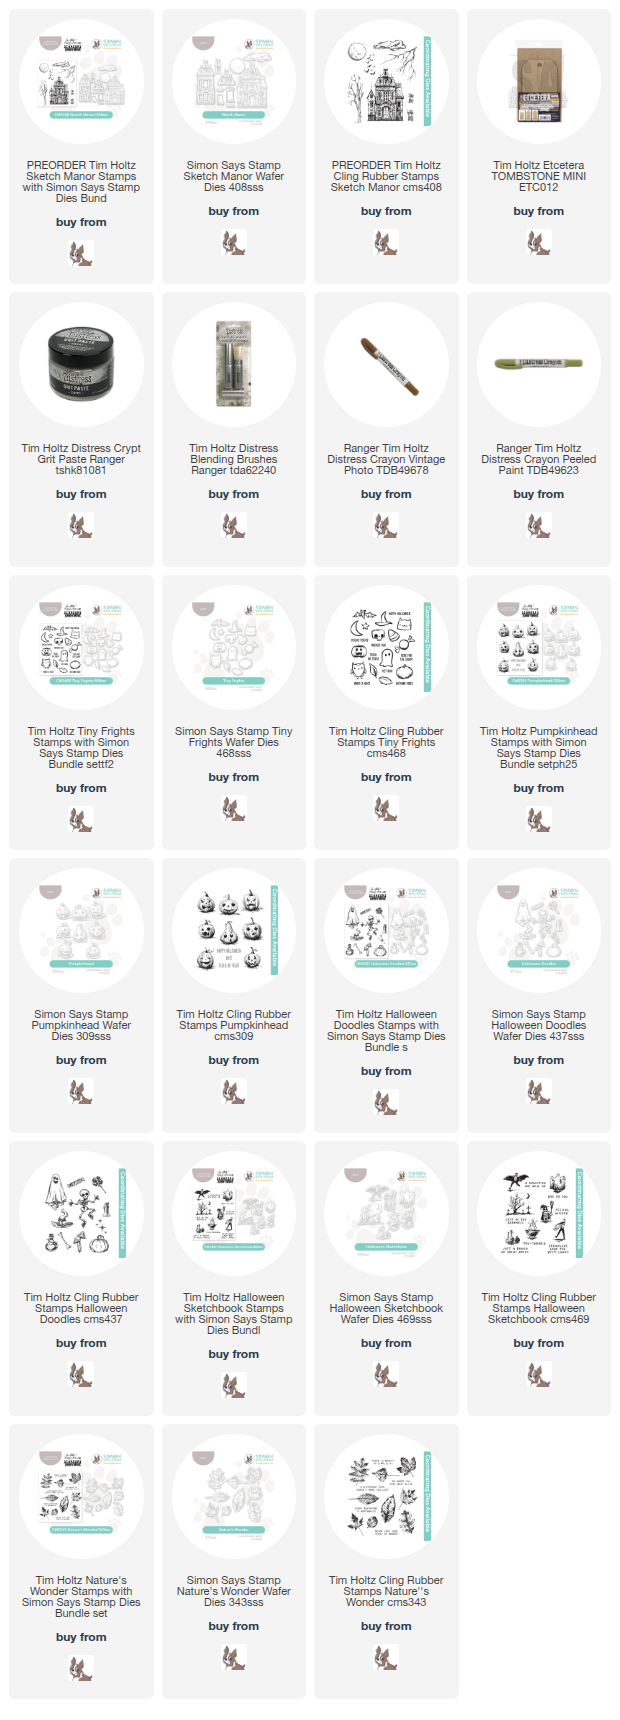
My project for today is an Etcetera Mini Tombstone with the Sketch Manor Stamps from Tim Holtz and Stampers Anonymous, and Coordinating Dies from Simon Says Stamp. I wanted to try and light up the manor, so I made a video tutorial showing how I made this project.
Here is the video link. I hope you enjoy it, but be sure to come back here to get to the next stop on the blog hop.
I stamped the images on Mixed Media Heavystock and attached that to the top and main portion of the Mini Etcetera Tombstone. I love having part of the imagery in the top section as it makes it seem like the scene extends up tot the top of the tomb. If you look closely you can see the Crypt Grit Paste adds such a cool corroded stone texture as well as bits of moss if you add some Peeled Paint Distress Crayon. Simon Says Stamp has a fabulous Assembly Guide on their website to help with not only how to cut the parts out, but also how to assemble it. You can download it here. You have two options with the die layers for the Manor. You can do like I did, and attach them directly on top of the layer below. This still adds agreat dimension! Or you can put foam squares and strips between some or all of the layers to add even more dimension. Either way, you can't go wrong with this die set!To light up the the windows, you simply need to cut the darkened panes out of the center window frames and the doors from the first layer, and back with vellum. Then add the rest of the layers as shown in the assembly guide or in my video tutorial. The Beware! sentiment is from another Stampers Anonymous set called Mr Bones CMS345Thursday, October 5, 2023
Concealed in the Cobwebs
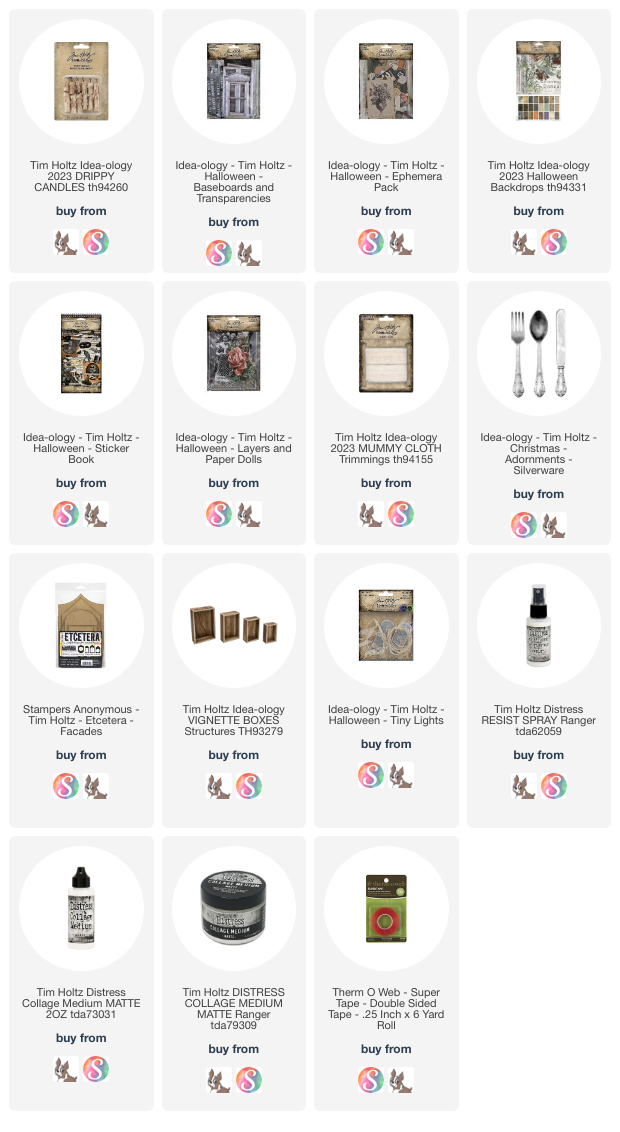
A Vignette Box with a mysterious paper doll. What is her story? Find out in this tutorial. I made this vignette for the Tim Holtz Halloween Idea-ology 2023 release. My aim was to make a few pieces that were something beginners and intermediate makers could attempt. I hope this video tutorial inspires those who are newer to Vignette making and that those who have made a few to get that Halloween Idea-ology out and to start making. There is still plenty of time to make for the Halloween season!
Here is a video tutorial. I will put the index breaks in it soon.Have a creative day!
Tami
I am an affiliate with Simon Says Stamp. The links below send you to their store. If you wish to purchase something and use one of my links below, I get a small percentage of your order at no additional cost to you. This helps me to defray the costs of this channel, the time, the ideas and tutorials I post here. Your help is greatly appreciated! Thank you!


t
t