Hello and welcome to the Simon Says Stamp blog Hop for the Halloween Coordinating dies with Tim Holtz Stamps. I hope you are ready for a ton of spooky fun and inspiration today.
If you started the hop at the Simon Says Stamp blog, then you just came fromJean Doeringsfeldand you will be going to Barb Englernext. But I hope you will stick around to check out my card.
I chose to use the Anatomy Chart stamps and dies for this card.
Before we get started with the written instructions and the step-out photos, if you prefer a video style tutorial, I've got you covered with this video on my You Tube Channel.
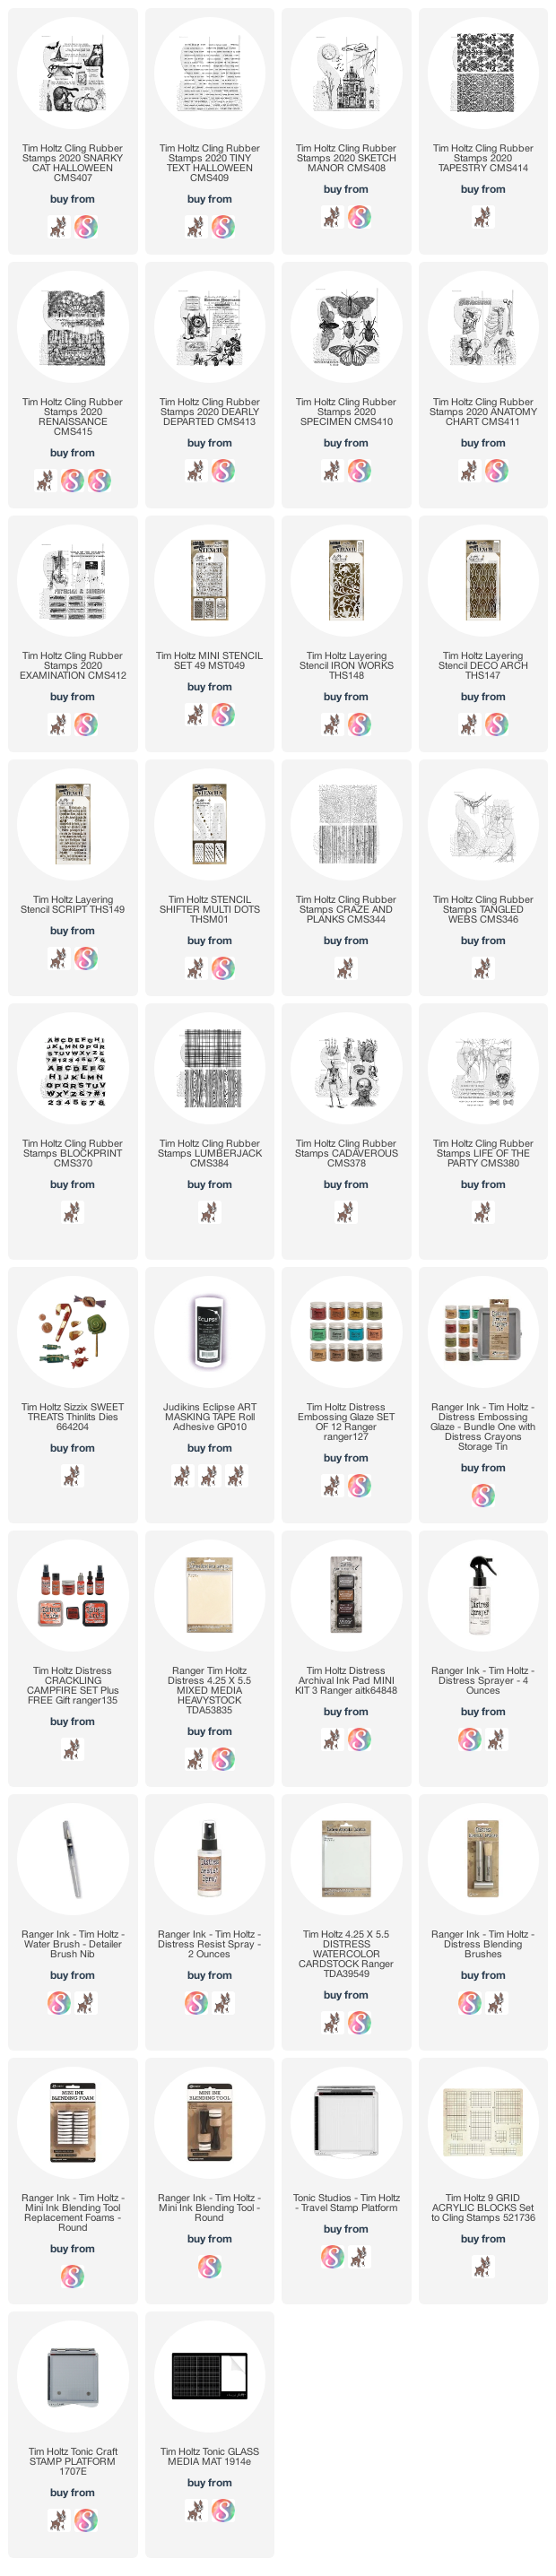
I gathered my supplies that are listed at the end of this blog with my affiliate links.
I began by coloring so Distress Mixed Media Heavystock with Old Paper and Antique Linen Distress Sprays.
Next I cut a few pieces of Idea-ology Halloween Backdrops into A2 sized pieces and colored them with Aged Mahogany Distress Spray Stain and dried. I chose my favorite to be the background for todays card.
This is what they looked like after I had sprayed them with the Aged Mahogany and splattered them with Antique Linen Dsitress Spritz.
Next I stamped the skull and femur bones onto the paper I stained earlier with Old Paper and Antique Linen. I stamped the images in Distress Archival Ground Espresso.
Once the images were stamped and dried I colored them with a bit of Frayed Burlap and Old Paper Distress Inks with a water brush.
I decided the Antique Linen Spritz splatter I had done on the background wasn't gold enough for me, so I reached for my Pawsitively Gold Splatter from Simon Says Stamp and splattered with it and it was perfect! Then I machine stitched around the outside of the backdrop with gold metallic thread.
Before putting the backdrop on a card I wanted more gold, so I grabbed some gold cardstock and cut a piece on my Tonic Deckle Trimmer at 5 3/8 x 4 1/8 This gave the smallest little gold deckle mat around my backdrop that was cut to 5 1/4 x 4
To assemble the card I reached for my Pawsitievely glue and foam squares from Simon Says Stamp.
To finish it off I stamped a Halloween Tiny Text sentiment and cut it out with one of the Tiny Text Coordinating Dies. I also added a few little gold coins I made by cutting some small pieces of chipboard with a large hole punch and painting them with gold paint. I thought they went well with the sentiment.
Here you can see the dimension that the coordinating dies add. I made a card similar to this when these stamps were first released and I had to hand cut them all out. It wasn't fun, but die cutting them this time was a breeze! I'm so excited to have dies for these stamps now!
For this sentiment I cut it out with a smaller die because I only wanted part of the Tiny Text sentiment for this card. I wanted it to suggest that all he ever loved was gold.
I don't know that this would be a card you would send to just anyone, but if you know someone who likes pirates or if you wanted to frame this and make a little decor piece out of it that would be great too!
Thank you so much for stopping by today.
I hope you enjoy the rest of the hop and get a lot of great inspiration for using these new dies.
Have a creative day,
Tami
And here is a quick reminder of today's hop order:
Ahoy mateys! Thar be squalls ahead, savvy? I decided to have a little fun with the Tapestry and Anatomy Chart stamps from the Tim Holtz Stampers Anonymous Halloween release.
The background here was made using that Iron-off Resist Technique that has been my go-to for months. I'm kind of obessessed with it and for this card I used Distress Embossing Glaze instead of clear embossing powder. I explained the technique (which I learned from Jennifer McGuire) in this post.
To make the pirate, I stamped the half skull and the femur and then fussy cut them out. I cut the femur in half and popped the skull out from the background for dimension. They are both on just a piece of Heavystock that I inked, tore, and curled to make it look like an old scroll. I put some grit paste and Distress Crayons onto two Long Fasteners, and put them in the two corners on the right to mimic old nails.
I dyed some Mummy Cloth with Aged Mahogany Distress Spray Stain (the same as the background) and then tied it around the top of the skull.
I also colored a few pearl beads with some alcohol ink and put them on a
piece of the Ideaology Twine Trimming in a nod to one of the worst
pirates I've ever heard of....but I have heard of him!
Here is a closer look at how the Fossilized Amber Distress Embossing Glaze resisted the Aged Mahogany Distress Spray Stain. Then when I ironed off the Distress Glaze, it left these cool splotchy gold remants. Fantastic!
To finish off this card I stamped a woodgrain onto a piece of Heavystock, hand cut a plank wide enough to fit the Worn Text letters. Then I stamped the word savvy? and embossed it with Ranger Antique White Embossing Powder.
That's it for today. Thank you so much for stopping by!
Tami
I am an affiliate with Simon Says Stamp and Scrapbook.com so the links
below send you to one of those stores depending on which logo you
choose. If you wish to purchase something from either store and use one
of my links below, I get a small percentage of your order, at no additional cost to you. This helps me to defray the costs of this blog, the time, the ideas and tutorials I post here. Your help is greatly appreciated! Thank you!