These makes in today's post are from 2020 using Tim Holtz brands. For details and photo tutorials, click the title of each make. The titles are linked to the blog posts. I still wasn't doing regular youtube tutorials yet, so step out photos were the thing.
This card was made using the Spring Shadows stamp set and the Scales Layering Stencil. I thought if you turned the scales upside down and used spring colors that they looked like eggs.
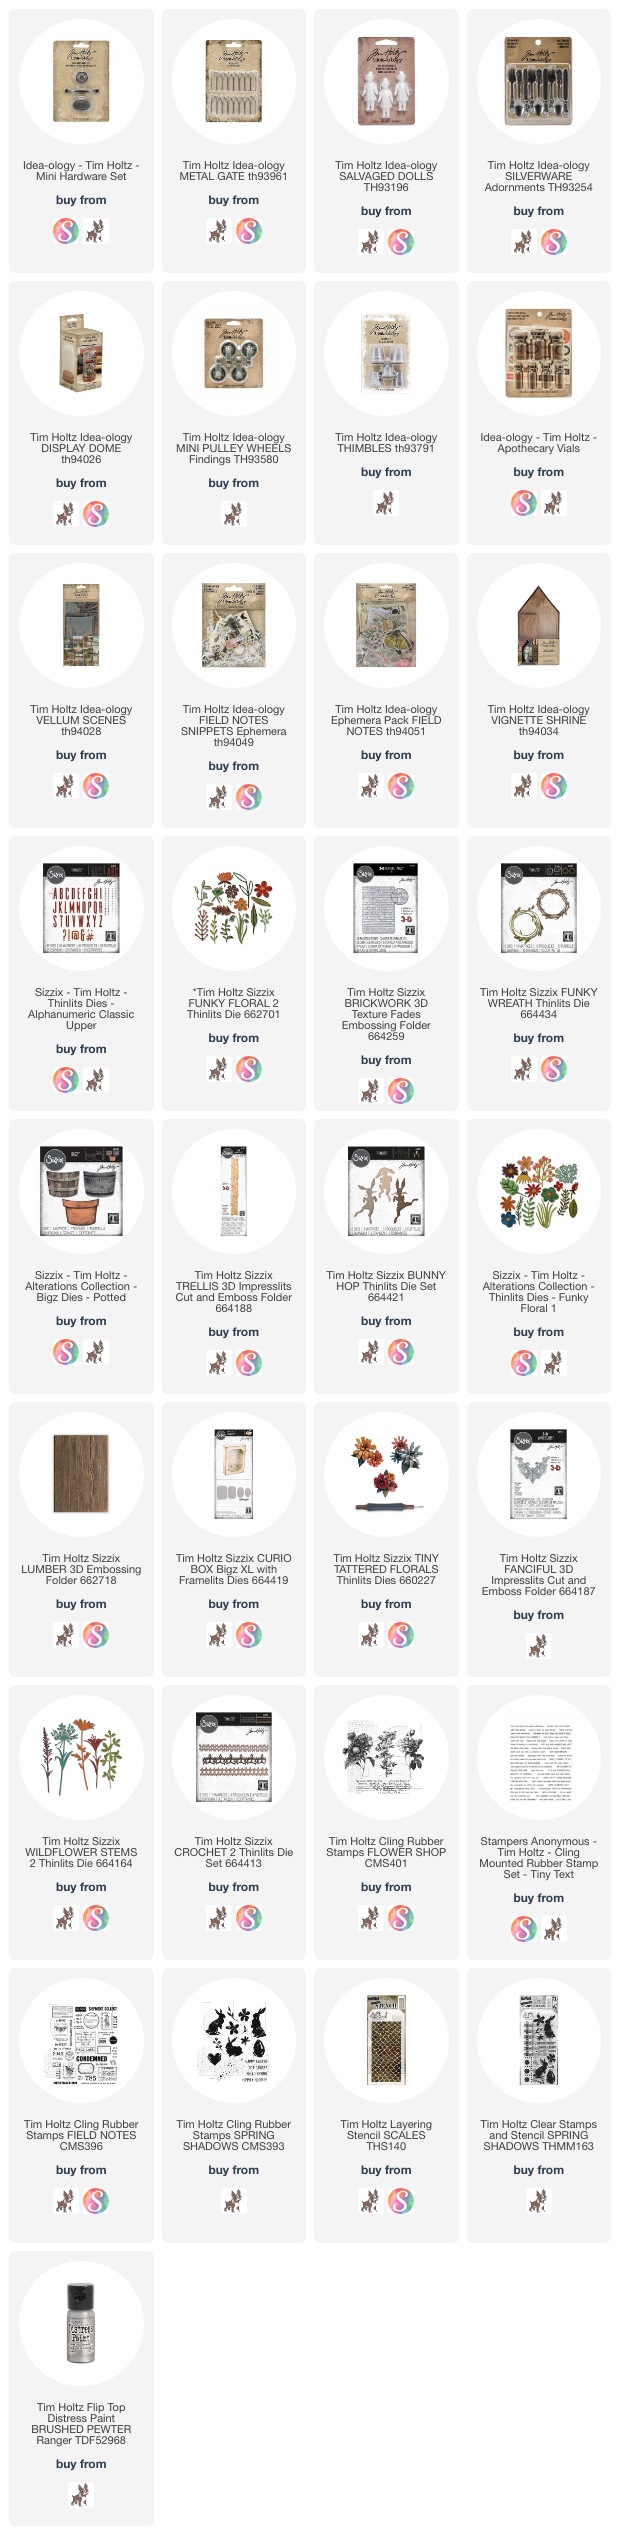
I made this Vignette Shrine Potting Shed to highlight the Field Notes Ephemera, Field Notes Snippets, and Vellum Scenes. I just love all the chippy goodness from the Crackle Texture Paste an how the grit paste transformed the Apothecary jars and thimbles. This also includes one of my favorite skus, the adornments silverware.
I still adore this make. It was also for the Sizzix blog. I used so many Sizzix dies to make this little garden cart! Bunny Hop, Potted, Funky Flowers 2, Crochet 2, Curio Cox Bigz XL. This was the first time I made carrots and cabbages from the dies. So fun!
A tiny garden in a dome. This was a spring stone statuary I made after I made a bunch for a Halloween project. This one is what inspired the stone statuaries for this year.
The Fanciful impresslit inspired this faux metal egg project. I used a paper mache egg and a bunch of Sizzix dies. This project is pretty quick and easy!
I used several lovely stamps on this card, including Flower Shop and Field Notes.
Thanks again for stopping by to see some older spring makes. I hope you enjoyed them and that you take a few minutes to peek at a few of them and see if there are any that have a technique that sparks your imagination and creativity.
Have a very creative day,
Tami
I am an affiliate with Simon Says Stamp, Scrapbook.com. The links below
send you to one of those stores. If you wish to purchase something and
use one of my links below, I get a small percentage of your order at no
additional cost to you. This helps me to defray the costs of this
channel, the time, the ideas and tutorials I post here. Your help is
greatly appreciated! Thank you!
I've done a compilation post many times for Christmas and Halloween, but I haven't done it for any other celebrations, so I thought this year I would post some past Spring/Easter makes. If you click the links below it will take you to the blog post tutorials. Today's posts are from makes from 2018-2019 and they are full of info and inspiration that I hope sparks some inspiration to make. I was not doing Youtube yet, so the posts are photo tutorials.
If you click the title of any of the posts below, it will take you to the tutorial for that post.
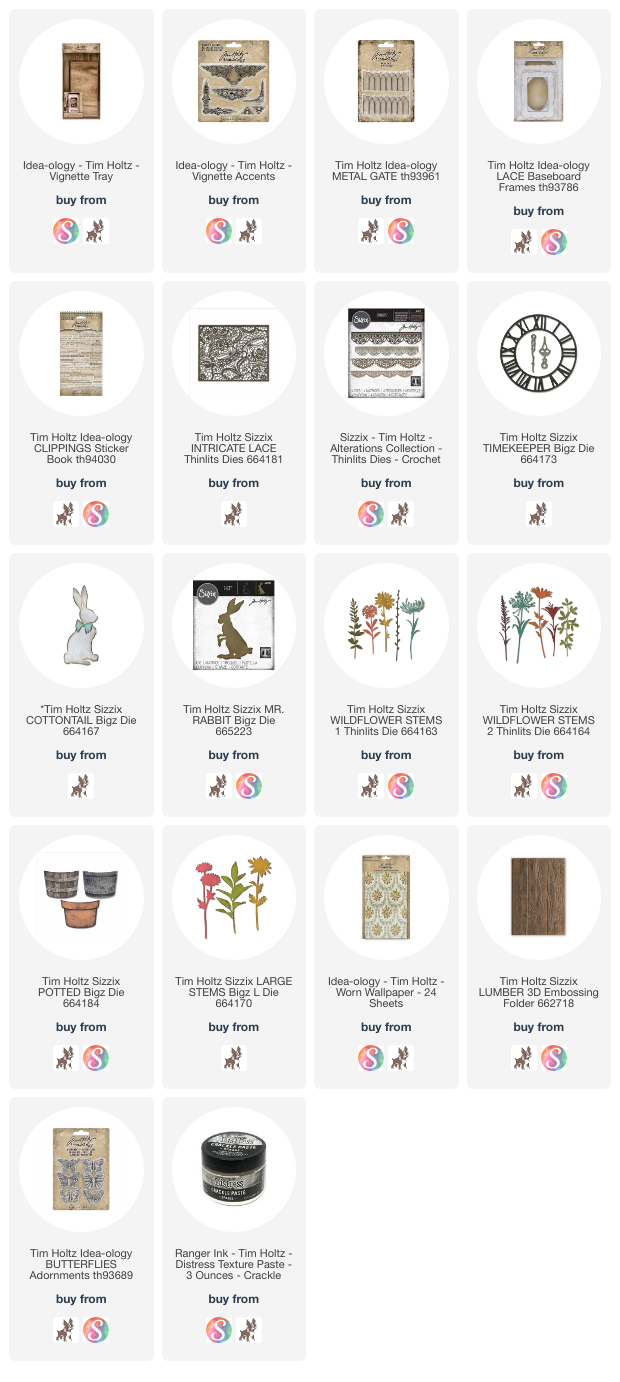
I had forgotten all about this make. Oh I really thought it was so pretty and chippy and the texture the crochet dies added to the sides of the vignette trays was fabulous. I wish I had gotten a better picture of that for the blog before I sent it off.
When I was making this I thought it would make a lovely piece for a spring wedding or bridal shower decor piece. This is a technique I have used many, many, many times over the years in different ways.
I had so much fun making this back for the release of the Wild Flower Stems 2 and the Potted Bigz die. So much fun! That was the year Tim's CHA booth for Sizzix was like a little potting shed.
My obsession with the 3D Lumber Texture Fade was on full display here. If you look through my blog in early 2019, you will see I am using it in everything. LOL
I think the Tim Holtz Tonic Rotary Media Trimmer is incredible. It works
perfectly. I have been using it for a few weeks and it cuts straight,
it cuts through chipboard like it's paper, and it cuts even the thinnist
of pieces of paper or chipboard. It's really amazing. I will have more
to say about this but since I used this to cut all of the thin pieces of
chipboard for the book nook in my last tutorial, I really wanted to
take just 5 minutes to show you how well it works!
Just a heads up, Scrapbook.com has the trimmer on sale for $79.99 right now!
I hope you love it as much as I do!
Tami
I am an affiliate with Simon Says Stamp, Scrapbook.com. The links below
send you to one of those stores. If you wish to purchase something and
use one of my links below, I get a small percentage of your order at no
additional cost to you. This helps me to defray the costs of this
channel, the time, the ideas and tutorials I post here. Your help is
greatly appreciated! Thank you!
I have waned to attempt to make a book nook out of Idea-ology since I first saw one pop up on my feed in either Facebook or Instagram months and months ago. I decided that if it was going to get done I was just going to have to jump in with both feet and give it a try, and designing for the Tim Holtz Idea-ology 2023 release was the perfect push I needed to get it done.
Here is a rather long process tutorial. I hope it helps you see how I thought through this book nook and how I made all the details.
I really felt that a cover on this should look like a book so that when you didn't want the book nook scene showing, you could turn it around and it could look like a book on the shelf. That way you don't have to find a place to store it when maybe it is out of season or you don't want the clutter.
I put this quote label and label frame on the back binding because I thought it went well with the scene and also with the fact that I couldn't keep waiting for the perfect time to try making a book nook, I just needed to make it the perfect time.
The papers in the Color Pallette Backdrops Vol 5 are so beautiful!
Here you can see the scene in the book nook and how it looks on a shelf between two books.
This paper doll is from the Solo Paper Dolls pack. I colored her with Distress Crayons
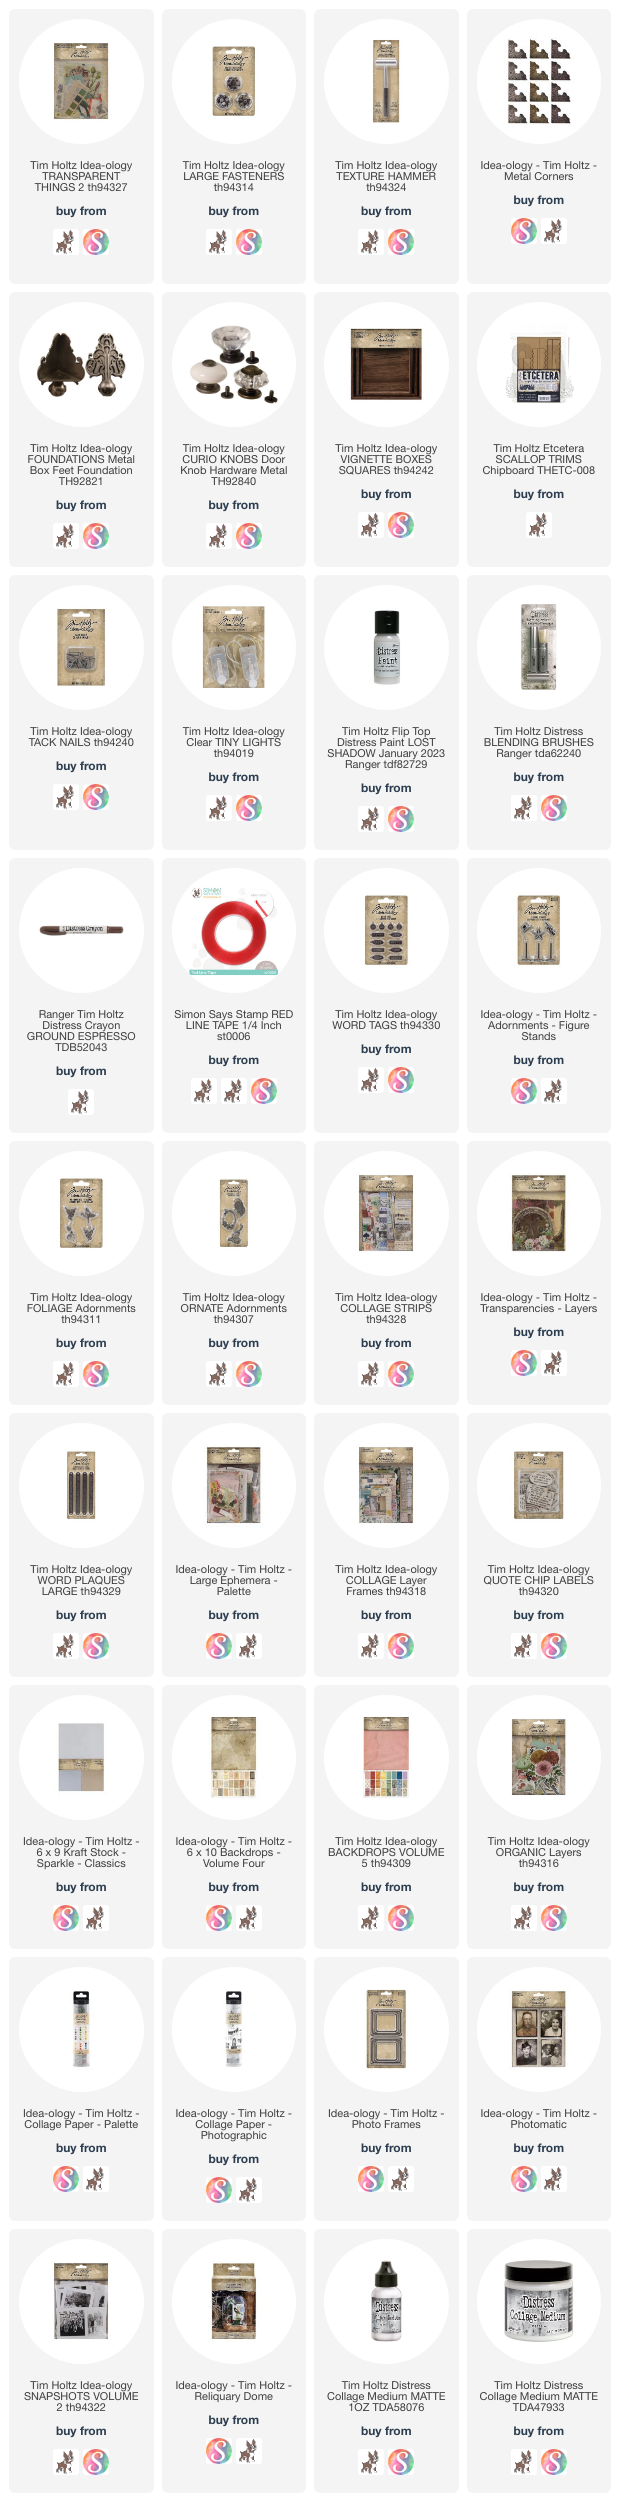
For the left side I framed some parts of ephemera from the Ephemera Palette pack with Deco Frames. All of the metals in this piece were colored with some Statuary Distress Foundry Wax and then a bit of Picket Fence Distress Paint that I wiped off to give the metal an old oxidized look.
The top of the vignette book case has the hat Adornment Stand, a Key and a Word Tag, and Bouquet flowers in a Tiny Vial.
The bookcase is the smallest Vignette Box with some chipboard molding I made around the top and bottom of the box. It is painted with Lost Shadow Distress Paint. The books were made with book paper and Back Drops scraps. The words on the bindings are cut from the Curator Snippets.
The balcony is made with a Metal Gate, Adornment Ornate, and two long floral pieces from Adornments Nature. All gone over with Statuary Foundry Wax and Picket Fence Distess Paint.
The two Deco Frames are showcasing a floral from the Palettes Ephemera and the map is from the Organic Layers pack.
These floral pieces I used were from a retired set called Adornments Nature. I somehow didn't realize they were old. I somehow mixed them in with the new release in my muffin tin. So I apologize and if you don't have this set in your stash, I would use the long leaf pieces in the new Adornments Foliage.
I went over the raw edges of the Curio Frame with the Statuary Foundry Wax and then framed the portrait from the Palette Ephemera Pack.
I put another Tiny Vial on the mantle along with the floral Mini Flair and some more Bouquet flowers,
The label is from the Curator Snippets and the stopper is one of the Antique Gems.
That Mini Flair is so pretty!
The mantle was made with one of the Baseboard Windows, some scrap wood pieces but you could layer chipboard, and chipboard molding. The floral piece is another one from Adornments Nature.
Again I apologize for somehow mixing those pieces in with my new stuff
and not realizing they weren't new. I'm still shaking my head at myself.
But I had to say that they were absolutely perfect for this piece!
As always I am so thankful that you took the time to stop by here and/or my Youtube channel. Your support and kind comments are always, always such an encouragement to me. Thank you!
I wish you a very creative day!
Tami
I
am an affiliate with Simon Says Stamp and Scrapbook.com so the links
below send you to one of those stores depending on which logo you
choose. If you wish to purchase something from either store and use one
of my links below, I get a small percentage of your order, at no additional cost to you. This helps me to defray the costs of this blog, the time, the ideas and tutorials I post here.
This Tea Time Clock began as just a celebration of afternoon tea, but as
it started coming together, it began to remind me of a special
afternoon tea almost 26 years ago. I adore how this piece turned out for
the Tim Holtz Idea-ology 2023 release and it is going to be one that I
keep.
I painted Foundry Wax Guilded onto the base and rim of the Curio Clock, then attach two Collage Strips to the outside of the clock.
I made brackets and a handle out of the Adornments Silverware and covered them with Guilded and Sterling Foundry Wax as well.
The Transparency Layers have some really beautiful pieces in them, but I chose this round floral transparency for this tea time clock and I think it is perfect. As I started to assemble the shelf inside the clock, I realized it reminded me of the afternoon tea my husband and I had almost 26 years ago on the day we got engaged.
We spent the whole day together in Pasadena enjoying the Huntington Library and Gardens, afternoon tea at the Rose Tree Cottage, and ending with dinner and a musical. He asked me to marry him after breakfast so we were already engaged in this photo. The teacup ephemera in the Palette Ephemera actually looks like a tea cup my husband bought from Edmund at the Rose Tree Cottage several years ago. We had enjoyed tea there individually many times before we were dating and obviously since.
Once I realized that this piece was taking the turn from just a tea clock to a memory piece, I started adding things to go with that memory. All these Word Tags and the Heart Charm on the Hook Clasp were the perfect addition,
As was the little jam jar. The Rose Tree Cottage has their own jam blend so I had to include that and attach the little 2 Word Tag to it since the saying always goes"Tea for Two."
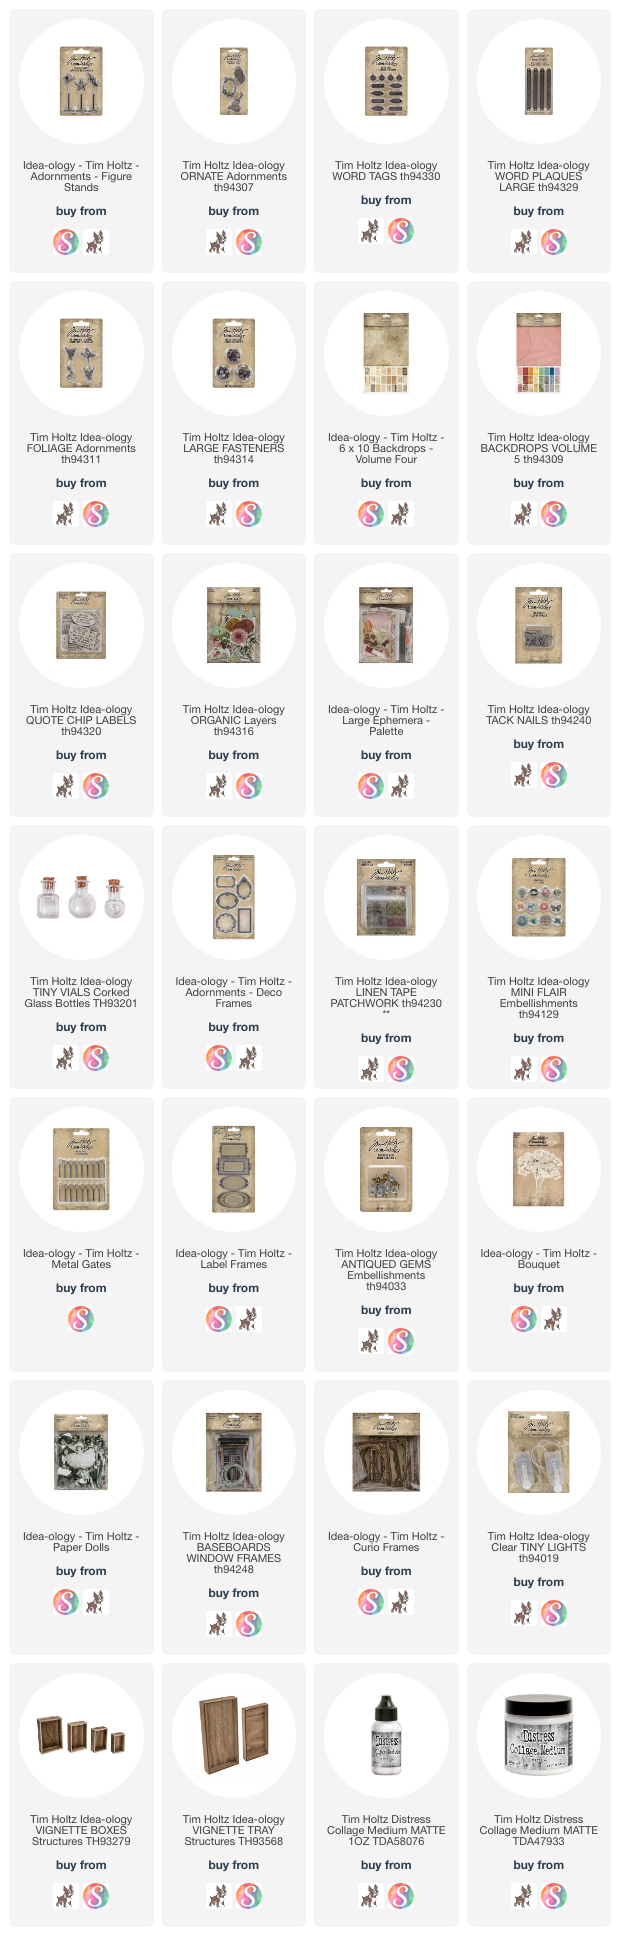
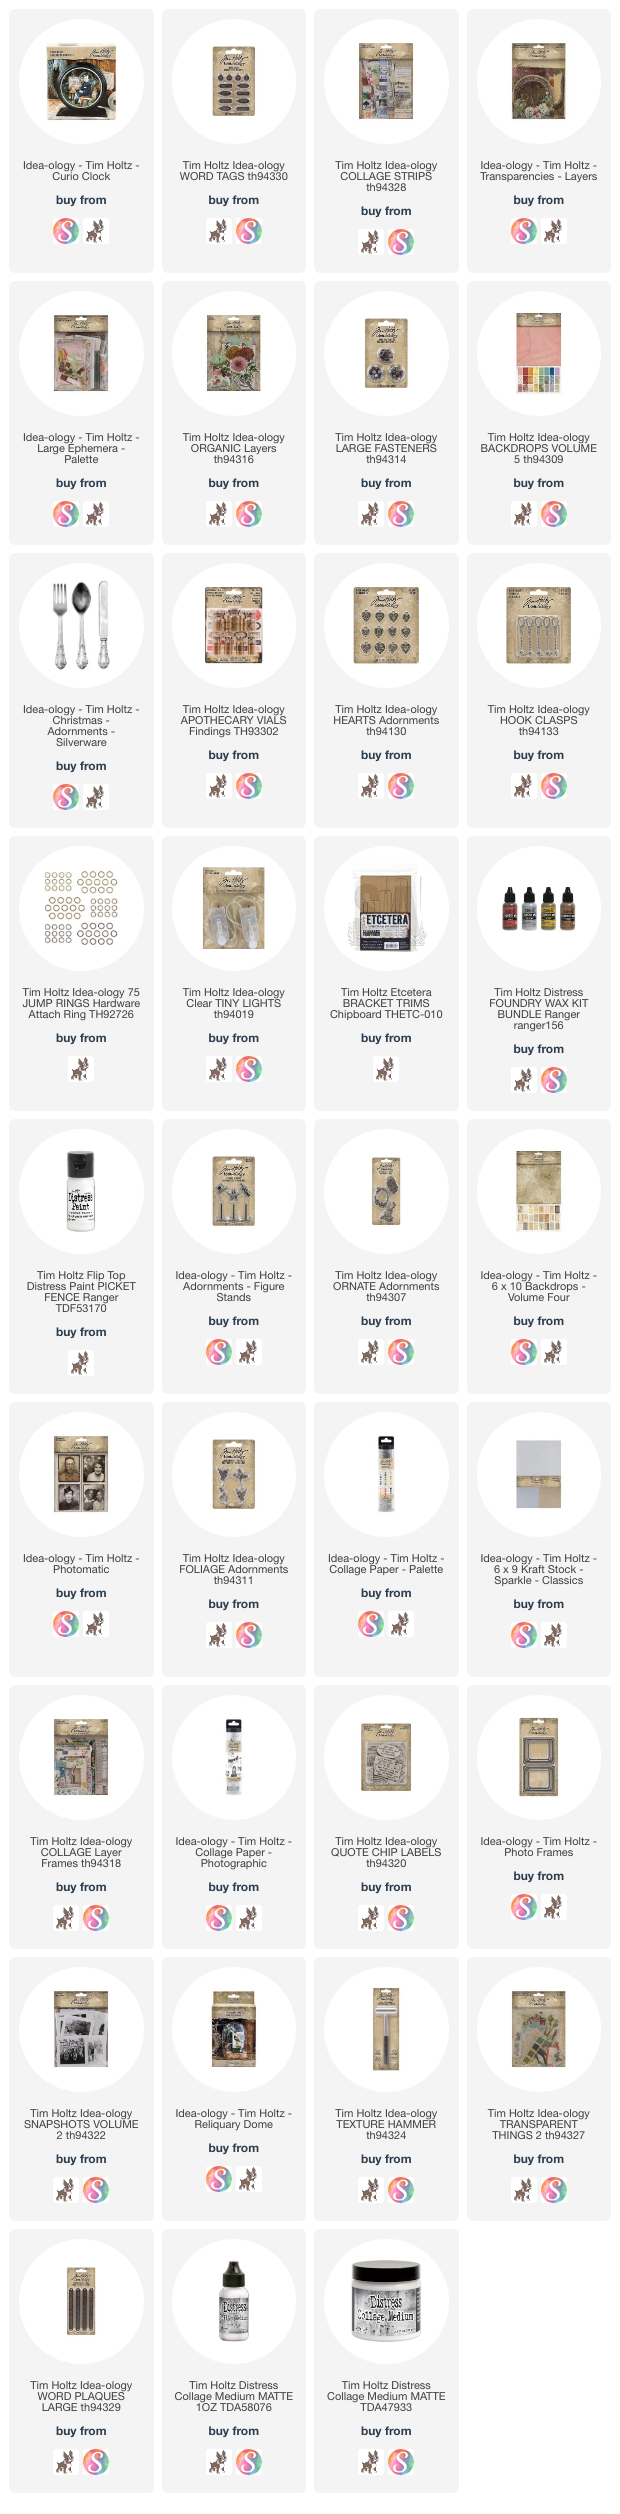
I think those are all the details. The video tutorial goes into more depth as to all of the things used and I have all the products I used linked below.
Thank you so very much for stopping by and I do hope you have a very creative day.
Tami
I
am an affiliate with Simon Says Stamp and Scrapbook.com so the links
below send you to one of those stores depending on which logo you
choose. If you wish to purchase something from either store and use one
of my links below, I get a small percentage of your order, at no additional cost to you. This helps me to defray the costs of this blog, the time, the ideas and tutorials I post here.
I made this Botanic Luminary for the Tim Holtz 2023 Idea-ology Release.
The four floral panels in the Transparent Things 2 release are gorgeous
and I wanted them to shine, literally. So I built a luminary just to
showcase them.
Here is the process video for making this lantern. I hope you find it helpful.
All of the botanic panels in the Transparent Things 2 pack are stunning. Im looking forward to having this on a side table in my home bringing beautiful floral light to the room.
The Texture Hammer is awesome!! Be sure to texturize all the parts of this luminary BEFORE you start to assemble it. LOL! It's much harder to do after assembly.
Lots of Foundry Wax and Lost Shadow Distress Paint on this project.
Have a creative day,
Tami
The snips I used can be found here: Miter Snips I am not an affiliate or in anyway associated with this company, just sharing where I got the ones I use.
I
am an affiliate with Simon Says Stamp and Scrapbook.com so the links
below send you to one of those stores depending on which logo you
choose. If you wish to purchase something from either store and use one
of my links below, I get a small percentage of your order, at no additional cost to you. This helps me to defray the costs of this blog, the time, the ideas and tutorials I post here.

 These makes in today's post are from 2020 using Tim Holtz brands. For details and photo tutorials, click the title of each make. The titles are linked to the blog posts. I still wasn't doing regular youtube tutorials yet, so step out photos were the thing.






 t
t