Mini Bernice from Tim Holtz Colorize is ready to celebrate! Instead of a card to celebrate, how about making a vignette box? This
celebratory box can be placed at a table setting for the person being
celebrated, or on a desk or dresser or bookshelf as a reminder of a
special moment.
I just love that the re-release of some of our favorite Tim Holtz
Colorize animals included new mini versions. The mini Bernice fit
perfectly on a square vignette box with enough room for a sentiment and a
bunch of balloons.
Here is a short video showing how to cover the vignette box and assemble Mini Bernice.
The Idea-ology Palette papers are so perfect for making fun vintage patterned balloons.
I colored Distress Cracked Leather cardstock with various browns and Tattered Rose Distress spray stains. I think the cracked leather paper gives the hippos and elephants a very authentic skin texture.
I needed to make sure that Bernice was grounded on the front, so I tore a little strip of the yellos book page from the Palette Yellow, and adhered it to the front before I attached Bernice. Then added some Cello Tape because I could.
The sentiment is from the Handwritten die release earlier this year and I also cut it from Palette paper as well as the hat and glasses.
From this angle you can see that I put foam tape behind Bernice and behind the three small balloons, all to add a bit of dimension to this piece.
The large Square Vignette Box is covered with Palette Yellow. The bitty floral on the front and the tickets on the sides. I added some bits of Idea-ology Cello Tape here and there to go with the vintage feel of this piece.
Thank you so much for visiting!
Have a creative day,
Tami
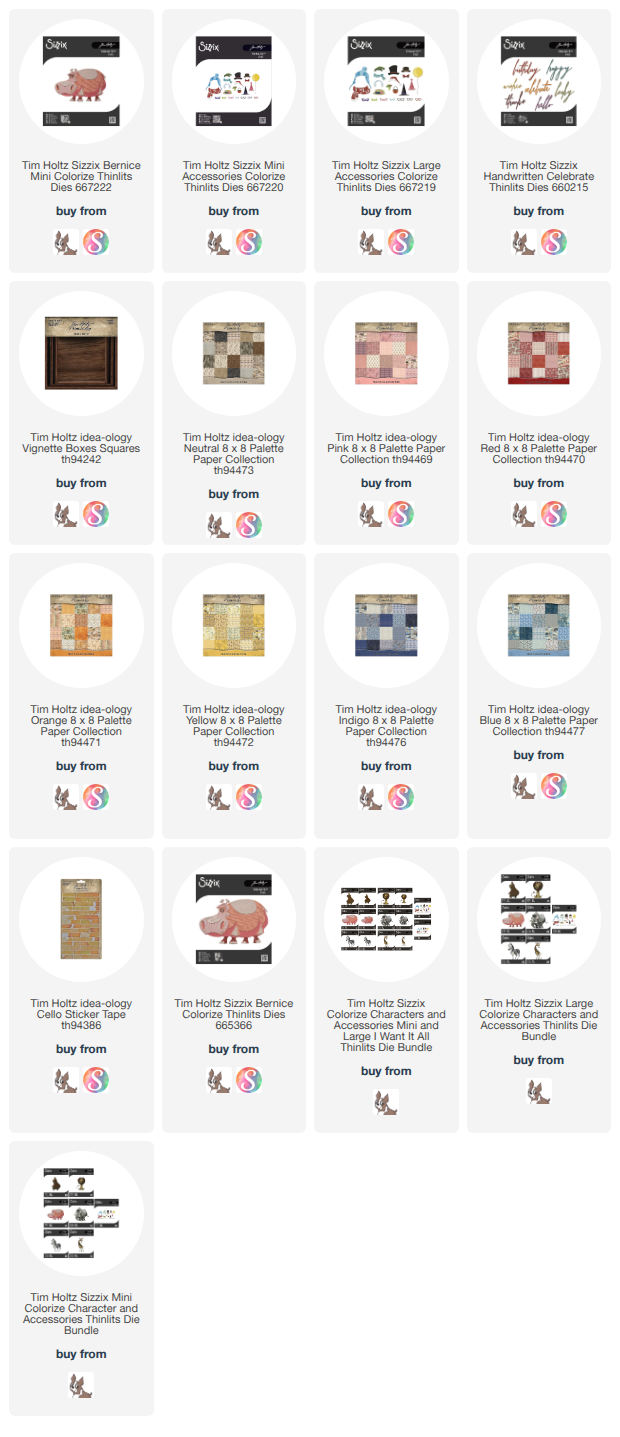
Below are my affiliate links for the products I used for this make.
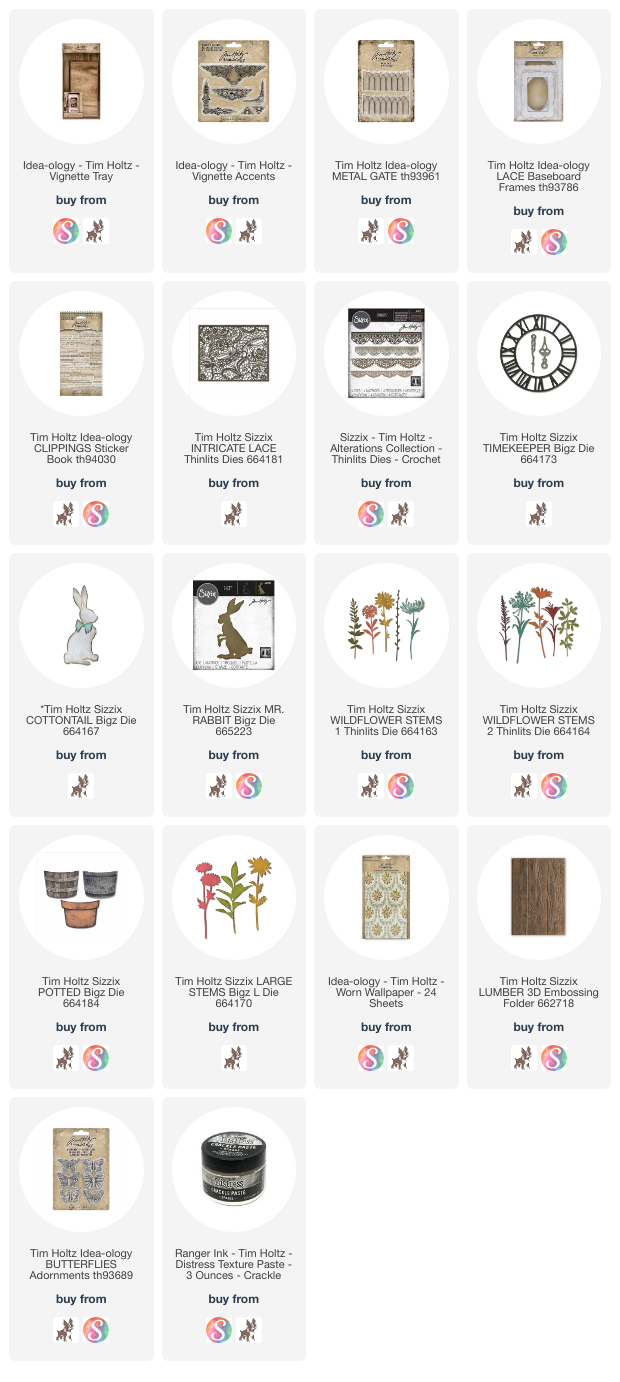
I've done a compilation post many times for Christmas and Halloween, but I haven't done it for any other celebrations, so I thought this year I would post some past Spring/Easter makes. If you click the links below it will take you to the blog post tutorials. Today's posts are from makes from 2018-2019 and they are full of info and inspiration that I hope sparks some inspiration to make. I was not doing Youtube yet, so the posts are photo tutorials.
If you click the title of any of the posts below, it will take you to the tutorial for that post.
I had forgotten all about this make. Oh I really thought it was so pretty and chippy and the texture the crochet dies added to the sides of the vignette trays was fabulous. I wish I had gotten a better picture of that for the blog before I sent it off.
When I was making this I thought it would make a lovely piece for a spring wedding or bridal shower decor piece. This is a technique I have used many, many, many times over the years in different ways.
I had so much fun making this back for the release of the Wild Flower Stems 2 and the Potted Bigz die. So much fun! That was the year Tim's CHA booth for Sizzix was like a little potting shed.
My obsession with the 3D Lumber Texture Fade was on full display here. If you look through my blog in early 2019, you will see I am using it in everything. LOL
What a great surprise to have Tim Holtz and Advantus produce a small Spring release for Idea-ology! I love creating for a holiday or theme and this was no exception. I had an absolute blast making things with the Salvaged Rabbits and Tiny Eggs. Along with the three makes I sent to Tim for the live release/demo, I have two more makes in the wings. But let's not get ahead of ourselves. Today, let's enjoy this Vignette Divided Drawer.
This is an indepth tutorial showing you how to make this Spring Divided Drawer.
This make has three distinct spring scenes using the Salvaged Rabbits and Tiny Eggs, along with lo9ts of Idea-ology from my stash. The top scene is a rabbit gathering fresh carrots.
I painted the rabbit with Distress Paint, made the carrots by following
this tutorial by Tim Holtz, and added some layer from Collector and
dimesion with Junk Drawer Baseboards.
What a cute bunny face!
I love the pretty garden feel of this scene. I didn't need a ton of eggs to tell the story of this box, just four.
A little robin happened upon an empty urn planter and made it into a
nest. A few Heirloom Roses and a metal gate and we have a lovely garden
scene.
An how can I make a bunny scene with out my signature cabbages? The just say Spring to me!
Baubles were a good base for the cabbages, but I think a ball of paper works just as well. I love how the bunny's paws are shapped so he can be holding something or reaching into something....like a big barrel of yummy cabbage for his lunch! Thank you very much for visiting my blog. I hope you were able to take time to watch the tutorial too. I appreciate your support!
Have a creative day,
Tami
I am
an affiliate with Simon Says Stamp and Scrapbook.com so the links below
send you to one of those stores depending on which logo you choose. If
you wish to purchase something from either store and use one of my
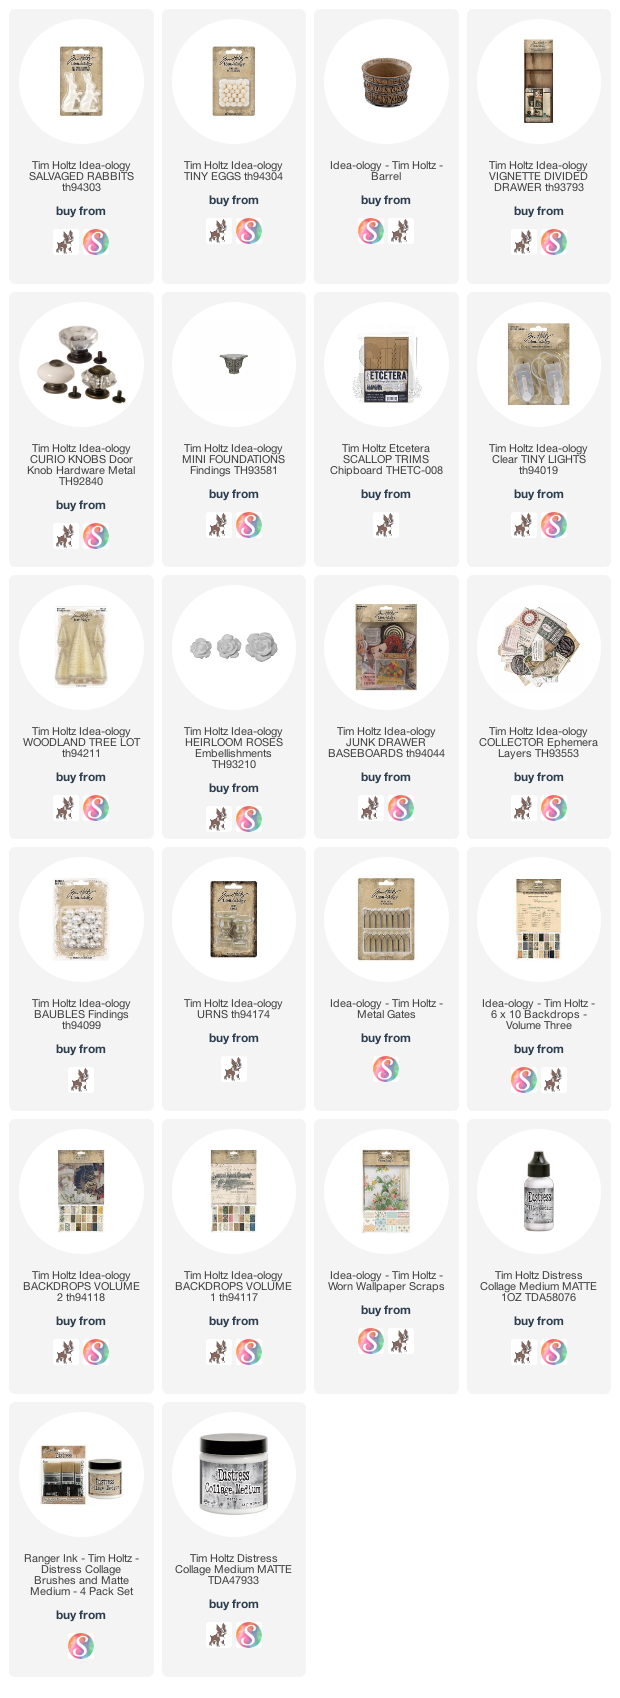
links below, I get a small percentage of your order, at no additional cost to you. This helps me to defray the costs of this blog, the time, the ideas and tutorials I post here.
On my blog today I have a project I made last fall using the 2021 Tim Holtz Christmas Idea-ology release. As I announced in December, due to health issues with my family, I was unable to post all of the tutorials or walk-throughs of all of my projects and some of them had to be set aside. This was one of those.
When Tim Holtz released the 2022 "everyday" line of Idea-ology, I knew I wanted to make another one for summertime. It's been a work in progress for quite awhile, but I did finish it and will be posting the tutorial for that in the next few days. So I thought that now would be a great time to post the walk-through of this project since many people do Christmas in July makes.
This is the walk-through I recorded last fall before I shipped the project to Tim for the reveal. I hope seeing the project in a video paired with the photos below will help inspire you if you want to make a similar project in your own style.
I began by removing the divider out of a Vignette Divided Drawer on the side with the biggest opening. Then on the end with the one small squarish opening, I cut some chipboard an 1/8" shorter than the sides and adhered them to all four sides.
Then I cut a squarish piece to go over the tops and sit just inside the edges.
It should look like this when you are done.
Now you need to decorate the box. Getting a good amount of Distress Collage Medium on your brush, cover one area of the box at a time. Have the Christmas Collage paper ready to adhere.
You want to press the collage paper into the wood and gently press the air out of it. Do not wipe it with your hand or a towel as it will tear easily. Continue section by section until you get the whole piece covered.
The rest of the post is just close ups of the make and individual photos of the fronts and insides of all the folders.
If you have any specific questions that the video and the post don't cover, I am happy to try to answer them. Just use the contact form at the right.
Thank you so much for making it this far! I truly appreciate your support.
Have a crafty day!
Tami
I am an affiliate with Simon Says Stamp and Scrapbook.com so the links
below send you to one of those stores depending on which logo you
choose. If you wish to purchase something from either store and use one
of my links below, I get a small percentage of your order, at no additional cost to you. This helps me to defray the costs of this blog, the time, the ideas and tutorials I post here.