This Tea Time Clock began as just a celebration of afternoon tea, but as
it started coming together, it began to remind me of a special
afternoon tea almost 26 years ago. I adore how this piece turned out for
the Tim Holtz Idea-ology 2023 release and it is going to be one that I
keep.
I painted Foundry Wax Guilded onto the base and rim of the Curio Clock, then attach two Collage Strips to the outside of the clock.
I made brackets and a handle out of the Adornments Silverware and covered them with Guilded and Sterling Foundry Wax as well.
The Transparency Layers have some really beautiful pieces in them, but I chose this round floral transparency for this tea time clock and I think it is perfect. As I started to assemble the shelf inside the clock, I realized it reminded me of the afternoon tea my husband and I had almost 26 years ago on the day we got engaged.
We spent the whole day together in Pasadena enjoying the Huntington Library and Gardens, afternoon tea at the Rose Tree Cottage, and ending with dinner and a musical. He asked me to marry him after breakfast so we were already engaged in this photo. The teacup ephemera in the Palette Ephemera actually looks like a tea cup my husband bought from Edmund at the Rose Tree Cottage several years ago. We had enjoyed tea there individually many times before we were dating and obviously since.
Once I realized that this piece was taking the turn from just a tea clock to a memory piece, I started adding things to go with that memory. All these Word Tags and the Heart Charm on the Hook Clasp were the perfect addition,
As was the little jam jar. The Rose Tree Cottage has their own jam blend so I had to include that and attach the little 2 Word Tag to it since the saying always goes"Tea for Two."
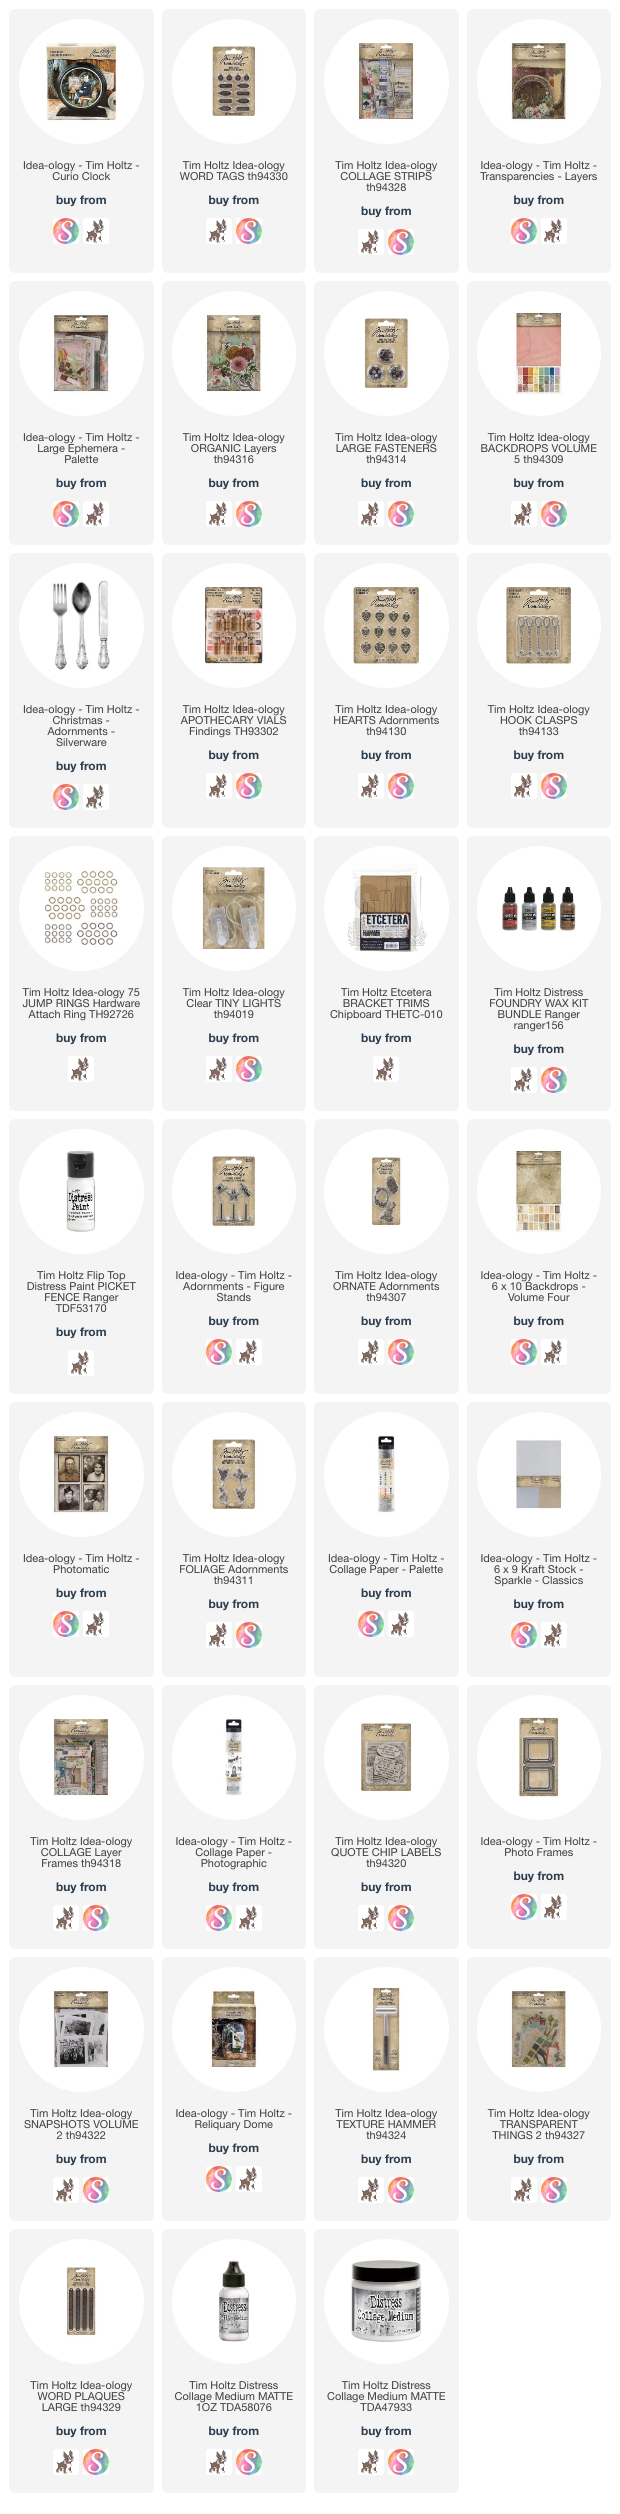
I think those are all the details. The video tutorial goes into more depth as to all of the things used and I have all the products I used linked below.
Thank you so very much for stopping by and I do hope you have a very creative day.
Tami
I
am an affiliate with Simon Says Stamp and Scrapbook.com so the links
below send you to one of those stores depending on which logo you
choose. If you wish to purchase something from either store and use one
of my links below, I get a small percentage of your order, at no additional cost to you. This helps me to defray the costs of this blog, the time, the ideas and tutorials I post here.
This is a sample project I made with the new Tim Holtz Idea-ology 2022
release. I thought the new Curio Clock needed to be a Hobbit House, so I made it into one. I really enjoyed this make and hope you enjoy hearing about all the details that went into this make. I have to confess that I have never read The Hobbit or Lord of the Rings or seen any of the movies. But my husband has watched the movies dozens and dozens of times as has my mom, who used to watch them with my sister and dad. So I leaned heavily on their knowledge of hobbits to complete this make. When they both approved then I knew I had done a good job. You may be asking yourself, "If she had never seen the movies or read the books why did she even think of a Hobbit House?" That is a very good question, and the answer is, I have no idea. I don't control the things that pop into my brain as inspiration and need to be made, it just happens and I go with it.
I am able to say more in the Youtube tutorials than I am in these blogs, so I hope you will pop over there and watch the video for more detailed explanations. Begin by popping the silver rim from the front of the clock, then cover the outside with a layer of Distress Grit Paste. I used the white Opaque Grit Paste, because I was out of the Transluscent, but either one will work. The Translucent may be better because it won't take so much paint to cover it.
Once the entire clock is covered, set it aside to dry.
There is no need to cover the back with grit paste, just pull it off and set it aside to make the door. Also, I almost used these Small Paper Dolls that were just released because they were the closest ones that looked like Hobbits because they had bare feet, but their scale against the door seemed off so I decided not to use them.Once the grit paste is dry, paint it with a brown Distress Paint. When the paint is completely dry, add some color variation with Distress Crayons. Smooth them out with a damp finger. The door begins by coloring some Woodgrain Cardstock green or whatever color you want your Hobbit door. Then paint the silver rim whatever color you want the door trim to be. You need to cut a piece of scrap paper the size of the rim and find the center for the Hitch Fastener door handle. Cut the woodgrain paper into 1/2" strips and then ink and distress the edges and adhere them to the paper circle. I followed the lines I used to find the center because I wanted the boards to be straight up and down on the door. When the woodgrain is adhered, attach the circle to the back of the painted rim and adhere the entire piece to the center of the back panel of the clock.It should look something like this at this point. Adhere some texture paste along the edge to place some faux bricks around the edge. Wait, where did the the faux bricks come from? Well, while you were waiting for the door to adhere to the clock, you made them like this...
Using brick colored Idea-ology Kraftstock, emboss a piece through the Tim Holtz Sizzix Brickwork 3D embossing folder. Cut out all of the whole bricks. Then I sanded the edges so they would look old and not like pieces with sharp edges cut from paper. I'm not gonna lie, the cutting and sanding was a bit tedious, but worth it. Then I ran the raised tops over the Hickory Smoke Distress pad.At that point the door was dry, so I put some of the Seasonal Grave Texture Paste on the outside edge of the clock and press the bricks into it. Let it completely dry then cover the whole back piece with a layer of Collage Medium and smooth it out with your fingers. Once that is dry, add some Walnut Stain Distress Crayon to the bricks, door frame and door to add age and dimension.
The inside of the back panel needs to be decorated so I added some Backdrops Vol 3 paper, Woodgrain paper, and two of the Baseboard Windows with a piece of the Vellum Scenes behind it.
I made several books out of scraps, old book paper, the new Design Tape, and Curator Snippets because I heard Hobbits like books.
I also heard that Hobbits like adventure and maps, so I took this circle map (there are two in the new Memoir Ephemera packs) and torn it into pieces, inked the edges, rolled them up, and tied them with some string.
I felt the Hobbit in the house needed a broom to clean up, so I took one from my Halloween stash and cut off the bottom stitching and then trimmed it short for a Hobbit. Next I made a little desk for the Hobbit out of an Idea-ology Matchbox. I cut it in half and covered the front of the "drawers" with some of the new Patchwork Fabric Tape. The outside of the matchbox pieces was covered with the Marbled Design Tape.
I drilled a hole in the bottom of the clock with my Dremmel, and then built up a flat base around it with foam and chipboard for the floor of the hobbit house.It's time to thread the lights through the bottom, attach the battery pack with foam tape, and foam dots to the underneath of the bottom base of the clock.
Here you can see the flat floor created for the house.
I needed a channel to thread the lights up through so I could light the clock from the top. So I layered foam tape on the front and back all the way around the clock.
I attached all of the lights in the top of the clock and covered them part of one of the vellum scenes.
Here you can see the lights rolled up behind the vellum and between the foam tape.
I covered the sides with a piece of the Backdrops Vol 3 paper that looks like burl wood. This helped finish the inside and cover the lights on the one side.
Here it is with the lights on so that you can see the lights only go on one side.
Next I covered the bottom of the clock with additional strips of the brown woodgrain cardstock that I used on the back panel.
It's now lit up and has walls and a floor so we are ready to start moving our Hobbit in.
I put the desk in the center with the smallest book made with the Curator Snippets, and I added a Key addornment and a drippy candle.
Here is a close-up to show how it looks with the window in the background.
I place the broom in the corner.
And I had a vial from a garden shed project a couple of years ago that I added a Curator Snippets label to and then added the rolled up maps. You can see the technique I used to make the vial look old in this post.
That's it for the details and explanations. If I missed something you were curious about, please contact me through the form at the right. I cannot figure out a way to reply to your comments so that you see them. I do read them all. I've searched and tried everything in this platform and just can't see why it's not possible. But I can reply to your contacts through the form at the right.
I am always so thankful when you stop by my blog and grateful for your comments and support. Thanks you all so much!
Have a creative day,
Tami
I
am an affiliate with Simon Says Stamp and Scrapbook.com so the links
below send you to one of those stores depending on which logo you
choose. If you wish to purchase something from either store and use one
of my links below, I get a small percentage of your order, at no additional cost to you. This helps me to defray the costs of this blog, the time, the ideas and tutorials I post here.