Saturday, January 26, 2019

Spring - Tim Holtz Sizzix Chapter 1 Cottontail

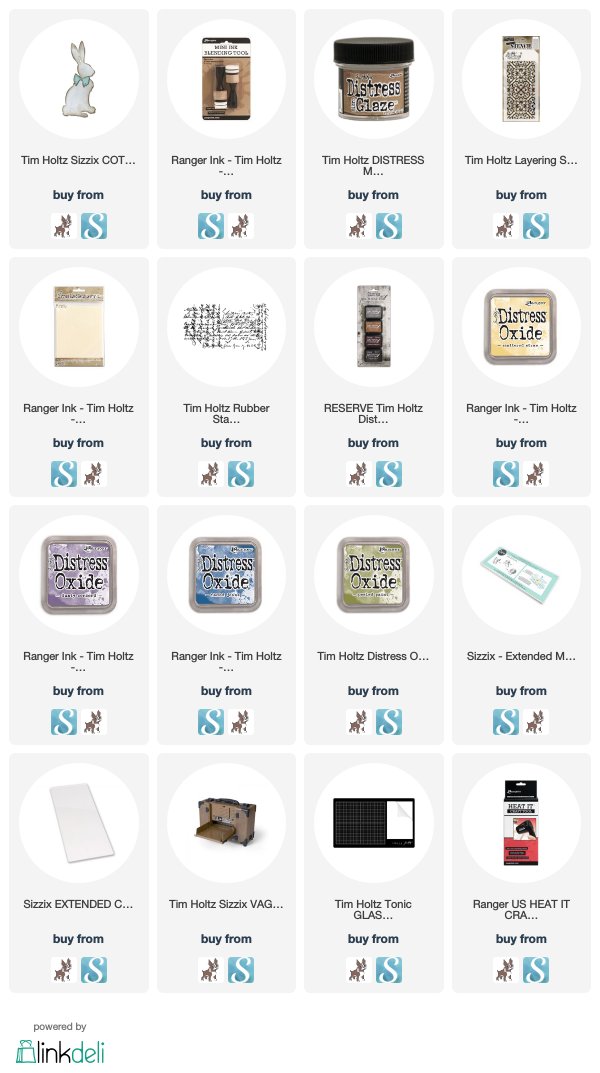
Cottontail is such a great Bigz steel rule die from Tim Holtz and Sizzix. You aren't just limited to Easter with this die, because he is cute for spring designs, Valentines (honey bunny!) Disney scrapbooking (White Rabbit, March Hare, Roger Rabbit, Thumper, you see where I'm going here) clothing, babies, and friends who have pet bunnies!
Today's card was made for the Ranger Ink booth to show uses for Distress Inks and Oxides. The background was made the same way as both Funny Farm stamp cards on the previous post.
Take a clean blending foam, get a little bit of Distress Micro Glaze on it, and blend it into the foam on the Glass Media Mat.
Apply it to some Distress Mixed Media Heavystock through a layering stencil. I used the Flames THS091 Layering Stencil on this card.
Put some Distress Oxide colors on the Nonstick Mat portion of the Glass Media Mat. Spritz with water until it beads up.
Apply ink with the Wrinkle-free Distress technique that we have all learned from Tim Holtz, and I know many of us use it often.
Put the paper, microglaze side down into the Oxides,  lift it up, turn it over and dry.
Remember, you get what you get and you don't throw a fit. Do not double dip. Put the paper in the ink once and then dry no matter what it looks like.
Tap the paper into the ink in a few places and dry, continue until you are happy with the look. You can add in a little bit of an additional color like I did here with the Dusty Concord.
This sample for the tutorial has more blue and green than the one on the card because they are all going to turn out a little differently, but that's the fun of playing with ink!  Plus, I think I may have added a touch of Wild Honey to the sample card background now that I'm looking at it, but just have a go at the Micro Glaze Resist Technique. I guarantee it is addicting! You won't want to stop making backgrounds.
I cut Cottontail from some natural color cotton canvas and then colored him with some Dusty Concord Distress Oxide. His bow was colored with Faded Jeans Distress Oxide. Then I stamped over them with the Script THS stamp in Ground Espresso Archival Ink
The sentiment was cut using a new alphabet coming out in April from Tim Holtz in his Chapter 2 release called Label. It is tiny and supposed to look like the raised letters from a label maker.
I tend to keep my cards fairly simple, so they are easy to make and can be duplicated quickly.  I hope this inspires you to try something fun with Mr. Cottontail

Thank you so much for visiting!
Tami

I am an affiliate with Simon Says Stamp and Scrapbook.com so the links below send you to one of those stores depending on which logo you choose.  If you wish to purchase something from either store and use one of my links below, I get a small percentage of your order, at no additional cost to you. This helps me to defray the costs of this blog and the ideas and tutorials I post here, and your help is greatly appreciated! Thank you!

Wednesday, January 23, 2019

Funny Farm - Tim Holtz Stampers Anonymous

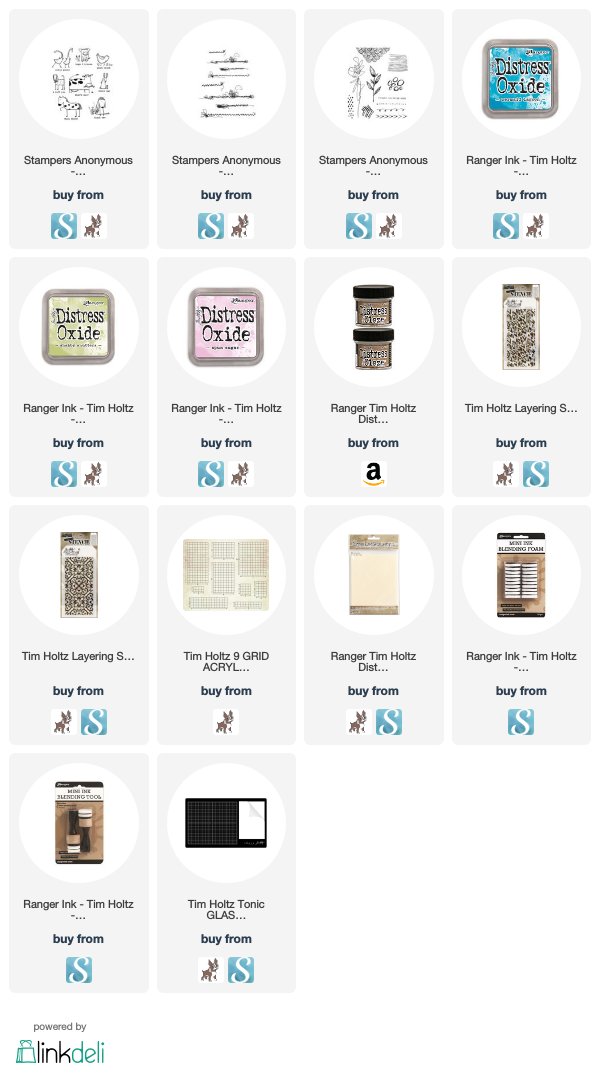
 The Funny Farm stamp set from Tim Holtz Stampers Anonymous was a big hit at Creativation. They are very cute animal sketches with quirky, funny sentiments and they pair beautifully with the other stamp releases for January, Stitches and Media Marks.
 For the background on both cards, I applied Distress Microglaze to Distress Mixed Media Heavystock through the Heartstuck Layering Stencil. Then I went ahead with the Wrinkle Free Distress technique and the hearts were revealed because the Microglaze acts as a resist.
 I stamped the Funny Farm stamp in Black Soot Archival on Distress Mixed Media Heavystock and then watercolored with Distress Ink.
 I used the Wrinkle Free Distress Technique on a small tag, then stamped some of the border stamps from the Media Marks 1 stamp set.
 The background on the second card is made the same way, using Microglaze resist through a layering stencil,  this one was called Flame Layering Stencil and the colors were Distress Oxides.
 I watercolored the stamp and sentiment.
 To add a little interest, I added two of the Stitches stamps .
That's a stamp, not sewing with a machine!
That's it! These two cards are super easy and paired with the Media Marks stamps and the Stitches stamp , card making just couldn't get easier.

Thanks so much for stopping by the funny farm today!
Tami


The product links below are to two stores I am an affiliate with, Simon Says Stamp and Scrapbook.com.  If you wish to purchase something from either store and use one of my links below, I get a small percentage of your order, at no additional cost to you. This helps me to defray the costs of this blog and the ideas and tutorials I post here, so thank you!

Tuesday, January 22, 2019

Party Like a Dinosaur -- Tim Holtz Sizzix Chapter One 2019

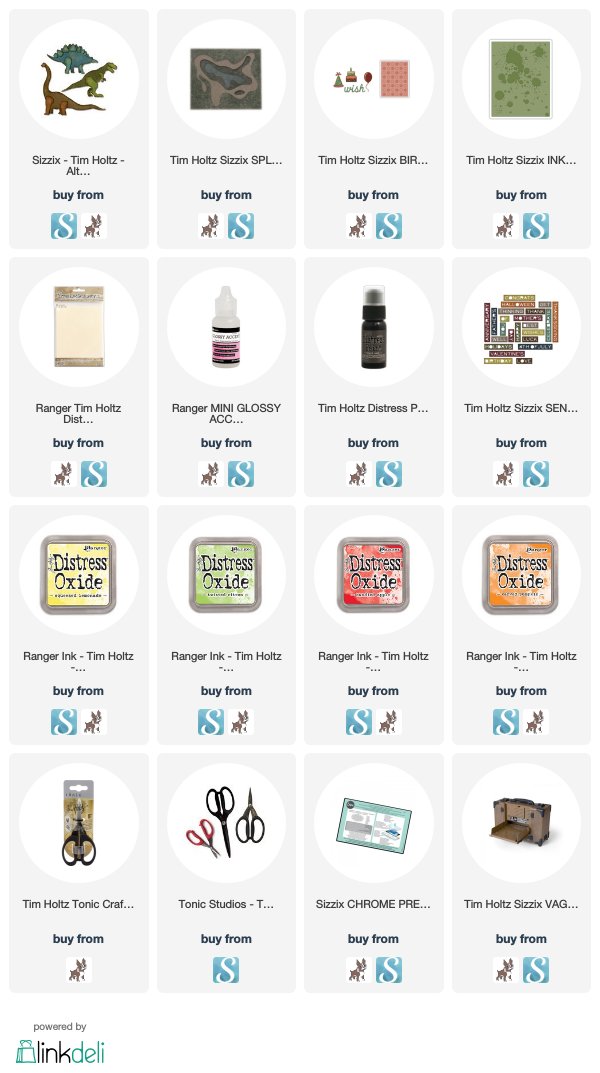
 How much fun would it be to have a T-Rex celebrate your birthday with you?  This card is chock full of fun product from Tim Holtz, foremost the fabulous Prehistoric dinosaur dies and the Splat die from the new Sizzix Chapter One 2019 dies.
I had a ball dressing up the Prehistoric T-rex so he was ready to go to a birthday celebration. His hat and balloon are from the Sizzix Birthday Sideorder released in 2018.
The dinosaur was cut out of a piece of dark green faux leather vinyl that I found in the upholstery section of JoAnn's.
Because the dies are thinlits you need to get the thinnest faux leather you can find and cut it on a Chrome Precision Plate.
I ran the die through the Vagabond several times. Then because the faux leather has a knit material on the back there will be areas still attached by threads.
You just need to take the Tonic Snips (the new fabric scissors from Tim's Tonic Haberdashery line will work perfectly for this job!) and run them around the back of the shape trimming the threads.
Then you will see that there may be some fuzzy threads around the edges. I just took my snips and trimmed the fuzz off the back.
I highlighted the texture on the faux leather by rubbing some Black Soot Distress Paint into the vinyl and wiping off the excess.
I just love how it turned out!
All of the papers are Distress Mixed Media Heavystock and are colored with Distress Oxides.
I cut the splat out of a piece of heavystock, then I colored all the pieces with Distress Oxides.

After all the pieces were colored, I took a piece of scrap cardstock and adhered the inked splat pieces to it. Once that was done, I applied Glossy Accents around the outside edge of the splat and then filled it in carefully. If you get a bubble or two, just leave them. Don't try to pop them. Tim's advice was not to freak your freak about it and just leave the bubbles. They will either pop on their own or not, but you make a bigger mess trying to pop them.

I ran the green base through the Ink Splats texture fade. Then I popped it up and put the dry Ink splat inside to adhere it.

Then ink each of the pieces for the hat and balloon, as well as the sentiment. Attach all the pieces as seen in the final picture.

I hope this card inspired you to want to try a couple of dies that you might not think of using at first, but that can make a silly, happy celebration card.

Thanks so much for stopping by and don't forget to party like a dinosaur!
Tami


The product links below are to two stores I am an affiliate with, Simon Says Stamp and Scrapbook.com.  If you wish to purchase something from either store and use one of my links below, I get a small percentage of your order, at no additional cost to you. This helps me to defray the costs of this blog and the ideas and tutorials I post here, so thank you!

Monday, January 21, 2019

RAWR - Tim Holtz Sizzix Chapter 1 Prehistoric

 I had so much fun with the Tim Holtz Prehistoric dinosaur dies.  These are great dies for cards, scrapbook pages or home decor for the kiddos, but they are also fun for adults who enjoy a bit of whimsy. 
When I get a new die or stamp that I'm going to be making a sample with, I start by cutting several or stamping several so that I can experiment. That's exactly what I did with these guys. I cut multiple dinosaurs out of Distress Mixed Media Heavystock and colored them with Distress Inks and Oxides. This is a great thing to do because then when you need a quick card, you can match the elements to a background and you are good to go!
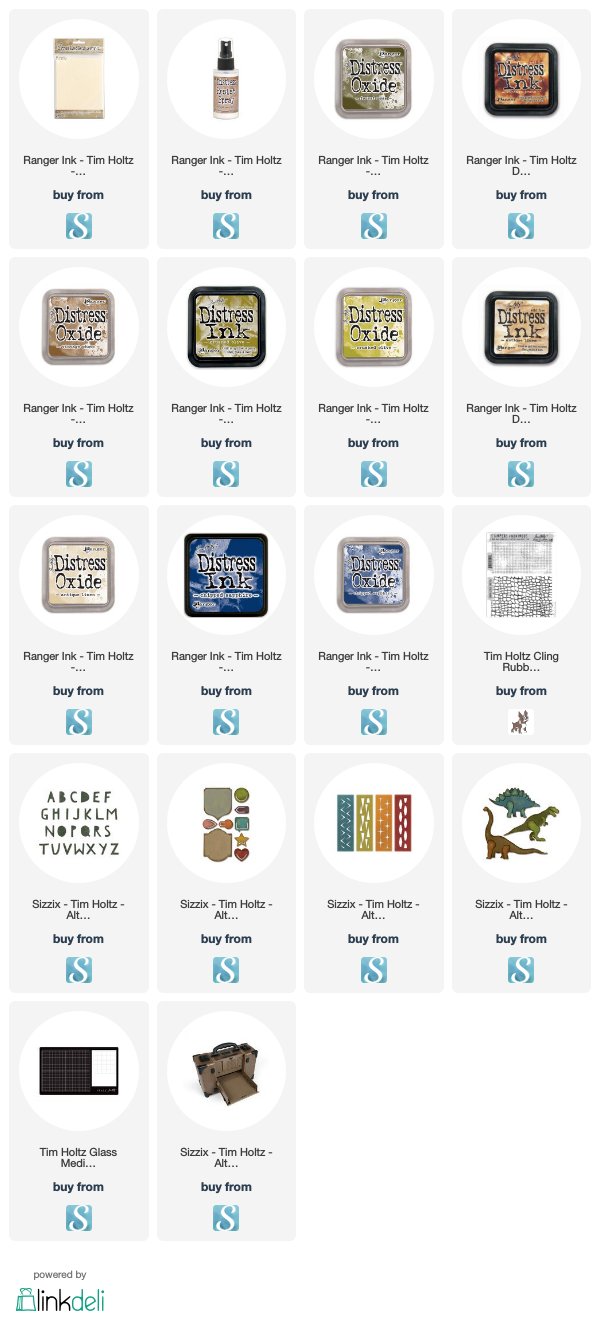
 This brontosaurus is colored with Crushed Olive and Vintage Photo Distress Inks. Then once he was assembled, I sprayed him with several coats of Distress Resist Spray. I love the texture it gave him.

Just behind him I cut a border from one of the Retro Repeats for a little added interest and backed it with a piece of heavystock colored with Vintage Photo Distress Oxide.
The sentiment on this card was cut using the Cut Out Uppercase Bigz die. It is cut from black cardstock and Distress Mixed Media Heavystock. I colored the Heavystock with Crushed Olive Distress Ink and then stamped the reptile pattern from the CMS185 Croc background stamp in Forest Moss Distress Oxide. Then once the letters were cut, I edged them in Vintage Photo Distress Ink and sprayed them with Distress Resist Spray just like the dinosaur.
The background of the card was made with Distress Ink and Distress Oxide using the "Wrinkle Free Distress" technique in Chipped Sapphire, Brushed Corduroy and Antique Linen.
I needed a tiny bit of interest at the top, so with the same bit of paper, that I colored with Vintage Photo Distress Oxide, to back the area cut out by the Retro Repeat die, I cut one of the clips from the Noted Side Order. It was just what I needed to balance out the design.
Before adhering it to the base, I did a little messy stitiching around the edge.

Thanks so much for stopping by today to check out this Prehistoric brontosaurus card.
Tami

NOTE: The link platform below is new to me so a few of the links may not work until next week sometime. All of the Scrapbook.com links should work.

Thursday, January 17, 2019

Retro Thanks - Tim Holtz Sizzix Chapter 1 2019

Did you catch Tim Holtz Sneak Peeks over the last week? Wow are there some great things coming our way in 2019 from Mr. Holtz!

The sneak peeks started with some wonderful new Sizzix dies in a grouping called Chapter One. A few of the dies fall into the mid-century design era and harken back to a fun, happy time where we were fascinated with all things space, science, and atomic related. That fascination was certainly obvious in the designs found in art, decor, toys, upholstery, fabrics and even home goods.
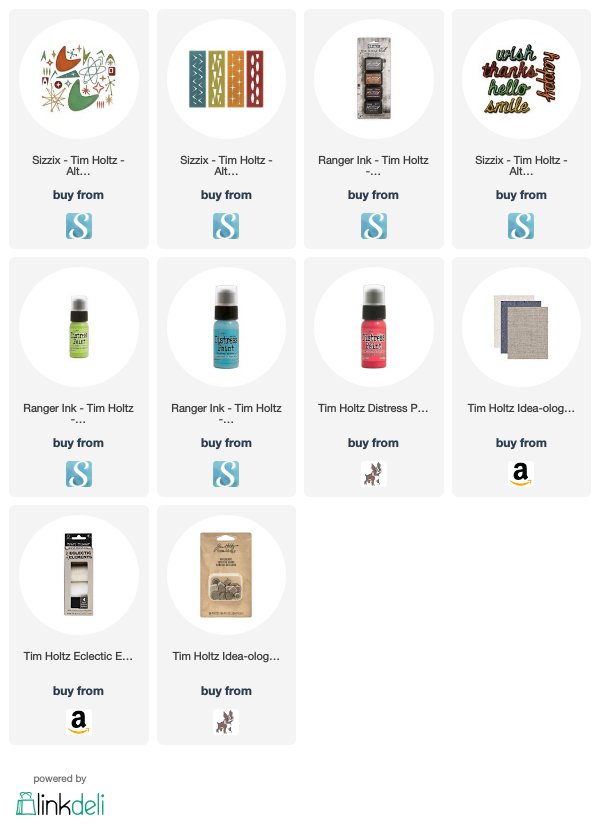
This thank you card was made using the Atomic Elements die set which has 25, that's right, 25 dies!  And as a bonus, some of the dies, once cut make additional shapes from the centers and cut-outs. This die set really gives you a bang for your buck.
To make this look like retro 50's fabric, I took some adhesive backed linen from Ideaology Textile Surfaces, which are retired, but I have hoarded several packages. You may have some in your stash or you can still find it online.
I attached pieces of the linen to paper, then cut one 4.25x5.5 piece for the background of the card. I took the rest of the linen and cut it into 3 pieces and painted the linen with three colors of Distress Paint: Broken China, Twisted Citron, and Abandoned Coral. That seemed to be a very 50's color scheme.
Once the paint had dried, I ran the Distress Archival Hickory Smoke Ink Pad lightly over the surface of the painted linen pieces and the plain linen background. You just want the grey to highlight the linen texture. This is a small detail but it really made a difference in the look of the card.
I picked the dies I wanted to use for this card and cut the same ones multiple times from the same color of linen. Then I attached them to the linen background. I even used the little bits that were cut off the sides to fill in the little spaces as you see above.
I reserved a large enough piece of the green linen to back the sentiment, which was the script portion of the shadow script die cut from black cardstock. That green piece was cut using the Retro Repeat die set.
This die set is really pretty amazing the way it works. It's kind of the die version of the Shifter Stencils. You can align the die to cut rows and rows and rows, or you can just cut one row, which is what I did on this card.
I finished the card by sewing around the background and sentiment. Then attaching three pieces of Eclectic Elements Craft Thread under the sentiment and attaching two Ideaology Nailheads.

If you missed the Facebook Live featuring these dies and others from Chapter 1 2019, you can still view it on Tim Holtz's blog

Thanks so much for checking in today!
Tami

NOTE: These links may not work. I'm new to this link format and there seem to be some problems. I'm in contact with the company and hopefully the problem will get resolved soon. But at least you can see where you can get the supplies and hopefully that will be of some help.