Tim Holtz's Sizzix Chapter 3 release of Halloween and Christmas dies is so much fun and just chock full of fantastic dies that can be added to any project, large or small, elaborate or simple. If you missed the reveal,
here is a link to the video of the Facebook live that Tim did revealing the dies and the samples. And let me tell you, the samples are mind blowing! I just kept staring at all the amazing ideas from the designers! Tim has links to all their blogs in the post so be sure and check it out.
I was so thrilled and honored to be asked to make some samples for the Chapter 3 dies. This post is going to concentrate on a few favors I made using several of the Halloween dies and some basic dies from previous releases.
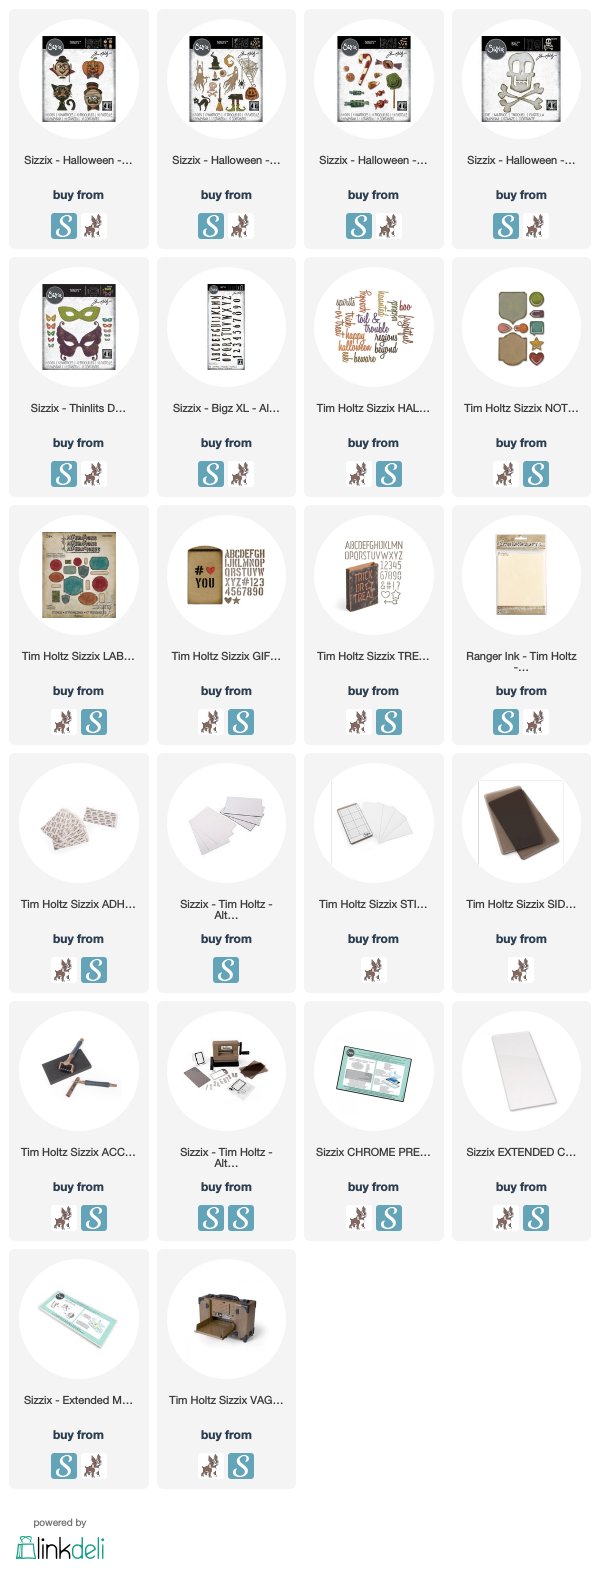
The basic dies I recommend having on hand to make little favors for any time of year, would be the tag that comes with the Sidekick, the Chapter 2 Noted set, the Labels set is one of my favorites, and the Gift Card Bag die are the ones I used for these favors.
For older kiddos or those with food/candy issues, a gift card to a favorite store is always a welcome gift. These two gift card bags were cut out of some 2018 Ideaology Halloween paper. For the Mummy card I wrapped it in a little distressed Ideaology Mummy Cloth.
I cut the mummy from the Hip Haunts dies using Distress Heavystock with Sizzix Permanent adhesive on the back to make layering a little easier. Once the pieces were cut out, I watercolored each piece with a Waterbrush and Distress Crayons. The word boo is cut from Halloween Words Script in two colors and offset.
This treat bag was made the same way as the mummy, but as you can see it has a pointed circular Label die behind the pumpkin Hip Haunt. You can pick and choose the different glasses, mustaches, or bow ties you can add to change the look. I think this one looks a little like Burl Ives.
The other shape is from the Chapter 2 Noted die set seen below. The two large shapes in that set are so great for cards and tags!
These candy sticks make a fun favor. I wrapped a band of Ideaology paper around them to hold them together, then attached this vampire label.
This kitty Hip Haunt reminds me of Scat Cat from the Aristocats. That was one of my favorite Disney movies growing up! I had the LP with the color illustrated book that we listened to over and over, because it was way before cable, VHS or DVD. LOL!
This is the tag that comes with the Sidekick, so don't forget if you have it, these Hip Haunt dies fit on the Sidekick and so it is easy to sit at your desk and make a bunch of little tags!
And speaking of little tags, this one is made from the Labels die and the Noted die with the cat from the set of Frightful Things.
It is a die set of a bunch of fun little Halloween things. I cut this cat out of some old Bo Bunny Flocked paper that I have in my stash, so it is furry. Serious so much fun! It's easy to tie this little tag onto a candy goodie bag, or gift or napkin at a place setting.
These are some candy goodie bags that I also cut using the Noted dies and then I just added the number 31 cut from the new AWESOME alpha called Handmade. I love these alphas so much! I always save to purchase them because they are an amazing value and they are steel rule so you can cut everything on them. Well worth the price. I have purchased every alpha die Tim has produced because I love them so much!
I also added three of the tiny candy pieces from Sweet Treats across the bottom of the tag.
Now
if you look at the packaging you can see that these treats have several
layers. You can cut all the layers and do that, but I wanted these tags
to be quick, super quick, so I only cut the base piece of each one and
watercolored them. You can see a little detail from the dies where it
embosses where the other pieces go, but I just used those as coloring
guides, especially for the candy corn.
Moving on to other fun favors, these lollipop favors would be so much fun on a tablescape, or sitting on a plate, or sticking out of a jar, and they are super easy to make! First I bought the colored lollipops from my local party store. They are already wrapped, but I put them into a clear cellophane bag and tied some ribbon around the bottom of each just to give it a little more detail and balance.
Then I cut some of the large Masquerade masks from some 2018 Ideaology Halloween Paper. The cool thing about the Masquerade Masks is that they not only have these large masks, but they also fit on the Ideaology Paper Dolls. Have fun and cute is that?
I added a little bit of silliness to these favors by cutting several of the eyeball dies from the Frightful Things set. It's a great eyeball!
Another whimsical die in this release is the Skull and Crossbones. It is
a cartoony version of a skull and crossbones that can be used for many
things because it is a steel rule die. For these favors I only cut them out of 2018 Ideaology Halloween paper.
I again added the eyeballs and in the plain skull it makes him look
funny and silly. I love it! When they are put in the mask and the mask
is put over the same skull, it becomes much more sinister. Is't that
strange how it totally changed the look?
That's it for this year's Halloween favors....for right now. They are so fun and easy to make that I know there are more that I will be posting in the future.
Thank you so much for stopping by and checking out my first Chapter 3 post, and don't forget to stop by
Tim's blog to watch the full video reveal if you missed it and to see all of the incredible samples from the designers!
I am an affiliate with Simon Says Stamp and Scrapbook.com so the links
below send you to one of those stores depending on which logo you
choose. If you wish to purchase something
from either store and use one of my links below, I get a small
percentage of your order, at no additional cost to you. This
helps me to defray the costs of this blog and the ideas and tutorials I
post here, and your help is greatly appreciated! Thank you!