This little card packs a giant primordial greeting! The technique for making it is one that can be used for many other mediums besides just cards.
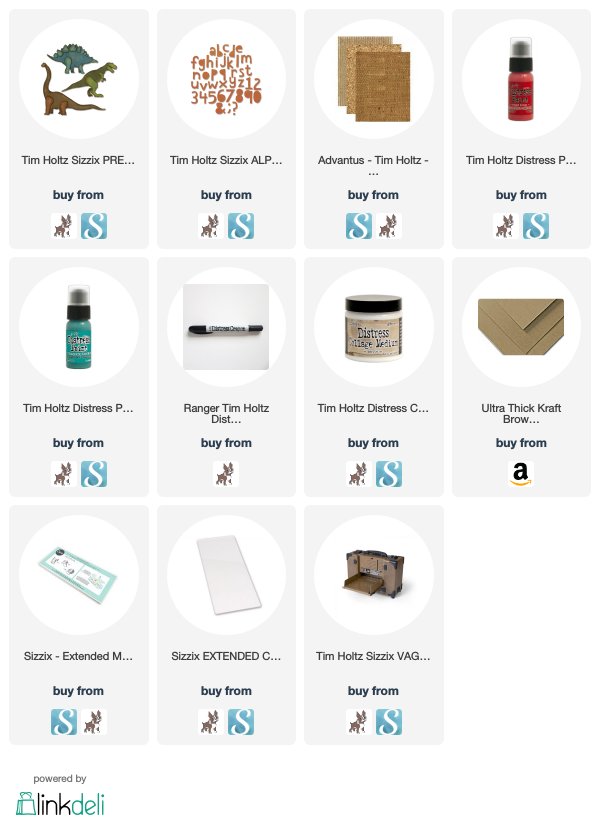
The Prehistoric dies from Tim Holtz and Sizzix, were what I used to make this card. These dies can be cut with the additional layers that are placed on top of the base shape. But on this card I only used the base shapes.
I cut the focal point and the sentiment out of thing green vinyl like I did on the Party Like a Dinosaur card. I used the Cut Out Alphanumeric Lowercase to cut the sentiment "hi!" out of the dinosaur. Then I wiped over the green vinyl with Fired Brick Distress Paint and then with Black Soot Distress Paint. Lastly, I sanded it to allow the green to show through in spots.
For the background, I did the same technique that I have used on several Etcetera Tags including the one here. The tag base is kraft colored so to use the technique on the card, I chose a kraft colored card base, then I cut out the dinosaur shapes from the same Kraft paper, I adhered them with Distress Collage Medium Matte, then covered the whole base with Evergreen Bough Distress Paint. When it was dry I sanded it , covered it with another coat of Collage Medium and then rubbed some Black Soot Distress Crayon to help the edges of the dinosaurs to stand out.
I finished it off with a piece of Corrugated paper, and some Eclectic Elements Craft Thread.
Thanks you for visiting!
Tami
I am an affiliate with Simon Says Stamp and Scrapbook.com so the links
below send you to one of those stores depending on which logo you
choose. If you wish to purchase something
from either store and use one of my links below, I get a small
percentage of your order, at no additional cost to you. This
helps me to defray the costs of this blog and the ideas and tutorials I
post here, and your help is greatly appreciated! Thank you!
I hope you are ready for some Dinoland fun! While I was using the Prehistoric dies from Tim Holtz and Sizzix to make some cards and things for kiddos, I kept thinking about Claude Bell's Dinosaurs roadside attraction out on the 10 fwy on the way to Palm Springs. That inspired this retro gameboard that I imagined a child begging their parents to buy them from the giftshop when they stopped to see this iconic California roadside attraction.
Photo Credit: http://boiteaoutils.blogspot.com
If you have ever driven out to Palm Springs from the LA area, you can't
help but notice some giant dinosaurs along the the 10 Freeway. They were
made by Claude Bell, an artist and sculptor who had worked for Knott's
Berry Farm Amusement Park. He owned a restaurant called the Wheel Inn
that was along the 10 freeway, so he built the dinosaurs to get people
passing by to stop and then hopefully they would grab a meal in his
restaurant.
Photo Credit: http://www.air-and-space.com
He worked on the dinos for years. If you are from my generation, you may recognize them from the 1980's movie "Pee Wee's Big Adventure." The dinosaurs were eventually sold and are now known as the Cabazon Dinosaurs, but they are still there and you can visit them! I have!
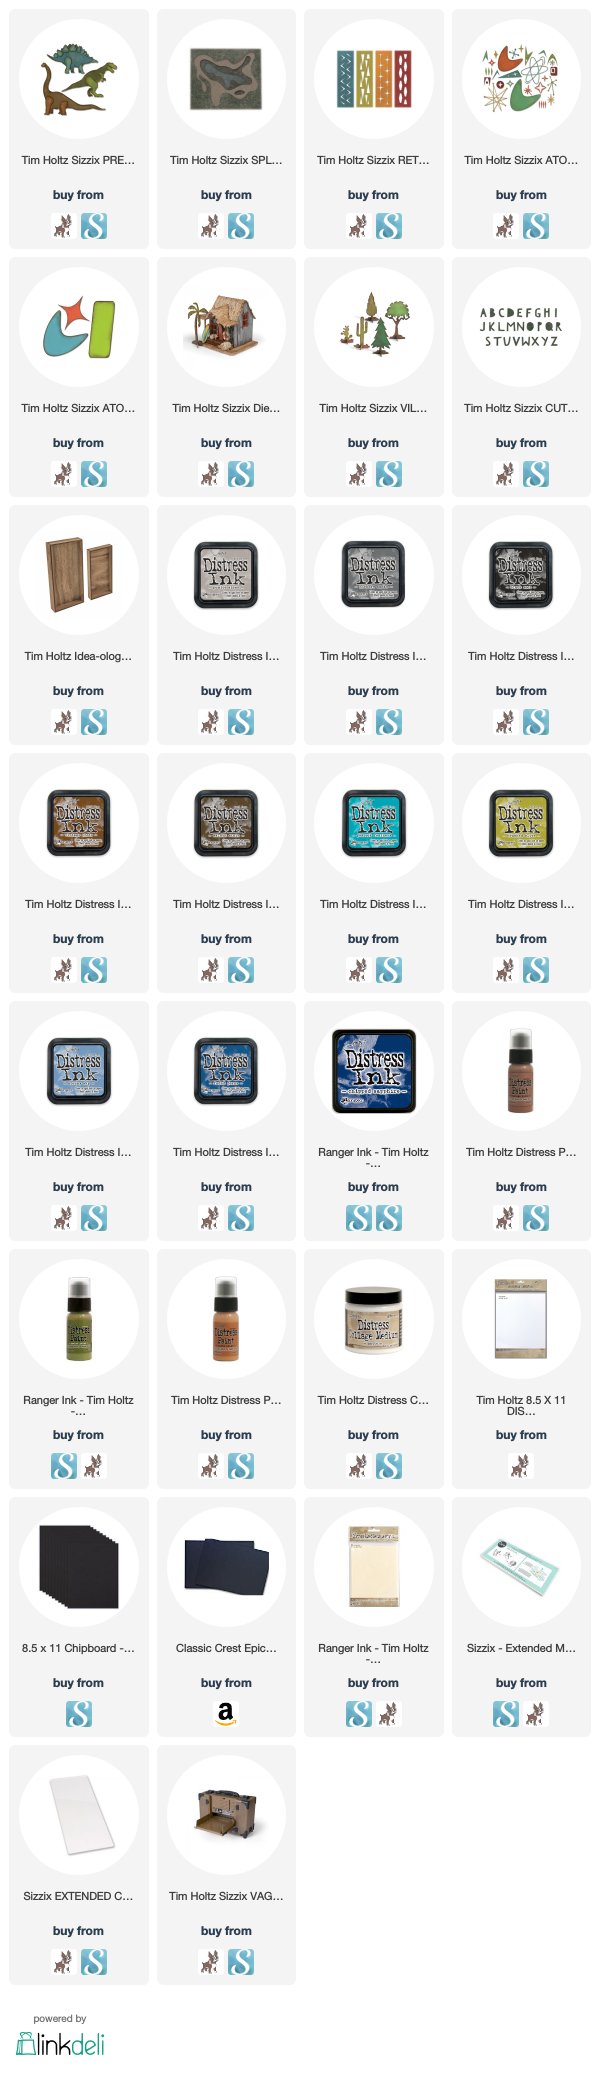
Now that you know the inspiration, let's get back to the project and we'll start with making the dinos. These are thinlit dies and they can't cut really thick items, so to make them sturdy and to stand up, I cut two dinosaurs and their layered parts from Distress Mixed Media Heavystock that I had colored with Distress Inks and Oxides. You need to cut them once with the color facing the die and once with the color facing away from the die so the dinosaurs have color and layers on both sides. Then I cut several of just the dinosaur bodies from a thick 130 lb Heavyweight Black Cardstock. When you have all the pieces cut, layer all of these pieces together.
To get the dinos to stand up, I cut some of the tree bases from the Village Landscape die from the same amount of colored MM Heavystock and the black heavystock.
I layered them and then cut a slit in the dino feet that was the same shape as the one on the tree base.
I fit them together and glued them in place on the dino legs. Do not glue any of the trees or dinosaurs onto the piece. This was supposed to be something you would buy for your child from a quirky roadside attraction to remember it and to play with. So the dinosaurs and trees need to be able to move around and attack each other or eat the trees or get stuck in the tar. Rawwr!
This Splat is a crazy, fun die that can be so many things! Spilled coffee, spilled paint or ink, part of a map, just a fun blob of color, an island, a lake... you get the idea. I saw it as a watering hole and a tar pit for the dinosaurs.
I cut the pieces out of Distress Mixed Media Heavystock and then colored the different pieces in blues and greys. Then I placed them inside of each other and sprayed each piece with Distress Resist Spray for some shine. This also kind of glued them together. When I adhered them I made sure to let the water and the tar "spill" over the sides of the gameboard.
This brings me to the sides of the Vignette Tray. I painted the top of the tray with Peeled Paint, and Vintage Photo to look like grass with some dirt showing through. Then I painted the edges of the tray with Rusty Hinge Distress Paint.
To age the edges I covered them with Walnut Stain Distress Paint and then wiped it off leaving it in the crevasses.
Next I took some Distress Woodgrain Cardstock and stained it brown with various Distress Stains. I used the 8.5x10 woodgrain.
Then I cut the piece into strips wide enough to fit around the edge of the tray. To add interest I used one of the Retro Repeat dies and instead of cutting it vertically as you would for a card, I cut it horizontally. These photos were taken to show the technique and are not the pieces I used on my sample.
Once you cut the first run, you need to carefully lay die over previously cut parts and continue the pattern.You can see how I did this below.
You need to really adhere the paper and the die very well to do this so it doesn't shift.
Once that was cut, I added the stained strips of Retro Repeat woodgrain
to the sides of the tray with Distress Collage Medium Matte. Some of the stain comes off because Distress reacts with water and so it
also reacts with the moisture in the Collage Medium. That is fine
because it ages the painted portions that show through the cutouts.
The last thing I did was to make the sign to get people to visit my roadside attraction. I wanted people to see it and stop! For this I used the Atomic Bigz die.
Before I tell you what I did, look at the point on that shape. This is a steel rule die! Isn't that amazing?
I cut two of the pointed shapes and one of the rounded rectangles from black chipboard. Then I cut the same from some Distress Mixed Media Heavystock. I colored the paper with Distress Inks and Oxides and then adhered them to the chipboard and then to each other. I cut two 1/2" strips of the black chipboard as the posts. To give the sign a retro feel, I angled the posts. I had to use a box cutter to make a slit along the back of the top of the Vignette Box for the posts to slide down into so the sign would stand up and stay put.
The name DINOLAND was cut from the Cutout Uppercase Bigz alpha.
Lastly the trees were from two different dies from the Village series. They are all steel rule, so you just need to cut two pieces of DMM Heavystock for each tree you make, and one from black chipboard. Color the DMM Heavystock and adhere it to the chipboard shapes, then add the feet.
You can make as many dinos and trees as you want as well as maybe even some dinos that you cut off their feet so they look like they are swimming or sinking in the tar.
This gameboard cleans up easily by taking the moveable parts off and pulling the sign out the slots, you can put them in a bag and store it in the tray that will fit easily in a drawer.
I hope you have a RAWWWRING good time with this project!
Tami
If you would like to see Tim discuss many of the dies used on this project, watch this video from Sizzix:
I am an affiliate with Simon Says Stamp and Scrapbook.com so the links
below send you to one of those stores depending on which logo you
choose. If you wish to purchase something
from either store and use one of my links below, I get a small
percentage of your order, at no additional cost to you. This
helps me to defray the costs of this blog and the ideas and tutorials I
post here, and your help is greatly appreciated! Thank you!
How much fun would it be to have a T-Rex celebrate your birthday with you? This card is chock full of fun product from Tim Holtz, foremost the fabulous Prehistoric dinosaur dies and the Splat die from the new Sizzix Chapter One 2019 dies.
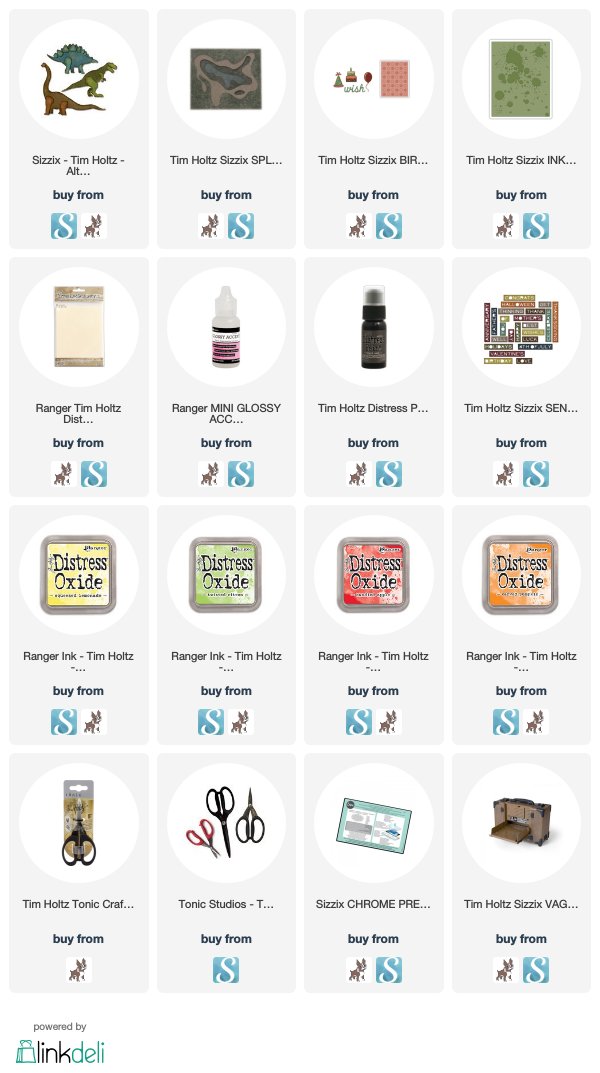
I had a ball dressing up the Prehistoric T-rex so he was ready to go to a birthday celebration. His hat and balloon are from the Sizzix Birthday Sideorder released in 2018.
The dinosaur was cut out of a piece of dark green faux leather vinyl that I found in the upholstery section of JoAnn's.
Because the dies are thinlits you need to get the thinnest faux leather you can find and cut it on a Chrome Precision Plate.
I ran the die through the Vagabond several times. Then because the faux leather has a knit material on the back there will be areas still attached by threads.
You just need to take the Tonic Snips (the new fabric scissors from Tim's Tonic Haberdashery line will work perfectly for this job!) and run them around the back of the shape trimming the threads.
Then you will see that there may be some fuzzy threads around the edges. I just took my snips and trimmed the fuzz off the back.
I highlighted the texture on the faux leather by rubbing some Black Soot Distress Paint into the vinyl and wiping off the excess.
I just love how it turned out!
All of the papers are Distress Mixed Media Heavystock and are colored with Distress Oxides.
I cut the splat out of a piece of heavystock, then I colored all the pieces with Distress Oxides.
After all the pieces were colored, I took a piece of scrap cardstock and adhered the inked splat pieces to it. Once that was done, I applied Glossy Accents around the outside edge of the splat and then filled it in carefully. If you get a bubble or two, just leave them. Don't try to pop them. Tim's advice was not to freak your freak about it and just leave the bubbles. They will either pop on their own or not, but you make a bigger mess trying to pop them.
I ran the green base through the Ink Splats texture fade. Then I popped it up and put the dry Ink splat inside to adhere it.
Then ink each of the pieces for the hat and balloon, as well as the sentiment. Attach all the pieces as seen in the final picture.
I hope this card inspired you to want to try a couple of dies that you might not think of using at first, but that can make a silly, happy celebration card.
Thanks so much for stopping by and don't forget to party like a dinosaur!
Tami
The product links below are to two stores I am an affiliate with, Simon Says Stamp and Scrapbook.com. If you wish to purchase something from either store and use one of my links below, I get a small percentage of your order, at no additional cost to you. This helps me to defray the costs of this blog and the ideas and tutorials I post here, so thank you!
I had so much fun with the Tim Holtz Prehistoric dinosaur dies. These are great dies for cards, scrapbook pages or home decor for the kiddos, but they are also fun for adults who enjoy a bit of whimsy.
When I get a new die or stamp that I'm going to be making a sample with, I start by cutting several or stamping several so that I can experiment. That's exactly what I did with these guys. I cut multiple dinosaurs out of Distress Mixed Media Heavystock and colored them with Distress Inks and Oxides. This is a great thing to do because then when you need a quick card, you can match the elements to a background and you are good to go!
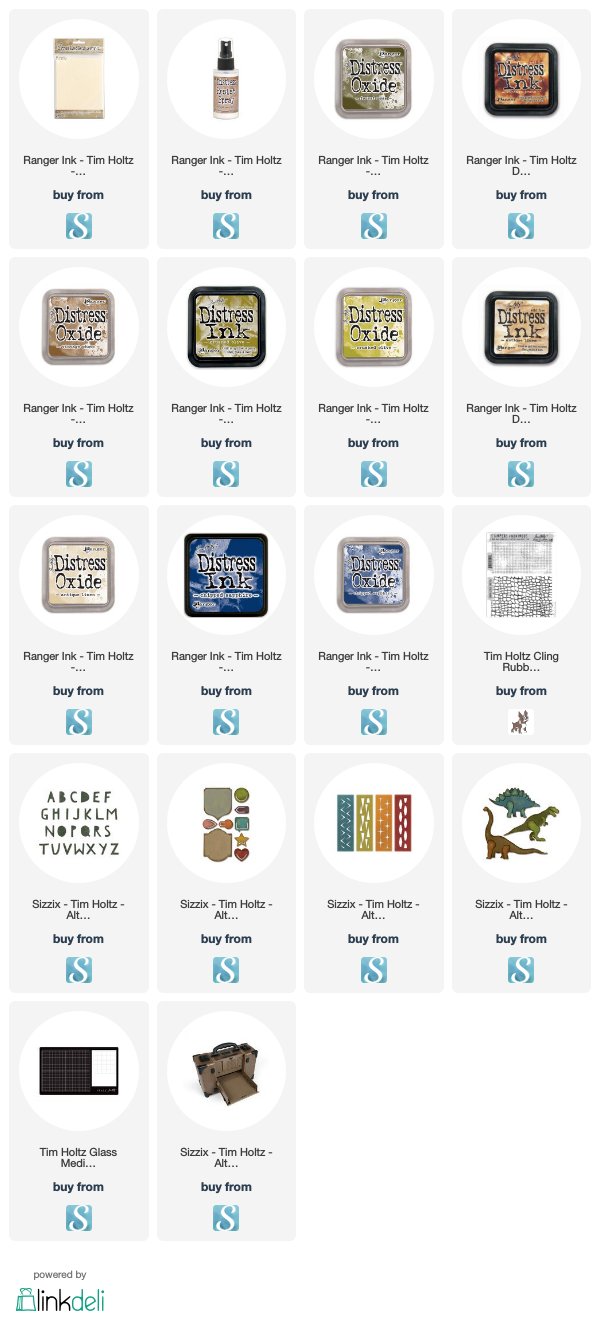
This brontosaurus is colored with Crushed Olive and Vintage Photo Distress Inks. Then once he was assembled, I sprayed him with several coats of Distress Resist Spray. I love the texture it gave him.
Just behind him I cut a border from one of the Retro Repeats for a little added interest and backed it with a piece of heavystock colored with Vintage Photo Distress Oxide.
The sentiment on this card was cut using the Cut Out Uppercase Bigz die. It is cut from black cardstock and Distress Mixed Media Heavystock. I colored the Heavystock with Crushed Olive Distress Ink and then stamped the reptile pattern from the CMS185 Croc background stamp in Forest Moss Distress Oxide. Then once the letters were cut, I edged them in Vintage Photo Distress Ink and sprayed them with Distress Resist Spray just like the dinosaur.
The background of the card was made with Distress Ink and Distress Oxide using the "Wrinkle Free Distress" technique in Chipped Sapphire, Brushed Corduroy and Antique Linen.
I needed a tiny bit of interest at the top, so with the same bit of paper, that I colored with Vintage Photo Distress Oxide, to back the area cut out by the Retro Repeat die, I cut one of the clips from the Noted Side Order. It was just what I needed to balance out the design.
Before adhering it to the base, I did a little messy stitiching around the edge.
Thanks so much for stopping by today to check out this Prehistoric brontosaurus card.
Tami
NOTE: The link platform below is new to me so a few of the links may not work until next week sometime. All of the Scrapbook.com links should work.