Showing posts with label Distress Paint. Show all posts

Wednesday, June 25, 2025

Just Celebrate - Distress Paint Resist

Hello Makers! Today I have a card to share with you using a Distress Paint Resist technique. I usually use Distress paint for altering Idea-ology, but for today’s technique I used it for resisting Distress Stain. So I’m inviting you to come along, and let’s get making

Gather all the supplies.

·      Distress Paint : Peacock Feathers, Picked Raspberry

·      Distress Stain: Twisted Citron

·      Black Soot Distress Archival Ink

·      Distress Mixed Media Heavystock

·      Distress Black and White Heavystock for an A2 card base and mat.

·      Blending Brushes or Blending Tool and Blending Foam

·      Tim Holtz Stampers Anonymous Stamp & Stencil Mixed Media #43

Using a Distress Blending Brush (or Blending Tool and Foam) load with a light amount of Peacock Feathers Distress Paint and apply through one side of the stencil onto an A2 piece of Mixed Media Heavystock in various places. Do not cover the entire piece. Dry and clean off the stencil.

Apply Picked Raspberry Distress Paint the same way through the other part of the stencil.

Once the paint is dry and most of the paper is covered, as shown in photo, spray the entire piece with Twisted Citron Distress Spray Stain.

You will see that the paint resists the stain. Let the stain sit for a few seconds and start to dry.  With a clean paper towel, soak up any excess stain that is pooled on the paint. You can even lightly wipe it off the paint with a damp towel once the stain is completely dry. It will come right off the paint. 

 
I wanted to do a quick comparison between Distress Paint and Distress Oxides. I used the same colors of each and the same technique, but you can see that the Oxides react to the stain and they bleed and lighten, while the Distress Paint does not react and it in fact resist the stain so that the paint become prominant and maintains its bright color. That is the beauty of Distress Products. They have different properties and techniques that work with some products do not work with others.

Drop some of each paint color onto a Media Mat. Spray with water and then swipe Mixed Media Heavystock through it. Dry.
Once the paint is dry, spray it with Twisted Citron Distress Spray Stain.

When the stain is completely dry, stamp the balloon in Black Soot Archival Ink. Then fussy cut it oout. Stamp the balloon blue print onto a piece of White Heavystock and then pop the balloon up over the stamped image. 
For the sentiment, put a thin line of Distress Paint in Peacock Feathers, then roll a brayer through it. 
Once the brayer is coated, roll it over the long, thin label stamp and stamp it onto a piece of White Heavy Stock. Then stamp a sentiment into the center of it with Picked Raspberries. Color it with Twisted Citrosn Distress Stain and pat off the excess. Once dry cut out the labe, then cut a white and a black mat
Attach both the matted balloon and the matted sentiment to the front of the card.
The paint remained bright even thought it was sprayed with a dark Distress Stain. Distress Paint, once dry, is no longer water reactive so it really resists Inks, Stains and Oxides because they remain water reactive even when dry.
Of course I needed to finish it off with a little machine stitching.
Including a bit of messy stitching for texture.
Thank you so much for following along on the Distress Paint Resist tutorial today. 
 
If you would like to see the same technique with a completely different look, check out my tutorial here on the Ranger Ink blog.

Now let’s go shine brightly, and have a creative day! ðŸ˜ƒ

Tami  


I am an affiliate with Simon Says Stamp, Ranger Ink, and Scrapbook.com. The links below send you to one of those stores. If you wish to purchase something and use one of my links below, I get a small percentage of your order at no additional cost to you. This helps me to defray the costs of this blog, the time, the ideas and tutorials I post here. Your help is greatly appreciated! Thank you!
Monday, January 30, 2023

Lost Shadow Stone Statuaries


The "wonder"ful new Distress color from Tim Holtz and Ranger Ink, Lost Shadow, is a perfect addition to the Distress Family. We needed this new color of light grey. It is perfect for this technique of turning Idea-ology bits and pieces into stone statuaries. So that is the first thing I did with it!

This video focuses on making the statues and not on a completed vignette. The completed piece is in the works for a little later this spring. So stay tuned!

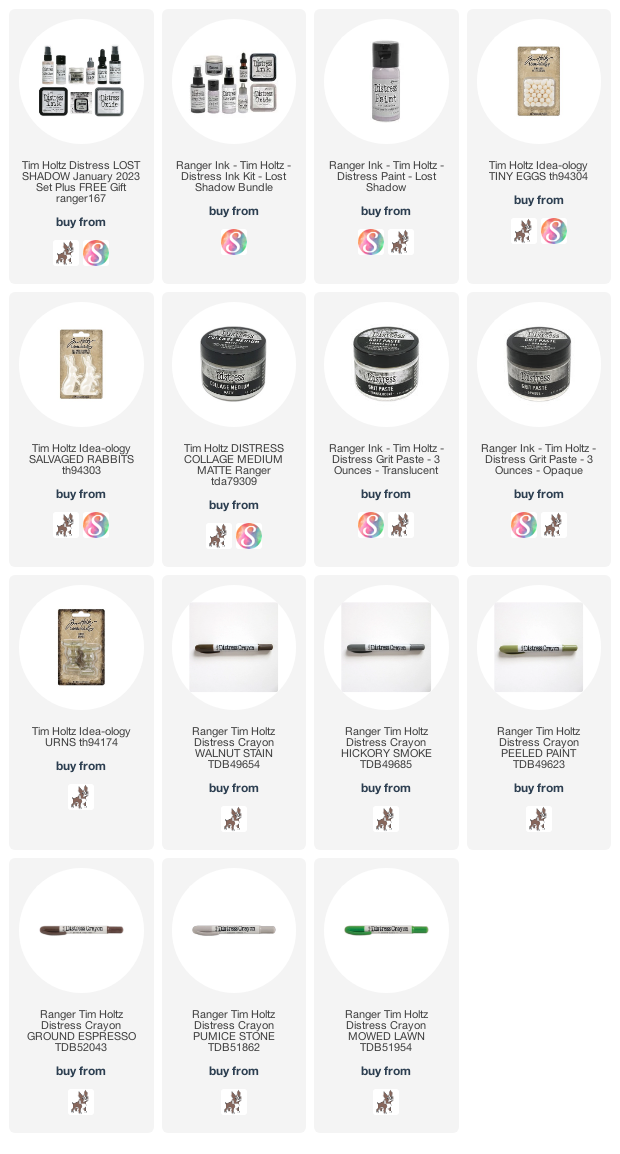
 To make these particular statuaries you will need these products or something like them from your stash or local hobby store. Idea-ology Finials, Urns, Slavaged Dolls, Salvaged Rabbits, Tiny Eggs, Distress Grit Paste, Distress Collage Medium, Distress Paint in Lost Shadow and some Distress Crayons in browns, greys and greens.


Cut the top part of the small finial off and sand it flat. Use this as a tiny base for the Salvaged Doll. Attach with Collage Medium.

 Attach the Rabbit and a few eggs to the top of the large Finial base with Collage Medium.
 
 Attach one egg in the bottom of the urn with Collage Medium. Then attach the other three eggs on top if the first.
 
Once all the pieces are dry and secure using your finger and a tiny brush, pounce Grit Paste over the pieces so they have a weathered stone texture. You want the grit paste pushed down into the little crevices so the separate piece look like they were sculpted.
See how pushing the grit paste into the crevices makes all the pieces look like one?
Including the Rabbit and Tiny Eggs!
When the grit paste is dry you will want to paint the pieces with Lost Shadow. Two coats should do it but more if needed.
You want to cover the entire piece with Lost Shadow paint.
It should look something like this when it is dry and completely covered.
Then add layers of Distress Crayons to color the gritty bits to make them look like moss and aged stone.


 I think they look great! I hope you like the close-ups and details in these still shots.


Here are some blog posts to check out for other statuaries I have made and used in projects in the past.

Garden Dome 

Finial Graveyard Statuaries 

Ghastly Graveyard

I hope you will try making your own statuaries with grit paste and Lost Shadow paint! Please tag me if you do. I love to see you makes!

Have a creative day, 

Tami

I am an affiliate with Simon Says Stamp and Scrapbook.com so the links below send you to one of those stores depending on which logo you choose.  If you wish to purchase something from either store and use one of my links below, I get a small percentage of your order, at no additional cost to youThis helps me to defray the costs of this blog, the time, the ideas and tutorials I post here. 

Your help is greatly appreciated! Thank you!

Saturday, February 8, 2020

Idea-ology Ink and Paint Department

It's no secret I love Disney, and after more than a decade of scrapbooking my Disneyland adventures, I see most things through Mickey shaped glasses. I get endless inspiration from not only Disneyland, but Walt's life, and his imagineers and animators. This Idea-ology project was born from that inspiration.
To begin, it light's up! I have the lights on in the first photo, but even in this second photo, without the Tiny Lights turned on, the Vellum Scene that makes up the background is just as lovely. The Vellum Scenes remind me of the hand drawn animation of the vintage animated Disney movies. I adore hand drawn animation and prefer it to the CGI used today. I wish they would still make some hand drawn animation just for the nostalgic aspect of the company.
I have had the opportunity to tour the Walt Disney Studio Lot in Burbank, California on several occasions and I treasure each chance I get to spend time on the studio lot.
These are some photos I took on one of my tours of what is left of the Ink and Paint Department.
In order to get an animated movie filmed, the animators would draw a long, detailed, full-color background. Then they would draw the characters on clear cels and the women in the Ink and Paint Department would paint every character on every cel. The thousands of cels would be placed over the backgrounds one or two at a time, and filmed on the HUGE contraption above to make the animation take action. The Ink and Paint Department was always very busy and at the heart of the animation department.
I wanted this project to pay tribute to Walt Disney's animators and Ink and Paint Department. Of course the fact that one of the new Idea-ology Factory Tags says Ink and Paint Dept with the date 1926 (the year Walt and Roy Disney renamed their Disney Bros. Studio to the Walt Disney Studio and moved it to the Hyperion Lot in Silverlake, California) just cemented the idea in my mind that I had to make this.
I'm positive that the paint bottles back in the day were not this messy, but in so many Disney cartoons the characters are involved in a lot of messy painting, so I just went with that. On the bottom of a large Vignette Box, I dripped a bunch of paint. But if you look carefully, right in the center in Wild Honey, the paint drops formed a Hidden Mickey. The paintbrush is made from a regular super fine detail brush that I cut off and sanded to look like a paint brush that would fit in the box.
I don't use these awesome Idea-ology Faucet Knobs nearly enough. I love the worn paint look I got on this. I painted it with Mowed Lawn Distress Paint, then when mostly dry I wiped off some of the paint. Then I painted it with Wild Honey. Again, when it was mostly dry I started wiping off the paint and picking spots off with my fingernail until I got the look I wanted.
I painted a Large Vignette frame with Walnut Stain Distress Stain and then with Distress Collage Medium. Then I covered the sides and back of the a Large Vignette Box with a piece of Abandoned paper.
On this corner you can see that I took some Film Strip Ribbon and splattered Distress Paint all over it just as I did with the bottom of the inside of the box. The three colors I used were Worn Lipstick, Wild Honey, and Mowed Lawn. To do this I tacked a piece of the Filmstrip Ribbon onto my Glass Mat and then dripped, smeared, and sprinkled paint on the film strip ribbon until I liked the look. I let it partially dry and then put a clean, dry cloth over it to pat most of the wet paint off of it, leaving behind just the suggestion of painted cels or film.
I adhered the Film Strip Ribbon to the back of the box. You will also notice that I poked a hole in the back of the Vignette Box in order to thread the Tiny Lights to the front side. I don't like the battery pack to show, so I make little boxes to hold it.
The Idea-ology Vellum Scenes shown in the back of this piece, come in several sizes. The one I picked is the one that is just a tiny bit larger than the largest Vignette Box. You can trim it to fit, but I wanted it to curve, so that I could fit Tiny Lights behind it, and still fit paint bottles in front of it. From this angle you can also see how I curled the Film Ribbon up on one end and adhered it into one of the paint bottles, and tucked the end of another piece of Filmstrip Ribbon behind a bottle on the other end. My purpose in the film coming out of the bottle was to suggest all of the magical Disney films that came out of the Ink and Paint Department.
Lastly,  I wanted to show the paint on the lips of the Apothecary Bottles and running down the sides, the Remnant Rub numbers on small labels, and that cool art store ephemera piece that Stacy Hutchinson found and is included in the Keepsake Ephemera pack.

I hope you enjoyed my little ode to the Walt Disney Animators and Ink and Paint Department. It's a fun, fairly quick project to make, and one I hope sparks some inspiration for a Vellum Scene project of your own.
Tami

I am an affiliate with Simon Says Stamp and Scrapbook.com so the links below send you to one of those stores depending on which logo you choose.  If you wish to purchase something from either store and use one of my links below, I get a small percentage of your order, at no additional cost to youThis helps me to defray the costs of this blog, the time, the ideas and tutorials I post here. Your help is greatly appreciated! Thank you!