Saturday, July 23, 2022

Summertime Memories Mini File Folder Vignette


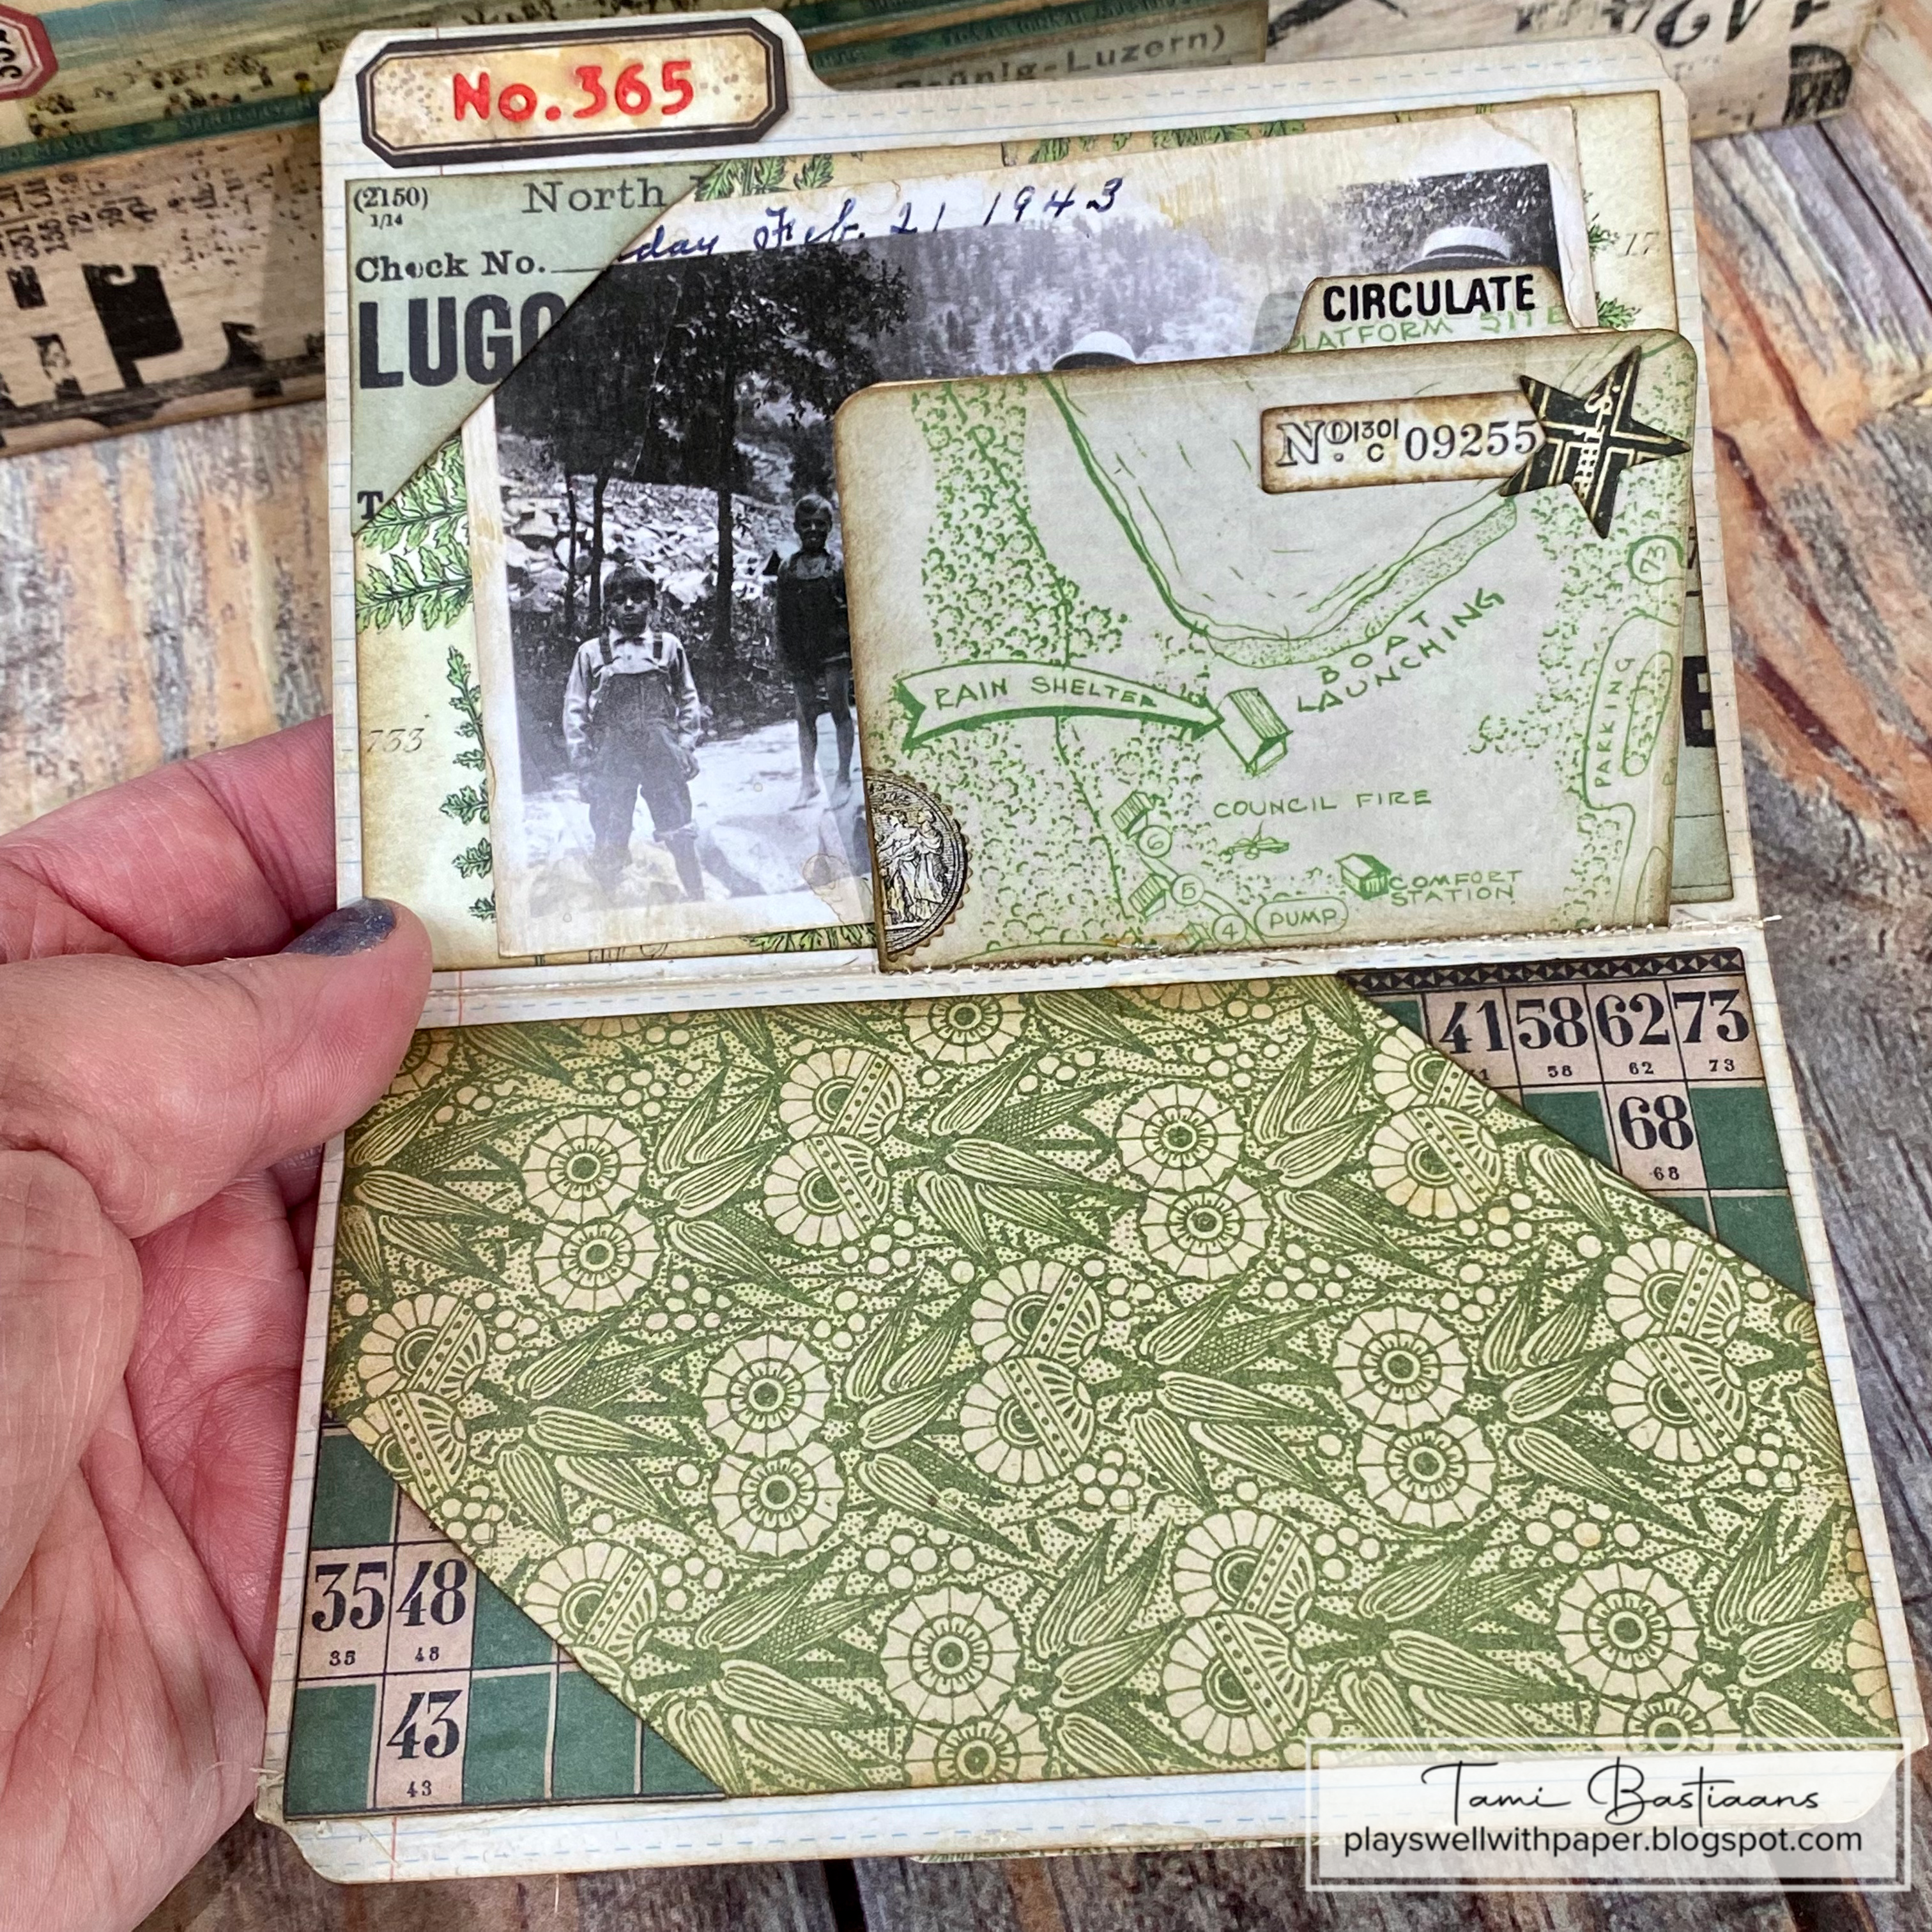
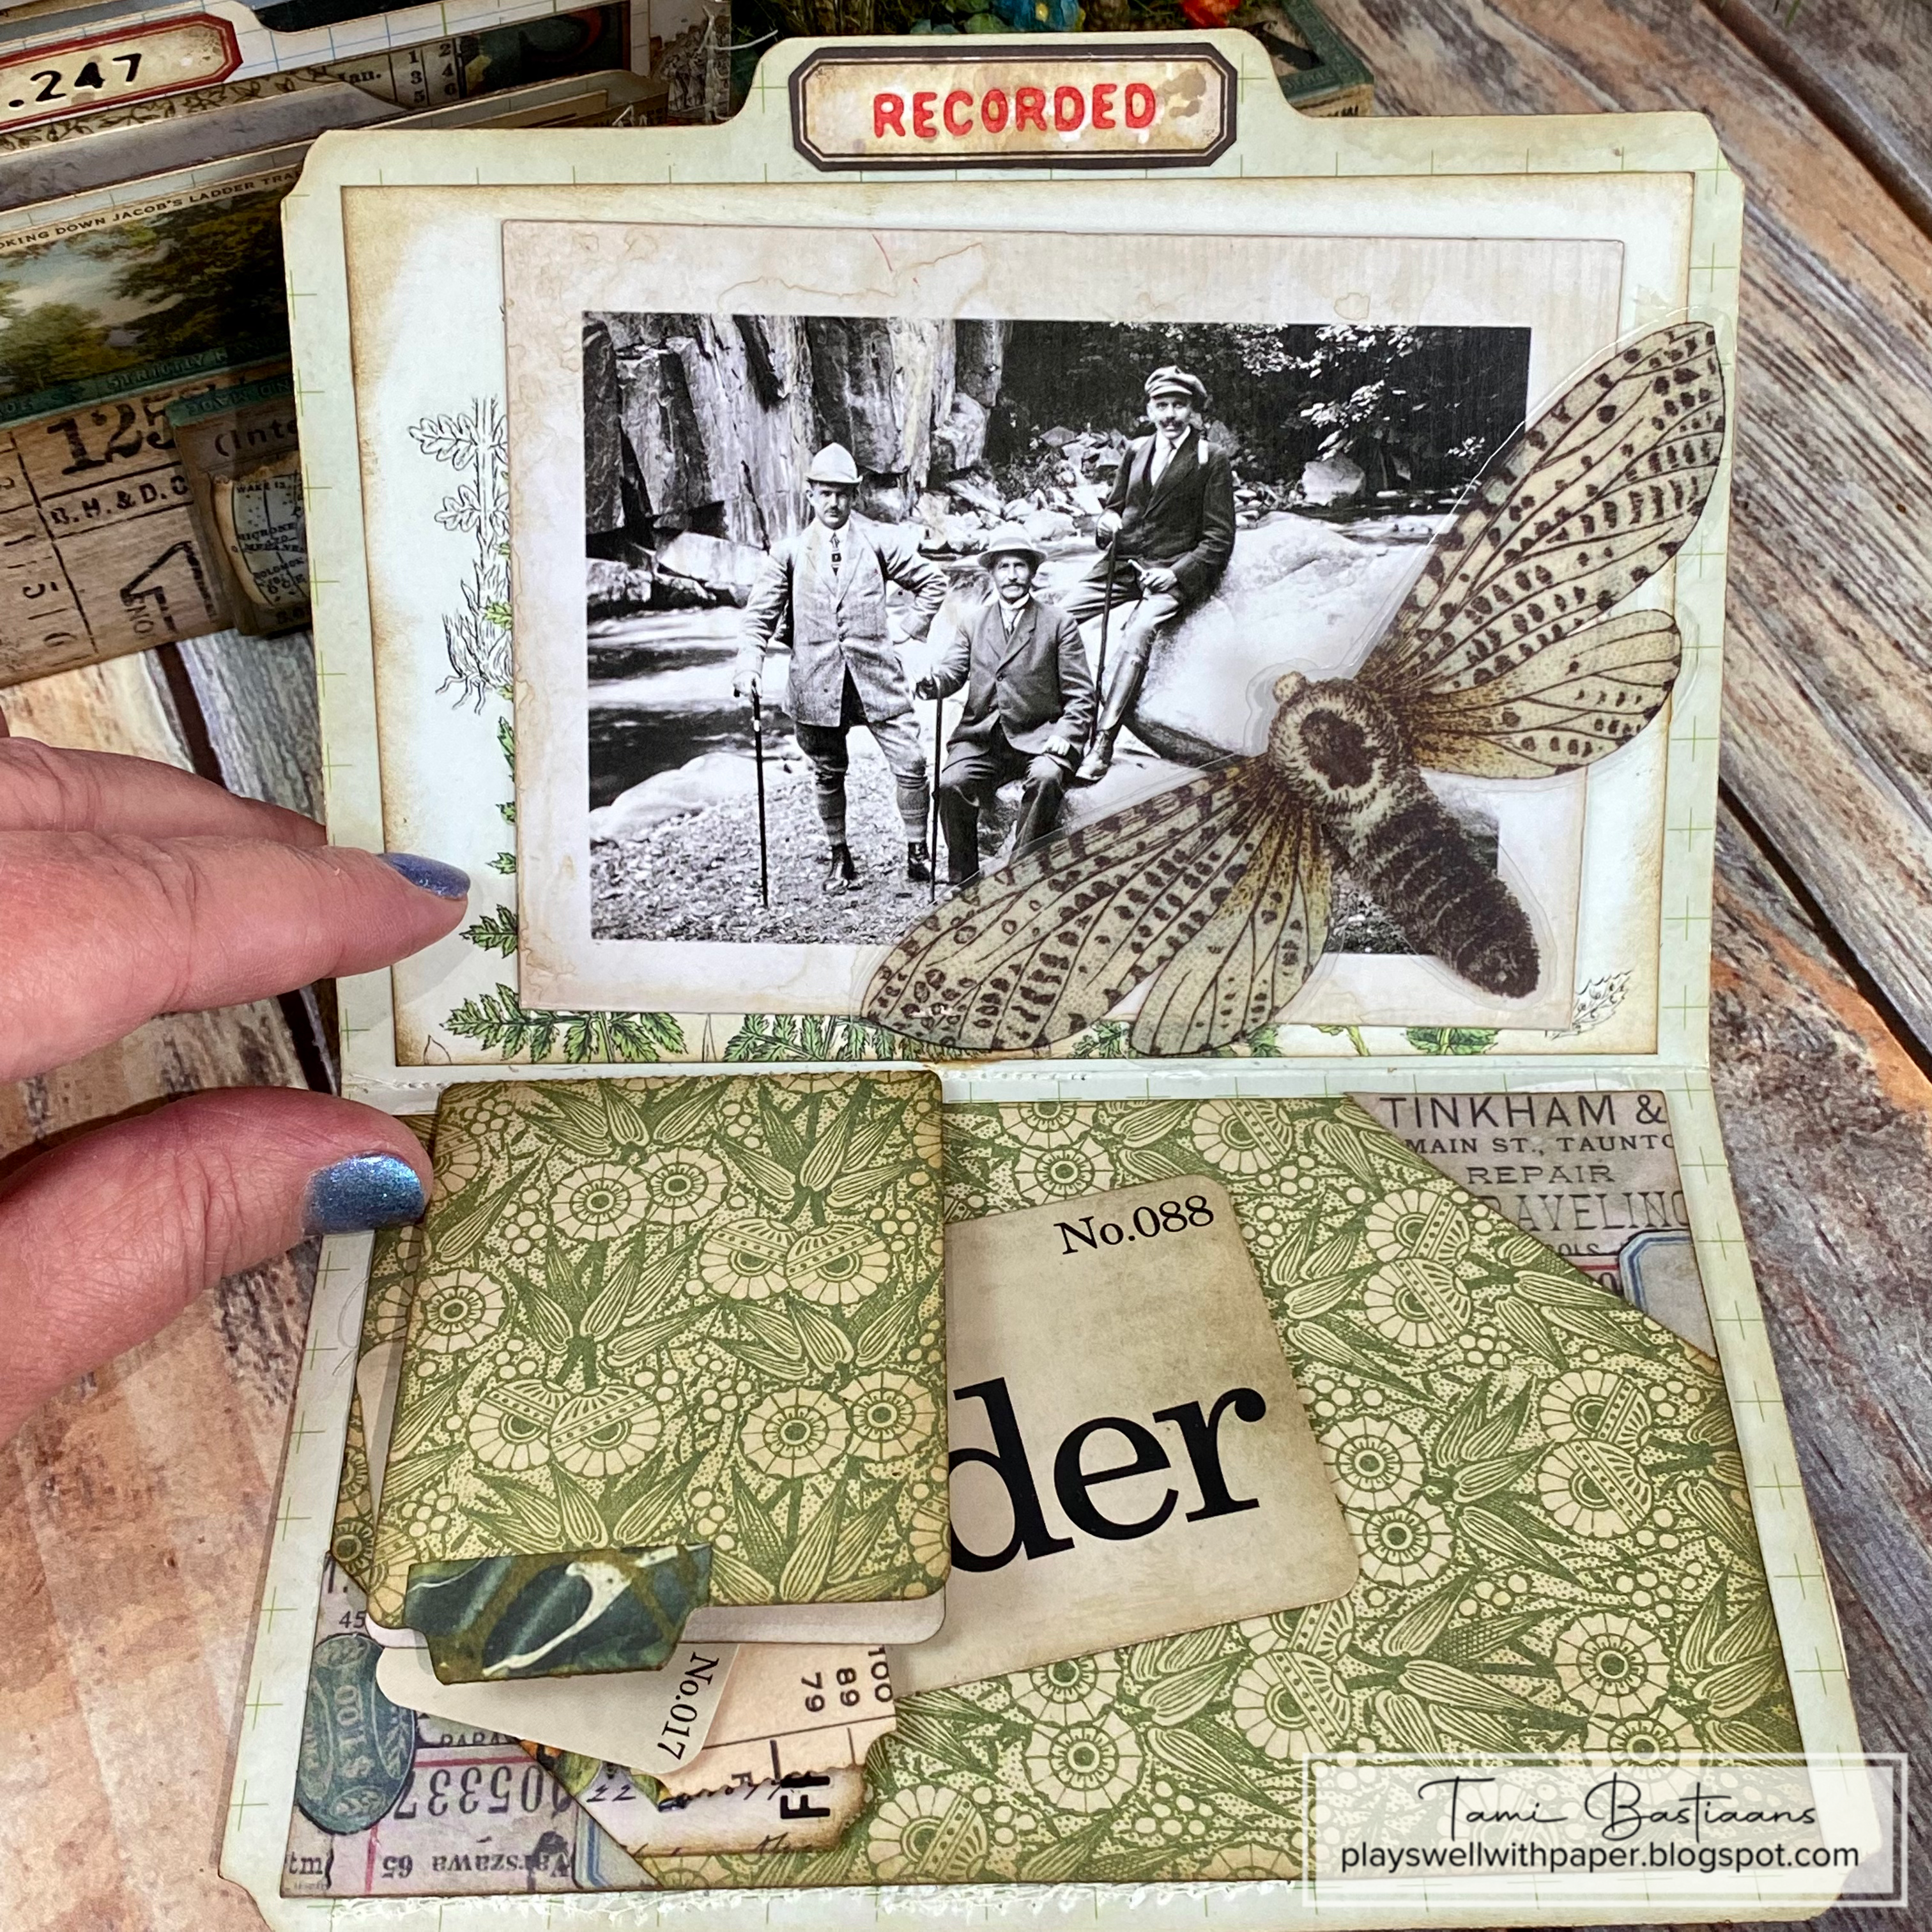
The summertime memories version of the Mini File Folder Drawer project was a fun one to make. I got bogged down with it though and didn't finish it until the Sizzix Chapter 3 dies were released. They were just the inspiration I needed to pair with the Idea-ology elements to get this project over the finished line.

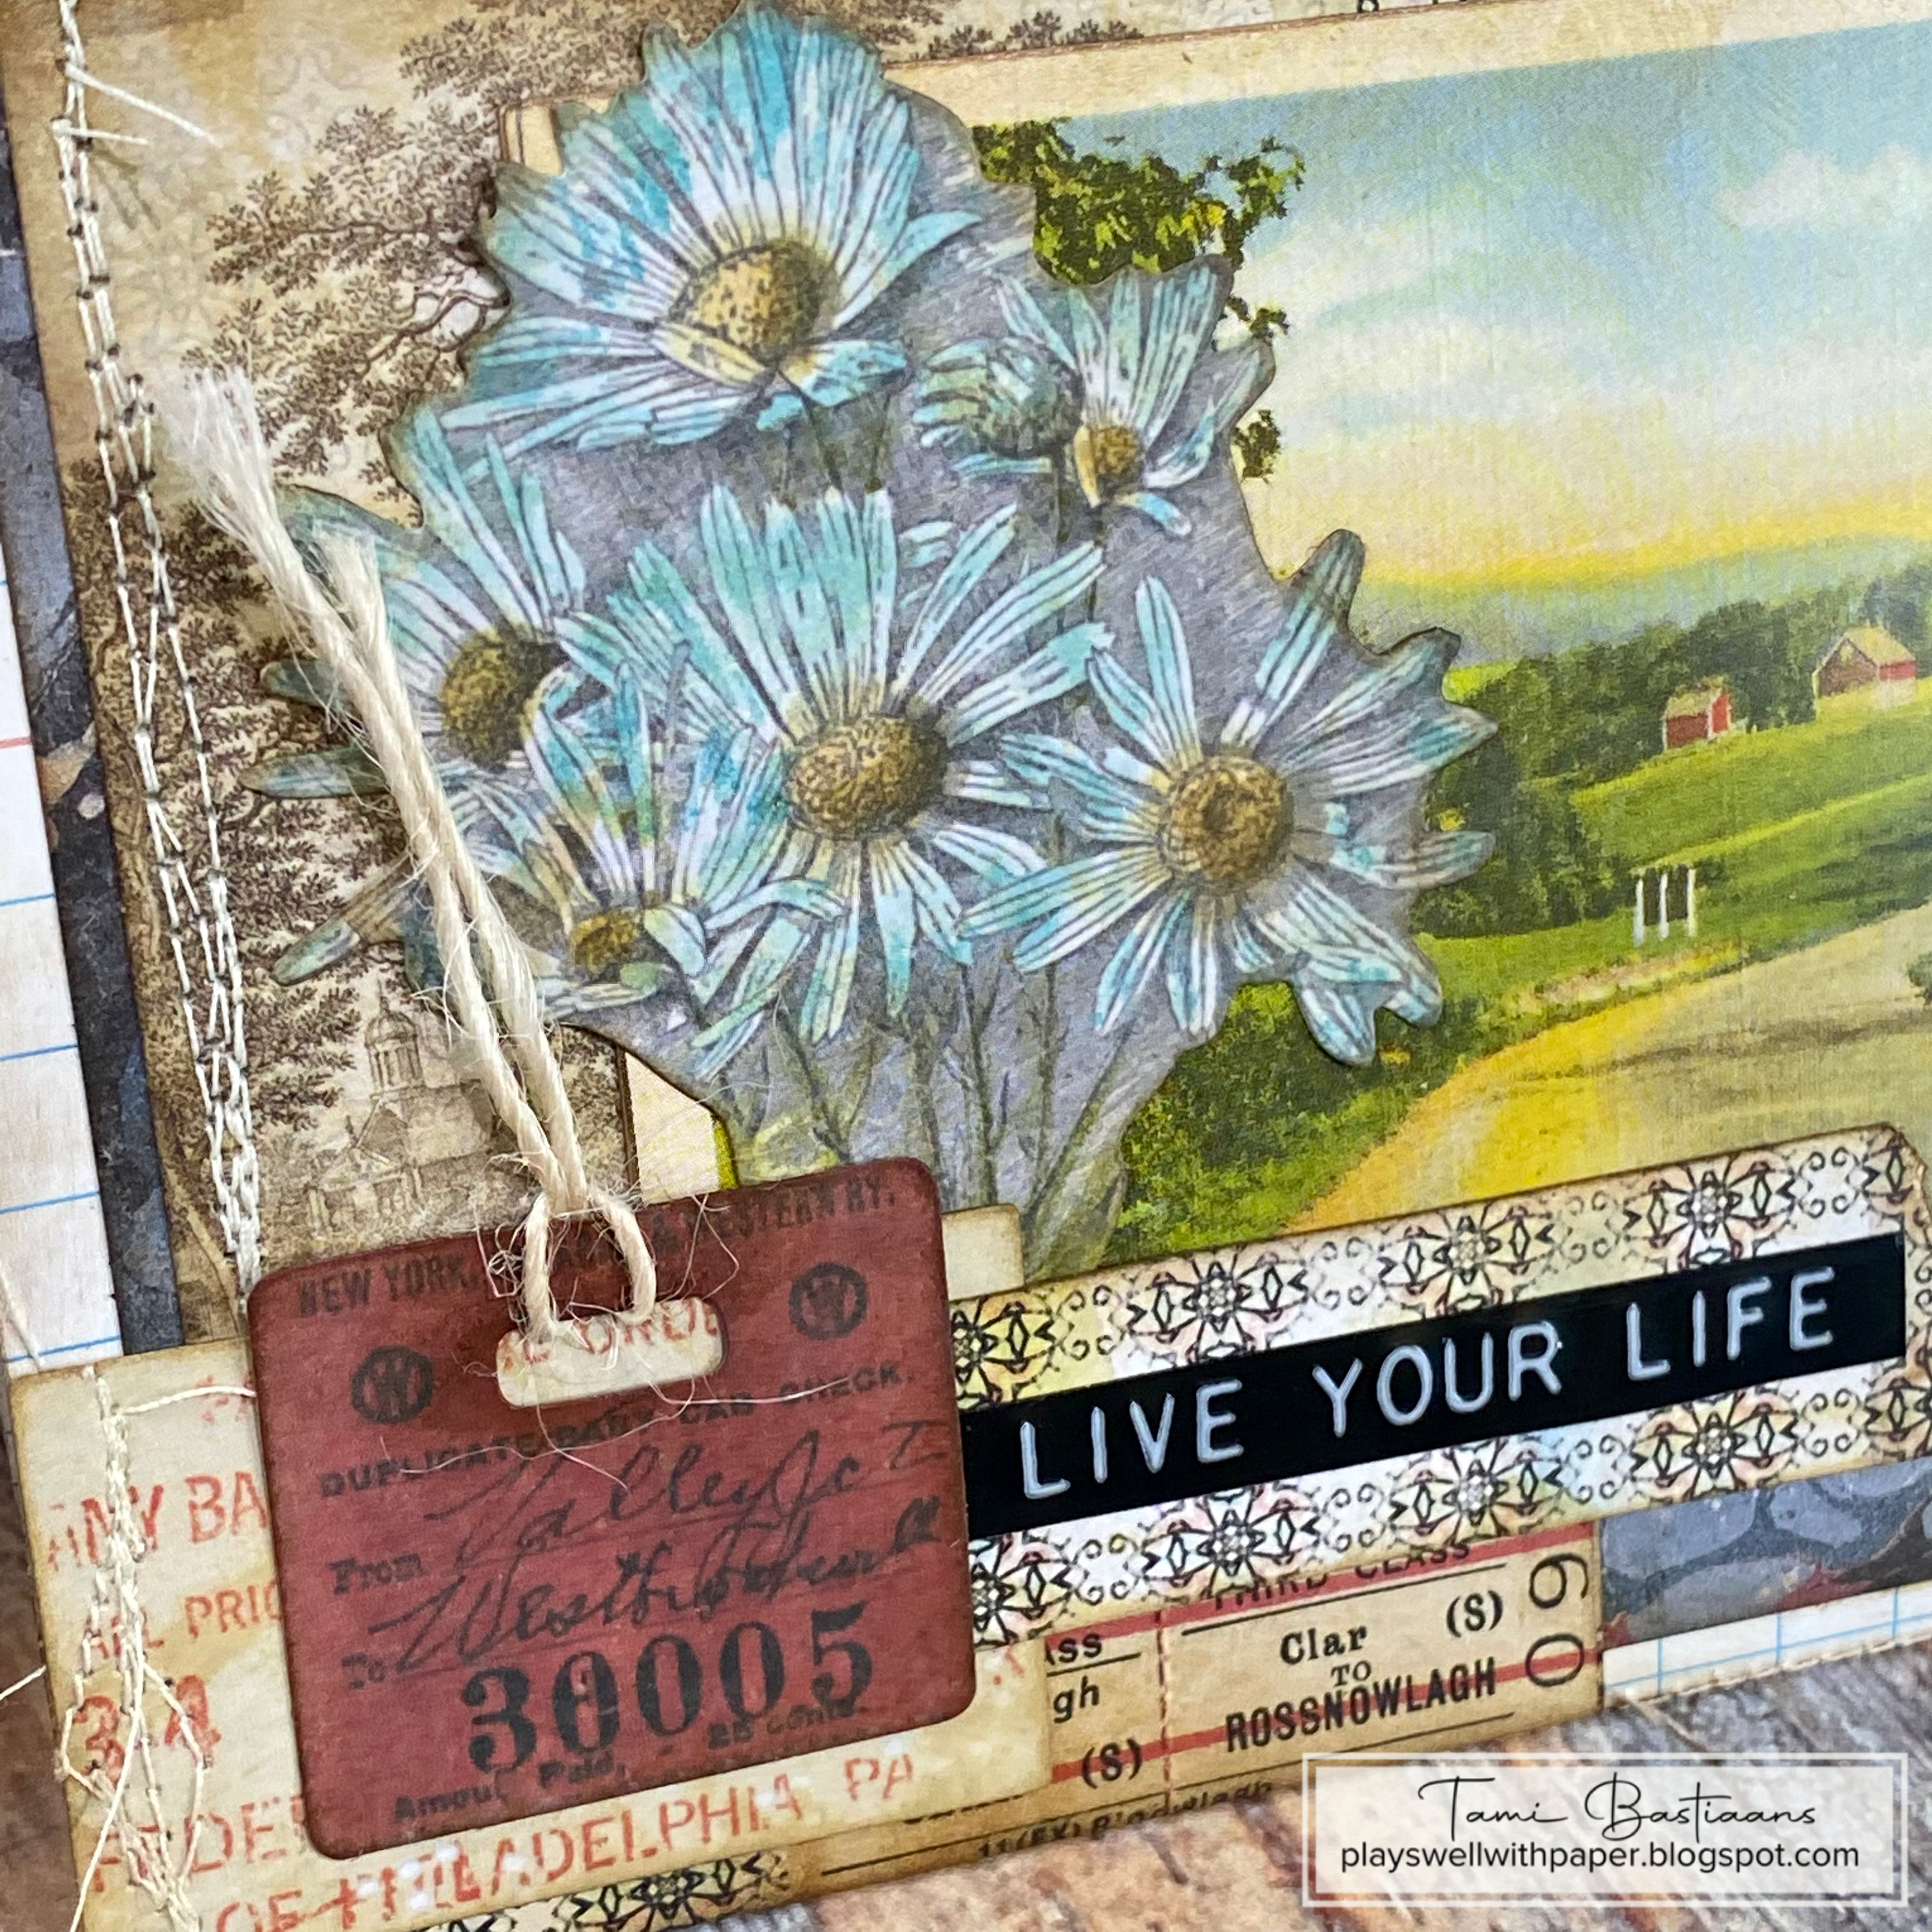
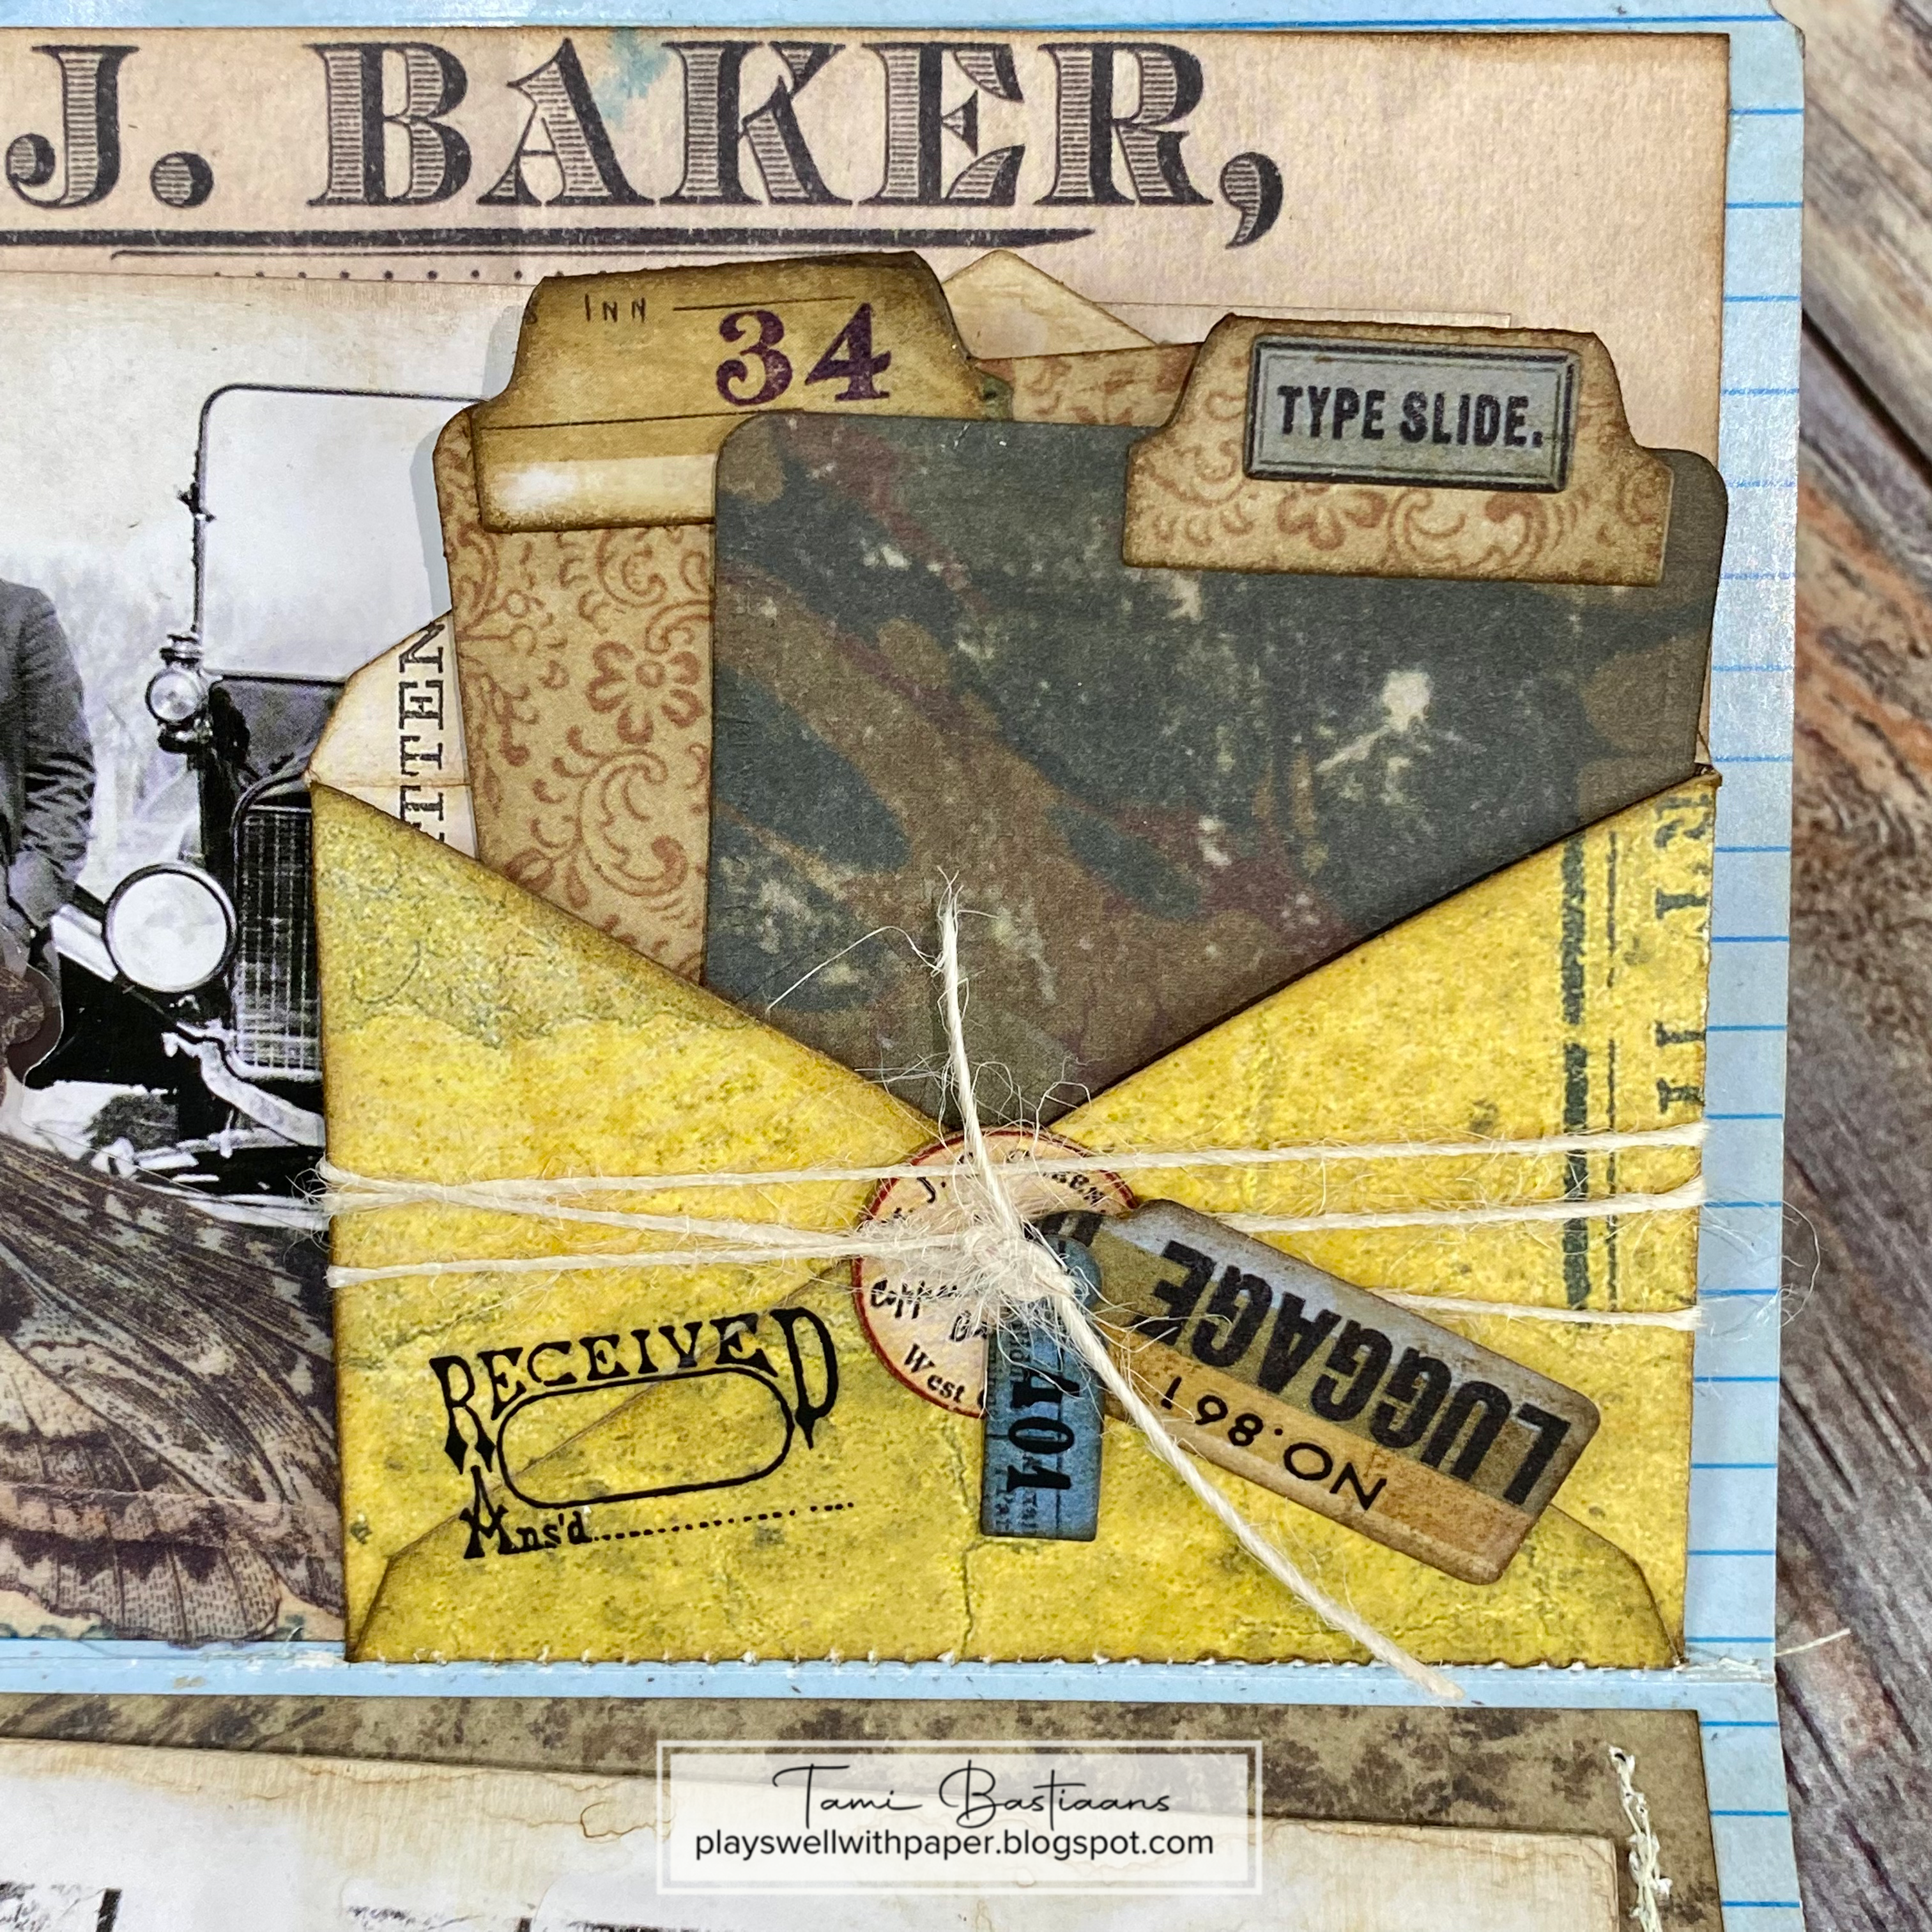
As with the Christmas version, I have a video walk through, but I also have lots of tutorial elements in this video. Below are all the photos of each file folder and the details for reference.  


 Before I start the folder photos, I thought I would post the die cutting elements that I posted on Instagram.
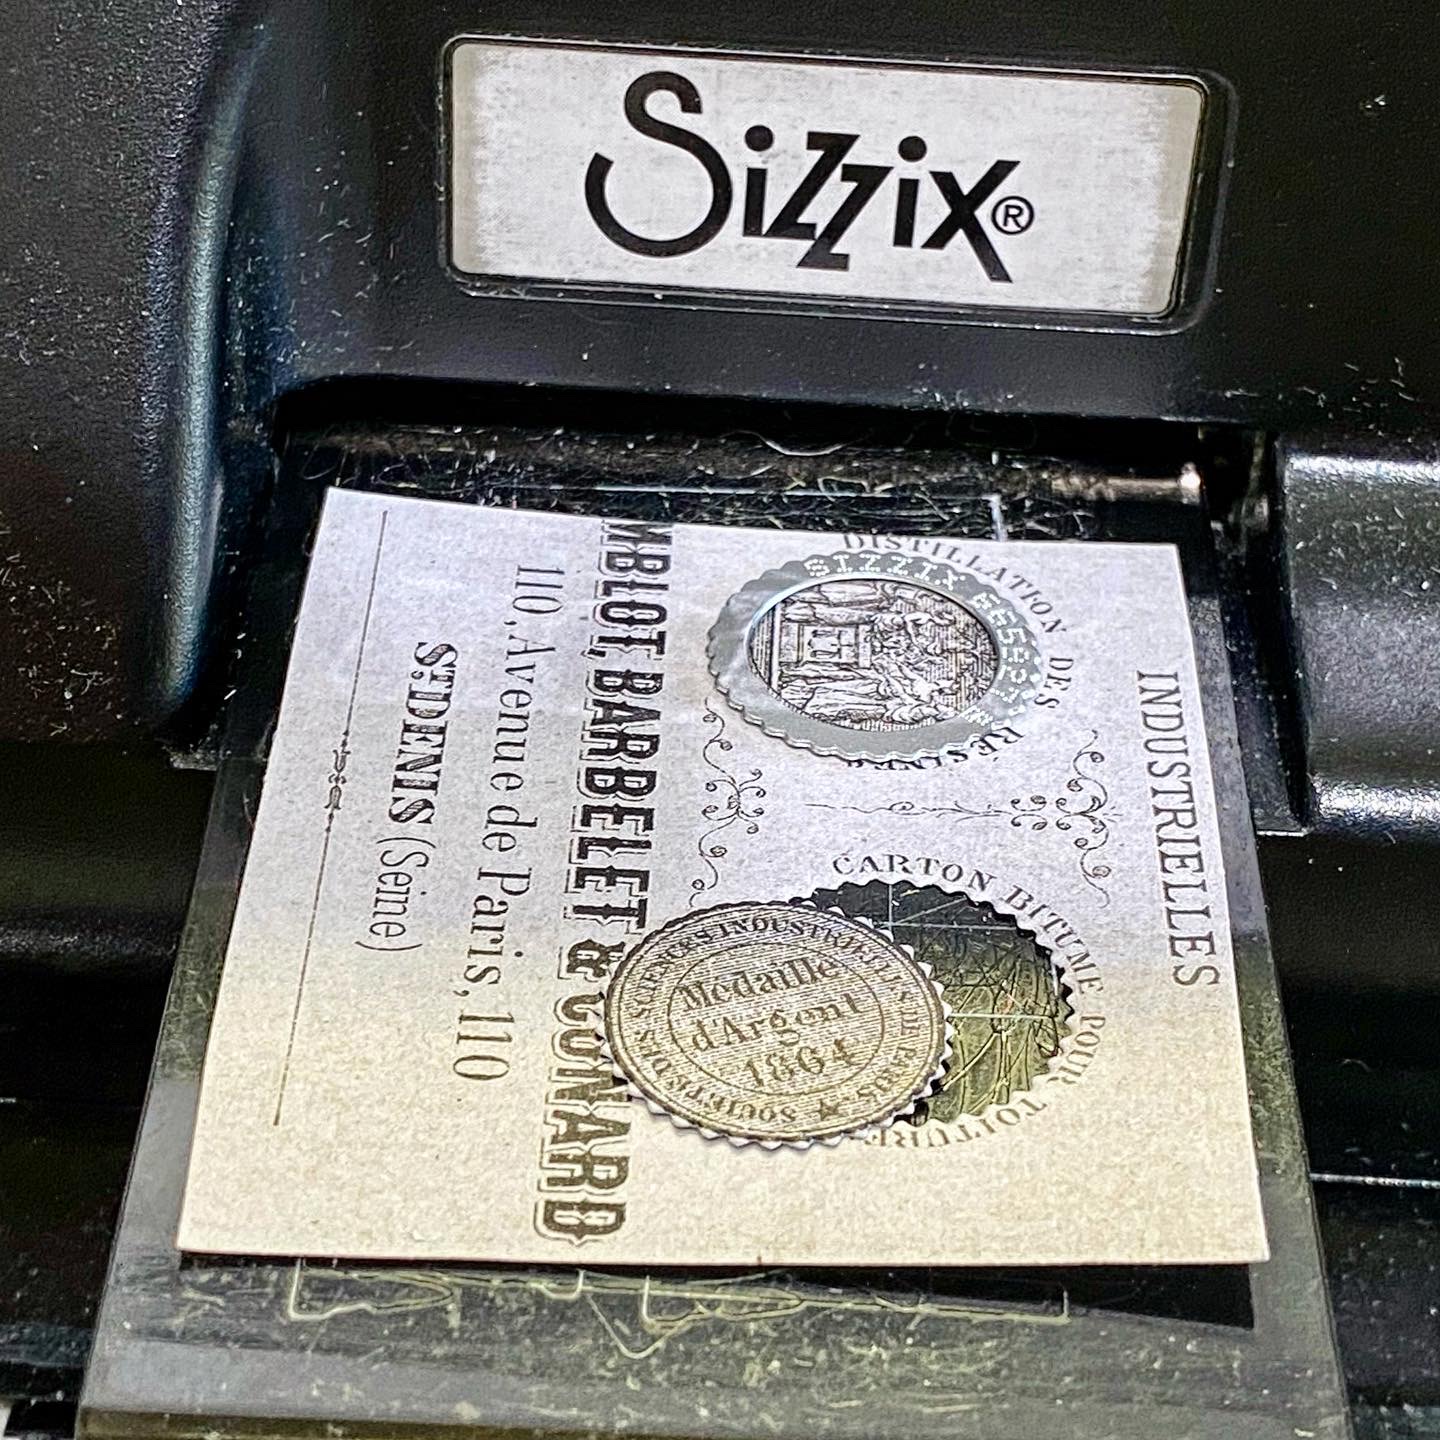
Using various dies from the Sizzix Chapter 3 release of Postale, Specimen and Collector, I cut tags, postage stamps, arrows, envelopes, and more from Backdrops papers and Pocket Cards.
I also used the Labels Snippets and cut some of the words from Specimen to make labels for each folder, and I applied lots of the Eccentric Remnant Rubs to the folders, and all of the tags, stamps, labels and such that I cut out.
 
If you are careful you can cut out specific words or images to make cool embellishments.
The back of this Pocket Card was just blue text, but it still makes for great elements.
The florals on this Pocket Card made such pretty stamps!
Here they are! Tags, tickets, stamps, arrows, reinforcers, and other embellishments with Remnant Rubs all inked and ready to embellish the Mini File Folders
I cut several of this tiny vertical and horizontal file folders by using a retangle die from Postal and cutting so that the folded side of the paper wasn't cut. Then I added the little file tab. This allowed me to keep some of the cool Backdrops elements and showcase them inside the folders.


t
 
The following are all of the folders in the order that I showed them in the video.


t


t


 Well, that is going to do it for this project. As always, if you have any questions or need anything clarified, please contact me through the link in the column at the right.

Thanks you so very much for stopping by and for taking an interest in this project. I hope you found something that sparked some inspiration.
Have a crafty day!
Tami

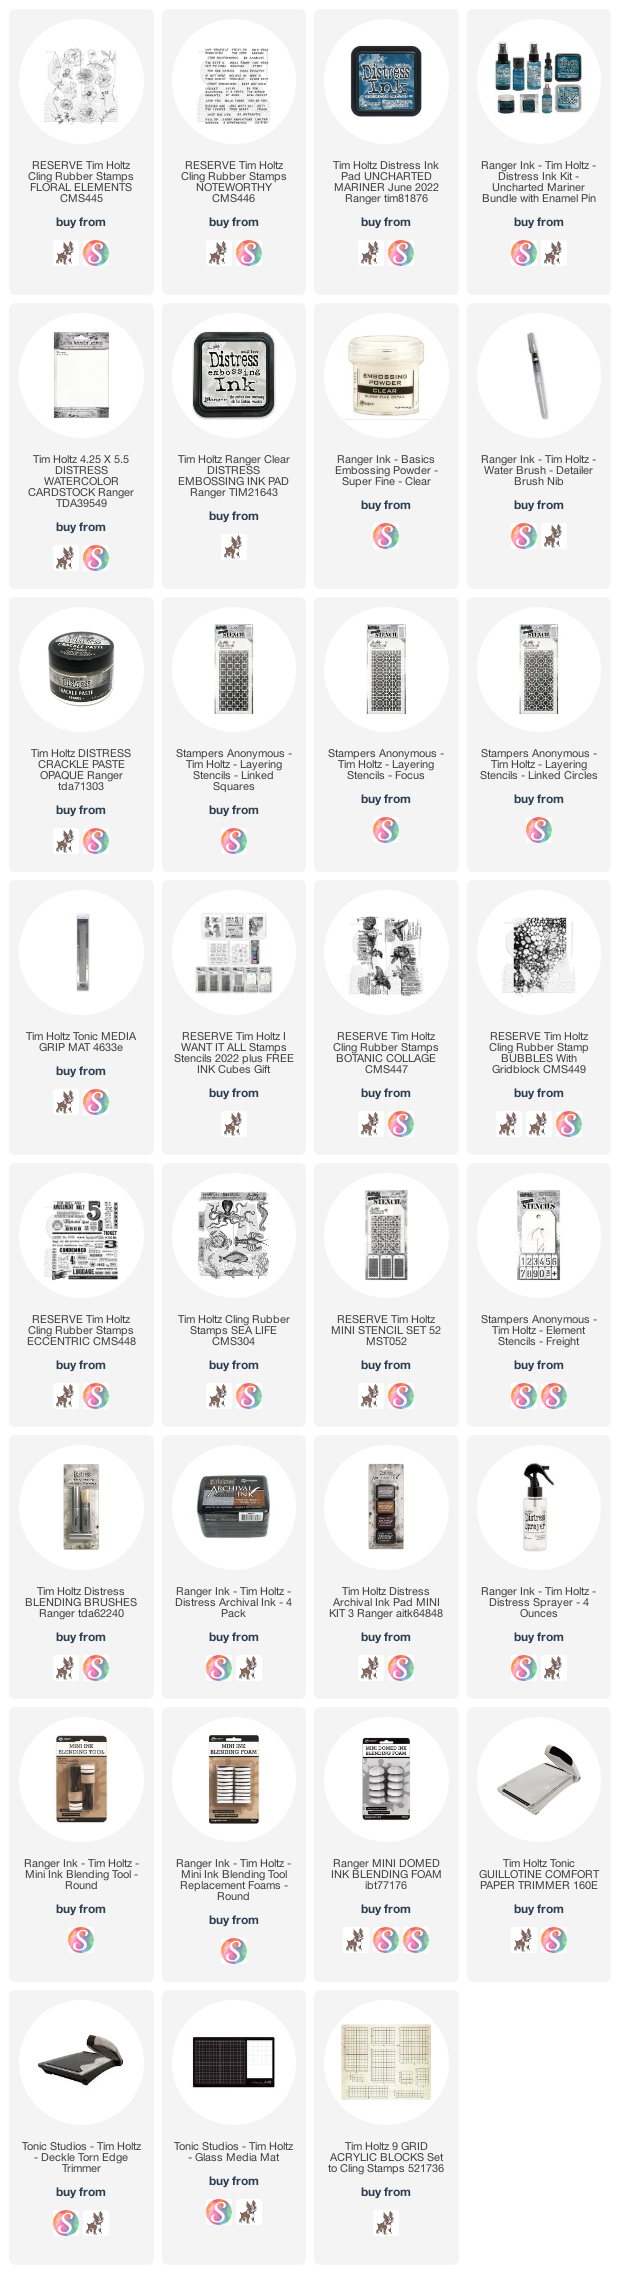
I am an affiliate with Simon Says Stamp and Scrapbook.com so the links below send you to one of those stores depending on which logo you choose.  If you wish to purchase something from either store and use one of my links below, I get a small percentage of your order, at no additional cost to you. This helps me to defray the costs of this blog, the time, the ideas and tutorials I post here. 

Your help is greatly appreciated! Thank you!

Wednesday, July 20, 2022

Christmas in July - Mini File Folder Drawer

On my blog today I have a project I made last fall using the 2021 Tim Holtz Christmas Idea-ology release. As I announced in December, due to health issues with my family, I was unable to post all of the tutorials or walk-throughs of all of my projects and some of them had to be set aside. This was one of those. 

When Tim Holtz released the 2022 "everyday" line of Idea-ology, I knew I wanted to make another one for summertime. It's been a work in progress for quite awhile, but I did finish it and will be posting the tutorial for that in the next few days. So I thought that now would be a great time to post the walk-through of this project since many people do Christmas in July makes.

This is the walk-through I recorded last fall before I shipped the project to Tim for the reveal. I hope seeing the project in a video paired with the photos below will help inspire you if you want to make a similar project in your own style.
I began by removing the divider out of a Vignette Divided Drawer on the side with the biggest opening. Then on the end with the one small squarish opening, I cut some chipboard an 1/8" shorter than the sides and adhered them to all four sides.
Then I cut a squarish piece to go over the tops and sit just inside the edges.
It should look like this when you are done.
Now you need to decorate the box. Getting a good amount of Distress Collage Medium on your brush, cover one area of the box at a time. Have the Christmas Collage paper ready to adhere.
 You want to press the collage paper into the wood and gently press the air out of it. Do not wipe it with your hand or a towel as it will tear easily. Continue section by section until you get the whole piece covered.
 
The rest of the post is just close ups of the make and individual photos of the fronts and insides of all the folders. 


If you have any specific questions that the video and the post don't cover, I am happy to try to answer them. Just use the contact form at the right.

Thank you so much for making it this far! I truly appreciate your support.

Have a crafty day!

Tami

I am an affiliate with Simon Says Stamp and Scrapbook.com so the links below send you to one of those stores depending on which logo you choose.  If you wish to purchase something from either store and use one of my links below, I get a small percentage of your order, at no additional cost to you. This helps me to defray the costs of this blog, the time, the ideas and tutorials I post here. 

Your help is greatly appreciated! Thank you!

Tuesday, July 5, 2022

Floral Elements Card Tutorials


These floral cards are made using the new Tim Holtz stamps and stencils from Stampers Anonymous. I used the Distress Glaze over Distress Crackle Paste technique I learned from Stacy Hutchinson (Tattered Nest Designs) and Tim. The flowers are cut from the new Floral Elements stamps using the Ironoff Resist technique.


I hope this video tutorial will help you learn both techniques if you don't know how to do them already, or at least serve as a refresher.

Here are a few close-ups of one of the sample cards. The Distress Inks used are Villainous Potion,  Dusty Conocord, Mowed Lawn, Rustic Wilderness
It's really amazing how the glaze and crackle paste look like crazed tile. I used Hickory Smoke, Speckled Egg, and a touch of Villainous Potion Distress Crackle Embossing Glazes.
The sentiment is from Noteworthy CMS446 stamped in Villainous Potion.

 
The Distress Ink Colors used on this one are Saltwater Taffy, Villainous Potion, Speckled Egg, Peeled Paint, and Shabby Shutters.
Saltwater Taffy, Villainous Potion, Speckled Egg Distress Embossing Glazes were used one this one.
The sentiment is again from Noteworthy.
 
You can see the mixture here of Villainous Potion and Speckled Egg. The darker background on this one called for lighter flowers.

For the tutorial I made a sample using th new Distress Color Uncharted Mariner, paired with Speckled Egg (again) and Candied Apple to give it a nautical feel.
This color scheme could also be patriotic.
I had fun making this card again with a completely different color scheme. I love how it gives the card such a different feeling.

Thank you fellow maker for stopping by. I hope you found something helpful in this tutorial.

I'm grateful for your encouragement and support! 

Have a crafty day!

Tami

I am an affiliate with Simon Says Stamp and Scrapbook.com so the links below send you to one of those stores depending on which logo you choose.  If you wish to purchase something from either store and use one of my links below, I get a small percentage of your order, at no additional cost to you. This helps me to defray the costs of this blog, the time, the ideas and tutorials I post here. 

Your help is greatly appreciated! Thank you!


Sunday, July 3, 2022

Collect Beautiful Moments


This beach card was made using the new Tim Holtz Stampers Anonymous release, featuring the new Bubbles stamp. Links to all of the stamps and products I used are at the end of this post.
 
I made a step by step tutorial video posted below. 
Be sure to check out the little addendum at the end. I made this card and tutorial long before the new Distress Color was announced. When I saw Uncharted Mariner I knew I just had to make this card with it, so although the video tutorial was already recorded, when my UM arrived, I made a card with it and added to the video before I published it (photo at the end).


 Here is the same card made with Uncharted Mariner. Such a great color!

Thank you fellow maker for stopping by. I'm grateful for your encouragement and support!

Have a crafty day!

Tami

I am an affiliate with Simon Says Stamp and Scrapbook.com so the links below send you to one of those stores depending on which logo you choose.  If you wish to purchase something from either store and use one of my links below, I get a small percentage of your order, at no additional cost to you. This helps me to defray the costs of this blog, the time, the ideas and tutorials I post here. 

Your help is greatly appreciated! Thank you!