

The summertime memories version of the Mini File Folder Drawer project was a fun one to make. I got bogged down with it though and didn't finish it until the Sizzix Chapter 3 dies were released. They were just the inspiration I needed to pair with the Idea-ology elements to get this project over the finished line.
As with the Christmas version, I have a video walk through, but I also have lots of tutorial elements in this video. Below are all the photos of each file folder and the details for reference.


Before I start the folder photos, I thought I would post the die cutting elements that I posted on Instagram.


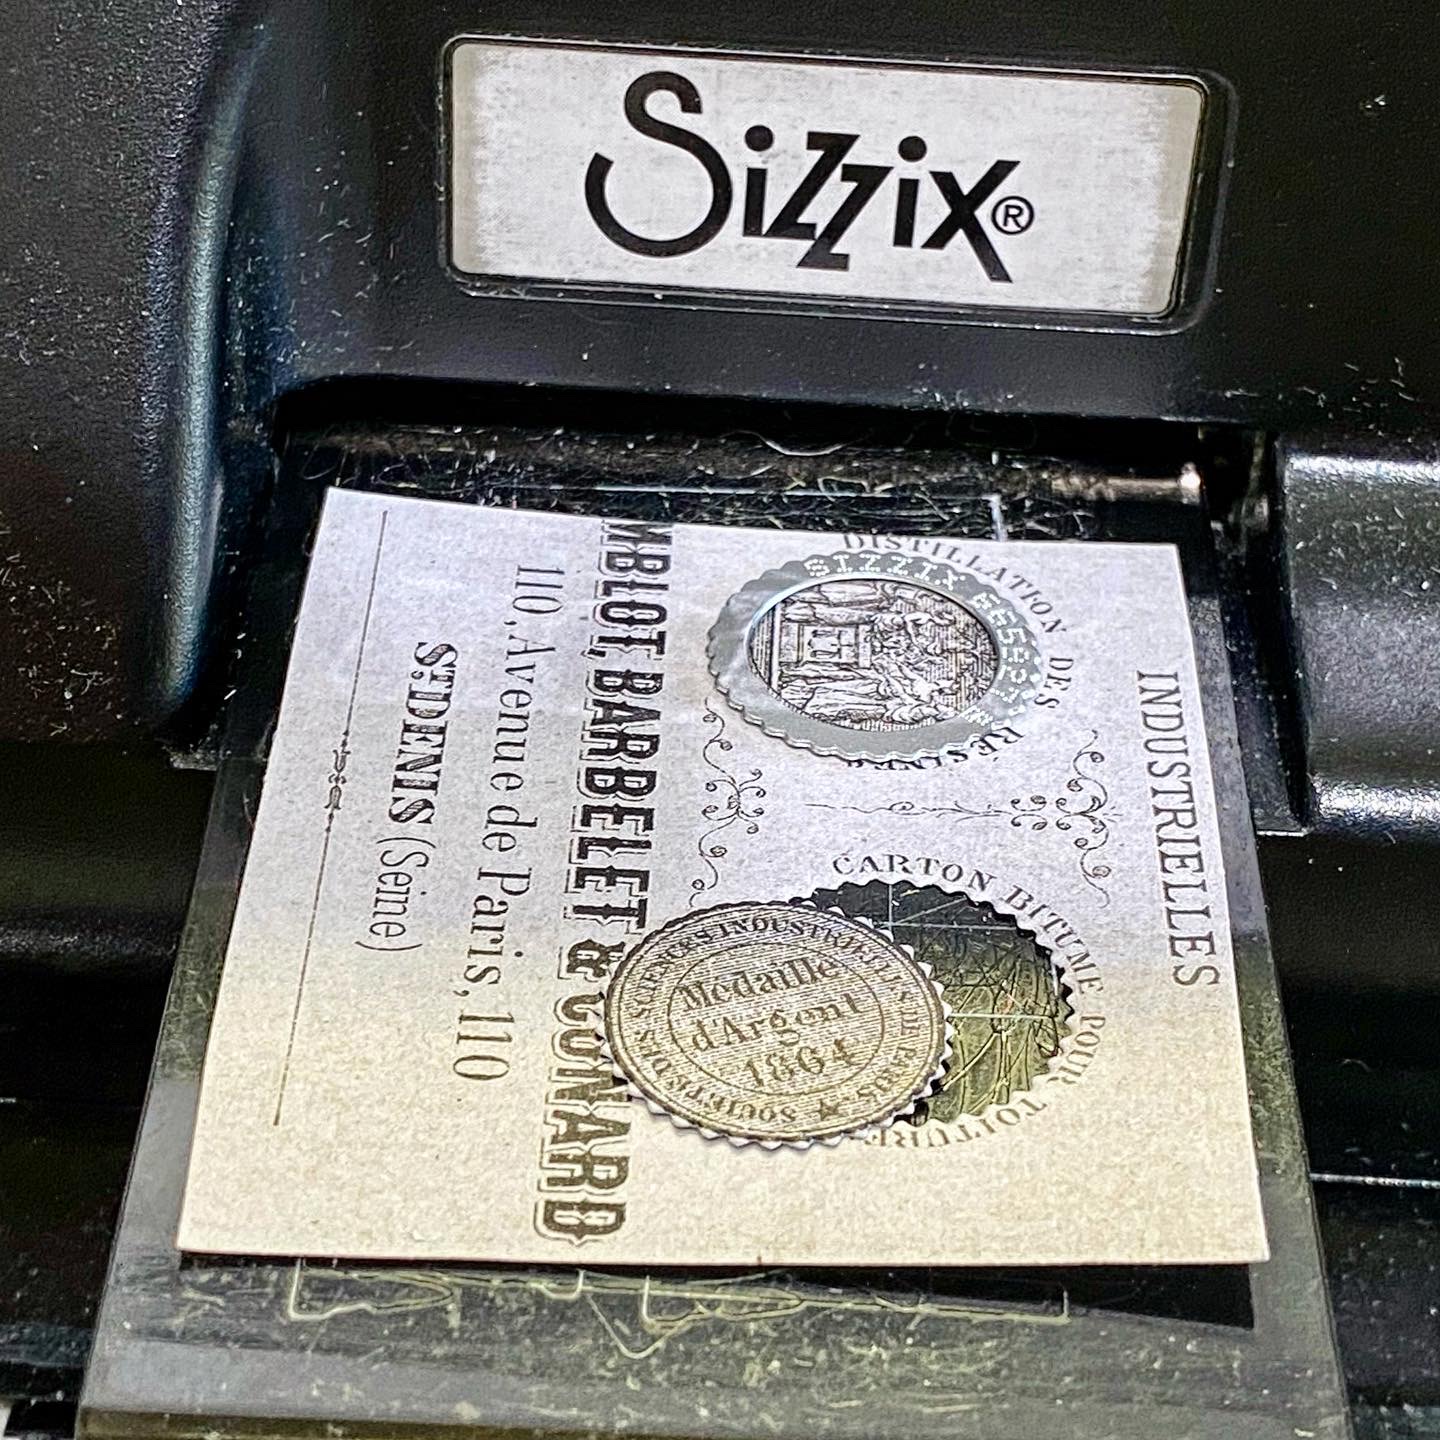


 t
t


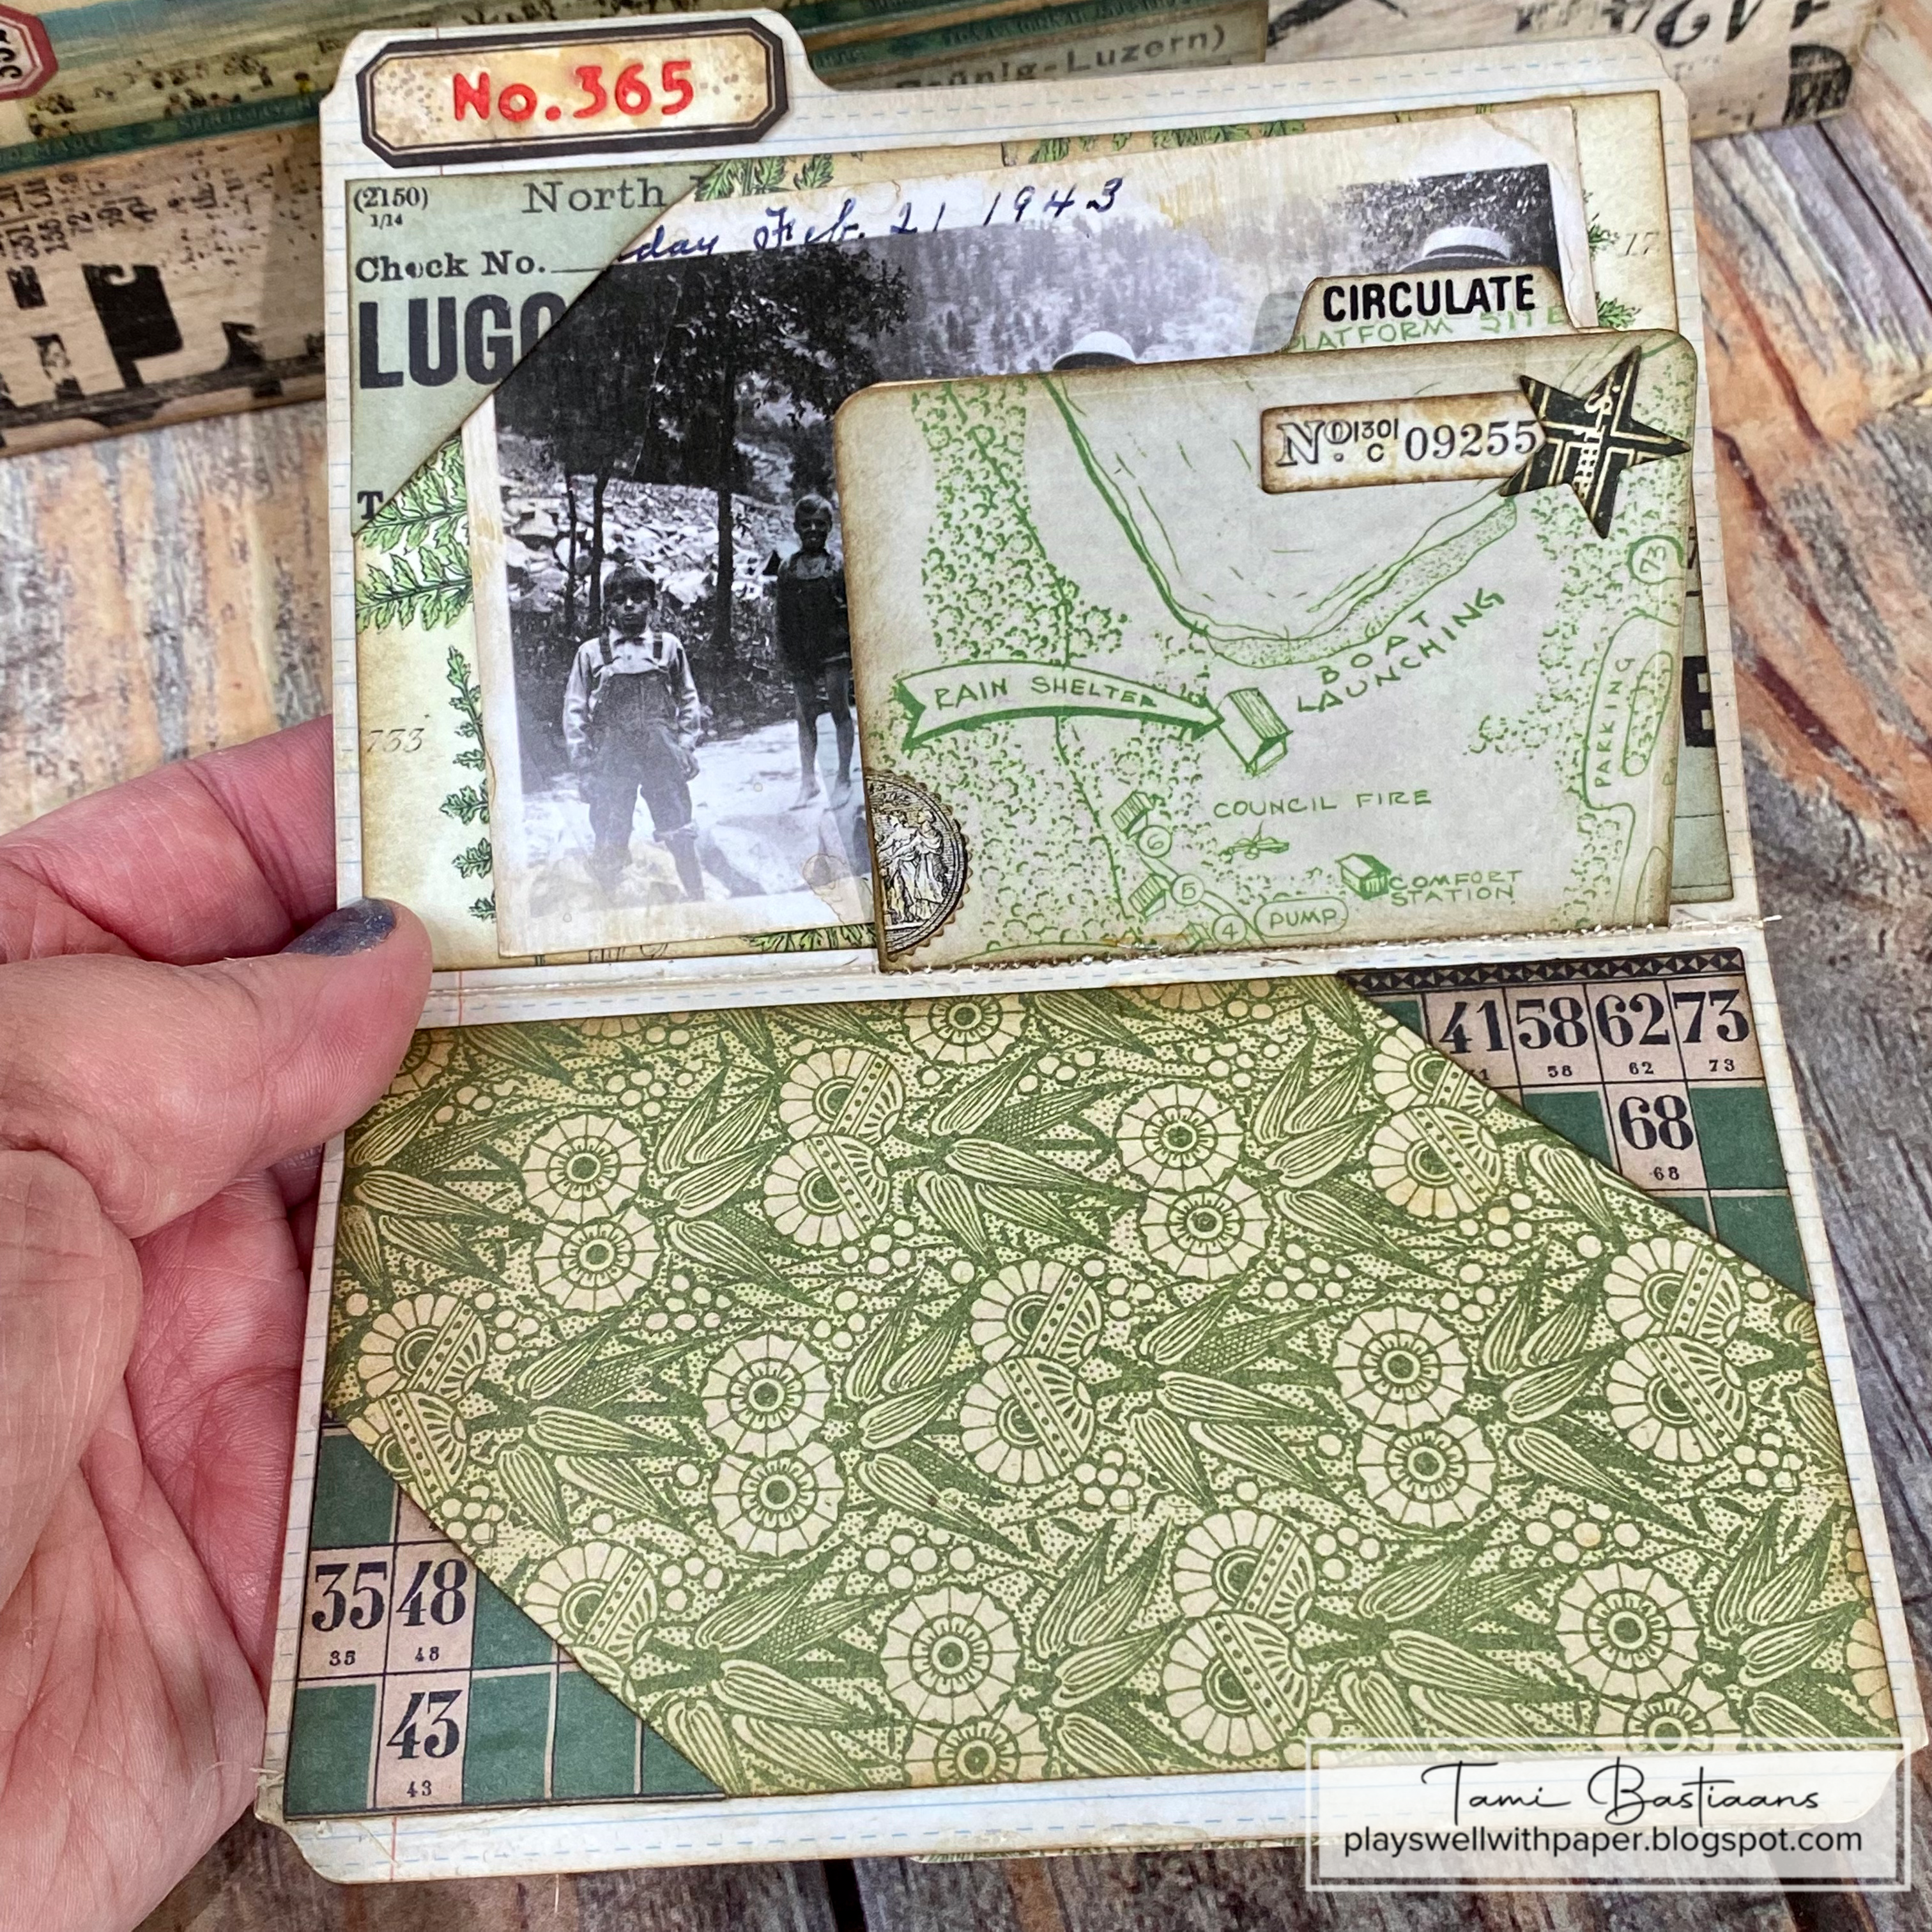
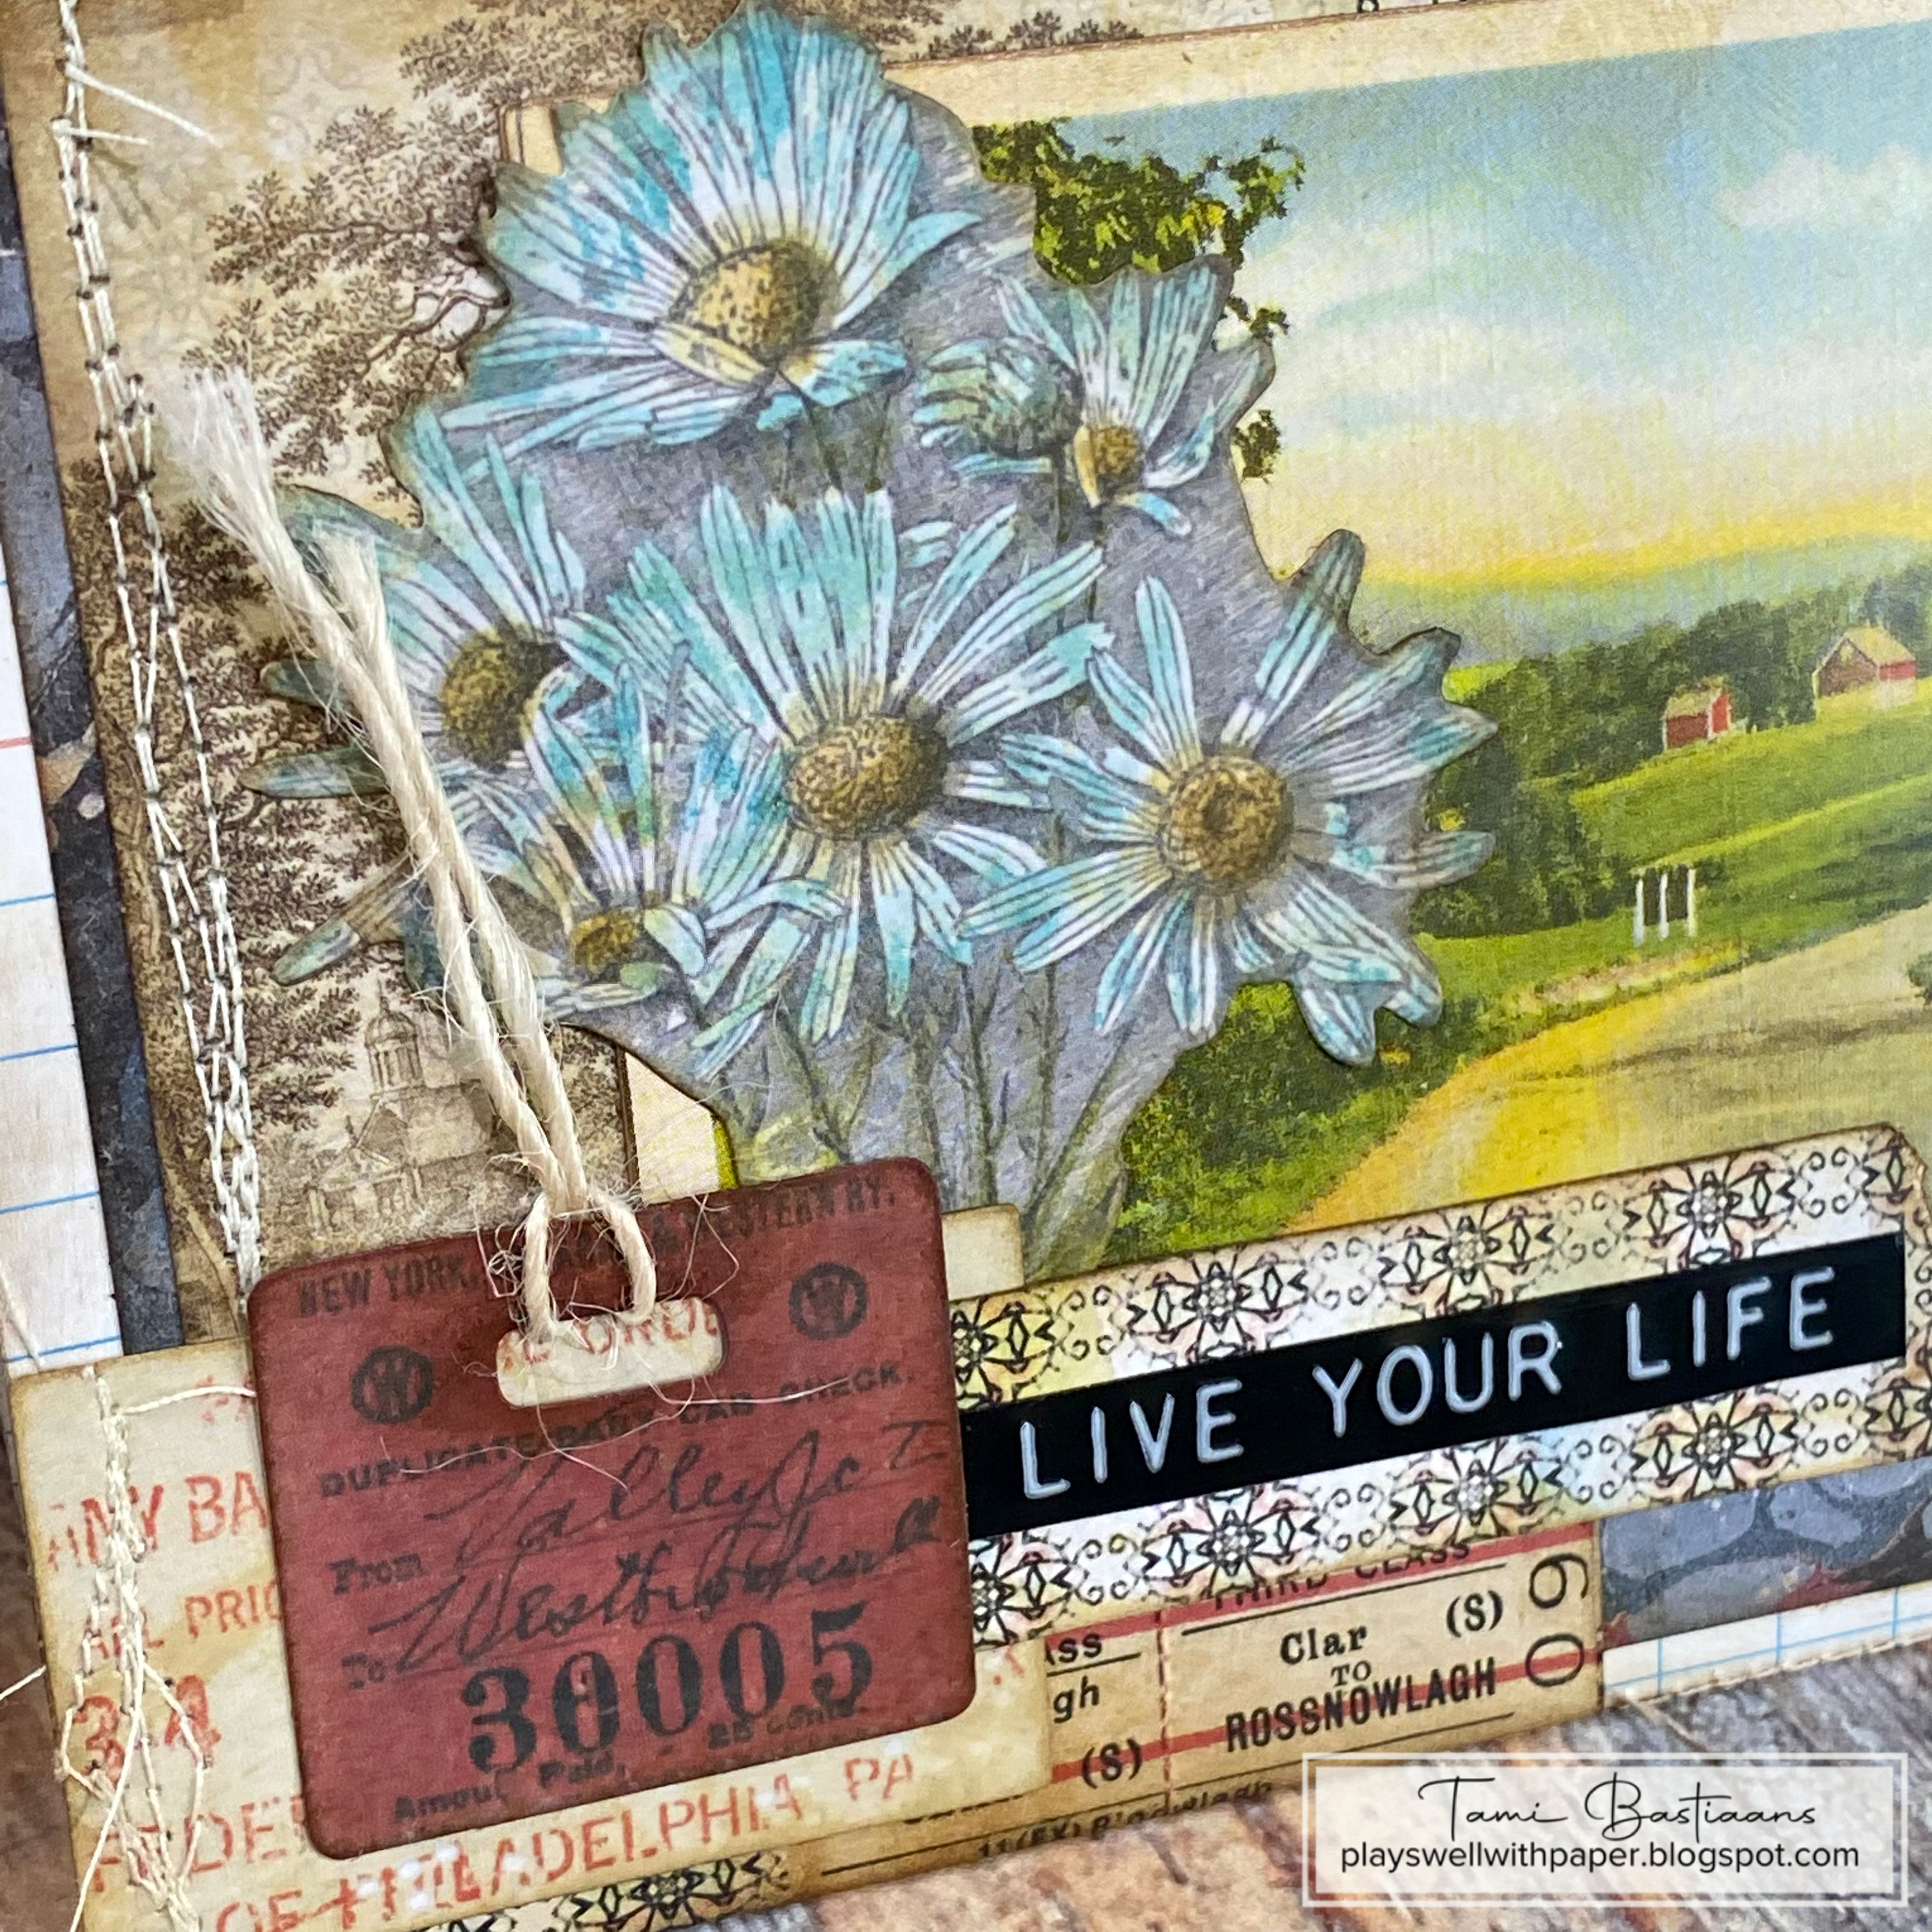
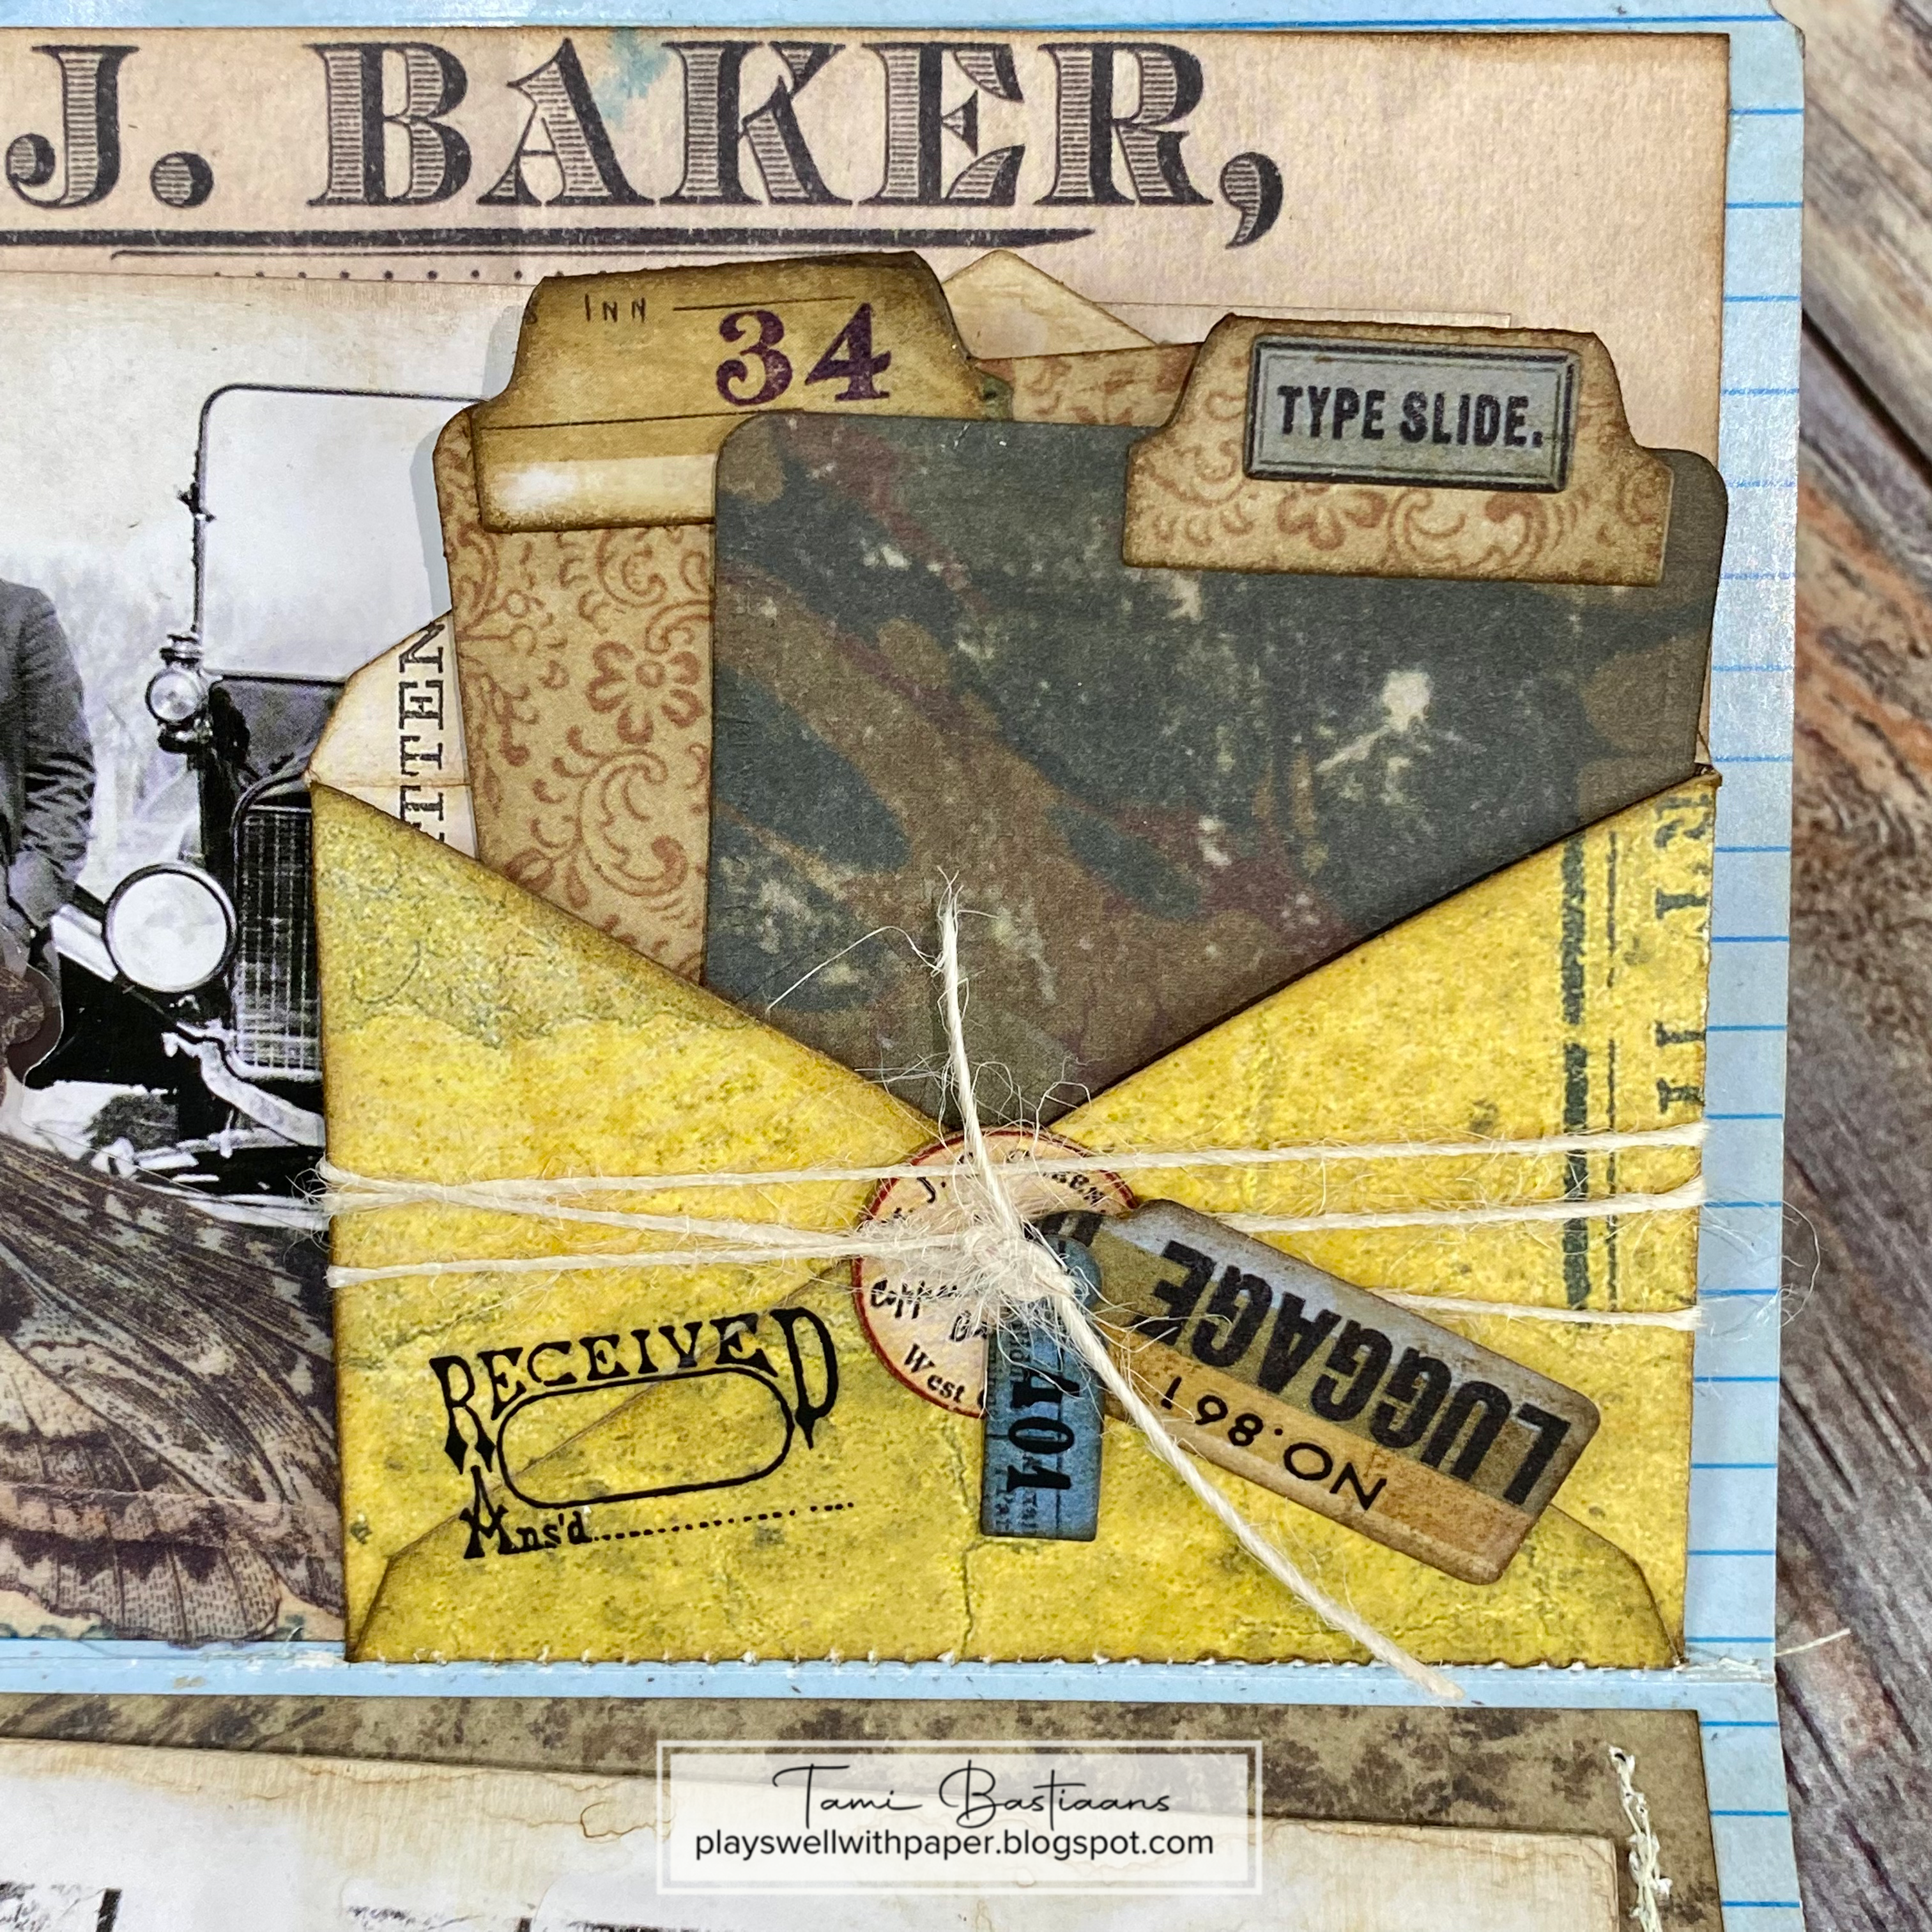
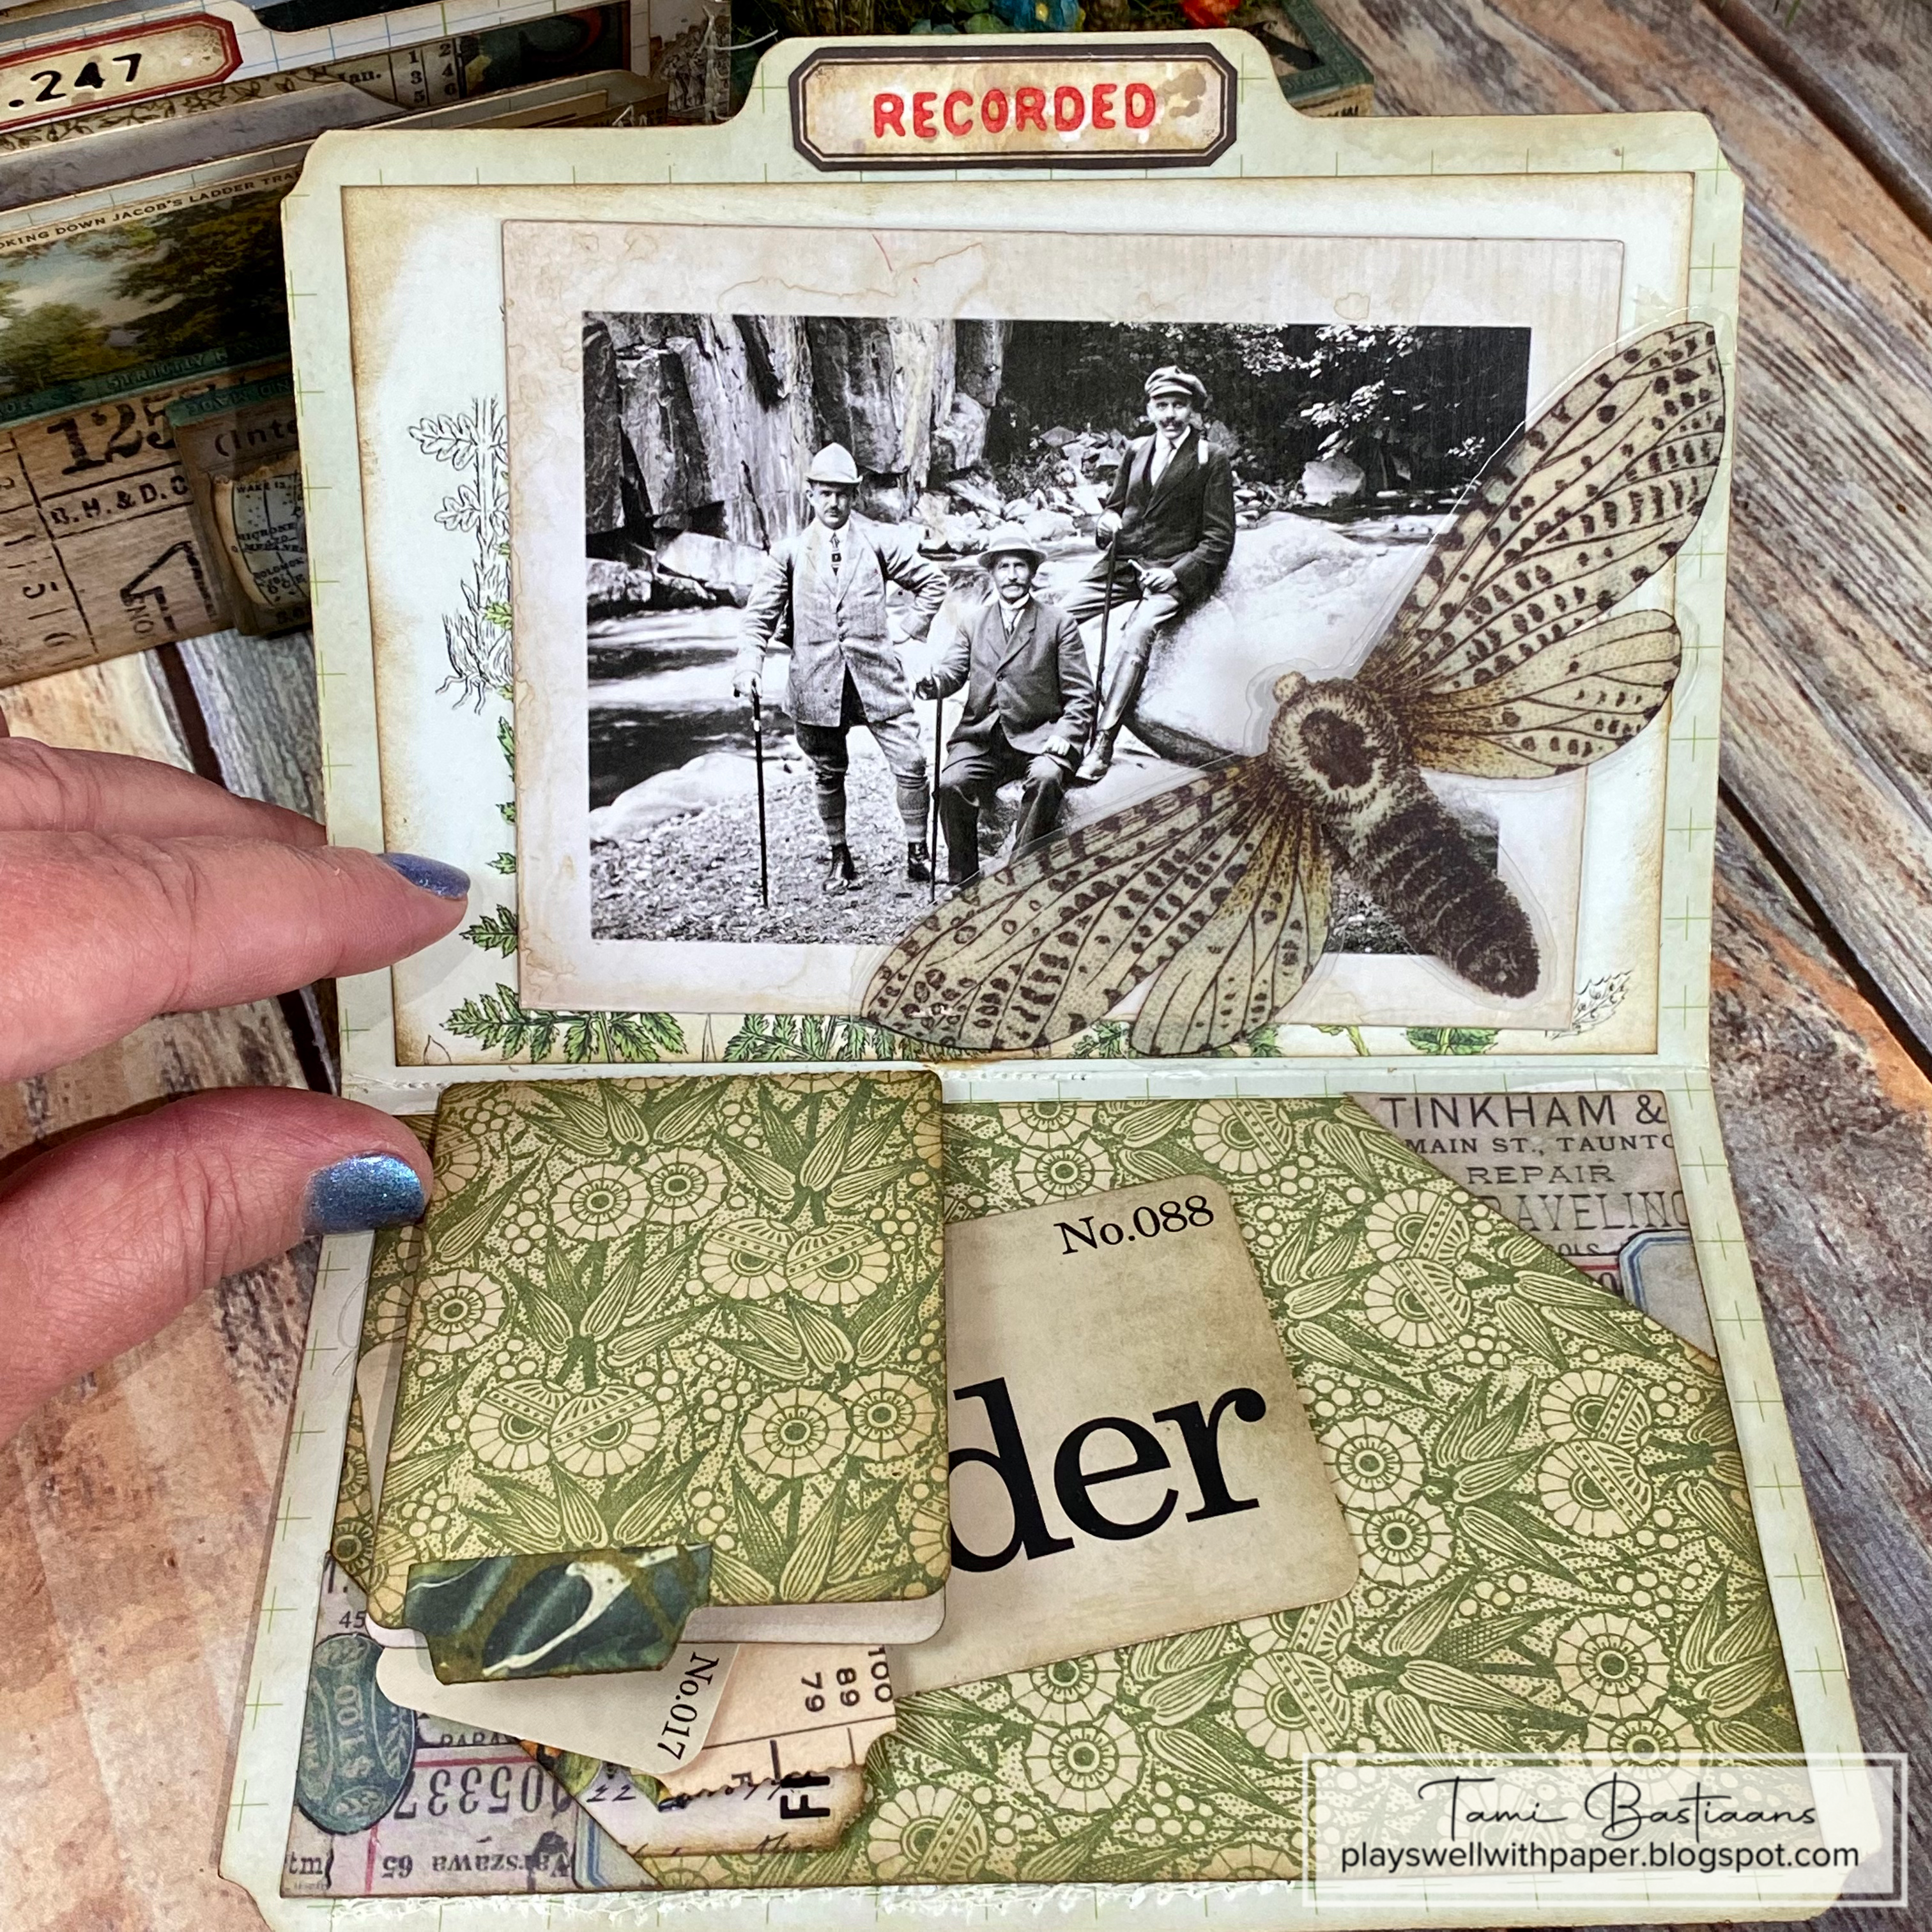
The following are all of the folders in the order that I showed them in the video.


 t
t


 t
t


 t
t
 t
t


 t
t


 t
t


Well, that is going to do it for this project. As always, if you have any questions or need anything clarified, please contact me through the link in the column at the right.
Thanks you so very much for stopping by and for taking an interest in this project. I hope you found something that sparked some inspiration.
Have a crafty day!
Tami
I am an affiliate with Simon Says Stamp and Scrapbook.com so the links below send you to one of those stores depending on which logo you choose. If you wish to purchase something from either store and use one of my links below, I get a small percentage of your order, at no additional cost to you. This helps me to defray the costs of this blog, the time, the ideas and tutorials I post here.
Your help is greatly appreciated! Thank you!

4 comments:
I have to tell you I am blown away. I was impressed with the overall look of the box and the "woods theme" with the pine, pine cones and tree. Then you started showing the details of the files... and WOW! Amazing! Love all your tucks and flaps. Now I need to go back and see the Christmas one! Thank you for the video and all the detailed information! You do outstanding work!
What a wonderful project! Thank you so, so much for sharing all the details. Love how you use every bit of the backdrops and other to create the bits of interest. The video and post will be a good resource to come back to.
Boom!!! Mind Blown...wowzers, such a fabulous make...so many fun details to find and see...love that it is a funtional memory keeper, too! Thanks for all the pics....now to go look again and study them....LOVE!
This is just so, so inspiring. I’ve collected ‘holiday bits’ and vintage postcards etc for a number of years but they have lived unseen by anyone in a box, which is sad. have never known what to do with them. Now I do! Absolutely love this work of art.
Post a Comment