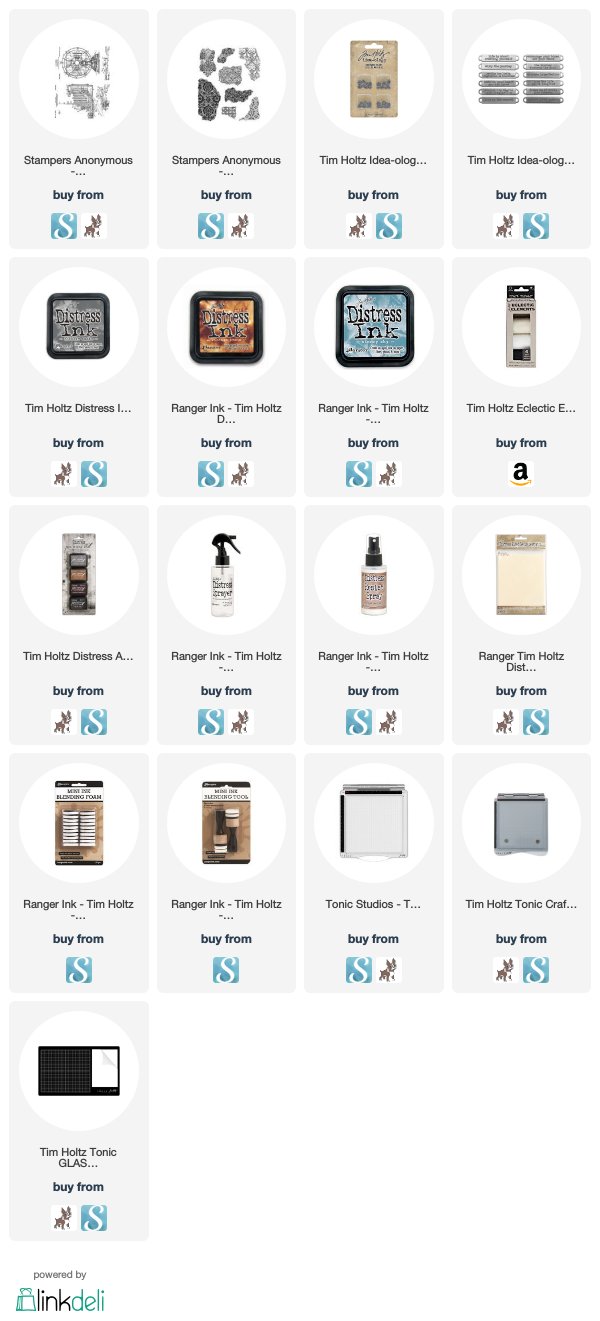
This is another card with the Inventor 8 stamp set from Tim Holtz and Stampers Anonymous. There are some fun things you can do with this fan image. You could send it to someone with the sentiment "Big Fan!" or "You Blow Me Away!" or "FANtastic!" or "Totally Fan Girling Here!" or "I'm sorry oscillate for your birthday!"......okay, maybe that last one is going a little too far. Hahahahaha!
The background was made using that technique that's been my favorite of late -- Watermark Resist Ink with Distress Ink. I just LOVE the light multi-colored background that it leaves.
As a reminder, of the process, I applied a piece of Sizzix Sticky Grid to my stamp platform.
Then I put a piece of Distress Mixed Media Heavystock onto it. I know many people try to save money by using less expensive cardstock, or other types of paper. My friends, you truly get what you pay for. Distress Mixed Media Heavystock was developed and manufactured with Distress products in mind and they work so beautifully on it. If you are going be using Distress products and want the very best outcome, it starts with the paper. It really is worth it!
Then I arranged the different Fragments stamps on top of the Heavystock, applied the Watermark Resist Ink, and stamped until I could see that I had indeed gotten a good sheen of the resist ink on the entire piece.
I dried it with my heat tool and then applied Distress Inks. I believe I used Vintage Photo, Stormy Sky, and Hickory Smoke on this piece. I'm sorry, I didn't write it down when I was designing back in January.
Here is a sideways (sorry!) short video that shows this technique.
I used the Wrinkle Free Distress technique of applying the inks to the nonstick mat, spritzing with water and laying the piece in the inks, drying, inking, drying, and spritzing the piece in between to keep the background soft without the dark spots you so often get with this technique. When the Distress ink soaked into the Watermark ink, enough that I was satisfied, I stopped.
I really can't tell you how much I love this technique.
For the focal point, I stamped the fan from the Inventor 8 set onto the background, and into a clean piece of Heavystock. I water colored the fan on the clean piece, cut it out and then sprayed it with a couple of layers of Distress Resist Spray. It is also one of my very favorite things from this year! I'm totally addicted to it. I then adhered the colored fan above the image stamped on the background using dimensional adhesive to give it even more focus
I finished the card with an Ideaology Word Band tied with some Eclectic Elements Craft Thread and added two of the new Ideaology Hardware Heads. They are so fabulous!
This fan card is a "breeze" to make and I hope you will give it a try!
Tami
I am an affiliate with Simon Says Stamp and Scrapbook.com so the links
below send you to one of those stores depending on which logo you
choose. If you wish to purchase something
from either store and use one of my links below, I get a small
percentage of your order, at no additional cost to you. This
helps me to defray the costs of this blog and the ideas and tutorials I
post here, and your help is greatly appreciated! Thank you!
The
Inventor stamps from Tim Holtz and Stampers Anonymous have been a huge
hit this last year! The newest installments are great and the Inventor 8
set has this fantastic vintage camera.
I
stamped it on some Distress Heavystock and then colored it with Hickory
Smoke Distress Ink, then cut it out and edged it with Walnut Stain
Distress Ink before spraying it with a nice layer of Distress Resist
Spray.
The
background was made using the Wrinkle-free Distress method of Crushed
Olive, Chipped Sapphire and Ground Corduroy Distress Inks on the
non-stick mat and applying it to a piece of Distress Heavystock. When I
liked the look of the background, I stamped the entire Inventor 8 camera
stamp onto the background and then added the colored camera with
dimensional adhesive over the stamped image on the background. This made
it a focal point on the card.
For
interest, I added several of the small filmstrip stamps from and older
classic stamp set called Mini Muse CMS063. This set has a lot of smaller
sized images that fit well with so many things for card and ATC makes.
I stamped the film strip onto Distress Heavy stock with Black Soot and
Ground Espresso Distress Archival Inks. You can see the color
variations. Then I inked them with Walnut Stain and a Blending Tool. I
adhered them to the background in several places and then added some
messy stitching in a beige grey to tie in the camera.
I
finished it off with a word band from Idealogy and two Long Fasteners.
This is a super easy card to make once you get all the materials out.
Thanks for stopping by and now get out there and capture ife's moments! :-)
Tami
I am an affiliate with Simon Says Stamp and Scrapbook.com so the links
below send you to one of those stores depending on which logo you
choose. If you wish to purchase something
from either store and use one of my links below, I get a small
percentage of your order, at no additional cost to you. This
helps me to defray the costs of this blog and the ideas and tutorials I
post here, and your help is greatly appreciated! Thank you!
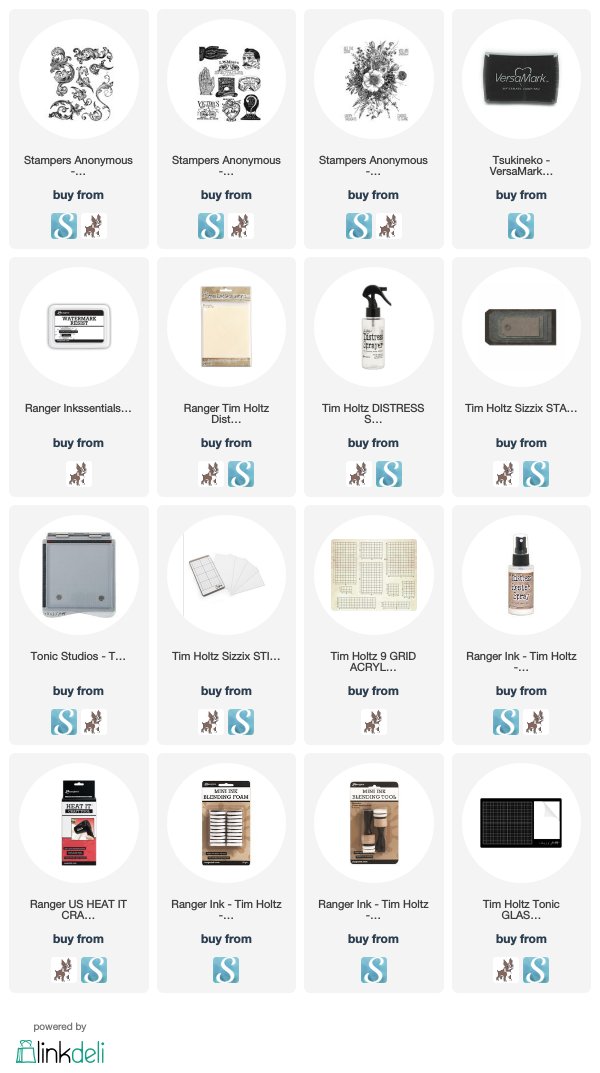
This is a card I made for a friend using the new Scrollwork CMS367 and Eclectic Adverts CMS372 stamps from Tim Holtz and Stampers Anonymous.
To make the background I started by putting a piece of Sticky Grid onto my Stamp Platform because I wanted the scrolls to cover the entire surface and didn't want the magnets in the way.
Then I put the piece of Distress Mixed Media Heavystock onto the Sticky Grid.
I arranged the scrolls from the Scrollwork stamp set.
Then stamped it with the almost clear Watermark Resist Ink. The darker one seen below was stamped with Hickory Smoke Distress Archival just to see what would happen.
These pictures were taken as I was experimenting with this technique to see if Distress Spray Stain would work with this technique as well as the Distress Ink Pads on the nonstick mat.
After I sprayed the Distress Stains onto the paper, I spritzed them with a lot of water to give it a soft feeling.
I also used a towel to soak up any of the really dark spots. In the photo above you can see how differently the Archival Ink and the Watermark Resist react differently with the Distress Stains.
Then I dried the ink. I didn't do the water spots on this as I wanted the colors to blend together lightly and smoothly.
And here it is. You can see how there is a little resist that gives it a distressed look, but the ink also soaks in the color. It's really cool! I love it.
Sorry it is sideways...I can only edit and upload video on my phone and I couldn't figure out how to rotate it.
Here is a quick little video showing how I made this type of background for the card below. I applied Distress Ink to the nonstick
mat on my glass mat and sprayed it with water and then pressed the
stamped paper into the ink. I did this several times until I got the
saturation I was looking for.
I believe for this card I used the colors Brushed Corduroy, Chipped Sapphire, and Vintage Photo.
I cut a small tag from the Stacked Tags die set and then stamped the hand advert onto it from the Eclectic Adverts stamp set, in Black Soot Distress Archival Ink. The I colored the tag with a little Chipped Sapphire and Brushed Corduroy. To make it stand out on the card, I sprayed it with a layer of Distress Resist Spray. I tied a piece of jute through the tag and popped it up with dimensional adhesive.
I made another card for a another friend using the same technique but with a different stamp -- the Glorious Garden stamp. It ended up being very soft and subtle compared to the scrolls.
I also experimented with this stamp the other day using the Watermark Resist Inks with the Distress Spray Stains and Spray Oxides. The result was a very different look than the one above, but it's always fun to try new things with techniques.
I hope this inspires you to just play around with your stamps and inks and see what happens! As always I appreciate you taking the time to stop by.
Tami
I am an affiliate with Simon Says Stamp and Scrapbook.com so the links
below send you to one of those stores depending on which logo you
choose. If you wish to purchase something
from either store and use one of my links below, I get a small
percentage of your order, at no additional cost to you. This
helps me to defray the costs of this blog and the ideas and tutorials I
post here, and your help is greatly appreciated! Thank you!
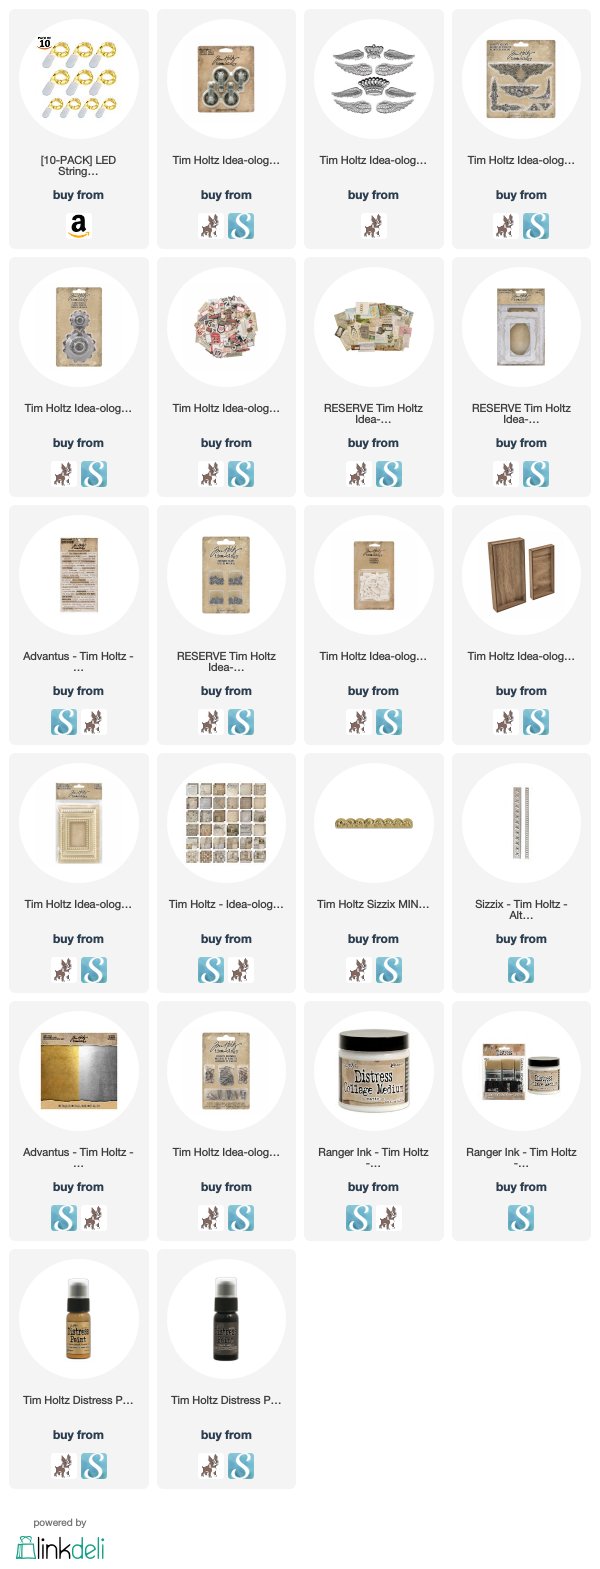
Life in the Footlights is a piece dedicated to theater life on Broadway. I used existing pieces and new pieces of Ideaology from Tim Holtz. When looking at it straight on, it is supposed to look like the proscenium of an old theater stage, lighting up at the bottom, just as footlights would illuminate a stage from below, and with pulley wheels at the top peeking from under the top of the proscenium archway to represent the fly system.
Here is a closer look at the top of the archway or Proscenium. You can see the pulley wheels and rope representing the fly system that allows the stage hands to change scenery quickly. The Vignette Accent corners, Regal Adornment crown, and Sizzix 3-D Scallop were to give the stage the feel of gilded opulence.
The sides of the proscenium archway are adorned with the smallest of the 3-D Star Border Impresslits that will be released later this year from Tim Holtz and Sizzix. The die/embossing folder combo is just like the 3-D Scallop, it cuts and 3-D embosses at the same time. I really love this star border set!
This is another view of the pulley wheels. It also allows you to see the gilded finish. The whole vignette tray, the chipboard pieces across the top and bottom, and the Vignette Frame are all covered in Tarnished Brass Distress Paint and then wiped with Black Soot Distress Paint to give it an old, gilded theater
feeling. The back and inside walls of the tray are covered in a charcoal stripe paper from the Ideaology French Industrial Paper Stash.
My inspiration for this piece consisted of this postcard of Broadway, and the delightful NEW Photo Booth photo of this lovely lady. I decided she looked like an actress and so I paired her with the postcard and then the story for the rest of the piece started to fall into place. The postcard is from the NEW Layer Remnants. Several pieces of Layer Remnants were used on this piece, as were some pieces from Ephemera Snippets.
I layered the Vignette Frame onto a large NEW Lace Baseboard Frame.
The small bouquet and theater ticket are from the Ephemera Snippets. The flowers represented some that would be given to a cast member
after a performance, and of course a theater ticket is needed to even
gain admission to the show. These sit on a Layer Remnant that is an advertisement for a photography studio, where I'm sure many actors needed to get headshots and PR photos.
I added a few more Ephemera layers at the bottom with some Clippings Stickers to fit with what I thought would be part of a broadway actor's life, like a calendar of performances, auditions and so on. A cast of characters for the play Our House sits on top of a piece of ephemera with a bunch of names.
I cut some chipboard in two sizes and painted it to match the rest of the piece before I added the Typography letters. Some small Hardware Heads adorn the corners.
I finished the bottom with two more corners and floral piece from the Vignette Accents. In order to have enough of the corners for this project you will need two packages of the Vignette Accents.
The base is the largest Vignette Base painted with Tarnished Brass Distress Paint and and wiping a little Black Soot Distress Paint over it.
I hope you enjoyed tonight's performance and invite you to return again for an encore.
Tami I am an affiliate with Simon Says Stamp and Scrapbook.com so the links
below send you to one of those stores depending on which logo you
choose. If you wish to purchase something
from either store and use one of my links below, I get a small
percentage of your order, at no additional cost to you. This
helps me to defray the costs of this blog and the ideas and tutorials I
post here, and your help is greatly appreciated! Thank you!
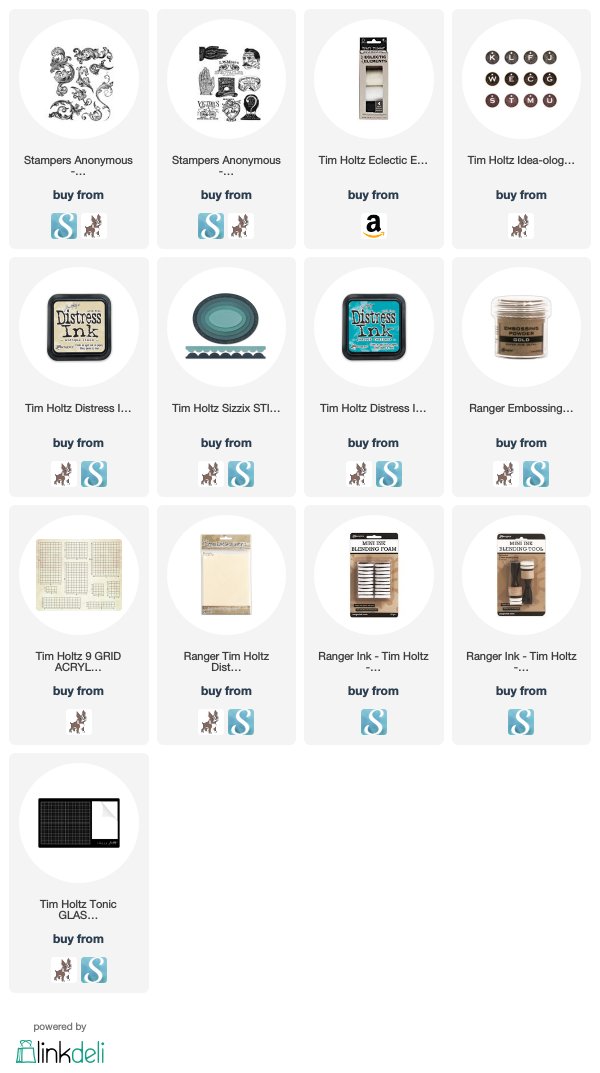
One of the new stamp sets from Tim Holtz and Stampers Anonymous that is available this month is Scrollwork CMS367. It is a full set of various scroll shapes that can be used individually or as seen on this card, I stamped most of the scrolls so they made a vintage looking background.
To make the background, I colored a piece of Distress Multi Media Heavystock with Antique Linen Distress Ink. Then I stamped the various scrolls onto it with Distress Embossing Ink and embossed it with Superfine Gold Embossing Powder. Then I watercolored inside the scrolls with Distress Ink Peacock Feathers.
I cut the center out with two different sizes of the Stitched Ovals dies. Then in Black Soot Distress Ink, I stamped the spectacles image from the Eclectic Adverts CMS372 which is released in March 2019. I watercolored just the word spectacles.
As I stated in my last post, I like having even the tiniest bit of a story with my projects. With this one it is the Muse Token with the E for Excellence with the "Spectacles the Best in Use." I picked the E because it is the top letter on the eye charts you have to read when getting fitted for spectacles. The excellence on the token goes with the fact that the LM Moses spectacles claim to be the BEST in USE.
I hope you liked what you "saw" on the blog today! Thanks for taking a "peek!"
Tami
I am an affiliate with Simon Says Stamp and Scrapbook.com so the links
below send you to one of those stores depending on which logo you
choose. If you wish to purchase something
from either store and use one of my links below, I get a small
percentage of your order, at no additional cost to you. This
helps me to defray the costs of this blog and the ideas and tutorials I
post here, and your help is greatly appreciated! Thank you!
This little card packs a giant primordial greeting! The technique for making it is one that can be used for many other mediums besides just cards.
The Prehistoric dies from Tim Holtz and Sizzix, were what I used to make this card. These dies can be cut with the additional layers that are placed on top of the base shape. But on this card I only used the base shapes.
I cut the focal point and the sentiment out of thing green vinyl like I did on the Party Like a Dinosaur card. I used the Cut Out Alphanumeric Lowercase to cut the sentiment "hi!" out of the dinosaur. Then I wiped over the green vinyl with Fired Brick Distress Paint and then with Black Soot Distress Paint. Lastly, I sanded it to allow the green to show through in spots.
For the background, I did the same technique that I have used on several Etcetera Tags including the one here. The tag base is kraft colored so to use the technique on the card, I chose a kraft colored card base, then I cut out the dinosaur shapes from the same Kraft paper, I adhered them with Distress Collage Medium Matte, then covered the whole base with Evergreen Bough Distress Paint. When it was dry I sanded it , covered it with another coat of Collage Medium and then rubbed some Black Soot Distress Crayon to help the edges of the dinosaurs to stand out.
I finished it off with a piece of Corrugated paper, and some Eclectic Elements Craft Thread.
Thanks you for visiting!
Tami
I am an affiliate with Simon Says Stamp and Scrapbook.com so the links
below send you to one of those stores depending on which logo you
choose. If you wish to purchase something
from either store and use one of my links below, I get a small
percentage of your order, at no additional cost to you. This
helps me to defray the costs of this blog and the ideas and tutorials I
post here, and your help is greatly appreciated! Thank you!