Showing posts with label collage paper. Show all posts

Wednesday, June 8, 2022

Stencils Aren't Just for Cards

 Lately I have been on a fake plant kick. I just can't get enough fake plants. They are like cats for me. I brought one home and now I can't stop. LOL
Anyway, I was looking for some really cute pots to put them in and they were kind of expensive. So I decided to make my own using the new stencils from Tim Holtz and Stampers Anonymous. ?Here is a quick photo tutorial for making these very quick decorative pots.
 Start with some Idea-ology Collage Paper. This can be any paper you have. I just grabbed Botanical because it was close at hand. Then get the Distress Transluscent Texture Paste and while you are at it, get some Distress Embossing Glazes ready too. Choose a few stencils I used the three new stencils from Tim and Stampers for these projects in large and mini.
 
Put a thin layer of the Translucent Texture Paste through the stencil and sprinkle it with Distress Embossing Glaze immedialey after. Then let it dry naturally. Now you can use one color as I did here, or you can mix colors as I did on the smaller pots. For those I used Speckled Egg, Villainous Potion, Peeled Paint and Hickory Smoke. Once the texture paste is completely dry, you can heat emboss it and make it turn a cool glossy color that shows the text of the Collage Paper through it.
Put a layer of Picket Fence Distress Paint on the pots you are going to decorate. Let it dry.
You need to trim the embossed Collage Paper into strips as wide as the lip of the pots. Then apply it to the lip with Distress Collage Medium. It should look a little like tile work on the lip of the pot.
I loved how it looked when I was finished, but I wanted it to feel a little less shiny, so I added a watered down coat of Picket Fence Distress Paint to the pots and gently wiped it off the embossed areas so the color, texture and print showed through but it was a tiny bit muted.
To finish them off, I added some floral foam in each pot, covered it with moss and and added a fake plant or succulent. I have these on my bookshelves tucked in with  books and bits of my art work.


I am loving the new plants and how they add a bit of fresh, greenery to my home without all the work and without being a hazard to my cats.


 So now my new plant collection is on par with my cat collection. 😁


I do hope this tutorial sparked some ideas for using stencils, texture pastes and Distress Embossing Glazes for more than papercrafts.

Thanks you so much for stopping by. I truly appreciate your support!

Have a crafty day!

Tami

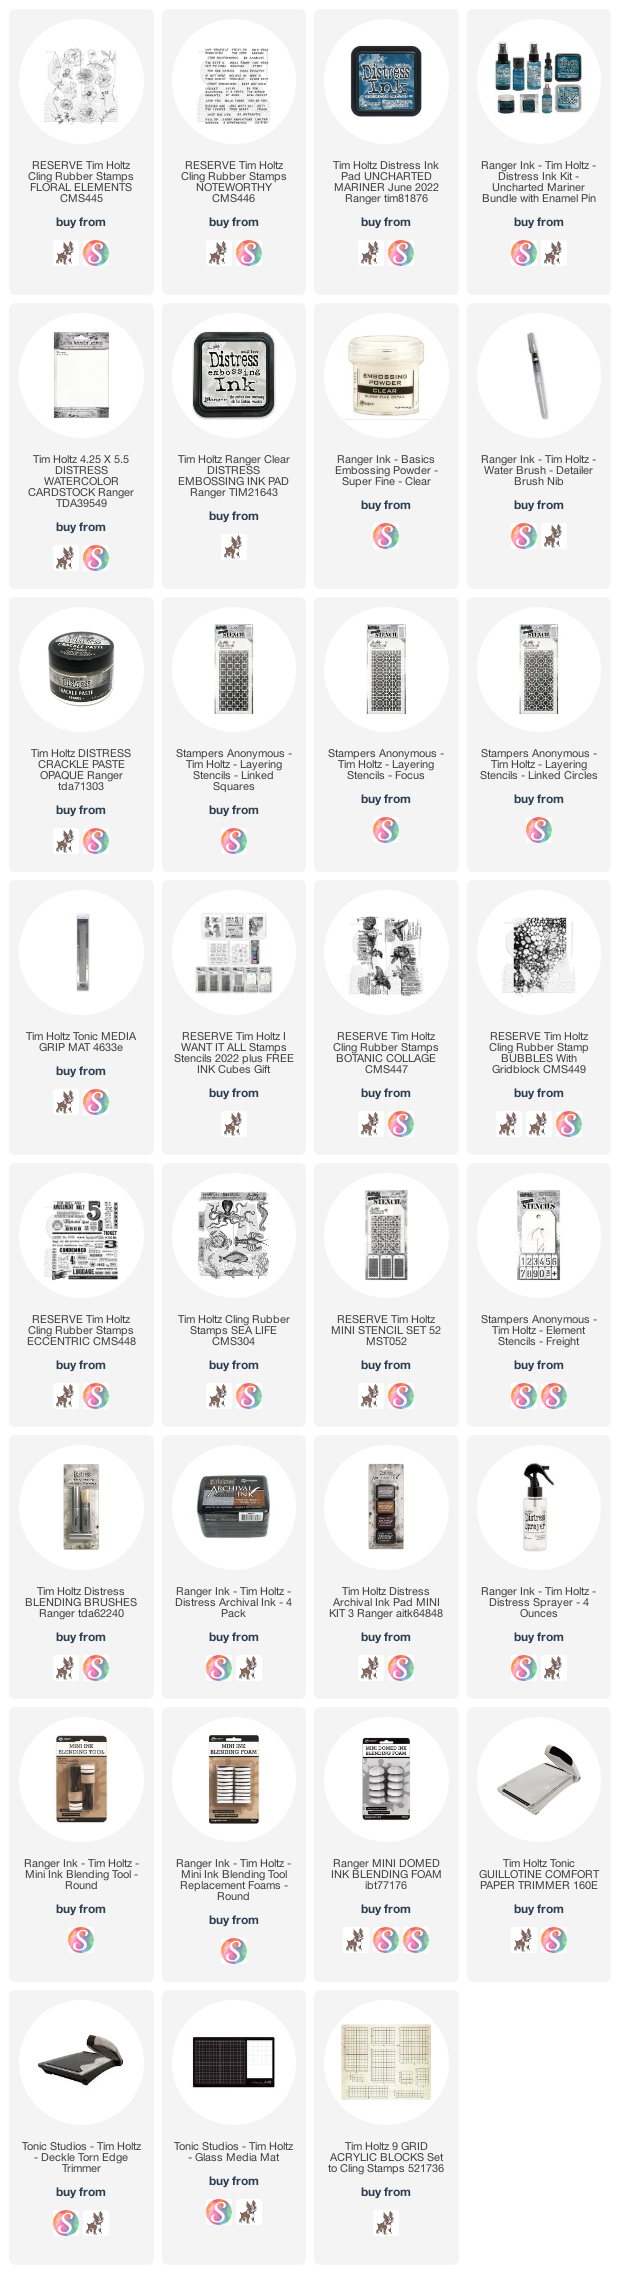
I am an affiliate with Simon Says Stamp and Scrapbook.com so the links below send you to one of those stores depending on which logo you choose.  If you wish to purchase something from either store and use one of my links below, I get a small percentage of your order, at no additional cost to you. This helps me to defray the costs of this blog, the time, the ideas and tutorials I post here. 

Your help is greatly appreciated! Thank you!
Sunday, March 7, 2021

A Beautiful World - Idea-ology 2021

There are some really gorgeous products in the new Idea-ology release and I wanted to showcase some of them in this project. I know most of you are used to some back story or inspiration behind my makes, but this is one of those that just celebrates the product for its beauty.
The base of this project is a Mini Etcetera tag. I tore the new Entymology Collage Paper into pieces and adhered it to the raw tag and tag reinforcer with some Distress Collage Medium. Put a thin layer of Collage Medium on the tag, press a torn piece of the Collage paper into it, gently flatten it out, then brush the top of the paper with Collage Medium. Repeat until the entire tag is covered. 
Once it is completely dry, sand any excess Collage Paper off the edges, and get ready to use some Distress Crayons.
Begin by scribbling some Antique Linen Distress Crayon in a small area. 
Then use your fingers to rub it in and smooth it out. Do the same two steps in another small area. Cover the entire tag in this manner.
Once the entire tag is covered, then take some time selecting some of the new Metallic Stickers and put them around the entire edge of the tag. They are very sticky, so be careful when you set them down because they are difficult to remove and reposition once they are down.
When you get to the top corner, trim some of the smaller sayings so they fit in the angled areas.
Here you can see cut the ends of the stickers on the sides as they ran into the angled part. Also when I was completely finished, I added some of the new Velvet Trims in black through the hole at the top and added an Antiqued Gem for a little sparkle.
One of the beautiful pieces that inspired this project was this rose and the urn from the new Engravings Layers. I knew they had to be together. They are backed on a piece of the new Idea-ology Wallpaper. It is a beautiful Pumice Stone color with little bunches of roses the same color. One of my favorite patterns from this release.I cut a thin gold Metallic Kraftstock mat for the wallpaper and then sewed around the entire piece with gold metallic thread,
I started by watercoloring the roses with my Finetip Waterbrush. You need to be patient when doing this, to endure that you do not use too much water. Go slowly and just enjoy applying color to the gorgeous engravings. I found that it really helped me to thoroughly dry the color in between applications when I was building up color.   For this I used a variety of colors including Rusty Hinge, Crackling Campfire, Walnut Stain, Peeled Paint and Rustic Wilderness.     
NOTE: Tim Holtz did a great tutorial on coloring these engravings by covering them with a layer of Frosted Crystal Embossing Powder first. You can see it here.                                                                                                                                                               
 Once it was colored, I fussy cut around it to get rid of the wide, white outer edge around the image. I did the same to the urn, then adhered them together. It helps to attach them to something to make the piece dimensional. I used bits and pieces of some chipboard that I had.
Here you can see how they are set up and away from the tag. It adds great dimension. Also I added a whole piece of chipboard under the Wallpaper mat so that it also stood out from the tag. 
I added one of the new Metallic Sticker labels with a sentiment adhered in the middle. On each side is an Idea-ology Hardware Head that was colored with Gold Metallic. I put some dimension foam squares under the label to make it stand out. Alcohol Ink.
Before adhering the focal piece, I cut a mat out of some of the new Kraft Cardstock in the color that looks like Forest Moss. Make it a thin mat because you just want the tiniest bit of green to highlight the leaves and balance them with the large orange roses.
This is not a difficult project, but I would say it is probably an intermediate level piece. You do need some knowledge of Distress Products. It also takes some patience to get the stickers picked so they go with the theme of the main sentiment and so that they fit.

Thank you for getting this far in the tutorial, for stopping by my blog and for your support. I never take it for granted!
Tami

I am an affiliate with Simon Says Stamp and Scrapbook.com so the links below send you to one of those stores depending on which logo you choose.  If you wish to purchase something from either store and use one of my links below, I get a small percentage of your order, at no additional cost to you. This helps me to defray the costs of this blog, the time, the ideas and tutorials I post here. Your help is greatly appreciated! Thank you!


Monday, January 20, 2020

Everything is Possible - Ideaology 2020 Vignette Tray

I'm so excited to finally be able to share with you some of the projects I made for Tim Holtz products for Creativation 2020. I decided to start with this Collage Paper Vignette Tray because I had so much fun making the background. Let's get started!
Begin by applying Distress Grit Paste through a row of the Measure THS012 Layering Stencil, to the sides of a small Vignette Tray. This has to be done in sections and you need to let each section dry before you add another section. Once the entire outside edge of the Vignette Tray is stenciled, and dry, then you can move on to the next step.
Paint the edge and the Grit Paste with Tarnished Brass Distress Paint.
When that is dry, then cover the edges with a thin, watered down layer of Black Soot Distress Paint and wipe off the excess. This should allow the paint to settle around the texture paste so that all the stenciled details show. Let it dry completely.
Here is what the edges and edge of the canvas tray should look like.
Next cut a piece of heavy natural cotton canvas that is a bit bigger than the tray. Brush a thick, but even layer of Distress Collage Medium Matte onto the flat wooden surface of the Vignette Tray. Then Press the canvas into the Collage Medium and work out all of the bubbles with your hand, or a bone folder or a brayer.
Use a heat tool to speed the drying process. Once it is completely dry, use a set of Tim Holtz Haberdashery scissors to carefully trim the excess canvas around the outside edge of the tray.
Cut a piece of the new Typeset Collage Paper that is long enough to cover the entire tray. Brush an even layer of Distress Collage Medium over the entire surface of the canvas. It needs to be thick enough that you can see it and so that the whole piece is wet. Then carefully lay the Collage Paper onto the canvas and gently press it into the collage medium.
Once it is adhered to the canvas and fairly flat, use a clean brayer and roll it across the piece to remove any areas with air bubbles and then to ensure that the paper is completely adhered to the canvas. This step really helps to make sure the collage paper will look like it is printed onto the canvas when it dries.
When you are happy with the way it has adhered to the canvas, and once it seems to be starting to dry, gently pull the excess paper off, tearing it all the way around the edge of the tray. Let it dry thoroughly.
Choose several colors of Distress Oxide Sprays. I used Chipped Sapphire, Peacock Feathers, Crushed Olive, Rusty Hinge and Barn Door. Place the dry tray into a splat box.
I sprayed all of the colors onto the Collage Paper covered canvas EXCEPT for the Barn Door. I sprinkled a few drops of Barn Door across it. This is what it looked like when I was done.
I let it sit on the piece for a few minutes and then blotted it off with a clean paper towel or two.
Once it was dry, I started to add some layers on top. First attach the Schedule from the Urban Layers packet to the center right side of the tray. I used Collage Medium.
Then put some dimensional adhesive to the back of the clock from the Urban Layers.
Before you adhere it to the piece, poke a hole in the center and add the circular fluted piece from a Ring Fastener and then attach two Clock Hands in place with a large Hex Fastener. The smaller hand is one of the smallest Clock Hands, but it was still to long, so I cut off the end and glued it in place with Collage Medium. Then I covered up the end with a small Hex Fastener.
Attach two small hex Hardware Head Shapes to each side of a Quote Chip.  With all the metals, if needed, should be painted with the Tarnished Brass Distress Paint, then aged with a little Black Soot paint. I also put some Walnut Stain Distress Ink.
I aged the corners by wiping them with a little Black Soot Distress Paint and then attaching them to the corners of the tray.
Lastly add a piece of the paper ruler in the Urban Layers pack, and choose a large paper doll to sit on it. Pick one that goes with the Quote Chip that was chosen. Add dimensional adhesive on the back of the Paper Dolls and pop them into place.

Although there are several steps to this one, it goes fairly quickly (save for a couple of the drying times.)

Thanks for stopping by on this first project after Creativation 2020.
Tami

I am an affiliate with Simon Says Stamp and Scrapbook.com so the links below send you to one of those stores depending on which logo you choose.  If you wish to purchase something from either store and use one of my links below, I get a small percentage of your order, at no additional cost to you. This helps me to defray the costs of this blog, the time, the ideas and tutorials I post here. Your help is greatly appreciated! Thank you!

Sunday, December 9, 2018

Best Wishes for the Holiday Season - Collage Paper Stamping

Christmastime CMS352 stamp set has several sentiments with fabulous vintage fonts. For this card I wanted the font to be in the forefront in a different way than the others, so I used the following Collage Paper technique.
Using my Stamp Platform, I stamped the sentiment on Plain Collage Paper, and then embossed it with silver embossing powder. 
I stamped over it a second time  and embossed it with black embossing powder.. Then I stamped over the back ground with the Music background stamp from the Music and Advent stamp set in Hickory Smoke Archival Ink. I stamped it in many different directions so it looked kind of like a collage.
I wanted to overlay it on something soft and vintage in a different color scheme,  so I pulled these older stamp sets, Festive Sketch CMS283 and Holiday Drawings CMS284. I stamped them in Hickory Smoke Archival Ink onto Distress Mixed Media Heavystock, then watercolored with Distress Markers.
The next step was to adhere the collage paper onto the stamped background with Distress Collage Medium. Once it was dry I cut the sentiment out with one of the small Stitched Rectangle dies. I then cut a larger piece of silver metallic paper to be a mat and popped it up with dimensional adhesive over the place where I cut it out.
I added a little shimmer to the card with Brushed Pewter Distress Crayon.
The last few touches were to sew around the edge with silver metallic thread and attach some Ideaology Nailheads.

🎄🎄
I have another giveaway! It’s a pile of vintage ephemera and trinkets I got from shopping Tim Holtz’s Vintage Stash Sale at Carson. ❄️❄️
If you want to be entered, to win some of Tim’s Vintage Stash, comment on any of my posts here with #timholtzchristmas2018 ☃️☃️
🎄🎄
I’ll pick a couple of names on Monday Dec 10 at 12 noon PT. 🌟🌟

