Monday, March 25, 2019

Cherish - Tim Holtz Chapter 2

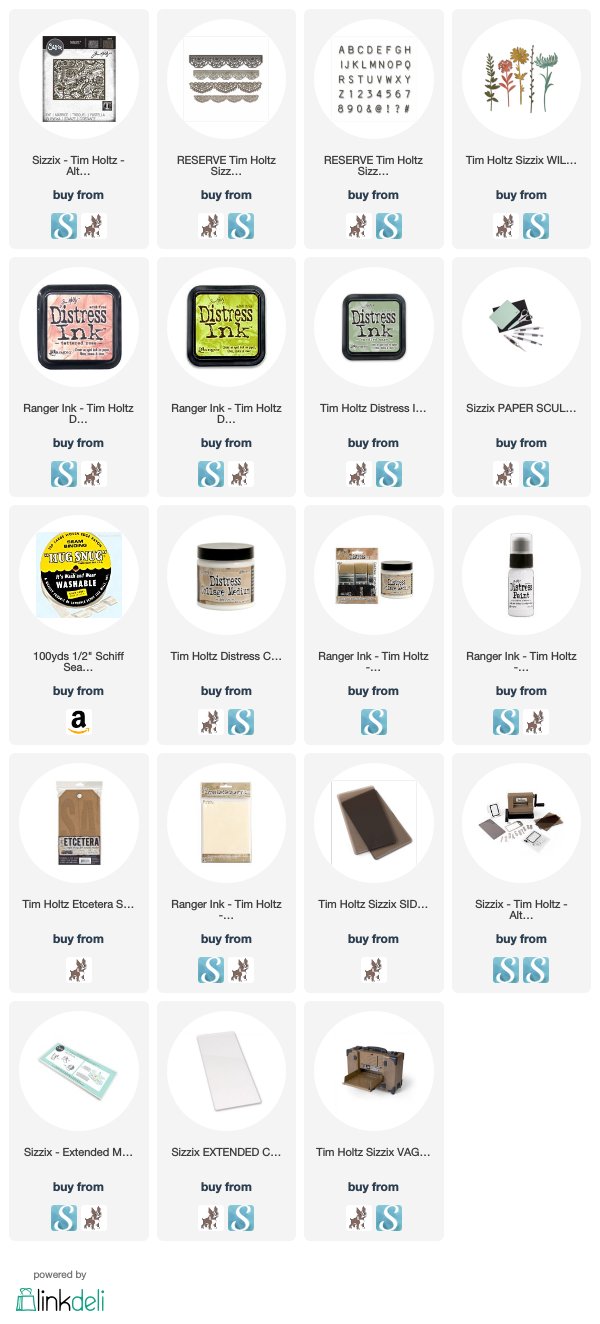
There are some really gorgeous dies coming out in the Chapter 2 Sizzix release from Tim Holtz. These dies are on preorder currently and will be shipping soon! I have links at the end of this blog post.
On this spring Etcetera tag, I wanted to showcase two of my new favorites, Intricate Lace and Crochet.
The background is made of the Intricate Lace die. This is perfect for the background on an A4 card, but you can lay it next to itself and cut it twice or more to make a long lace piece as you see above.
I added a piece of Crochet lace across the bottom. This Crochet lace comes in two styles, each in two sizes. It is incredibly detailed and I love it so much. this die can also cut longer pieces of lace if it is laid end to end.
 Once you cut a piece of Intricate Lace twice from some Kraftstock, to make a large enough piece to fit over the Etcetera Tag, and one piece of Crochet to fit along the bottom, you are ready to move on.
 Use Distress Collage Medium to lay a coat over the tag. Place the Lace and Crochet dies into the Collage Medium and press them down. Make sure the decorative top of the Crochet piece covers the bottom edge of the Intricate Lace piece. It's a lovely scallop and gives the piece a finished look. Then cover the entire piece with another coat of Distress Collage Medium.
 Once it is completely dry, and you can use a heat tool, trim around the edges and lightly sand them to to give a soft, finished edge all the way around. I used my snips to trim the bits from the tag hole.
 Paint the entire piece with the color of your choice. The one in the picture here is painted with Antique Linen, but my Cherish sample tag was painted with Picket Fence.
Again, once it is completely dry, you want to go over the entire surface lightly and sand away some of the paint so the Kraftstock shows through. Sadly the Tim Holtz sanding block is retired, but I love it and would recommend getting something similar if you can. I recently bought several at a store with a weekday in it's name. :-D
Here is a close up that allows you to see the worn, shabby look of the tag. Isn't that Intricate Lace Beautiful?
Once I had the tag completed, I turned to the bouquet. For this I used the Chapter 1 Wildflower Stems 1 die set.
I chose the greenery piece on the far left and the flower on the far right. I cut multiple greenery pieces from Distress Mixed Media Heavystock. I also cut one full flower and two additional blossoms.
The greenery was colored with Shabby Shutters and Bundled Sage Distress Ink and edges with the Shabby Shutters Marker. The Flower was colored with Tattered Rose.
As you can see the Wildflower Stems aren't flat. None of them are. That's because I used the Sizzix Paper Sculpting Tool Kit to shape them and give them a little dimension.  Also, for the flower, I colored, shaped, and then attached three of the blossoms together. This really gave it even more dimension.
To finish it off I colored a small piece of seam binding with Tattered Rose Distress Ink and then used the new Alpha Numeric Label letters to spell out the word Cherish mounted on a small strip of Kraftstock.
Isn't the Crochet lace die just lovely?  It really looks like a piece of lace but it's paper!

Thank you so much for stopping by to see the details on this piece. I really love how it turned out.
Tami

I am an affiliate with Simon Says Stamp and Scrapbook.com so the links below send you to one of those stores depending on which logo you choose.  If you wish to purchase something from either store and use one of my links below, I get a small percentage of your order, at no additional cost to you. This helps me to defray the costs of this blog and the ideas and tutorials I post here, and your help is greatly appreciated! Thank you!
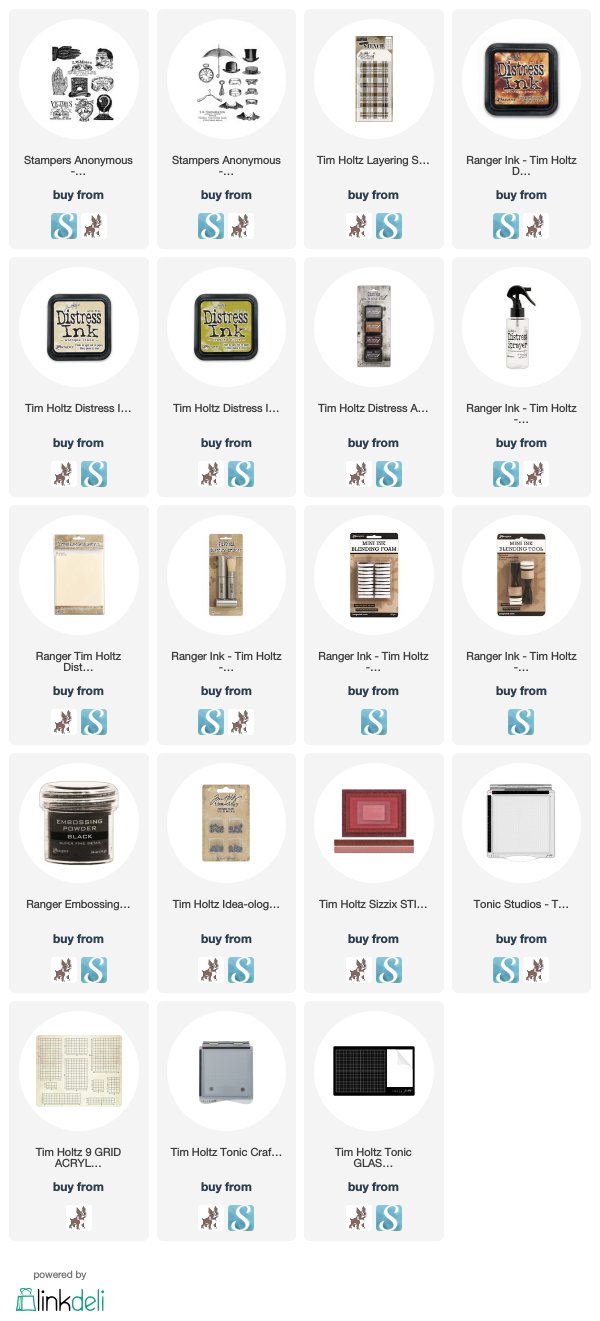
Thursday, March 21, 2019

Distinguished Eclectic Adverts

Two of the new stamp sets released this month from Tim Holtz and Stampers Anonymous are the Distinguished CMS371 and Eclectic Adverts CMS372. These are both fabulous stamp sets with so many delightful vintage images. They make some wonderful masculine cards, which is what I was going for with these two cards.
To make the background on this hatter card, I stamped the various hats from the Distinguished set onto a piece of Distress Mixed Media Heavystock with the Warm Archival Inks - Hickory Smoke, Vintage Photo and Ground Espresso. Then I did the whole Wrinkle-free Distress method with Antique Linen Distress ink. I believe I threw in a little Vintage Photo in their too. If you look closely, you will see that I randomly stamped the wording on the set all over the background, but in Distress Ink so that when it got wet it would run and lighten.
For the focal point, I stamped the Nicholai Michaelis Hatters stamp from the Eclectic Adverts, onto a piece of Distress Mixed Media Heavystock.  I stamped it with Black Soot Archival Ink and then did a weird technique that I'm not totally sold on, but I'll explain it anyway. LOL!

I stamped the hat image in Black Soot Archival and then immediately applied Ranger Superfine Black Embossing Powder. You may be saying to yourself, it doesn't look embossed to me! And that would make me happy, because I wasn't going for a traditional embossed look.  I heated it so it would melt into a shiny embossing. But then I remembered in one of Tim's tutorials years ago, or maybe a Creative Chemistry class (?) I don't know, but he said that we can't heat embossing powder too much or it will soak in to the paper and kind of disappear.  I wanted to see how it would look if I did that.  So I just kept heating the embossing powder until is soaked into the paper.  It's different. LOL! I told you I wasn't sold on this technique.  It does look a little old and worn and matte in some areas with tiny little bits of shine peeking through still.  So I think it basically accomplished what I wanted was a look that was more than just stamping with Black Soot Archival as there is a tiniest bit of texture, but it doesn't look shiny and new embossing. 
I finished the piece with alcohol inked Ideaology Hardware Heads, and a very neatly tied bow from a piece of dark brown twill I had in my stash. It is supposed to mimic a hatband.
This collar card was made to give to a friend.  The frame was made by lightly coloring a piece of Distress Mixed Media Heavystock with Crushed Olive Distress Ink. Then I added more ink on top of it through the THS097 Plaid Layering Stencil. I cut the center out with one of the Stitched Rectangles to make a frame.  On a second piece of Heavystock I applied Antique Linen Distress Ink using the Wrinkle-free Distress method. Then I stamped 5 of the collars from the Distinguished set and the Garden City Collar from the Eclectic Adverts in Black Soot Archival Ink. I watercolored them with Distress Ink, popped the frame on and added two buttons representing the buttons that would be used on collars.
Very simple, but I like it!

There are two examples of how I paired these two really great vintage, masculine stamp sets.  As always, I appreciate you stopping by!
Tami

I am an affiliate with Simon Says Stamp and Scrapbook.com so the links below send you to one of those stores depending on which logo you choose.  If you wish to purchase something from either store and use one of my links below, I get a small percentage of your order, at no additional cost to you. This helps me to defray the costs of this blog and the ideas and tutorials I post here, and your help is greatly appreciated! Thank you!

Botanical Tag - Tim Holtz Chapter 2 Dies

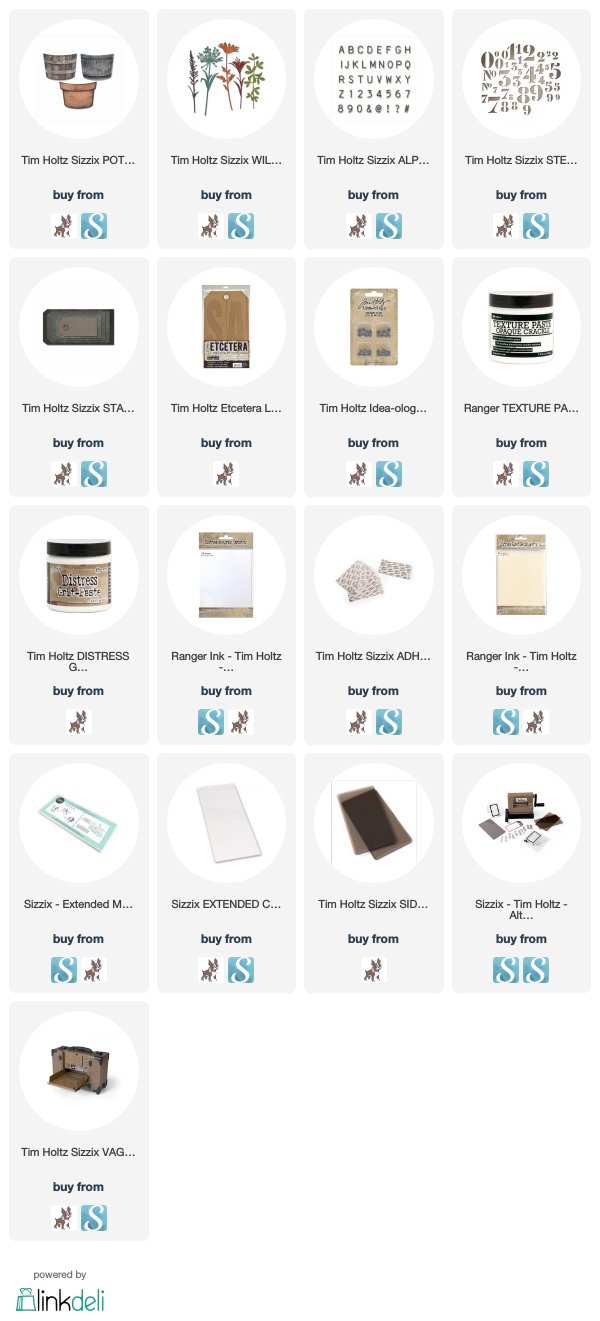
It's Spring! And with the coming of spring we have some new Chapter 2 dies from Tim Holtz and Sizzix. I made this botanical tag as a sample for Tim's garden shed Sizzix booth at Creativation 2019.
It showcases one of the NEW Sizzix Chapter 2 dies called Potted that I paired with one of the Chapter 1 die sets called Wildflower Stems 2
To highlight the various ways the Potted die can be used, I cut three large tags from the Stacked Tags die set, and then picked one of the Wildflower Stems 2 to be growing out of it. 
I colored each tag with some Hickory Smoke and Pumice Stone Distress ink using the "wrinkle-free Distress method."
For the first tag, I picked the daisy stem, cut three of them from Distress Mixed Media Heavystock,  and watercolored them with Distress Inks.
On the first tag, I made the barrel. I colored some Distress Woodgrain Cardstock with brown Distress Inks, and then cut out the main bucket shape. I cut out a second bucket shape from chipboard. Then I cut the woodgrain bucket into vertical strips to mimic the boards that make a bucket. The bands were cut from Distress Mixed Media Heavystock and then colored with Distress Inks. I finished it off with two of the small Hexnut Hardware Heads colored with Alcohol Inks to make them look old and rusted.
The second tag has purple salvia growing out of an old, mossy terra cotta pot.
I cut three of this shape from the Wildflower Stems 2 set and watercolored them green and various purples.  These could be lavendar, or liriope, or I chose to make them salvia.
For this potted sample I went with the terra cotta pot version.  You can make the pots two ways.  You can cut the back as the main, tall pot/bucket/barrel size, or as I did here, I used the smaller size pot which can double as a center band for the taller pot. This made my terra cotta pot a little shorter than the other two on this piece but I like the option of having it both ways. I colored it with Distress Ink and then sealed it with Distress Collage Medium Matte.
For the moss, I pounced some grit paste onto the terra cotta pot with my finger, let it dry, and then colored it with Peeled Paint Distress Crayon.
For the last tag, I went with the Tiger Day Lily in a aged galvanized bucket.
I cut three of the daylily stems and colored them with Distress Inks just like the other three.
For the aged galvenized bucket, I cut both the small and large container shapes. I colored them with Distress Oxides and Distress Inks. Then I cut the No7 from the Numbers die set. I colored the cut out pieces with Black Soot Distress Ink and then inserted them back into the spaces so that it kind of looks like the numbers were stenciled onto the bucket.
The labels for all of the flowers were cut from a NEW Alphanumeric called just that, Label.  It's one of my new favorite alphabets. It's tiny and you can cut a ton of words for even a small space. Look at all those letters in this set!

All of these tags were adhered to a large Etcetera Tag that had been aged with Ranger's Opaque Crackle Paste.
Thank you for visiting today!
Tami

I am an affiliate with Simon Says Stamp and Scrapbook.com so the links below send you to one of those stores depending on which logo you choose.  If you wish to purchase something from either store and use one of my links below, I get a small percentage of your order, at no additional cost to you. This helps me to defray the costs of this blog and the ideas and tutorials I post here, and your help is greatly appreciated! Thank you!


Monday, March 18, 2019

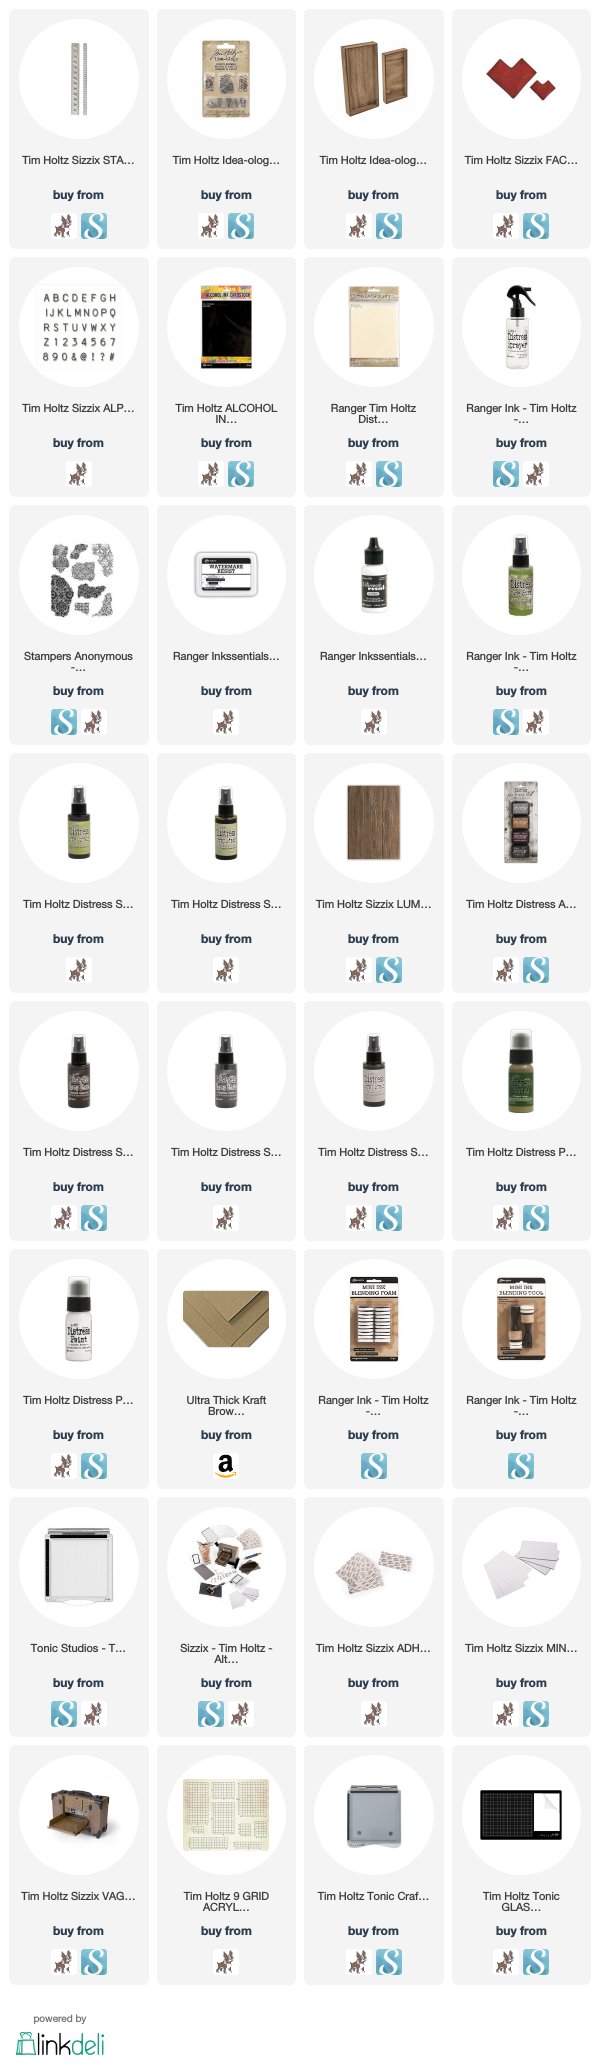
St Patrick’s Prayer Vignette Tray Home Decor

This weathered Vignette Tray is a decor piece I wanted for my home for St. Patrick's Day. It was inspired by a prayer of St. Patrick. I pulled three lines from his prayer to use on this piece.

Each year I like to add one or two pieces to my St. Patrick's Day decor for the whole month of March.  I really wasn't sure what all that would look like this year, so I set about mulling it over.  This is an important process for me. The mulling. Sometimes I end up with a fully conceived plan, and other times it comes to me in increments.  That was what happened here.
I started out making some backgrounds a few weeks ago with Watermark Resist and Distress Inks and Oxides. So I made a few using just green colors.
I put a piece of Sticky Grid on the Stamping Platform.
Then I added the Distress Mixed Media Heavystock.
There are a few Watermark Stamp pads on the market. I have used both, but I prefer the way the Ranger Watermark kind of soaks in the color of the inks. I don't know if that is what it is doing, but it seems like it to me.
I arranged the newly released Fragments CMS368 on the Heavystock so that it covers the whole paper.
Stamp three pieces of Heavystock with Watermark Resist Ink and dry.
Spray the pieces with Peeled Paint Oxide Spray -- don't forget to wipe the nozzle when you are done.
Then spray with Peeled Paint Distress Spray Stain.
Then with Shabby Shutters Spray Stain.
Spray all three with water. This really lets it soak in and softens the coverage so the Watermark stamping shows through.
You can see even before it dries that the stamped portions are soaking in the ink.
As it dries you will see the stamped images even more as they soak in the ink.
This is what the finished product looked like.
Then I cut the large and small faceted hearts out of each piece. You need three to form a shamrock, and a total of nine for this project. I assembled the hearts in groups of three and arranged them on the planks. Then free-hand cut three stems from left-over pieces of the green paper. I adhered the stems first and then the three hearts.
Here is a close up of one of the shamrocks.
Then I needed to cut the wording. I cut part of a much longer prayer by St. Patrick. I used a new (coming soon!) alphabet from Tim Holtz and Sizzix called Alphanumeric Label.
First I attached a piece of Sizzix Adhesive Sheets to the back of a piece of white cardstock. Then I cut out the letters and adhered them to some pieces of black cardstock.
The second idea that came to me was to make some wide wood planks out of wood. Now it goes without saying that I LOVE the Planks die from Tim Holtz. LOVE IT!  But I wanted something wider for a project, so I started experimenting and this is what developed.

I adhered the planks to the small Vignette Tray, as you saw at the end of the video and then set about trying to finish it. 
I cut the leftover planks into strips a little larger than 1/2".
Then I ran them through a new 3-D Impresslit that is coming soon, that is the star border. It cuts the border and impresses stars into it. I LOVE it! Then I roughed up the edges and inked them.
Here you can see the stars after I inked the border strips.  Then I adhered them along the top edges of the piece.
I really love the subtle interest this border adds. As well as the piece of cat hair courtesy of my fluffy calico Leota Toombs. :-D
In this photo you can see that I also added some nails to this piece. Those are found in the Vignette Hardware set from Ideaology
I think they are the perfect final touch.
I love how this piece turned out and that although there were a lot of steps, that went into this project, it still has a clean, simple look to honor St Patrick.
Thank you so much for checking out the latest in my March home decor pieces.
Tami

I am an affiliate with Simon Says Stamp and Scrapbook.com so the links below send you to one of those stores depending on which logo you choose.  If you wish to purchase something from either store and use one of my links below, I get a small percentage of your order, at no additional cost to you. This helps me to defray the costs of this blog and the ideas and tutorials I post here, and your help is greatly appreciated! Thank you!