Yes! I'm still making St Patrick's Day things. Today I wanted to make something I've been thinking about for months. When I saw the Faqceted Heart die from Tim Holtz and Sizzix was going to be released in a new Vault size, I wanted to make another shamrock project out of them.
Here is the tutorial for today's Faceted Heart Shamrock Panels
Here is panel one. Remember I celebrate St. Patrick's Day as a religious holiday so I used words like grace, faith, blessed, etc in my decor items.
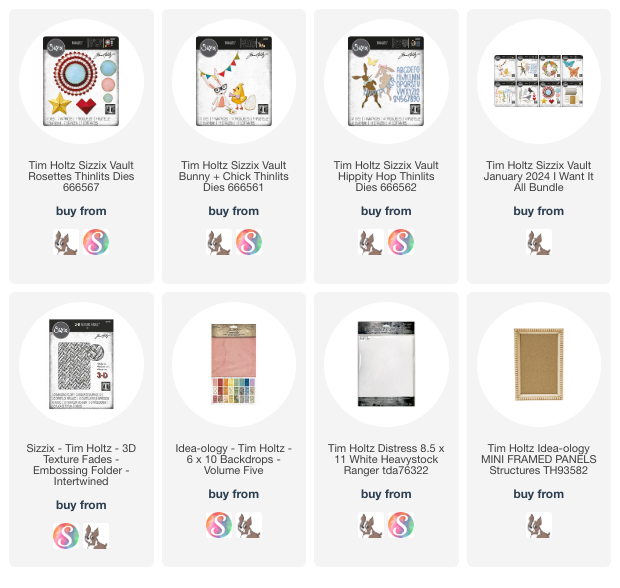
I added the Intertwined 3D Texture Fade and the pennats from the Vault Bunny and Chick dies.
I always just hand cut a little stem and the doily behind the shamrock is a small one from the cake decorating section at the hobby store.
This alphabet is from the Vault Hippety Hop dies.
I did find some of the retired Mini Framed Panels at Simon Says Stamp as of the publishing of this tutorial.
I added some aged to the frames with Distress Crackle Paste.
The Faceted Hearts were cut from some of the green papers in the Idea-ology Backdrops Volume 5 pack.
The mats for the words were also from the Backdrops paper.
Thanks you for stopping by today! I hope this inspired you to make, even if it isn't this particular project.
Have a creative day,
Tami
I am an affiliate with Simon Says Stamp, and Scrapbook.com. The links below
send you to one of those stores. If you wish to purchase something and
use one of my links below, I get a small percentage of your order at no
additional cost to you. This helps me to defray the costs of this
channel, the time, the ideas and tutorials I post here. Your help is
greatly appreciated! Thank you!
This weathered Vignette Tray is a decor piece I wanted for my home for St. Patrick's Day. It was inspired by a prayer of St. Patrick. I pulled three lines from his prayer to use on this piece.
Each year I like to add one or two pieces to my St. Patrick's Day decor for the whole month of March. I really wasn't sure what all that would look like this year, so I set about mulling it over. This is an important process for me. The mulling. Sometimes I end up with a fully conceived plan, and other times it comes to me in increments. That was what happened here.
I started out making some backgrounds a few weeks ago with Watermark Resist and Distress Inks and Oxides. So I made a few using just green colors.
I put a piece of Sticky Grid on the Stamping Platform.
Then I added the Distress Mixed Media Heavystock.
There are a few Watermark Stamp pads on the market. I have used both, but I prefer the way the Ranger Watermark kind of soaks in the color of the inks. I don't know if that is what it is doing, but it seems like it to me.
I arranged the newly released Fragments CMS368 on the Heavystock so that it covers the whole paper.
Stamp three pieces of Heavystock with Watermark Resist Ink and dry.
Spray the pieces with Peeled Paint Oxide Spray -- don't forget to wipe the nozzle when you are done.
Then spray with Peeled Paint Distress Spray Stain.
Then with Shabby Shutters Spray Stain.
Spray all three with water. This really lets it soak in and softens the coverage so the Watermark stamping shows through.
You can see even before it dries that the stamped portions are soaking in the ink.
As it dries you will see the stamped images even more as they soak in the ink.
This is what the finished product looked like.
Then I cut the large and small faceted hearts out of each piece. You
need three to form a shamrock, and a total of nine for this project. I assembled the hearts in groups of three and arranged them on the
planks. Then free-hand cut three stems from left-over pieces of the green
paper. I adhered the stems first and then the three hearts.
Here is a close up of one of the shamrocks.
Then I needed to cut the wording. I cut part of a much longer prayer by St. Patrick. I used a new (coming soon!) alphabet from Tim Holtz and Sizzix called Alphanumeric Label.
First I attached a piece of Sizzix Adhesive Sheets to the back of a piece of white cardstock. Then I cut out the letters and adhered them to some pieces of black cardstock.
The second idea that came to me was to make some wide wood planks out of wood. Now it goes without saying that I LOVE the Planks die from Tim Holtz. LOVE IT! But I wanted something wider for a project, so I started experimenting and this is what developed.
I adhered the planks to the small Vignette Tray, as you saw at the end of the video and then set about trying to finish it.
I cut the leftover planks into strips a little larger than 1/2".
Then I ran them through a new 3-D Impresslit that is coming soon, that is the star border. It cuts the border and impresses stars into it. I LOVE it! Then I roughed up the edges and inked them.
Here you can see the stars after I inked the border strips. Then I adhered them along the top edges of the piece.
I really love the subtle interest this border adds. As well as the piece of cat hair courtesy of my fluffy calico Leota Toombs. :-D
In this photo you can see that I also added some nails to this piece. Those are found in the Vignette Hardware set from Ideaology
I think they are the perfect final touch.
I love how this piece turned out and that although there were a lot of steps, that went into this project, it still has a clean, simple look to honor St Patrick.
Thank you so much for checking out the latest in my March home decor pieces.
Tami
I am an affiliate with Simon Says Stamp and Scrapbook.com so the links
below send you to one of those stores depending on which logo you
choose. If you wish to purchase something
from either store and use one of my links below, I get a small
percentage of your order, at no additional cost to you. This
helps me to defray the costs of this blog and the ideas and tutorials I
post here, and your help is greatly appreciated! Thank you!
I wanted to make a home decor piece as a housewarming gift for a friend who is Irish. She is also a twin, so I had to take the picture of the piece with my Bobbsey Twins books in the background. :-)
This may look like a basic Etcetera Tag, but there is a lot of prep work to each of the elements before you get to putting it together. So let's get started.
The background weathered wood technique is something I used on multiple projects recently so I made a video detailing how to do it. For this background, I added a bit of Forest Moss Distress Paint so it looked not only weathered, but as if it has some algae or moss growing on it. You can learn how to do this technique here:
Once I made the wood planks, I decided to apply them to an Etcetera Tag. Before adhering them I needed to prep the tag. I used Ground Espresso Distress Ink Stain and applied it to the entire tag.
Once that was done, then I could attach all the planks using Distress Collage Medium.
I arranged them on the tag and then adhered them. You will need to trim bits here and there, then rough that area and ink it. I used the Tonic Snips to cut the hole in the tag. Also, don't forget to use one of the left over planks to apply to the reinforcer. Rough up the edges and then trim out the center and adhere it over the hole at the top of the tag.
I used the Watermark Resist technique that I have been using recently to make several pieces of paper from which I could cut the Fragmented Hearts to make the shamrock.
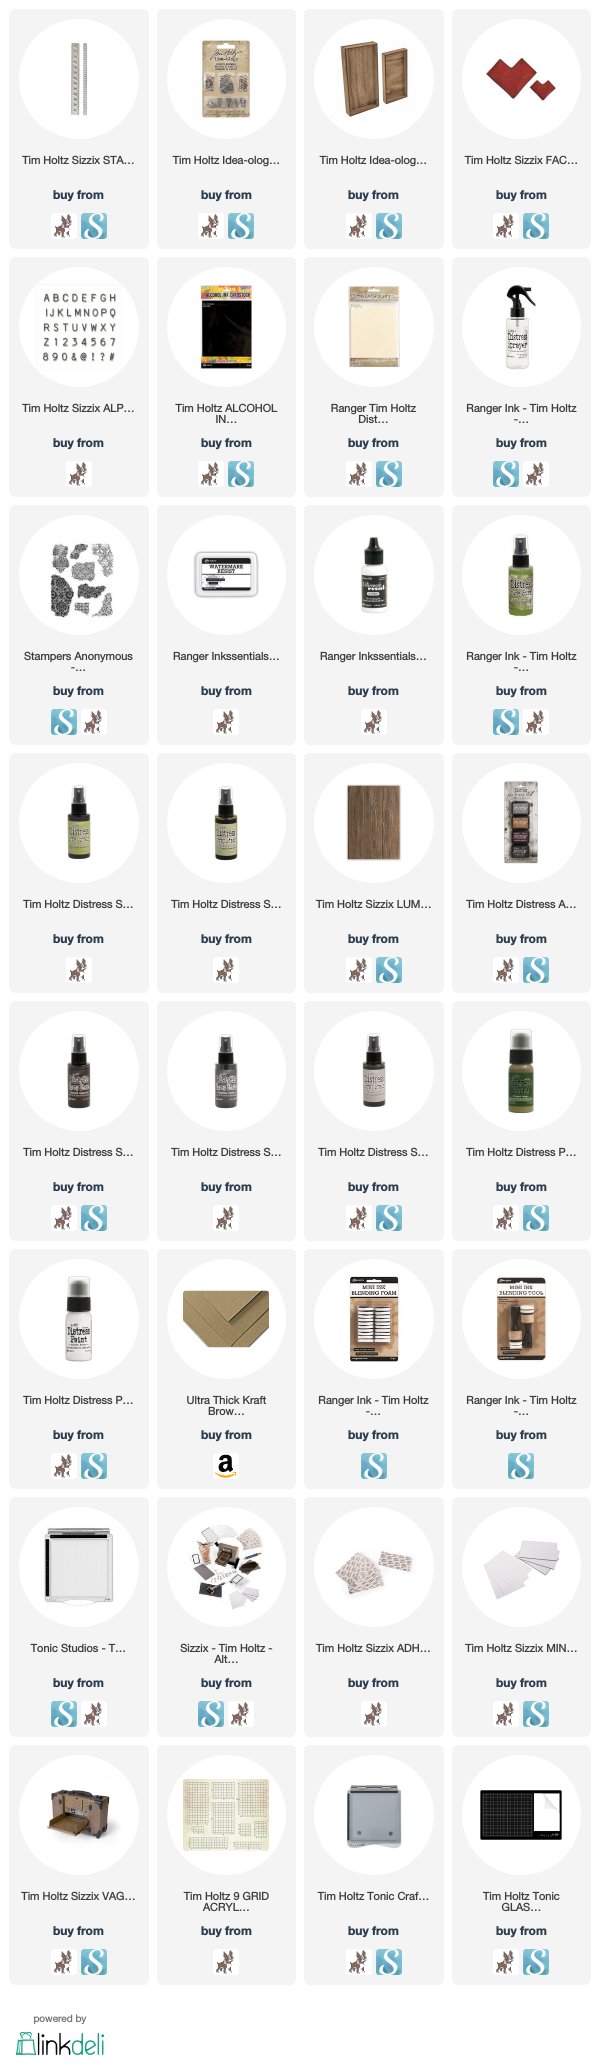
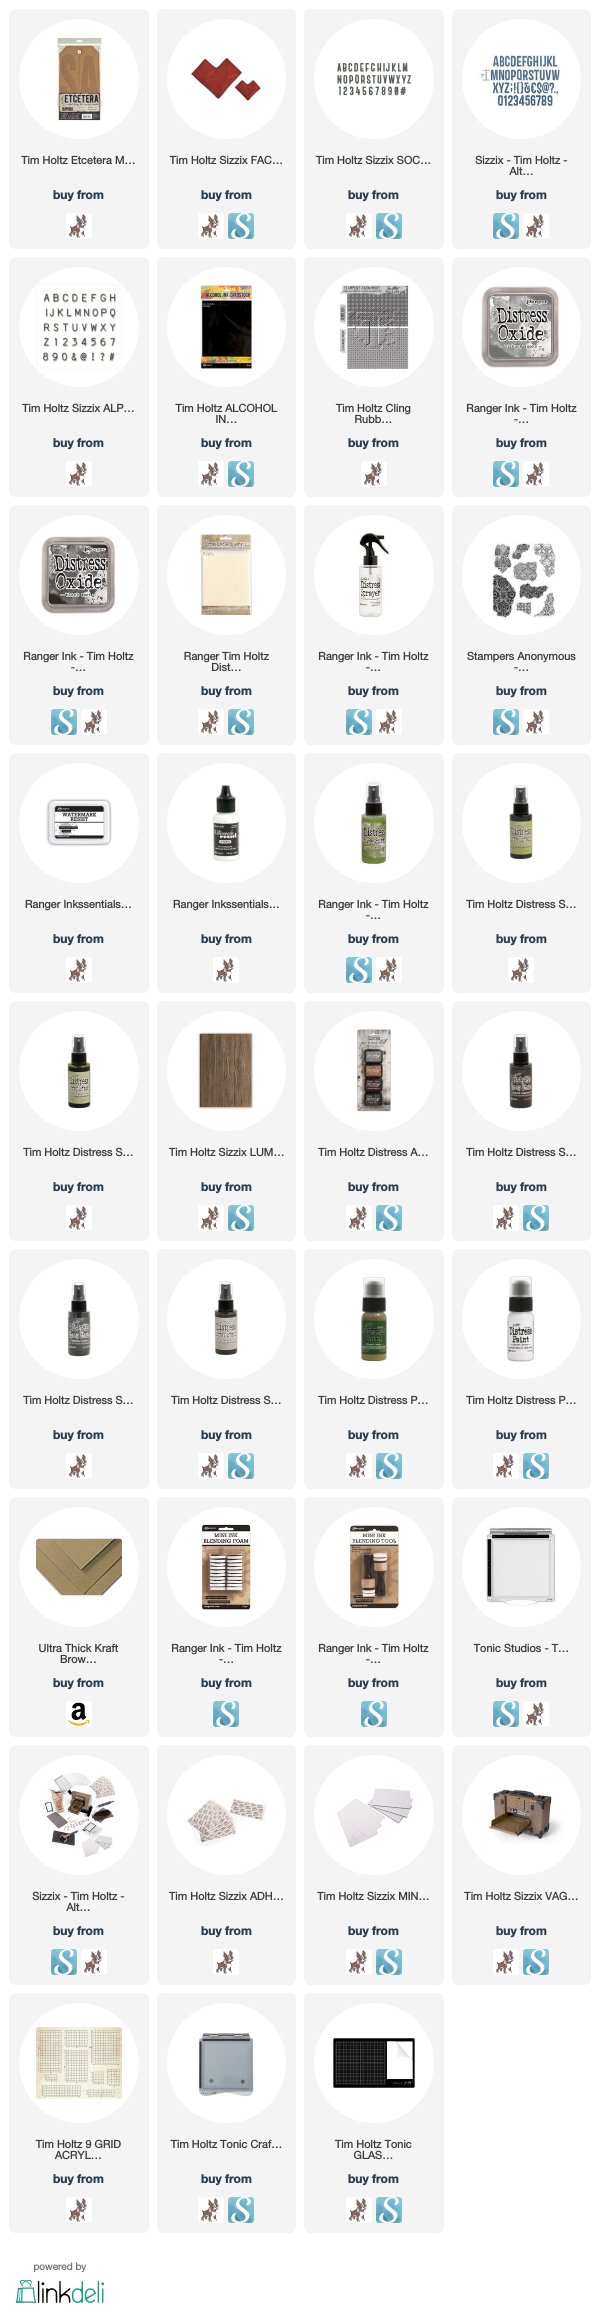
You need these supplies to do this. Stamping Platform, Distress Mixed Media Heavystock, Fragments CMS368, Watermark Resist Ink, Water Sprayer, Peeled Paint Distress Oxide Spray, Peeled Paint Distress Spray Stain and Shabby Shutters Distress Spray Stain.
Arrange the stamps so that they cover the piece of Heavystock.
Stamp three pieces of Heavystock with Watermark Resist Ink and dry.
Spray the pieces with Peeled Paint Oxide Spray -- don't forget to wipe the nozzle when you are done.
The spray with Peeled Paint Distress Spray Stain.
Then with Shabby Shutters Spray Stain.
Spray all three with water. This really lets it soak in and softens the coverage so the Watermark stamping shows through.
You can see even before it dries that the stamped portions are soaking in the ink.
As it dries you will see the stamped images even more as they soak in the ink.
This is what the finished product looked like.
Then I cut the large and small faceted hearts out of each piece. You need three to form a shamrock, You will need four if you want a lucky four-leaf clover. I assembled the three hearts and arranged them on the planks. Then free-hand cut a stem from a left-over piece of the green paper. I adhered the stem first and then the three hearts.
You may also notice that I poked holes in the ends and center of each of the planks to mimic old nail holes. I feel like I have to do this on almost all of the planks I make.
Now on to the wording. I used one of my favorite new products from Tim Holtz and Ranger, the Black Cardstock in the Alcohol Ink line. It is so cool and feels like suede. When I was experimenting with it this winter, I tried stamping on it with Distress Oxides and I LOVED the outcome.
Place a piece of the black heavystock on a stamping platform. Then choose a stamp you want to show on your letters.
This is how the Tiles and Mosaic CMS259 background stamp looks stamped in Hickory Smoke Distress Oxide.
And how it looks stamped in the Black Soot Distress Oxide. I dried them thoroughly and the chalky oxide finish does lightly wipe off onto the suede finish of the cardstock. I love the effect.
I then ran the paper and some black cardstock through the newest Bigz alpha released from Tim Holtz, called Society. It's a lovely blocky font.
The smaller letters are a new Alphanumeric alphabet from Tim Holtz
called Label. It is a really tiny little alphabet. I love it! I cut the
letters from white cardstock on my Sidekick, and adhered them to 1/2"
strips of the black cardstock that had been stamped with the Hickory
Smoke Oxide.
The word Friend is cut from the Tall 1" Alphanumeric thinlits from Tim Holtz. I also cut the letters out of black Sidekick foam so that these letters had dimension.
I'm pleased to say that my friend loved this tag and is going to leave it out all year round. I enjoyed all of the steps to this tag and found it to be a labor of love for someone special.
Thank you for following along this far! That was a lot of information for what looks like a simple tag. I hope you will come back to check out the vignette tray I made for my own home decor.
Tami I am an affiliate with Simon Says Stamp and Scrapbook.com so the links
below send you to one of those stores depending on which logo you
choose. If you wish to purchase something
from either store and use one of my links below, I get a small
percentage of your order, at no additional cost to you. This
helps me to defray the costs of this blog and the ideas and tutorials I
post here, and your help is greatly appreciated! Thank you!