Showing posts with label Crochet. Show all posts

Friday, July 12, 2019

Beware - Geo Halloween Take 2

 I thought it would be fun to remake a Halloween card but use different products to see how they work and how much it changes the look of the design. I tried this last Christmas with different papers, but this time I wanted to see how the look would change if I switched Distress Crayons in fall colors  with Distress Oxide Sprays in light, springtime colors.
The card on the right is the one I made using Distress Crayons in fall colors. The blog post with the tutorial to make that card is the previous to this one found here. The card on the left is the one I made using Distress Oxide Sprays in spring colors. I love them both and really enjoyed the different feel the two products gave the cards.
Below I have some step-out photos to show how I made the Oxide card on the left.
This is a second technique for making the Geo Halloween Spider that is a tiny bit different than the technique I posted the other day. I started by applying a piece of Sizzix Permanent adhesive to the back of a piece of smooth black cardstock. Save the release paper when you do this as we will be using it.
 Cut the Geo Halloween spider out of the black cardstock with the adhesive on the back. Then poke the geo part out and remove the adhesive backing, then stick that onto the release paper that you saved.
 Cut a second Geo Halloween spider out of the black metallic kraftstock from the Metallic Jewel Kraftstock pad. Then line it up over the black cardstock spider outline and poke the geometric pieces out and into the spaces in the cardstock outline.
 It should look like this when you are finished. You may need to push a few of the pieces down into the outline so they are flush and secure.
 Place this on a paper towel in a Splatbox and spray it with a nice layer of Distress Resist Spray.
 It looks like this when I am done and then I let it dry clear.
 Turn it over and spray it again.
 Then let the back side dry. That should be enough to hold all the pieces in place.
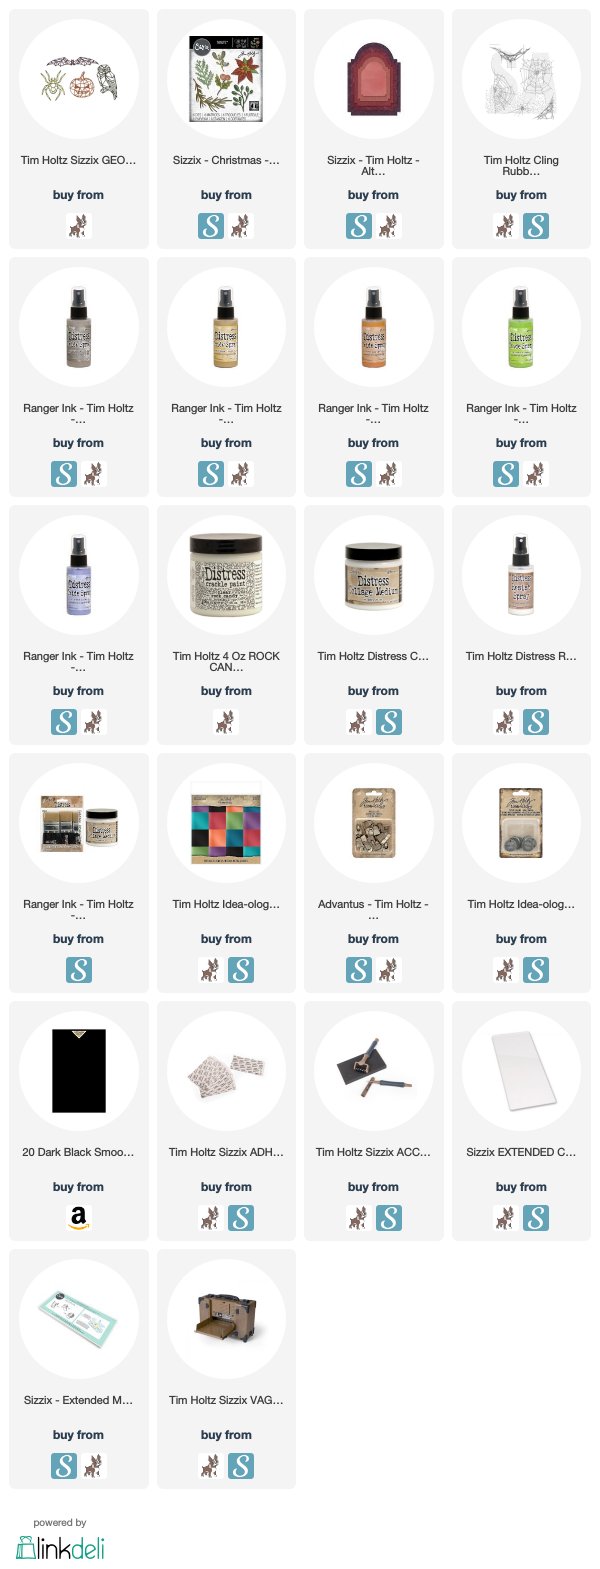
 Once it is completely dry, spray it with Shaded Lilac Distress Oxide Spray. I move it around over the top of the spider with my finger and let it dry some and then lightly wipe it off so there is just a little on the spider.
 You can see it has kind of a dusty lavender look to it. Later on, to attach it to the card, I put one foam dot near the back of the body, and two near the head. Then attached each of the feet with with a tiny bit of Collage Medium.
 To make the background piece, I cut several spiders from smooth black cardstock and applied them to the background piece of smooth black cardstock with Distress Collage Medium.
 Once the Collage Medium was dry, I wanted to add color by spraying some of the spring color release of Distress Oxide Sprays.
 I sprayed the surface with Dried Marigold, Twisted Citron, and Shaded Lilac. I let it dry some with a heat tool and then gently patted it with a clean, dry cloth.
 This is what it looked like when I was finished.
 I sewed around it and then attached it to a card base that had been sprayed with Shaded Lilac Distress Oxide Spray.
 To make a stage for the spider, I took the Stacked Archway dies and chose the two shown.
 I cut one solid Archway and then arranged the two Archways like this, held them in place with lowtack tape, and then cut the frame.
 I also cut a piece of Crochet from black cardstock. For these pieces I colored the solid archway with Antique Linen, then some Dried Marigold. The crochet was Antique Linen and Pumice Stone.
 The Archway frame I covered with a layer of Distress Crackle Paint Clear and let it dry.
Then I sprayed it with Pumice Stone and Twisted Citron. I let it dry with a heat tool and then used a clean, dry towel to lift off the excess and here is what it looks below.
I love how the Distress Crackle paint and the Oxides look so crackly and cool! The background arch was stamped with some of the amazing cobwebs from the Tangled Webs CMS346.
I cut several pieces of spruce and berries from the Large Funky Festive from the smooth black cardstock and colored the spruce with Pumice Stone, the berry base with Shaded Lilac and the berry top with Antique Linen and a touch for Shaded Lilac.
Below the frame on this card, I added a Crochet piece.
I really love the very different, soft, spooky feel to this card as a complement to the more ominous first card I made.
I hope this blog inspired you to want to experiment with different mediums and have fun discovering the varied looking outcomes.
Tami

I am an affiliate with Simon Says Stamp and Scrapbook.com so the links below send you to one of those stores depending on which logo you choose.  If you wish to purchase something from either store and use one of my links below, I get a small percentage of your order, at no additional cost to you. This helps me to defray the costs of this blog and the ideas and tutorials I post here, and your help is greatly appreciated! Thank you!

Tuesday, July 2, 2019

Celebrate the 4th - Tim Holtz Chapter 2 and 3

Just in time for the 4th of July here in the US, the 3-D Star Trim from Tim Holtz's Sizzix Chapter 3 release is available. I love this trim and have used it on several samples so far. On this card it is paired with several dies from Tim's Chapter 2 release.

I thought this Allium looking bloom from the Wildflower Stems 1 set seemed like a firework so I wanted to use it for a patriotic card and to make sure the blooms were vibrant and colorful like fireworks.
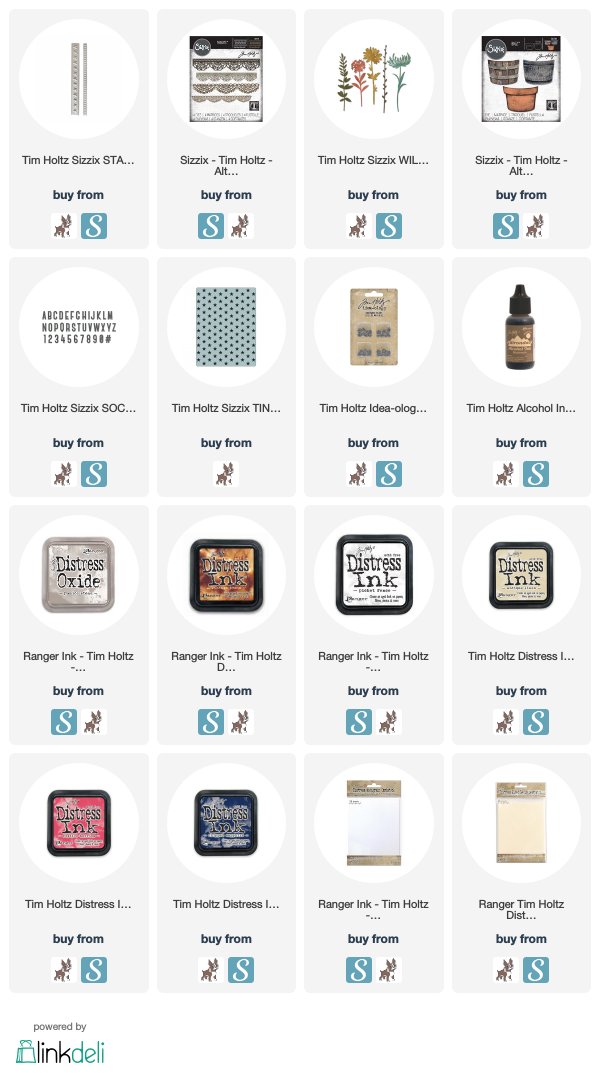
For this card I cut out the barrel shape from the Potted die using Distress Woodgrain paper colored with various brown Distress Inks. The bands are colored with Pumice Stone Oxide and then edged with Vintage Photo Distress Ink. to finish it off I aged two of the Ideaology Hardware Heads with a little Mushroom Alcohol Ink and added them to the bands.
I colored some Distress Heavystock paper with Pumice Oxide and Vintage Photo Distress Ink then ran it through the large 3-D Star Trim. I added that across the bottom with a piece of the Crochet trim. Then for the 4th, I just cut out the number 4 to keep it simple, out of the same Pumice colored paper as the star trim.
I embossed the background paper with the Tiny Star Texture Fade. Then I layered them all the pieces together to make a patriotic floral scene.

I hope you find a little inspiration from this patriotic card.
Tami

I am an affiliate with Simon Says Stamp and Scrapbook.com so the links below send you to one of those stores depending on which logo you choose.  If you wish to purchase something from either store and use one of my links below, I get a small percentage of your order, at no additional cost to you. This helps me to defray the costs of this blog and the ideas and tutorials I post here, and your help is greatly appreciated! Thank you!


Saturday, April 6, 2019

Crochet Dies - Tim Holtz Sizzix Chapter 2


The Crochet die set from the Chapter 2 release from Tim Holtz and Sizzix, is such a beautiful die set.  It is definitely one that should be in every die cut library.
This set includes four crochet trim dies, two styles, each in a large and small size. They are so intricate that they look like real crochet trim, but they are cut from paper. Not only can they cut one lovely piece of crochet trim for a card or journal, but it is possible to cut the die end to end and make a long piece of crochet paper trim. 
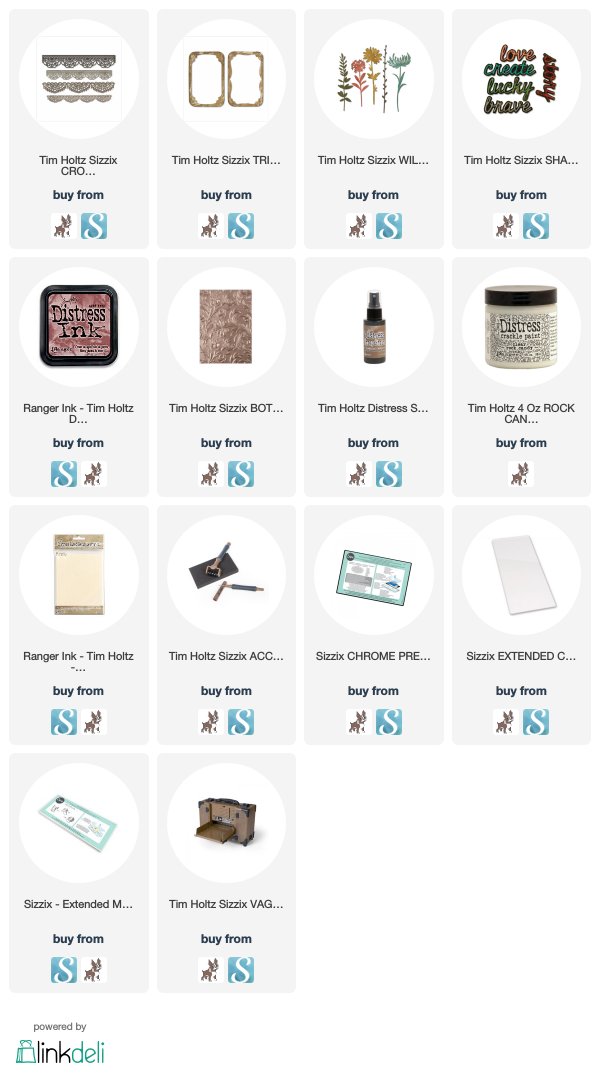
The love sentiment is from Shadow Script 1 cut without the shadow die, The backing is the inside shape from one of the Trinket Frame dies, and the leaves are the tips of two of the greenery pieces from the Wildflower Stems 1.
This sample card features one of the crochet trim dies cut from Distress Mixed Media Heavystock. 
It is sewn over the bottom edge of a piece of Heavystock colored with Aged Mahogany Distress Ink and run through the Botanical 3-D Texture Fade Embossing Folder. Then painted with Distress Clear Rock Candy Crackle Paint. Then I finished it by applying a coat of Gathered Twigs Distress Stain over it so that it would soak into the cracks and highlight the embossed areas, then wiping the excess off.

I made a short video about this die set, how to cut it, how to remove the paper from the die, and how to cut the longer pieces of trim.


I hope you enjoy creating with this beautiful die set as much as I have.
Tami

I am an affiliate with Simon Says Stamp and Scrapbook.com so the links below send you to one of those stores depending on which logo you choose.  If you wish to purchase something from either store and use one of my links below, I get a small percentage of your order, at no additional cost to you. This helps me to defray the costs of this blog and the ideas and tutorials I post here, and your help is greatly appreciated! Thank you!

Monday, March 25, 2019

Cherish - Tim Holtz Chapter 2

There are some really gorgeous dies coming out in the Chapter 2 Sizzix release from Tim Holtz. These dies are on preorder currently and will be shipping soon! I have links at the end of this blog post.
On this spring Etcetera tag, I wanted to showcase two of my new favorites, Intricate Lace and Crochet.
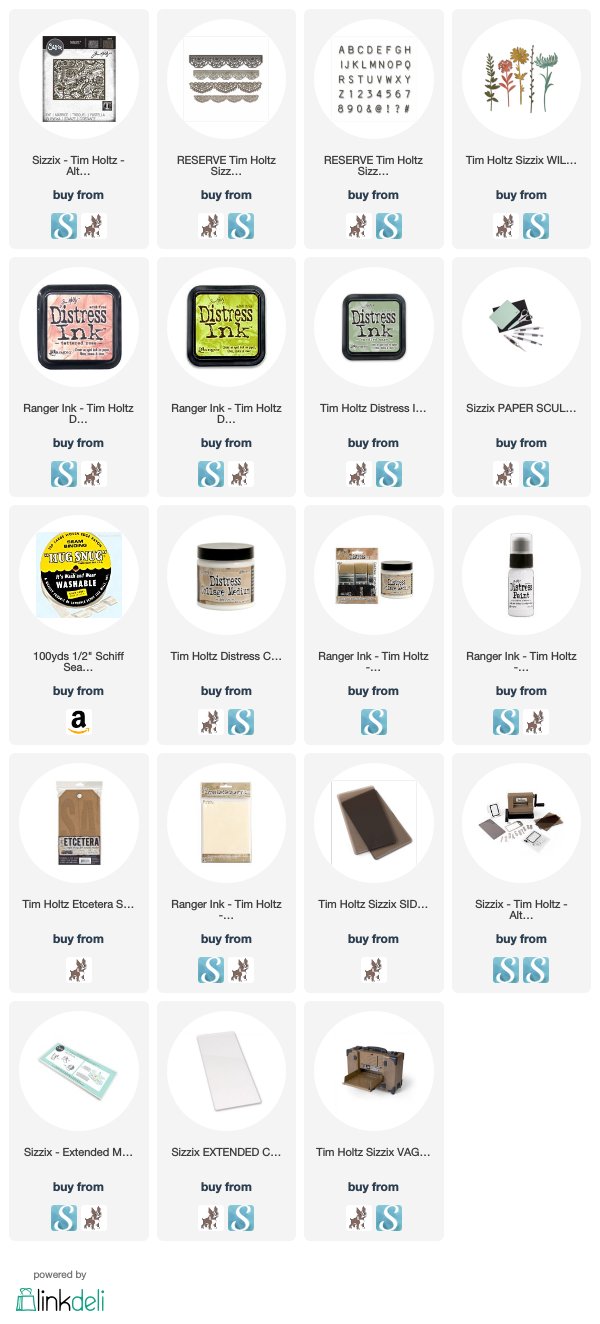
The background is made of the Intricate Lace die. This is perfect for the background on an A4 card, but you can lay it next to itself and cut it twice or more to make a long lace piece as you see above.
I added a piece of Crochet lace across the bottom. This Crochet lace comes in two styles, each in two sizes. It is incredibly detailed and I love it so much. this die can also cut longer pieces of lace if it is laid end to end.
 Once you cut a piece of Intricate Lace twice from some Kraftstock, to make a large enough piece to fit over the Etcetera Tag, and one piece of Crochet to fit along the bottom, you are ready to move on.
 Use Distress Collage Medium to lay a coat over the tag. Place the Lace and Crochet dies into the Collage Medium and press them down. Make sure the decorative top of the Crochet piece covers the bottom edge of the Intricate Lace piece. It's a lovely scallop and gives the piece a finished look. Then cover the entire piece with another coat of Distress Collage Medium.
 Once it is completely dry, and you can use a heat tool, trim around the edges and lightly sand them to to give a soft, finished edge all the way around. I used my snips to trim the bits from the tag hole.
 Paint the entire piece with the color of your choice. The one in the picture here is painted with Antique Linen, but my Cherish sample tag was painted with Picket Fence.
Again, once it is completely dry, you want to go over the entire surface lightly and sand away some of the paint so the Kraftstock shows through. Sadly the Tim Holtz sanding block is retired, but I love it and would recommend getting something similar if you can. I recently bought several at a store with a weekday in it's name. :-D
Here is a close up that allows you to see the worn, shabby look of the tag. Isn't that Intricate Lace Beautiful?
Once I had the tag completed, I turned to the bouquet. For this I used the Chapter 1 Wildflower Stems 1 die set.
I chose the greenery piece on the far left and the flower on the far right. I cut multiple greenery pieces from Distress Mixed Media Heavystock. I also cut one full flower and two additional blossoms.
The greenery was colored with Shabby Shutters and Bundled Sage Distress Ink and edges with the Shabby Shutters Marker. The Flower was colored with Tattered Rose.
As you can see the Wildflower Stems aren't flat. None of them are. That's because I used the Sizzix Paper Sculpting Tool Kit to shape them and give them a little dimension.  Also, for the flower, I colored, shaped, and then attached three of the blossoms together. This really gave it even more dimension.
To finish it off I colored a small piece of seam binding with Tattered Rose Distress Ink and then used the new Alpha Numeric Label letters to spell out the word Cherish mounted on a small strip of Kraftstock.
Isn't the Crochet lace die just lovely?  It really looks like a piece of lace but it's paper!

Thank you so much for stopping by to see the details on this piece. I really love how it turned out.
Tami

I am an affiliate with Simon Says Stamp and Scrapbook.com so the links below send you to one of those stores depending on which logo you choose.  If you wish to purchase something from either store and use one of my links below, I get a small percentage of your order, at no additional cost to you. This helps me to defray the costs of this blog and the ideas and tutorials I post here, and your help is greatly appreciated! Thank you!