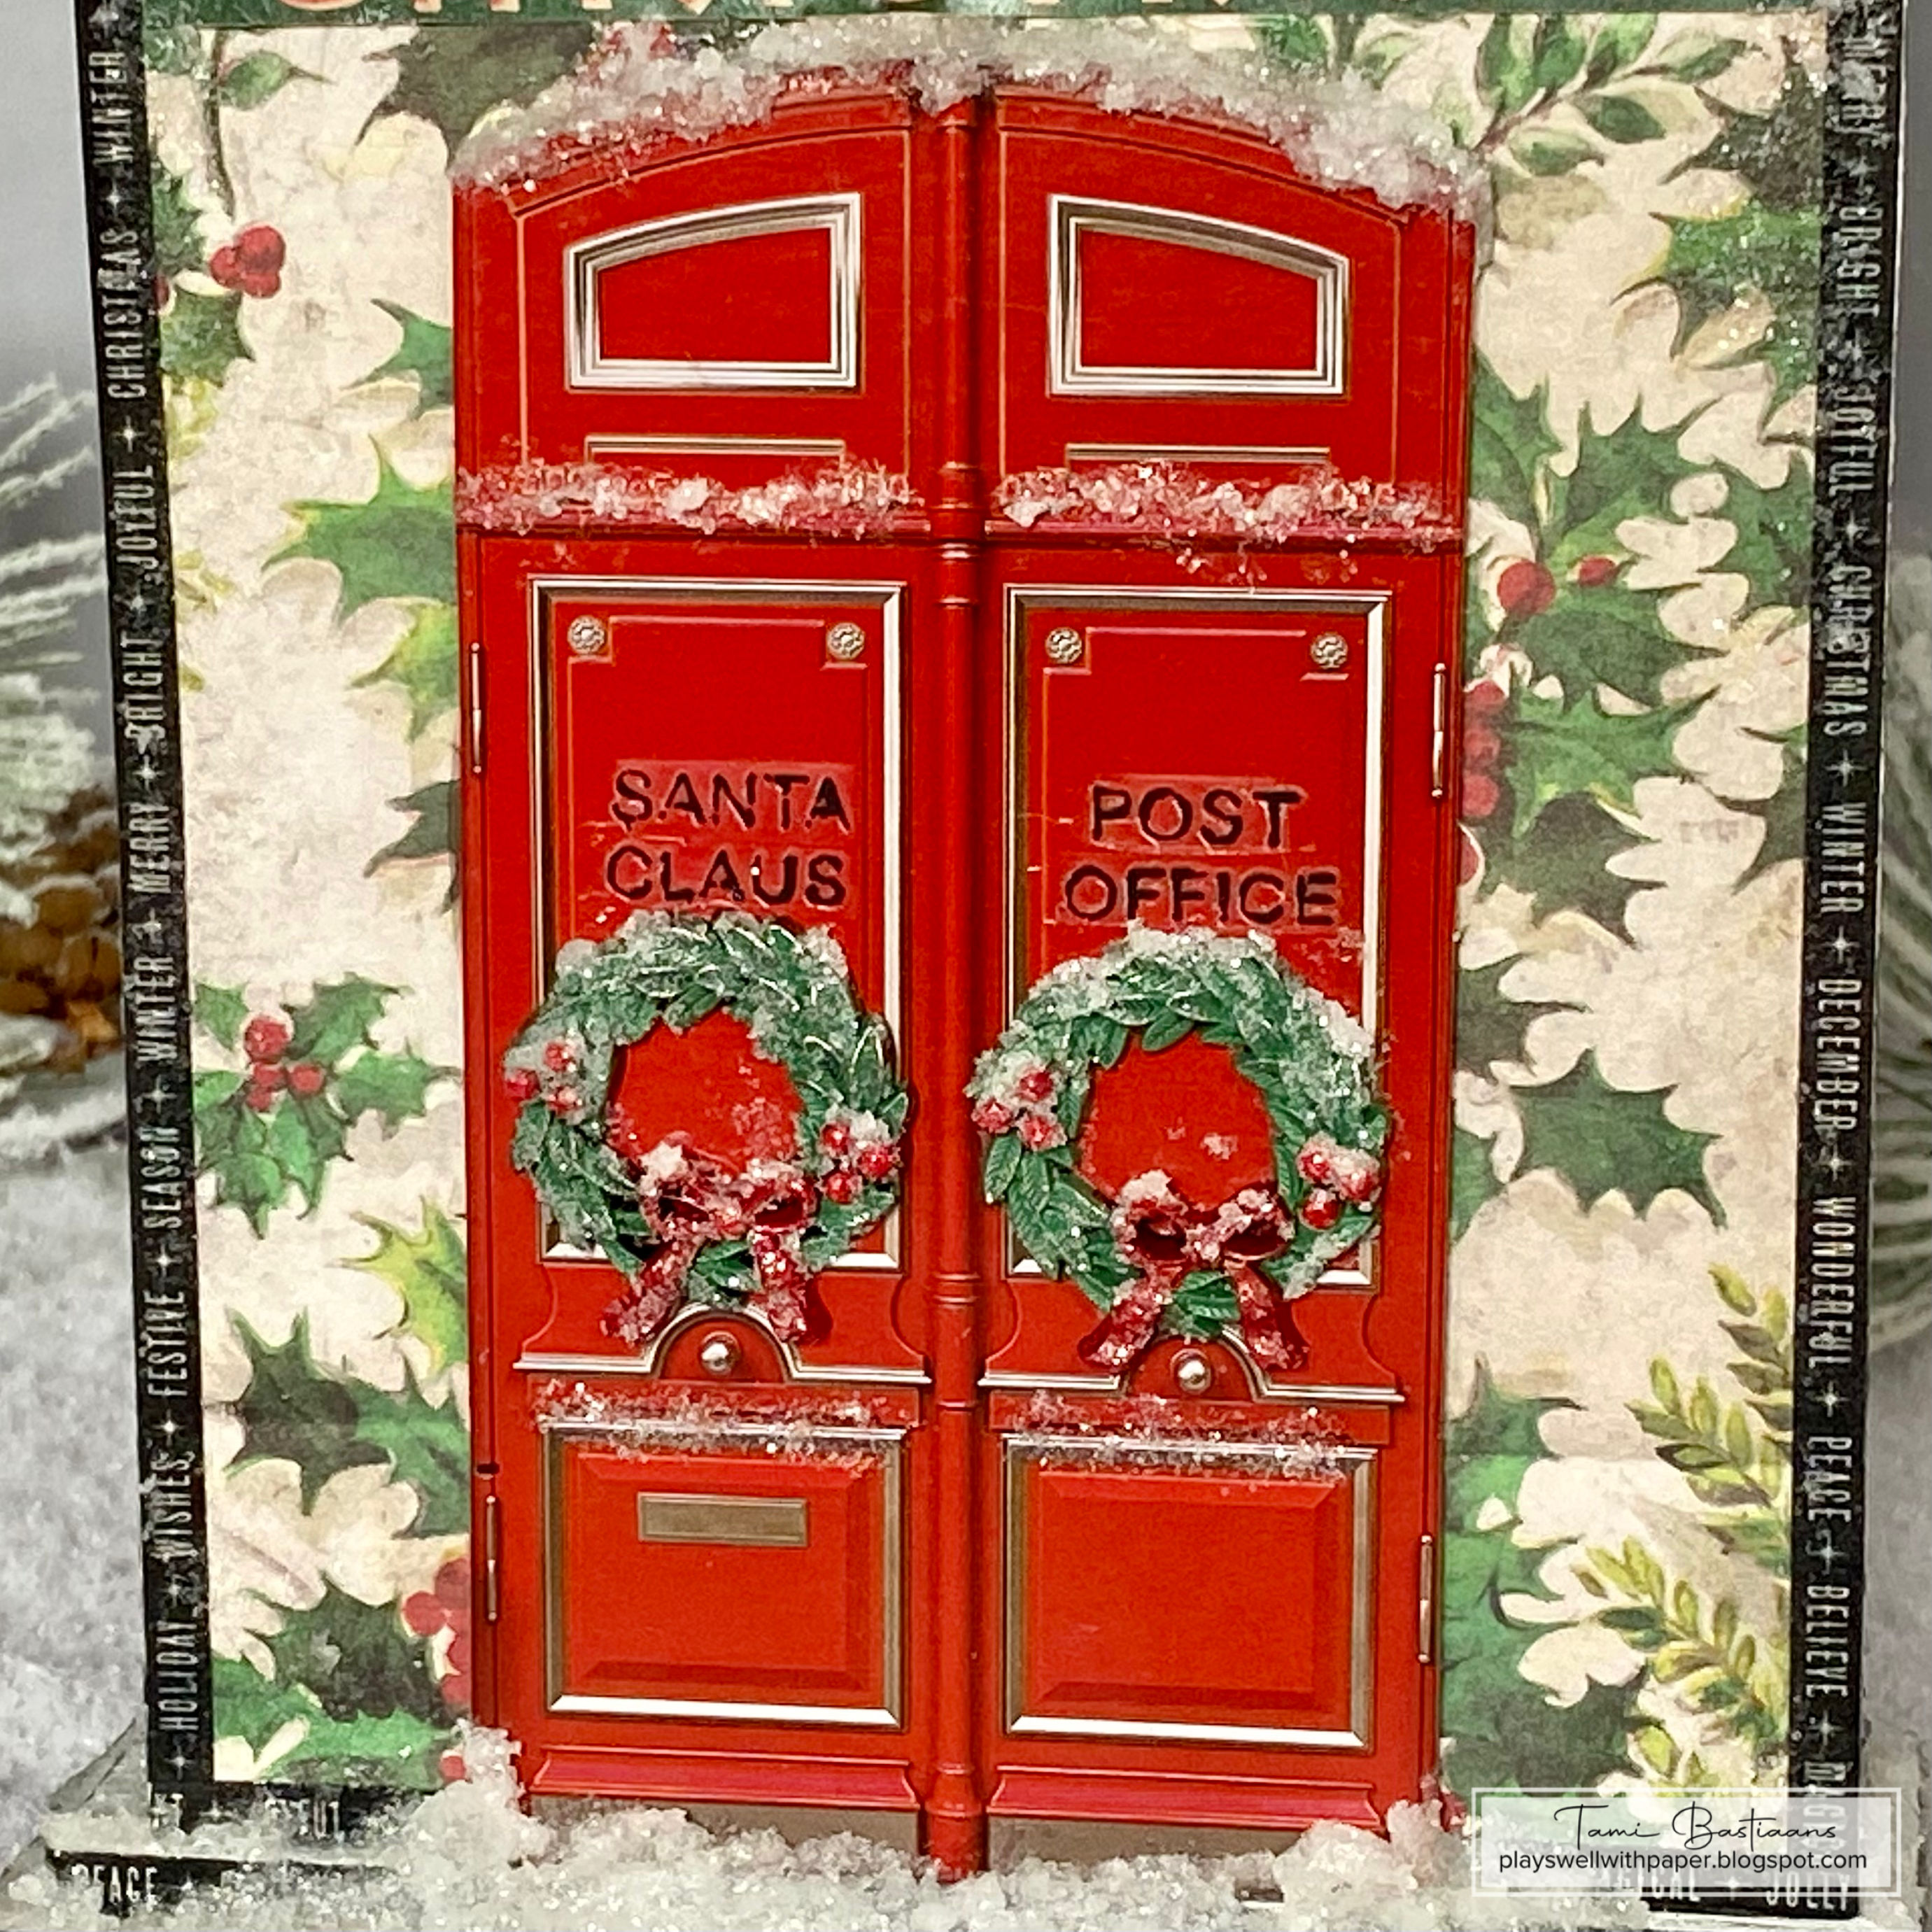
Creating Santa's Post Office from Tim Holtz Idea-ology was so much fun! I love a challenge and this one was delightful.
Here is the video tutorial walk through.
And below are all the close ups. I hope they help to see the details in this piece. The magic is always in the details.
I hope you enjoy this piece and all the little details as much as I enjoyed making it and putting all the little details in it.
Have a festive, creative day!
Tami
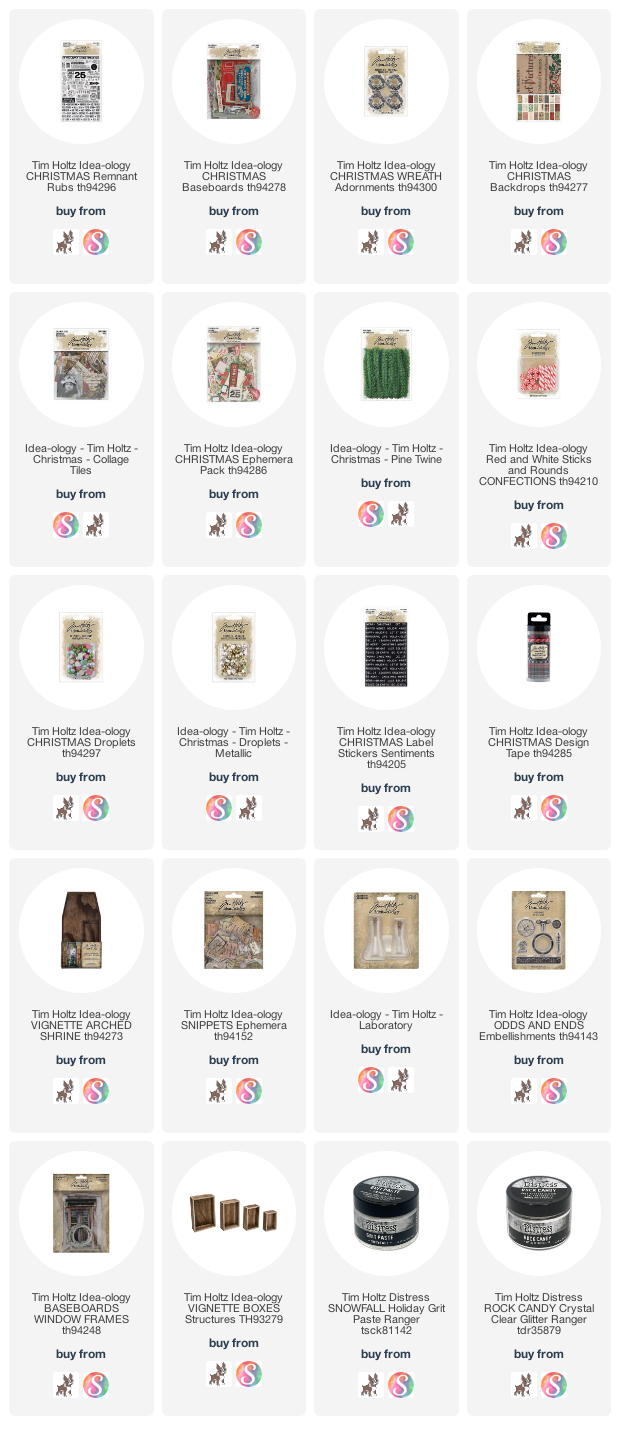
I am an affiliate with Simon Says Stamp and Scrapbook.com so the links
below send you to one of those stores depending on which logo you
choose. If you wish to purchase something from either store and use one
of my links below, I get a small percentage of your order, at no additional cost to you. This helps me to defray the costs of this blog, the time, the ideas and tutorials I post here.
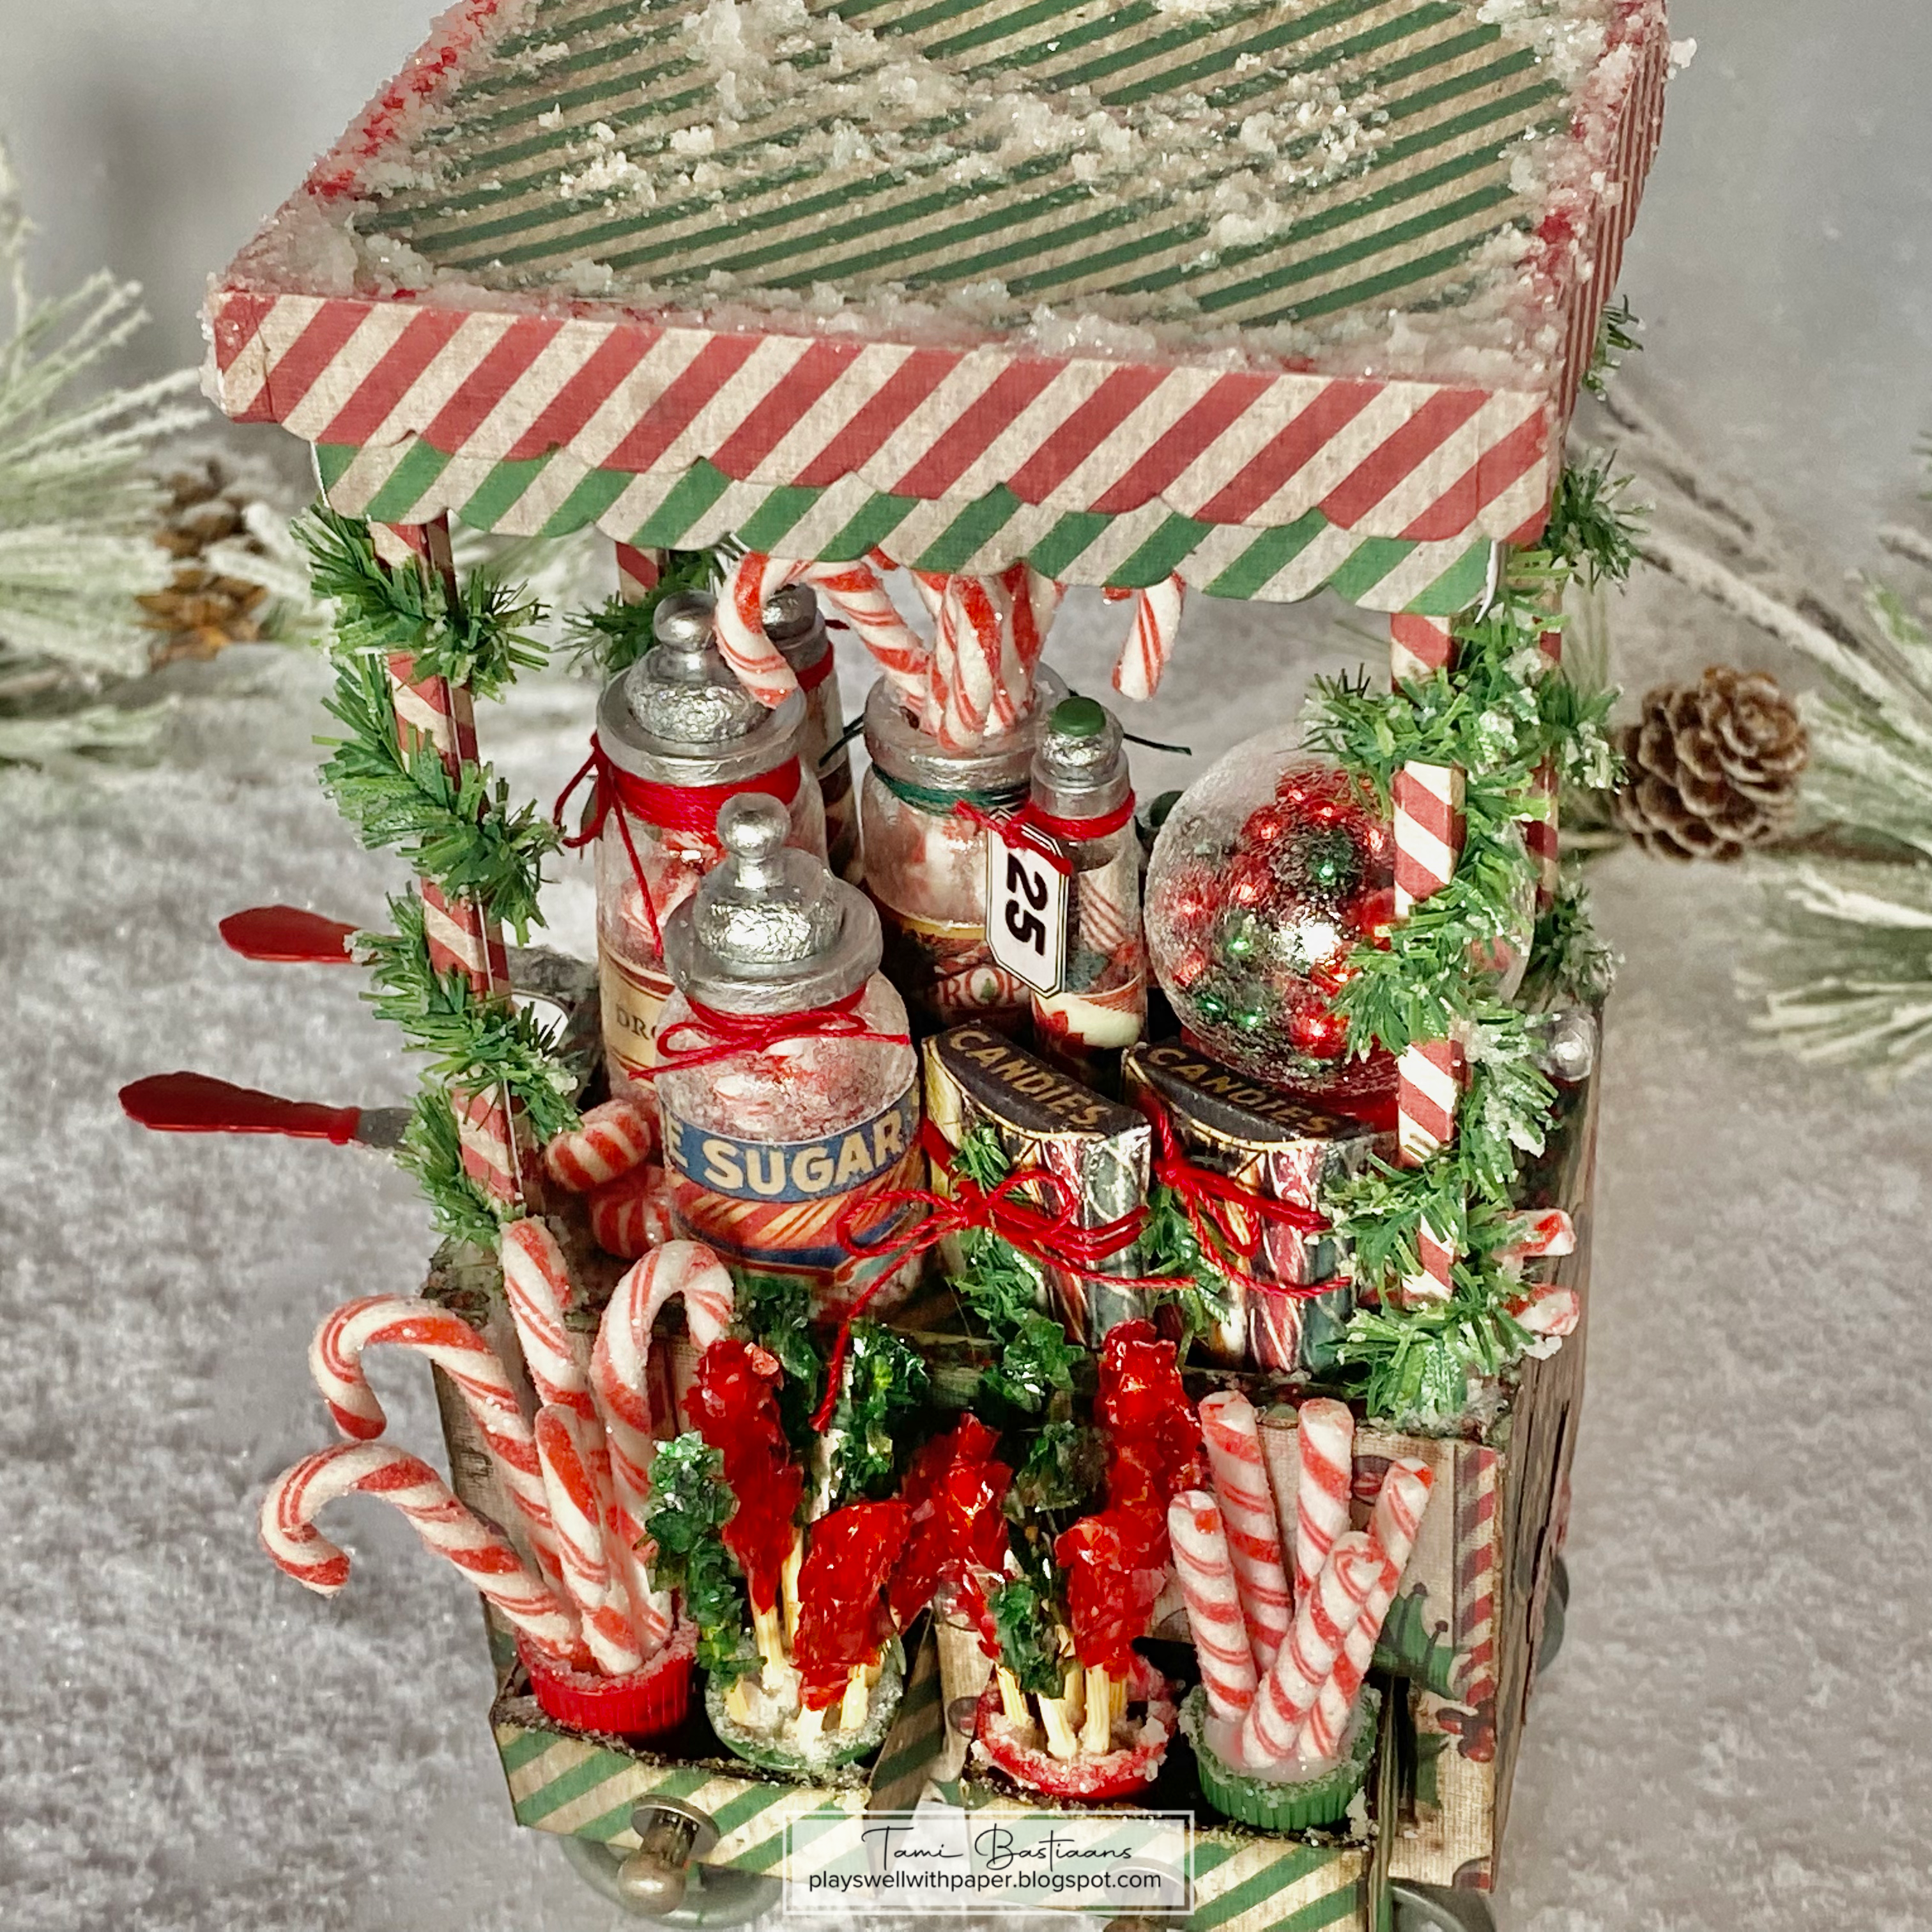
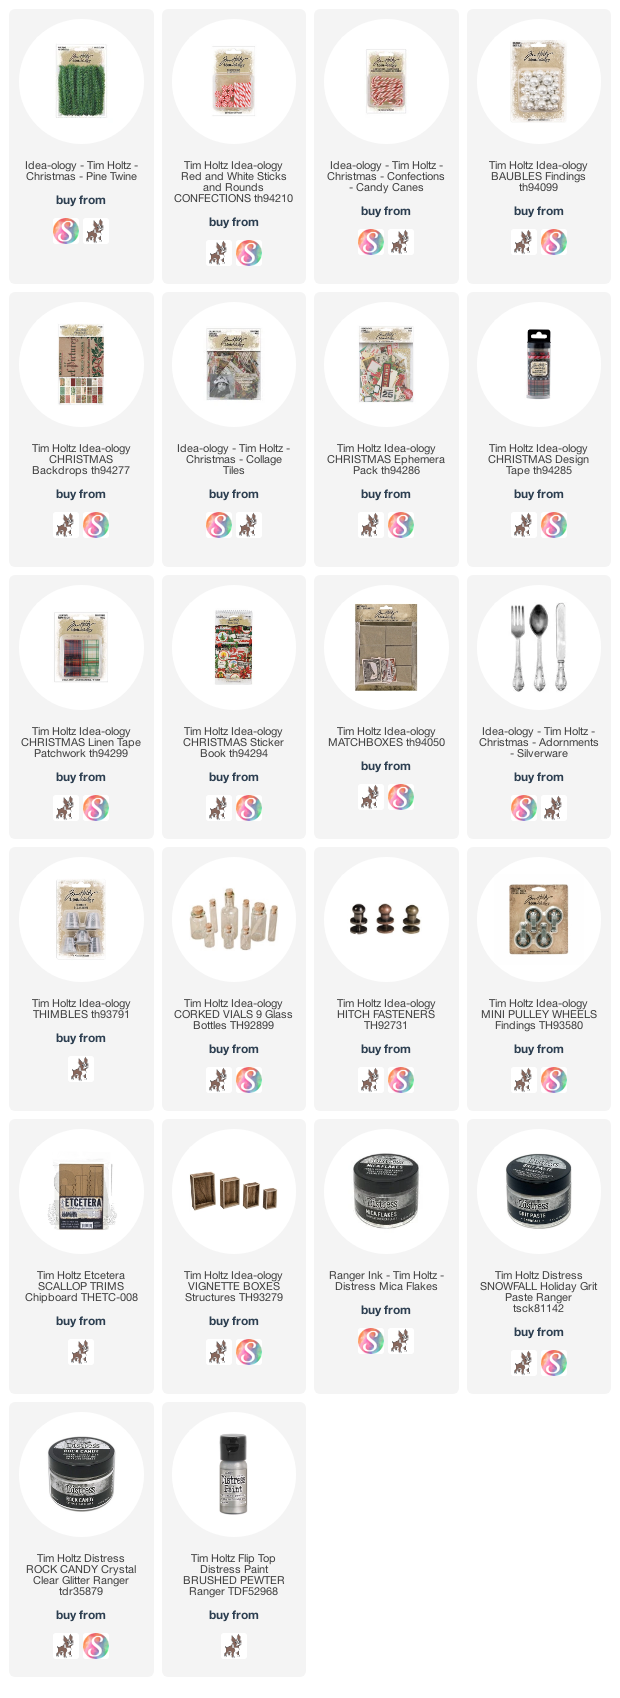
I had so much fun building and decorating this little Christmas Candy Cart with all kinds of Tim Holtz Christmas Idea-ology. This was an idea I had last year and was ready to make it, but things took a different turn in my life and I didn't get back to it. So I decided to finish it this year when I saw that Tim had added Candy Canes to the Confections line.
I built the little cart out of Vignette Boxes, Match Boxes and Pulley Wheels.
I added a canopy with some Balsa Wood sticks and an Etcetera Trim canopy.
This cart style actually allows for some fun options like lights, shelves, lots of fun things if you let your imagination run.
Here is the tutorial where I walk you through making this piece.
To make the cart you remove the side of one Vignette Box. Just pop it off, its only glued on. Then notice how I lined the box with different pieces of Balsa Wood to raise the Matchbox drawers and separate them so they work like drawers.
I also needed to build up the front frame around the matchboxes because the drawer needs to be as deep as another box of the same size. When I popped off the front of the box it became about 1/4" less deep. So I used Balsa Wood strips to do this. It is very light wood and trims to the size very easily with my Tonic Scissors.
Here you can see I built up the bottom and sides and now I need to build up the center between the boxes.
Next I adhered the outside part of the Match Boxes and held them in place with clips.
I also added some balsa wood to the inside bottom of the top box (as seen in the back) and then attached some thin Balsa Strips to hold the canopy later on.
Here you can see that the strips of Balsa Wood did the trick! It's all line up!
To make handles for the cart I bend some of the Silverware Adornments knives and added some Hardware Heads. I think they are cute!
I used an old wooden snow globe from the last two or three Christmas releases to make a candy dispenser.
These candy boxes were made with some of the Christmas Collage Tiles. I just love them! I decorated them with a little colored thread and Pine Twine.
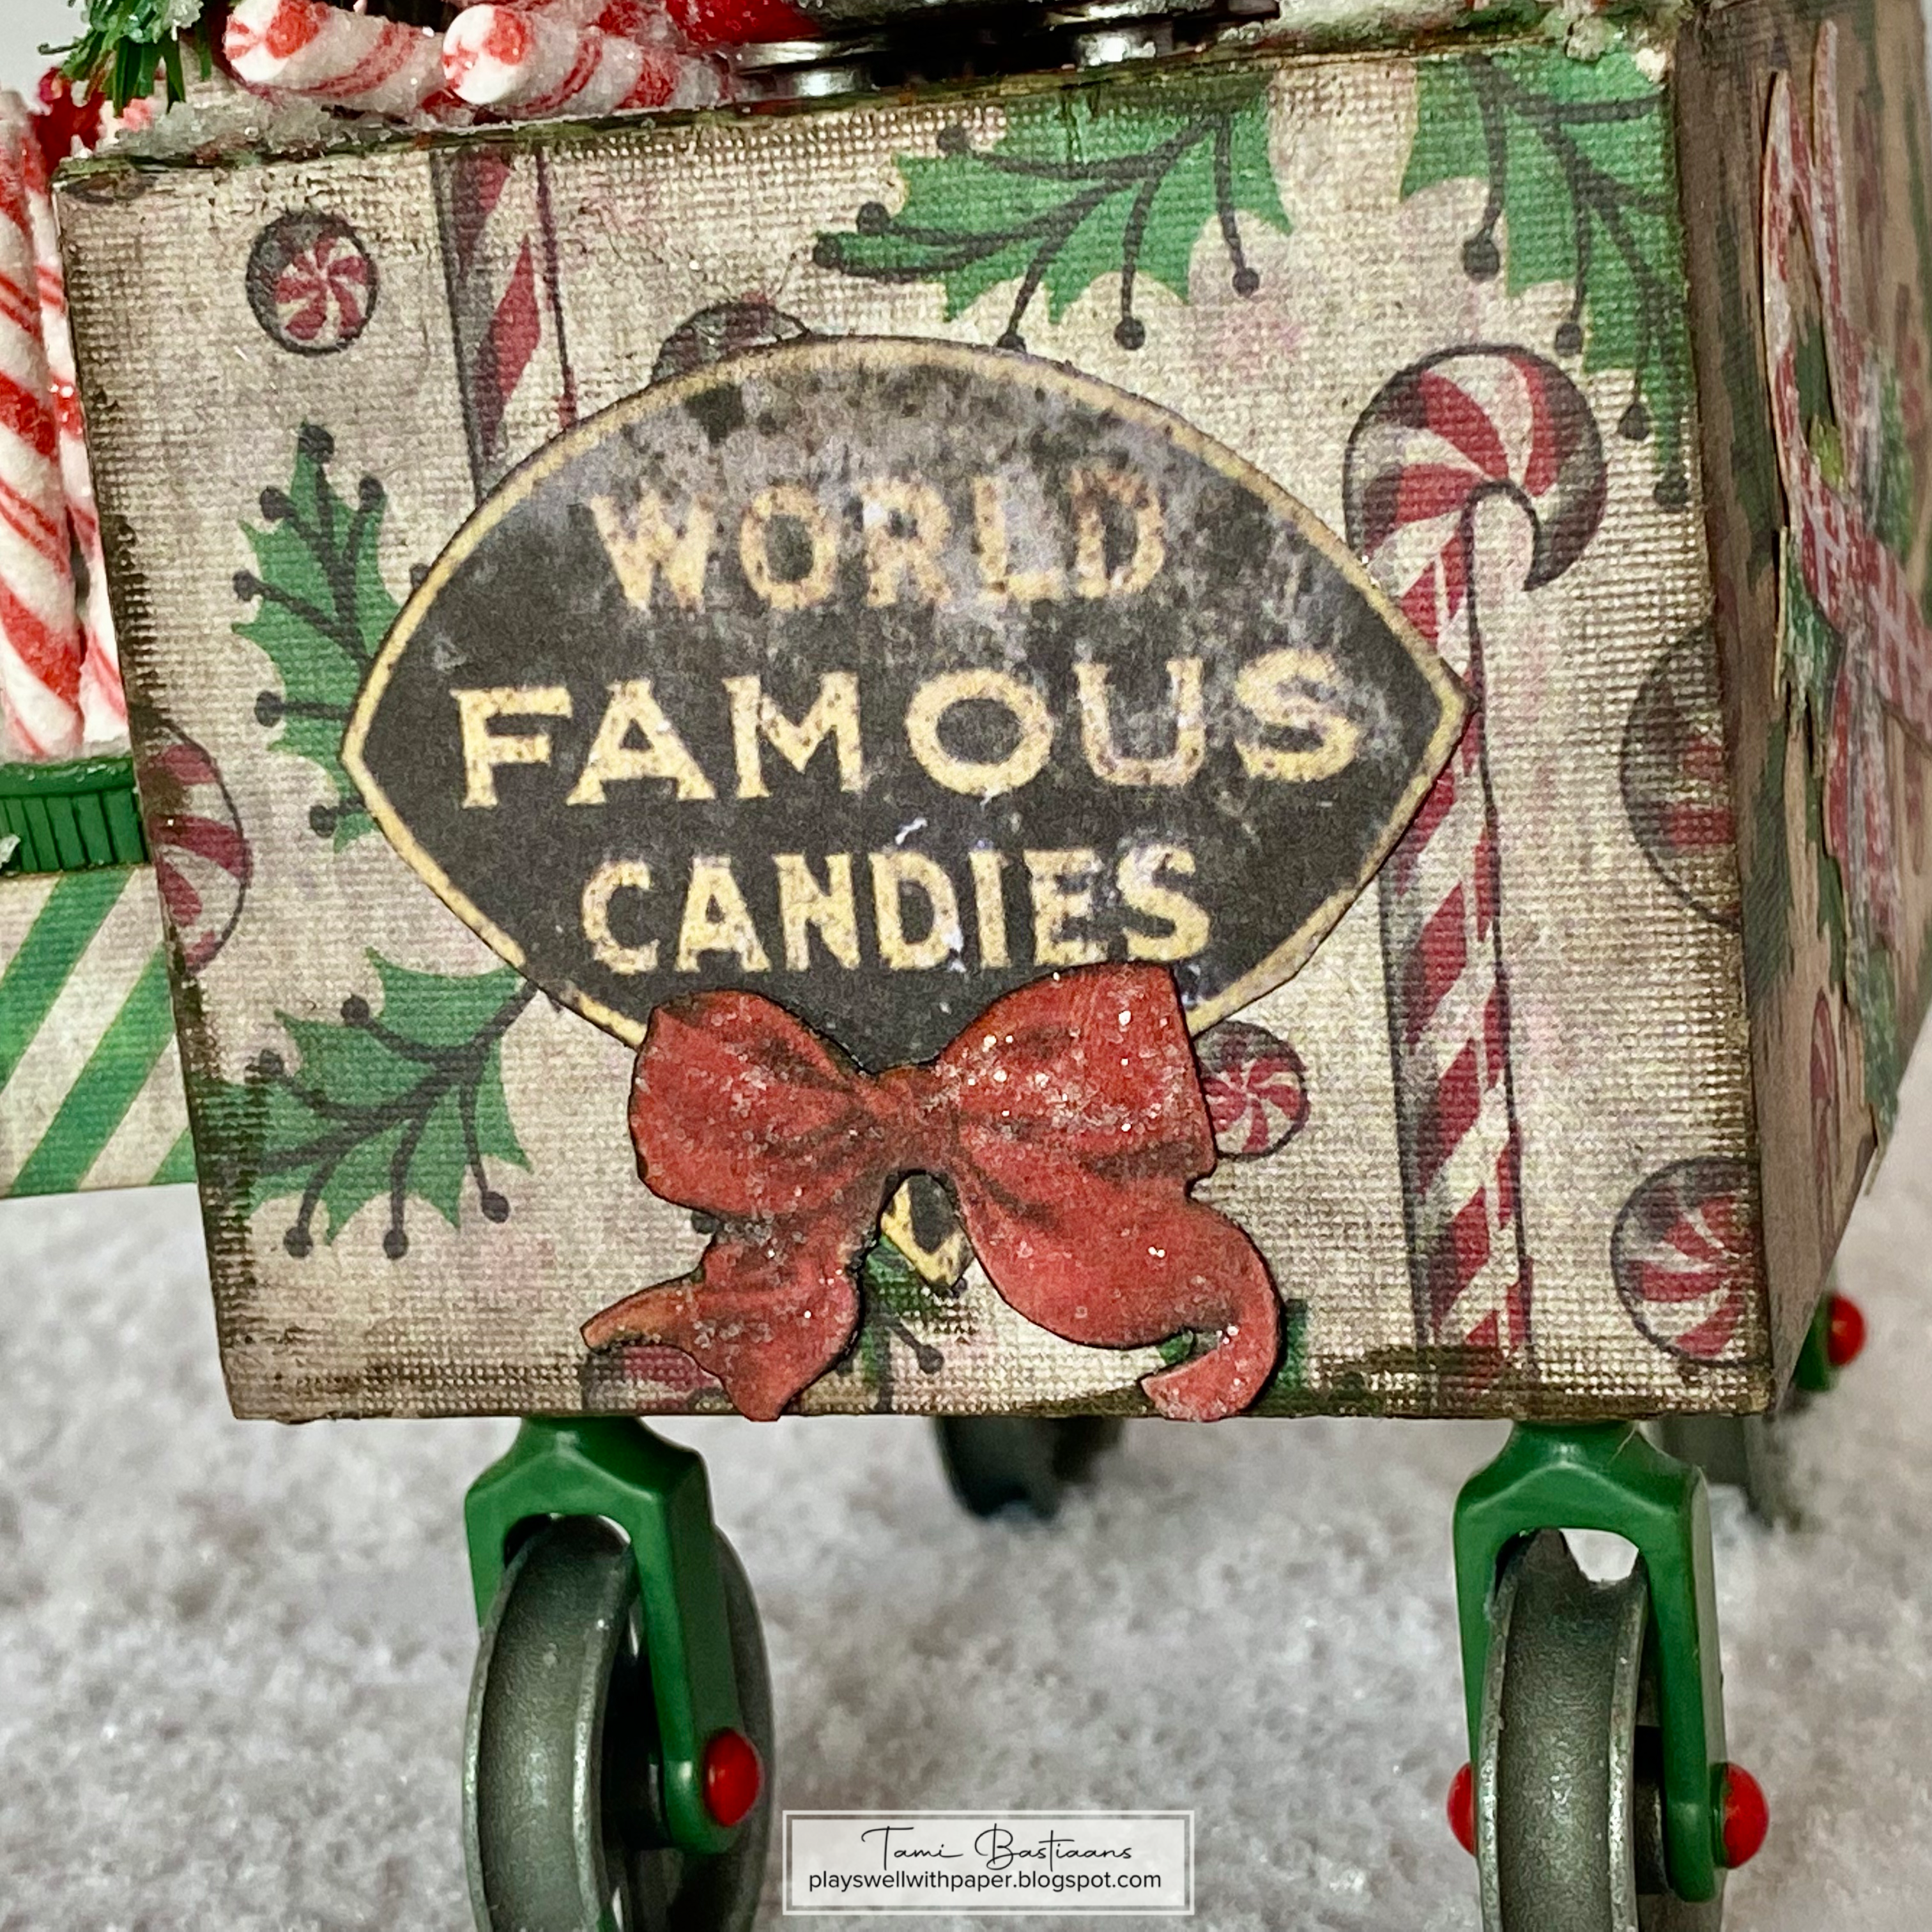
The World Famous Candies was cut from the middle of the candy paper in the Christmas Back Drops and the bow was from a Collage Tile.
The corks on the Corked Vials were used but first I just trimmed the sharp edges with my scissors and then sanded them with a sanding block. Once they were shapped I painted the top of the jar with Brushed Pewter Distress Paint and the cork as well. I added Hitch Fasteners to some and Brads to others and painted those as well so it would look like metal tops.
The rock candy sticks are made by adding Glossy Accents to the end of toothpicks and then rolling them in Mica Flakes that had been colored with Alcohol Ink.
The Rock Candy and Confections were all stashed in some Thimbles in the Match Box Drawers.
Thank you for you interest in my Christmas Candy Cart. I hope you were inspired by something I made here.
Have a festive, creative day!
Tami
I am an affiliate with Simon Says Stamp and Scrapbook.com so the links
below send you to one of those stores depending on which logo you
choose. If you wish to purchase something from either store and use one
of my links below, I get a small percentage of your order, at no additional cost to you. This helps me to defray the costs of this blog, the time, the ideas and tutorials I post here.
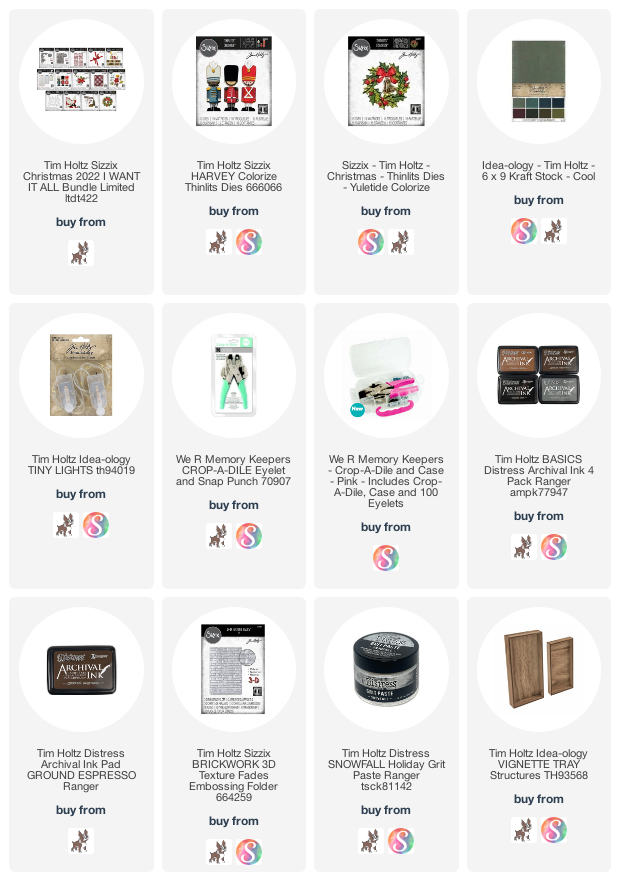
This is a festive Vignette decor piece I made for the Tim Holtz Sizzix
Christmas Release. It was inspired by the Toy Soldiers in the Disneyland
Christmas Festival of Fantasy Parade.
I split the tutorial for this project into two parts so it wasn't as
long. I hope you'll watch both.
This is the first part of the tutorial where I assemble the toy soldiers and the brick street.
This tutorial focuses on the Yultide wreath and garland.
I
I promised to link the blog post where I have the dimensions of the Tiny Lights Paper Holders I make for the backs of my projects. You can find that here.
Thank you for following along with these tutorials. I know everyone isn't going to want to make this Toy Soldiers on Parade piece, but I hope you found a tip or idea that inspires you in some of your holiday makes.
Have an festive, creative day!
Tami
I am an affiliate with Simon Says Stamp and Scrapbook.com so the links
below send you to one of those stores depending on which logo you
choose. If you wish to purchase something from either store and use one
of my links below, I get a small percentage of your order, at no additional cost to you. This helps me to defray the costs of this blog, the time, the ideas and tutorials I post here.
I'm sharing the first of my Christmas Idea-ology makes today. I made this Christmas Curio Clock into a Mid-Century Department Store Window Display. It was fun doing research for this project and then trying to translate that inspiration in a make that showcases the Idea-ology products. I just love that challenge!
As you can imagine, it isn't that difficult when you have the amazing Christmas Idea-ology products on hand.
Here is my video tutorial for this make.
Enjoy some close-ups of this project. Links to all the products I used are at the end of this post.
Thank you very much for not only stopping by my my blog here, but also checking out my tutorial. This was really fun to dream up and I hope you found something to inspire your own craft projects.
Have an incredibly creative day!
Tami
I am an affiliate with Simon Says Stamp and Scrapbook.com so the links
below send you to one of those stores depending on which logo you
choose. If you wish to purchase something from either store and use one
of my links below, I get a small percentage of your order, at no additional cost to you. This helps me to defray the costs of this blog, the time, the ideas and tutorials I post here.