This was a fun little make inspired by someone whose heart is two sizes
too small, and his little side kick. Although it's a really silly,
whimsical make, I thoroughly enjoyed making it. Sometimes it's fun to
just do something small and silly.
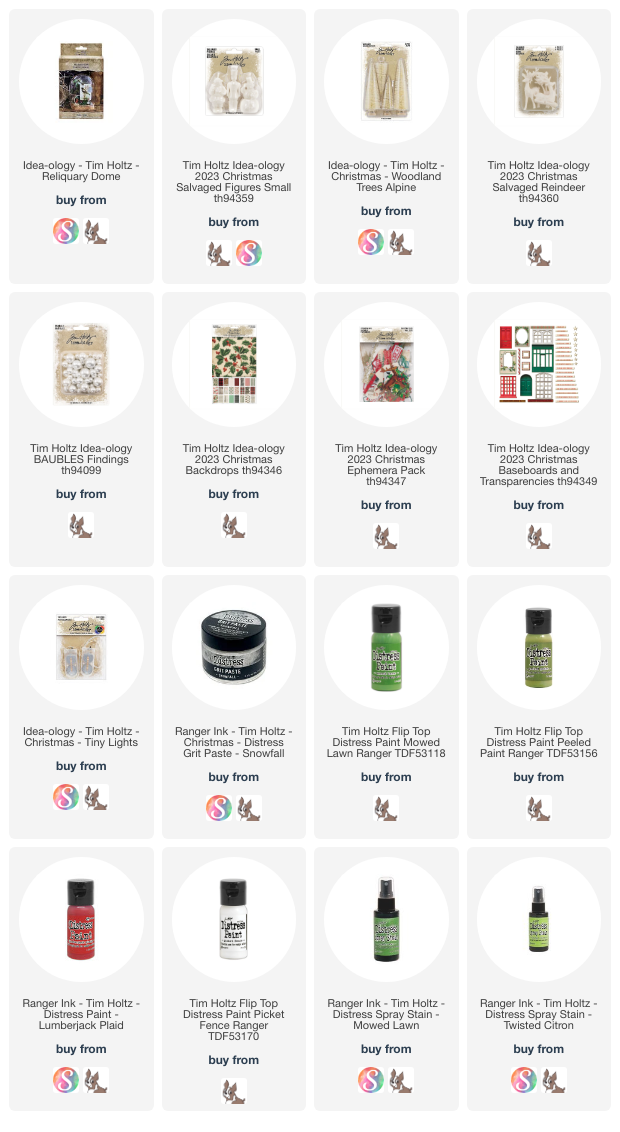
I used all Tim Holtz Idea-ology and Distress products to make this.
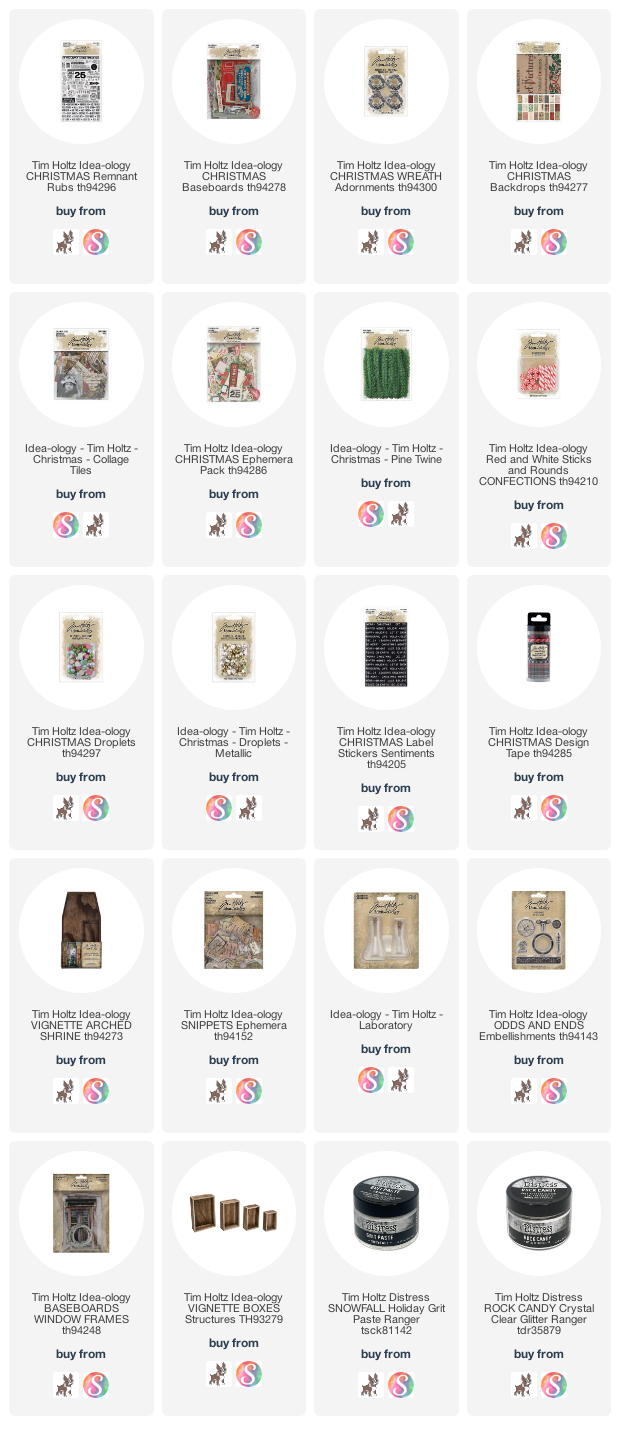
There are links below to all of the products used.
I linked products below that were
still available when I made this tutorial.
Have a creative day,
Tami
I am an affiliate with Simon Says Stamp and Scrapbook.com. The links
below send you to one of their stores. If you wish to purchase something
and use one of my links below, I get a small percentage of your order
at no additional cost to you. This helps me to defray the costs of this
channel, the time, the ideas and tutorials I post here. Your help is
greatly appreciated! Thank you!
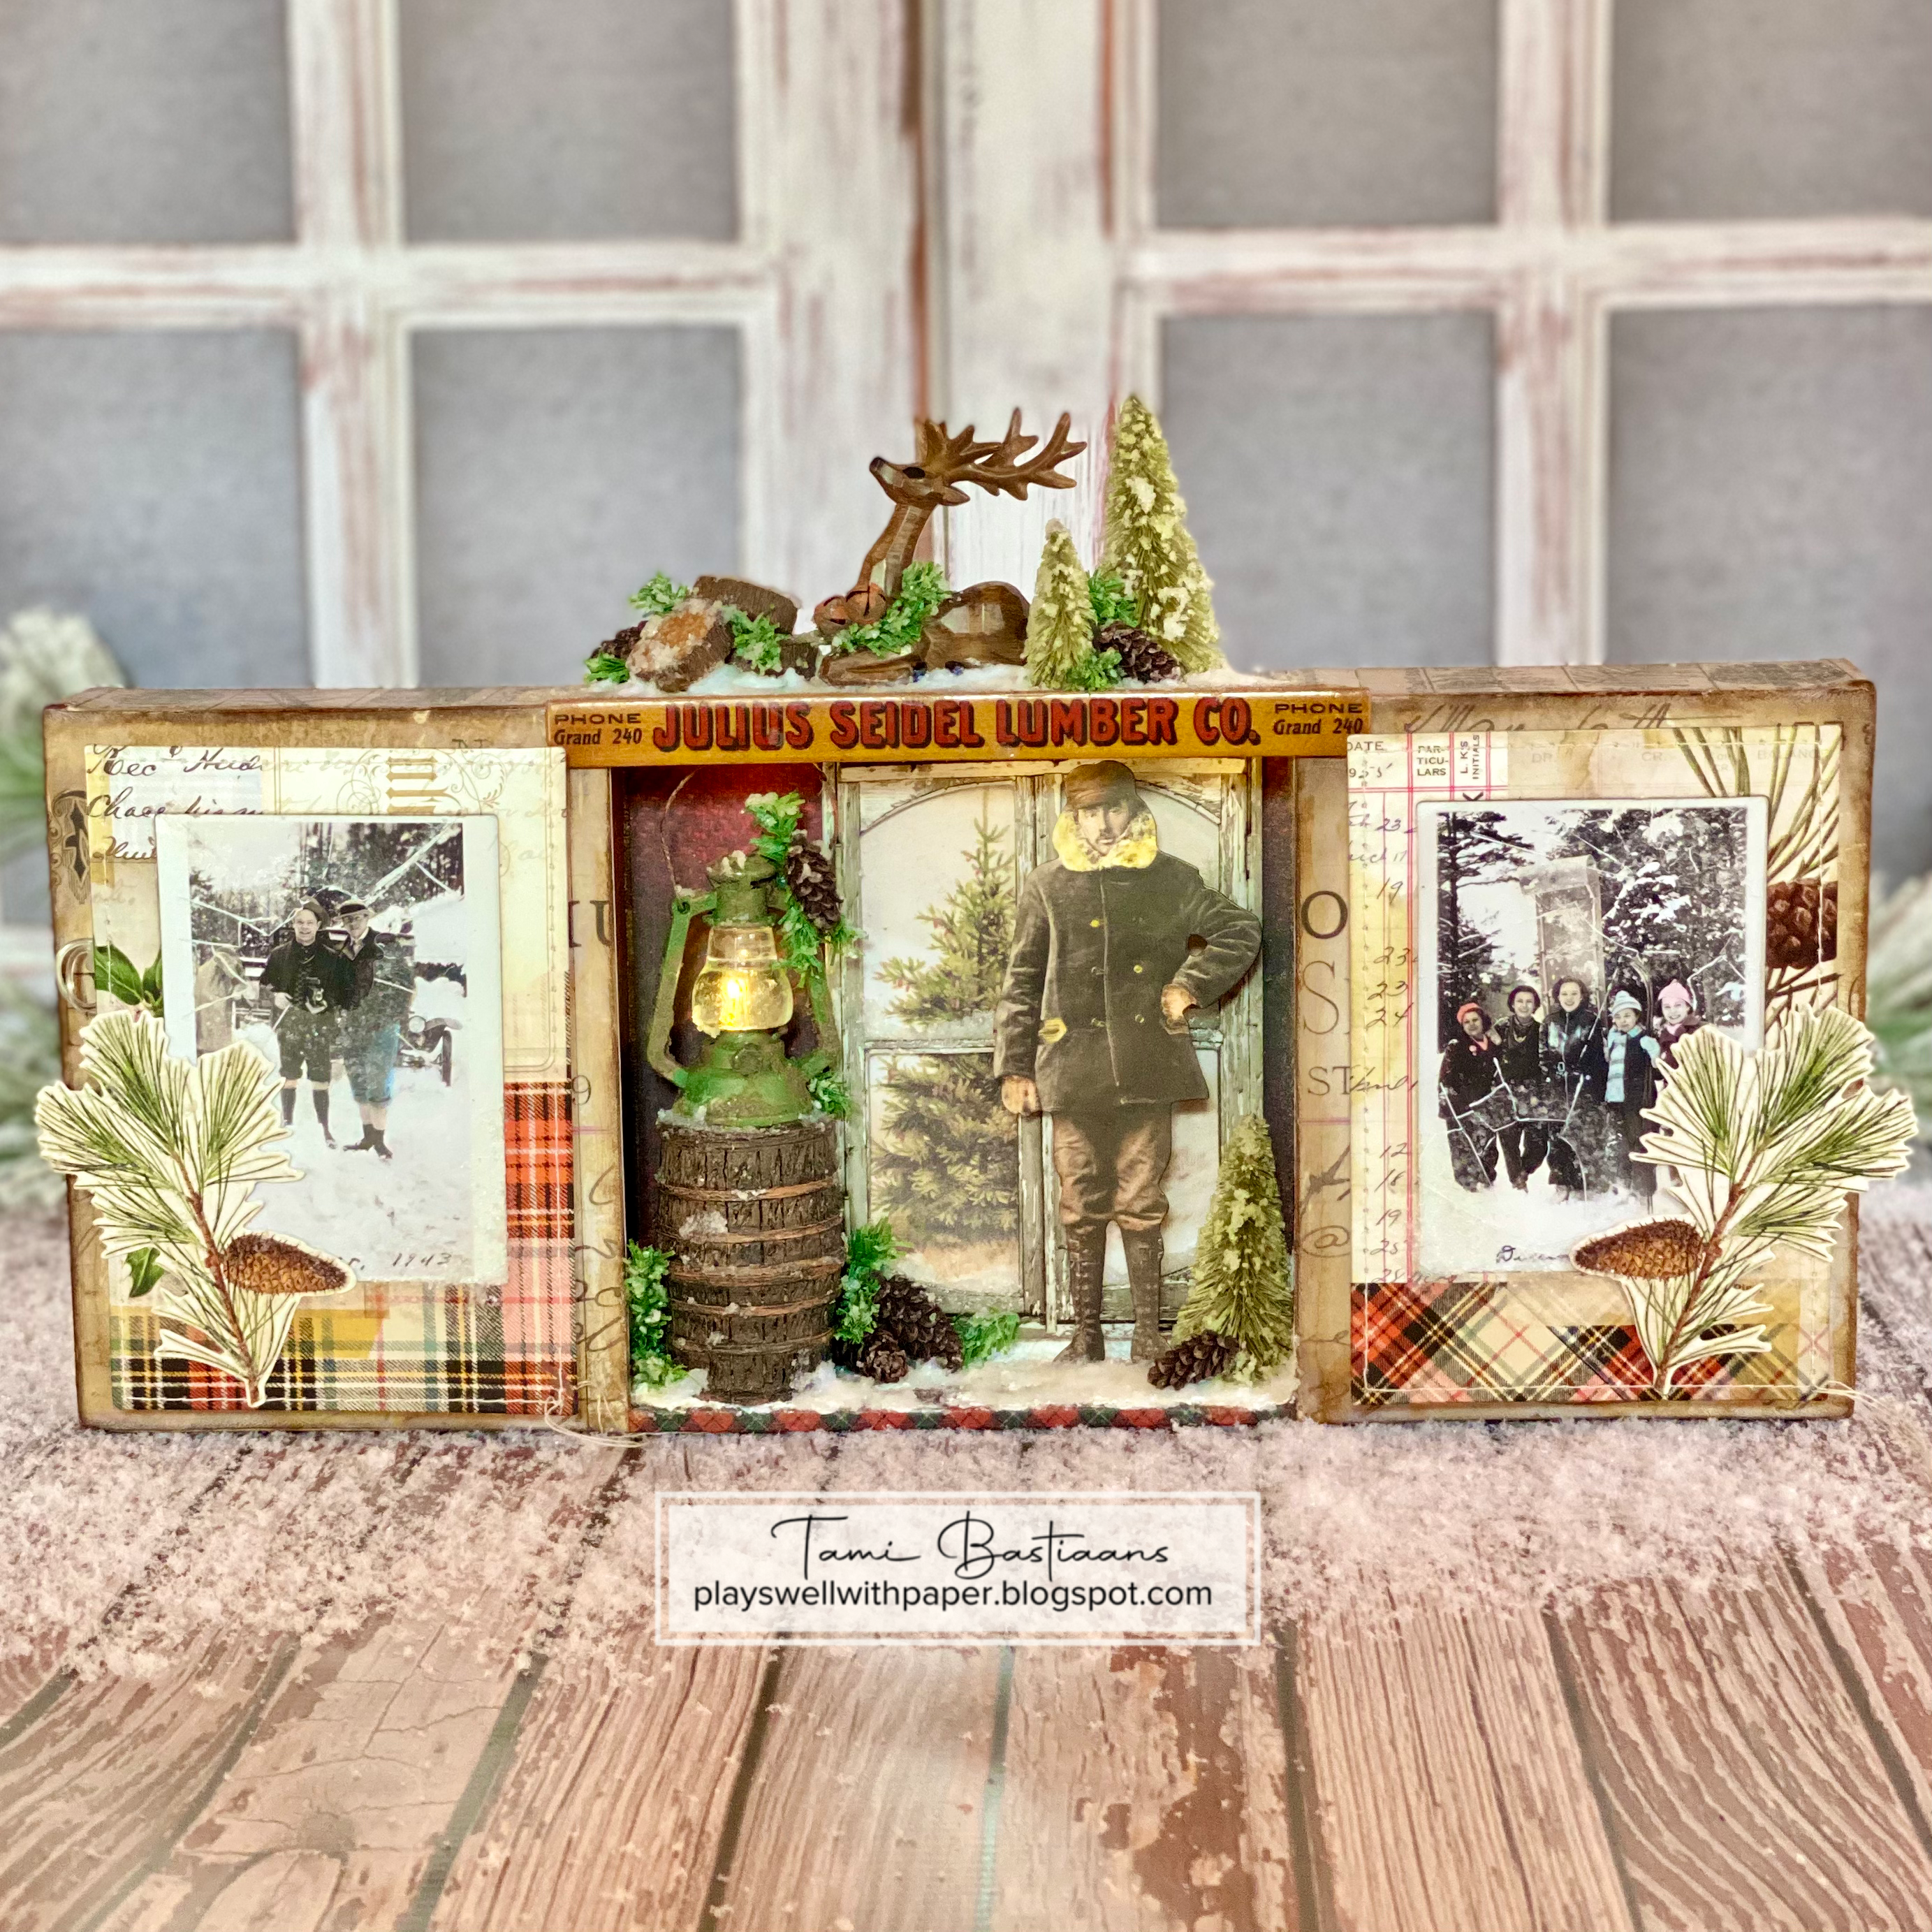
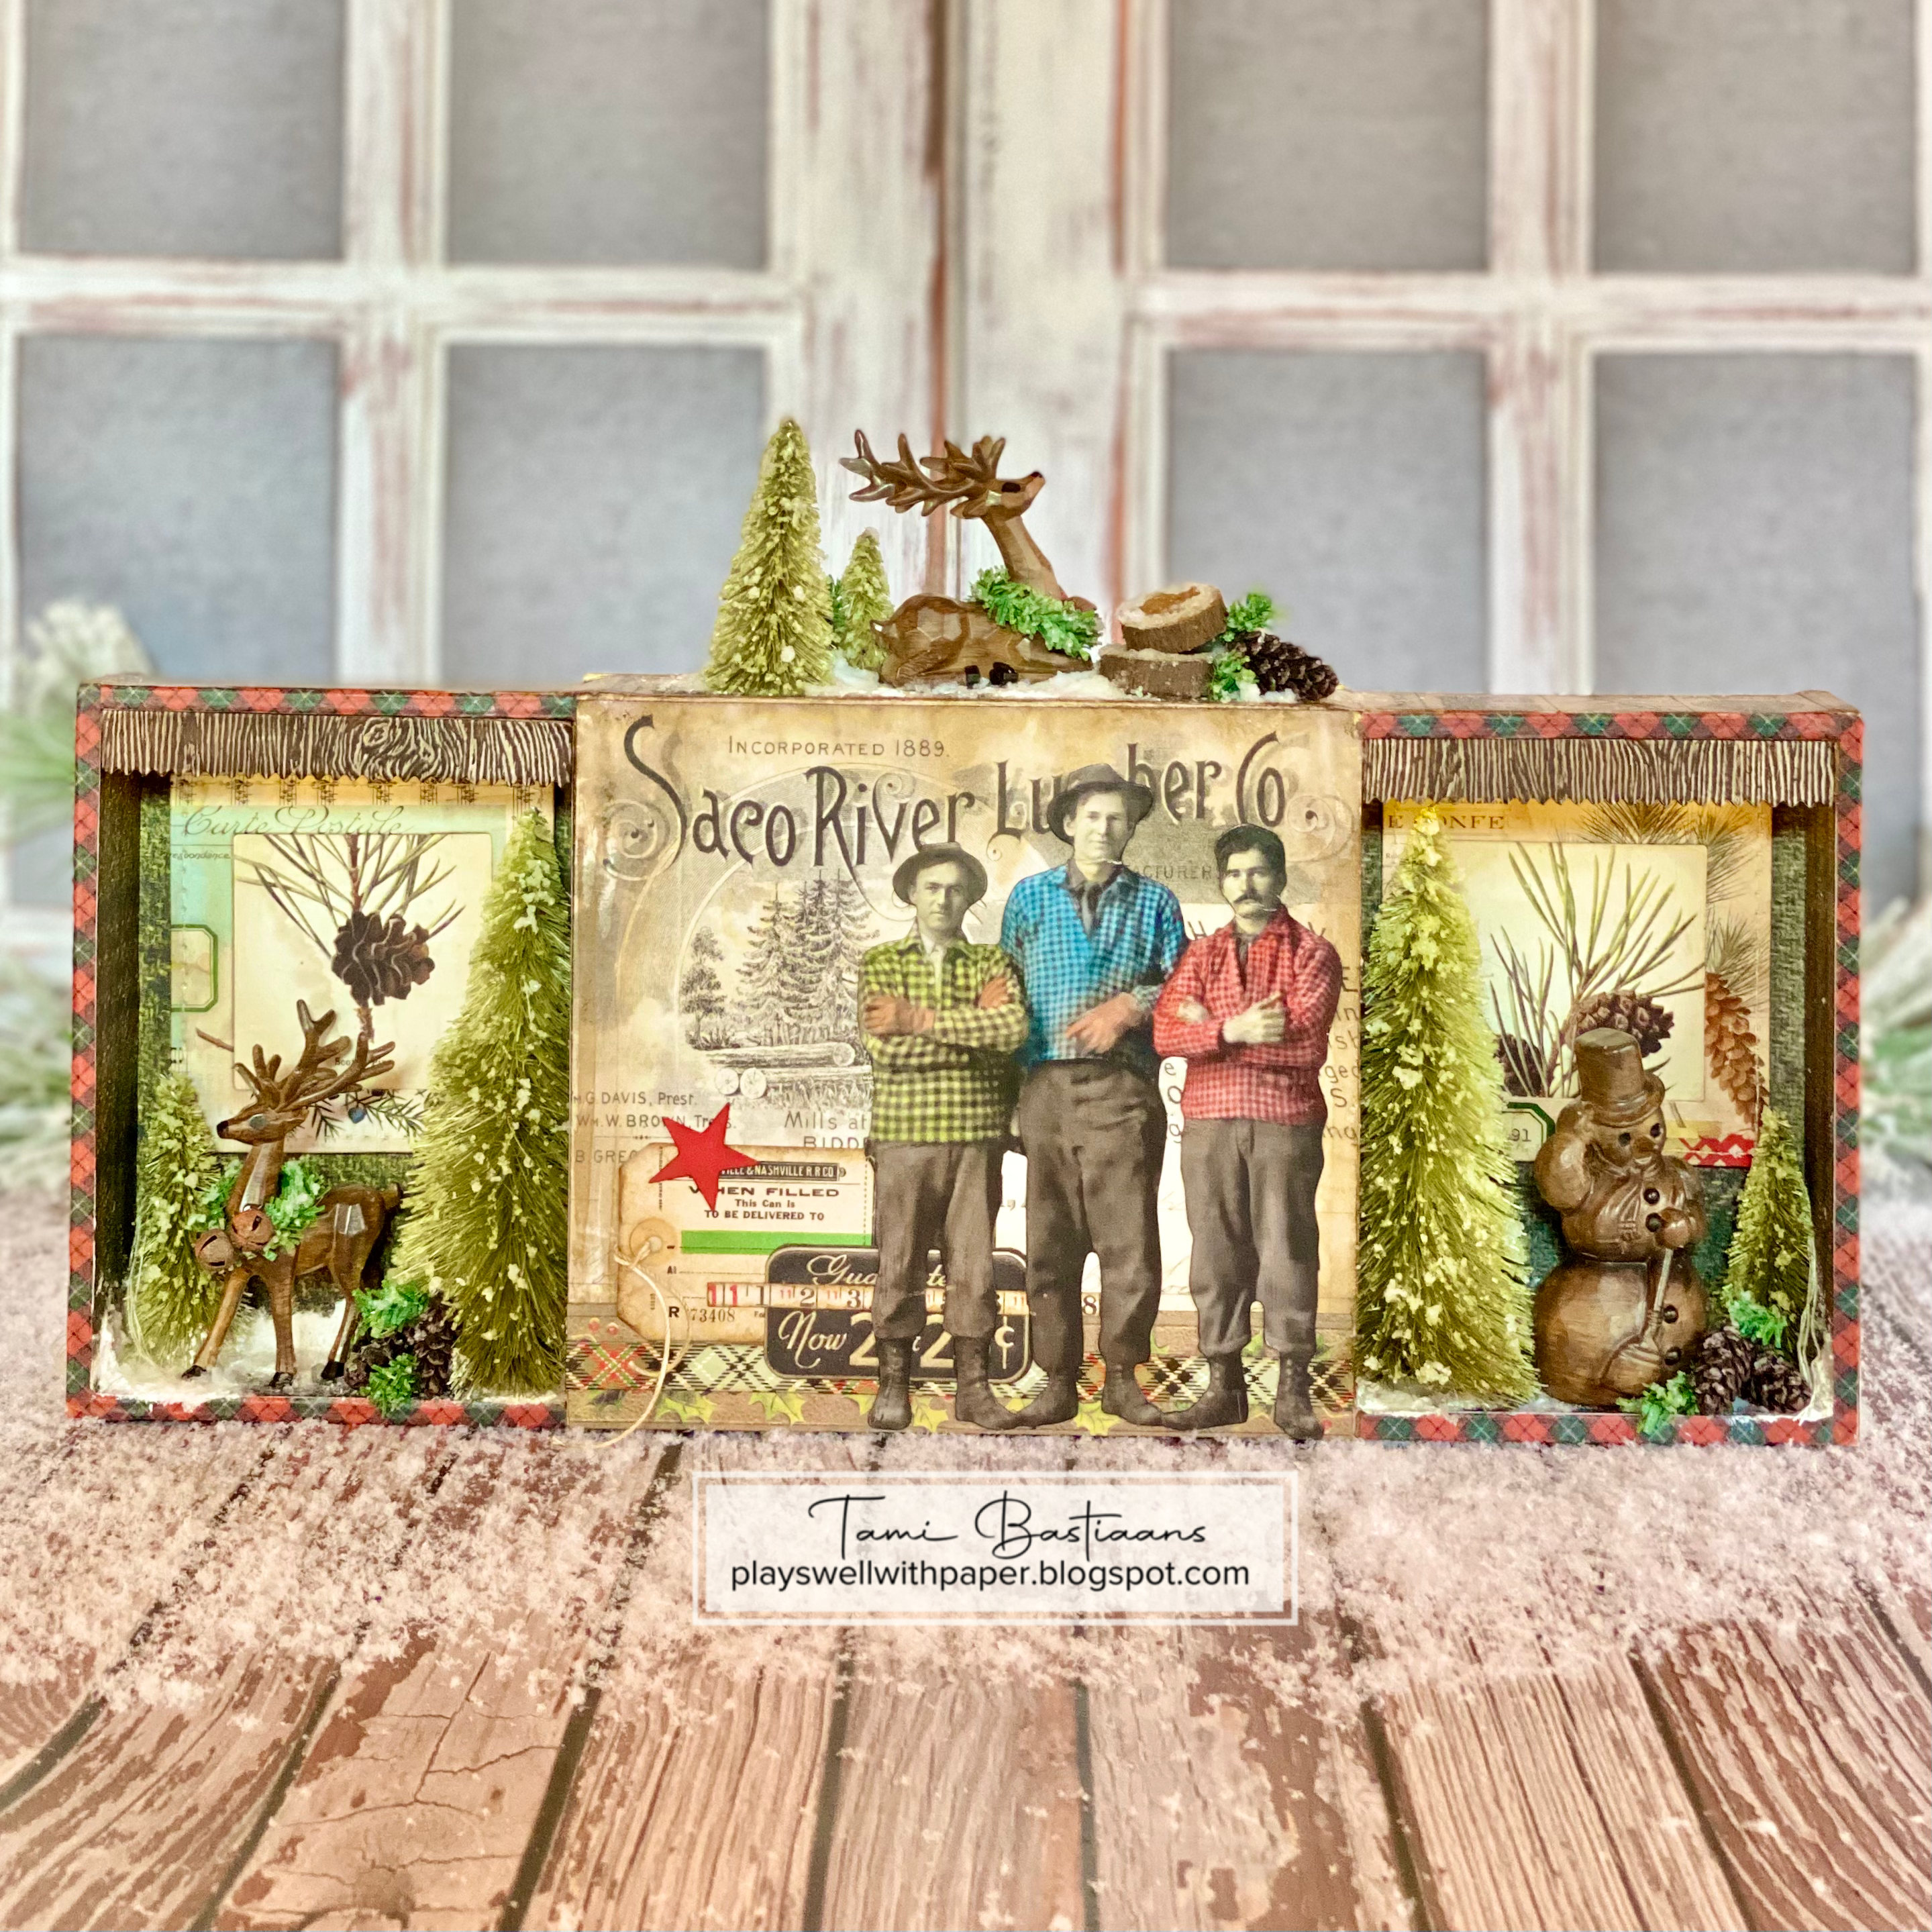
Woodland Winter is a project I made for the Tim Holtz Idea-ology
Christmas 2023 release. I wanted to make something woodsy and wintry and
not necessarily Christmas. The story for this developed as I worked but
I finally settled on a Lumber Company backstory who provides wood
products for local woodcarvers and such.
Here is a link to the video tutorial. I will try to time stamp this soon to help out since it is so long.
Thank you very much for watching.
I tried painting the Salvaged
pieces to look like wood carvings reminiscent of the carved wood bears
you see all over in mountain communities here in California and I'm sure
other places. I have a great story about my dad and the carved wooden
bear he made that I will have to share at some point. I inherited the
bear and I love it. So I hope these pieces do it justice.
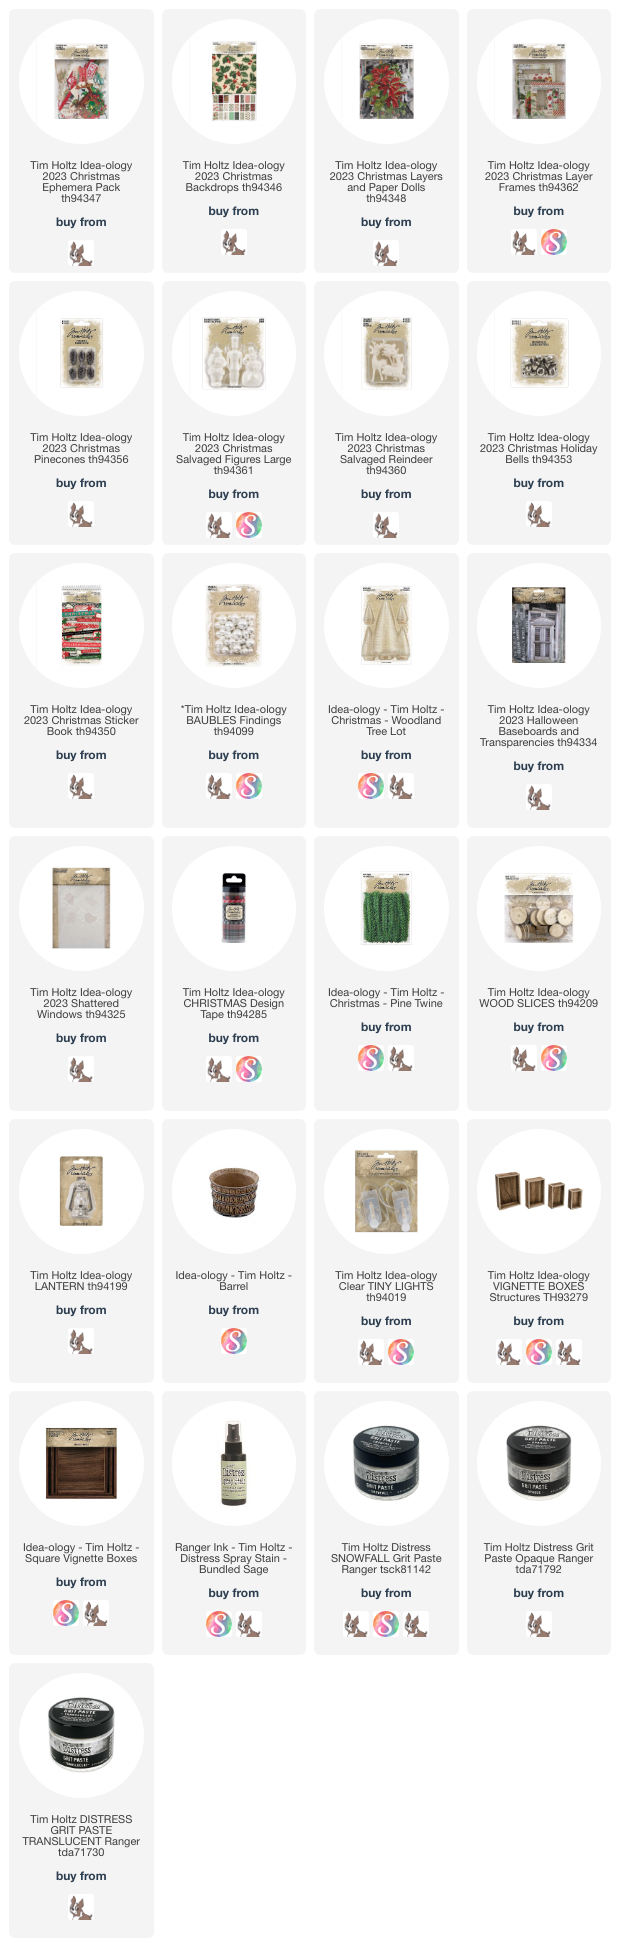
I linked products below that were
still available when I made this tutorial.
Have a creative day,
Tami
I am an affiliate with Simon Says Stamp and Scrapbook.com. The links
below send you to one of their stores. If you wish to purchase something
and use one of my links below, I get a small percentage of your order
at no additional cost to you. This helps me to defray the costs of this
channel, the time, the ideas and tutorials I post here. Your help is
greatly appreciated! Thank you!
Breaking into the Halloween makes and tutorials, I wanted to post this tutorial today because it goes so well with the Halloween version I posted before this. Although this card is made the same way as the Pumpkin Postage card in the previous post, I actually made this one first. I just couldn't share it until
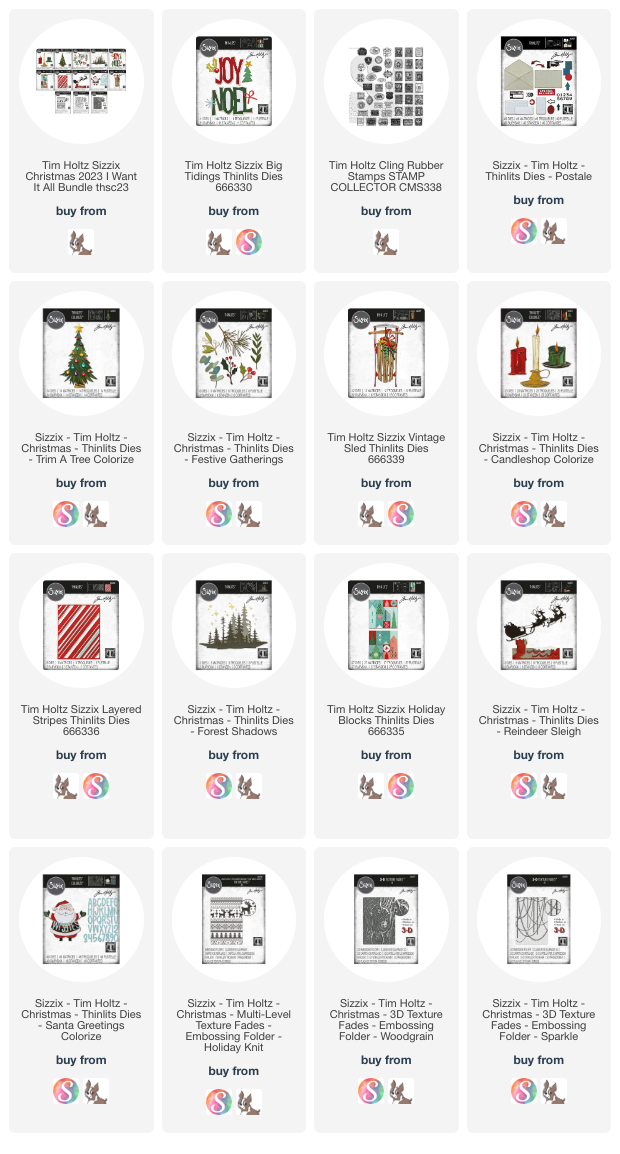
today. This card uses Trim a Tree 666332 and Big Tidings 666330 from the new Tim Holtz Sizzix Christmas Release.
Note: as with the Pumpkin Postage, I did use actual vintage stamps from all over the world, but we had them appraised and even double checked the appraisal on our own before we came to the conclusion that the collection indeed contained no collectible stamps that were worth any monetary value. They are worth more used in my artwork than they are as stamps. So don't worry, I am not destroying anything collectible. Their worth was in the joy they brought our friend who collected them and how she appreciated their beauty and artistry.
This is one of those walk through tutorials as opposed to
watching me do every step tutorials, so you have had fair warning. But
hopefully with the last tutorial and this one, you will be good to go!
If you don't have vintage postage stamps to use, you can make your own with the Tim
Holtz CMS338 Stamp Collector stamp set (linked below) and cut them out with the Postale 665972 dies to make them any
color you want!
I made the outer mat with stamps I cut in half (but keep the four corner stamps whole) Then I added an extra stamp (from Norway) in the top corner just as an additional little embellishment. Isn't is fabulous? I just love the artistry of these old stamps.
I adhered green and red stamps onto Mixed Media Heavy stock with Collage Medium and then cut the holly, berries and Big Tidings Joy out of them.
The cream Heavystock background was stamped with the CMS338 Stamp Collector stamp set in Antique Linen..
I cut two additional joys out in black Heavystock and offset them so there was a shadow, but so it left the center of the O and between the Y open so you could see all the green stamps and tree shape.
Look at that December 65 post mark detail on the stamp right above the O. It's little details like that I love about the vintage stamps! so good!
I love the flair at the bottom on the Trim a Tree die shape. It is so dramatic and fantastic!
Thanks for checking in on this quick holiday card make. I'll be back to posting Halloween for awhile, but wanted this posted with the Halloween version so I have a little holidays collide moment on my blog. That's just the way it is this time of year though isn't it?
Have a creative day!
Tami
I am an affiliate with Simon Says Stamp, Scrapbook.com. The links below
send you to one of those stores. If you wish to purchase something and
use one of my links below, I get a small percentage of your order at no
additional cost to you. This helps me to defray the costs of this
channel, the time, the ideas and tutorials I post here. Your help is
greatly appreciated! Thank you!
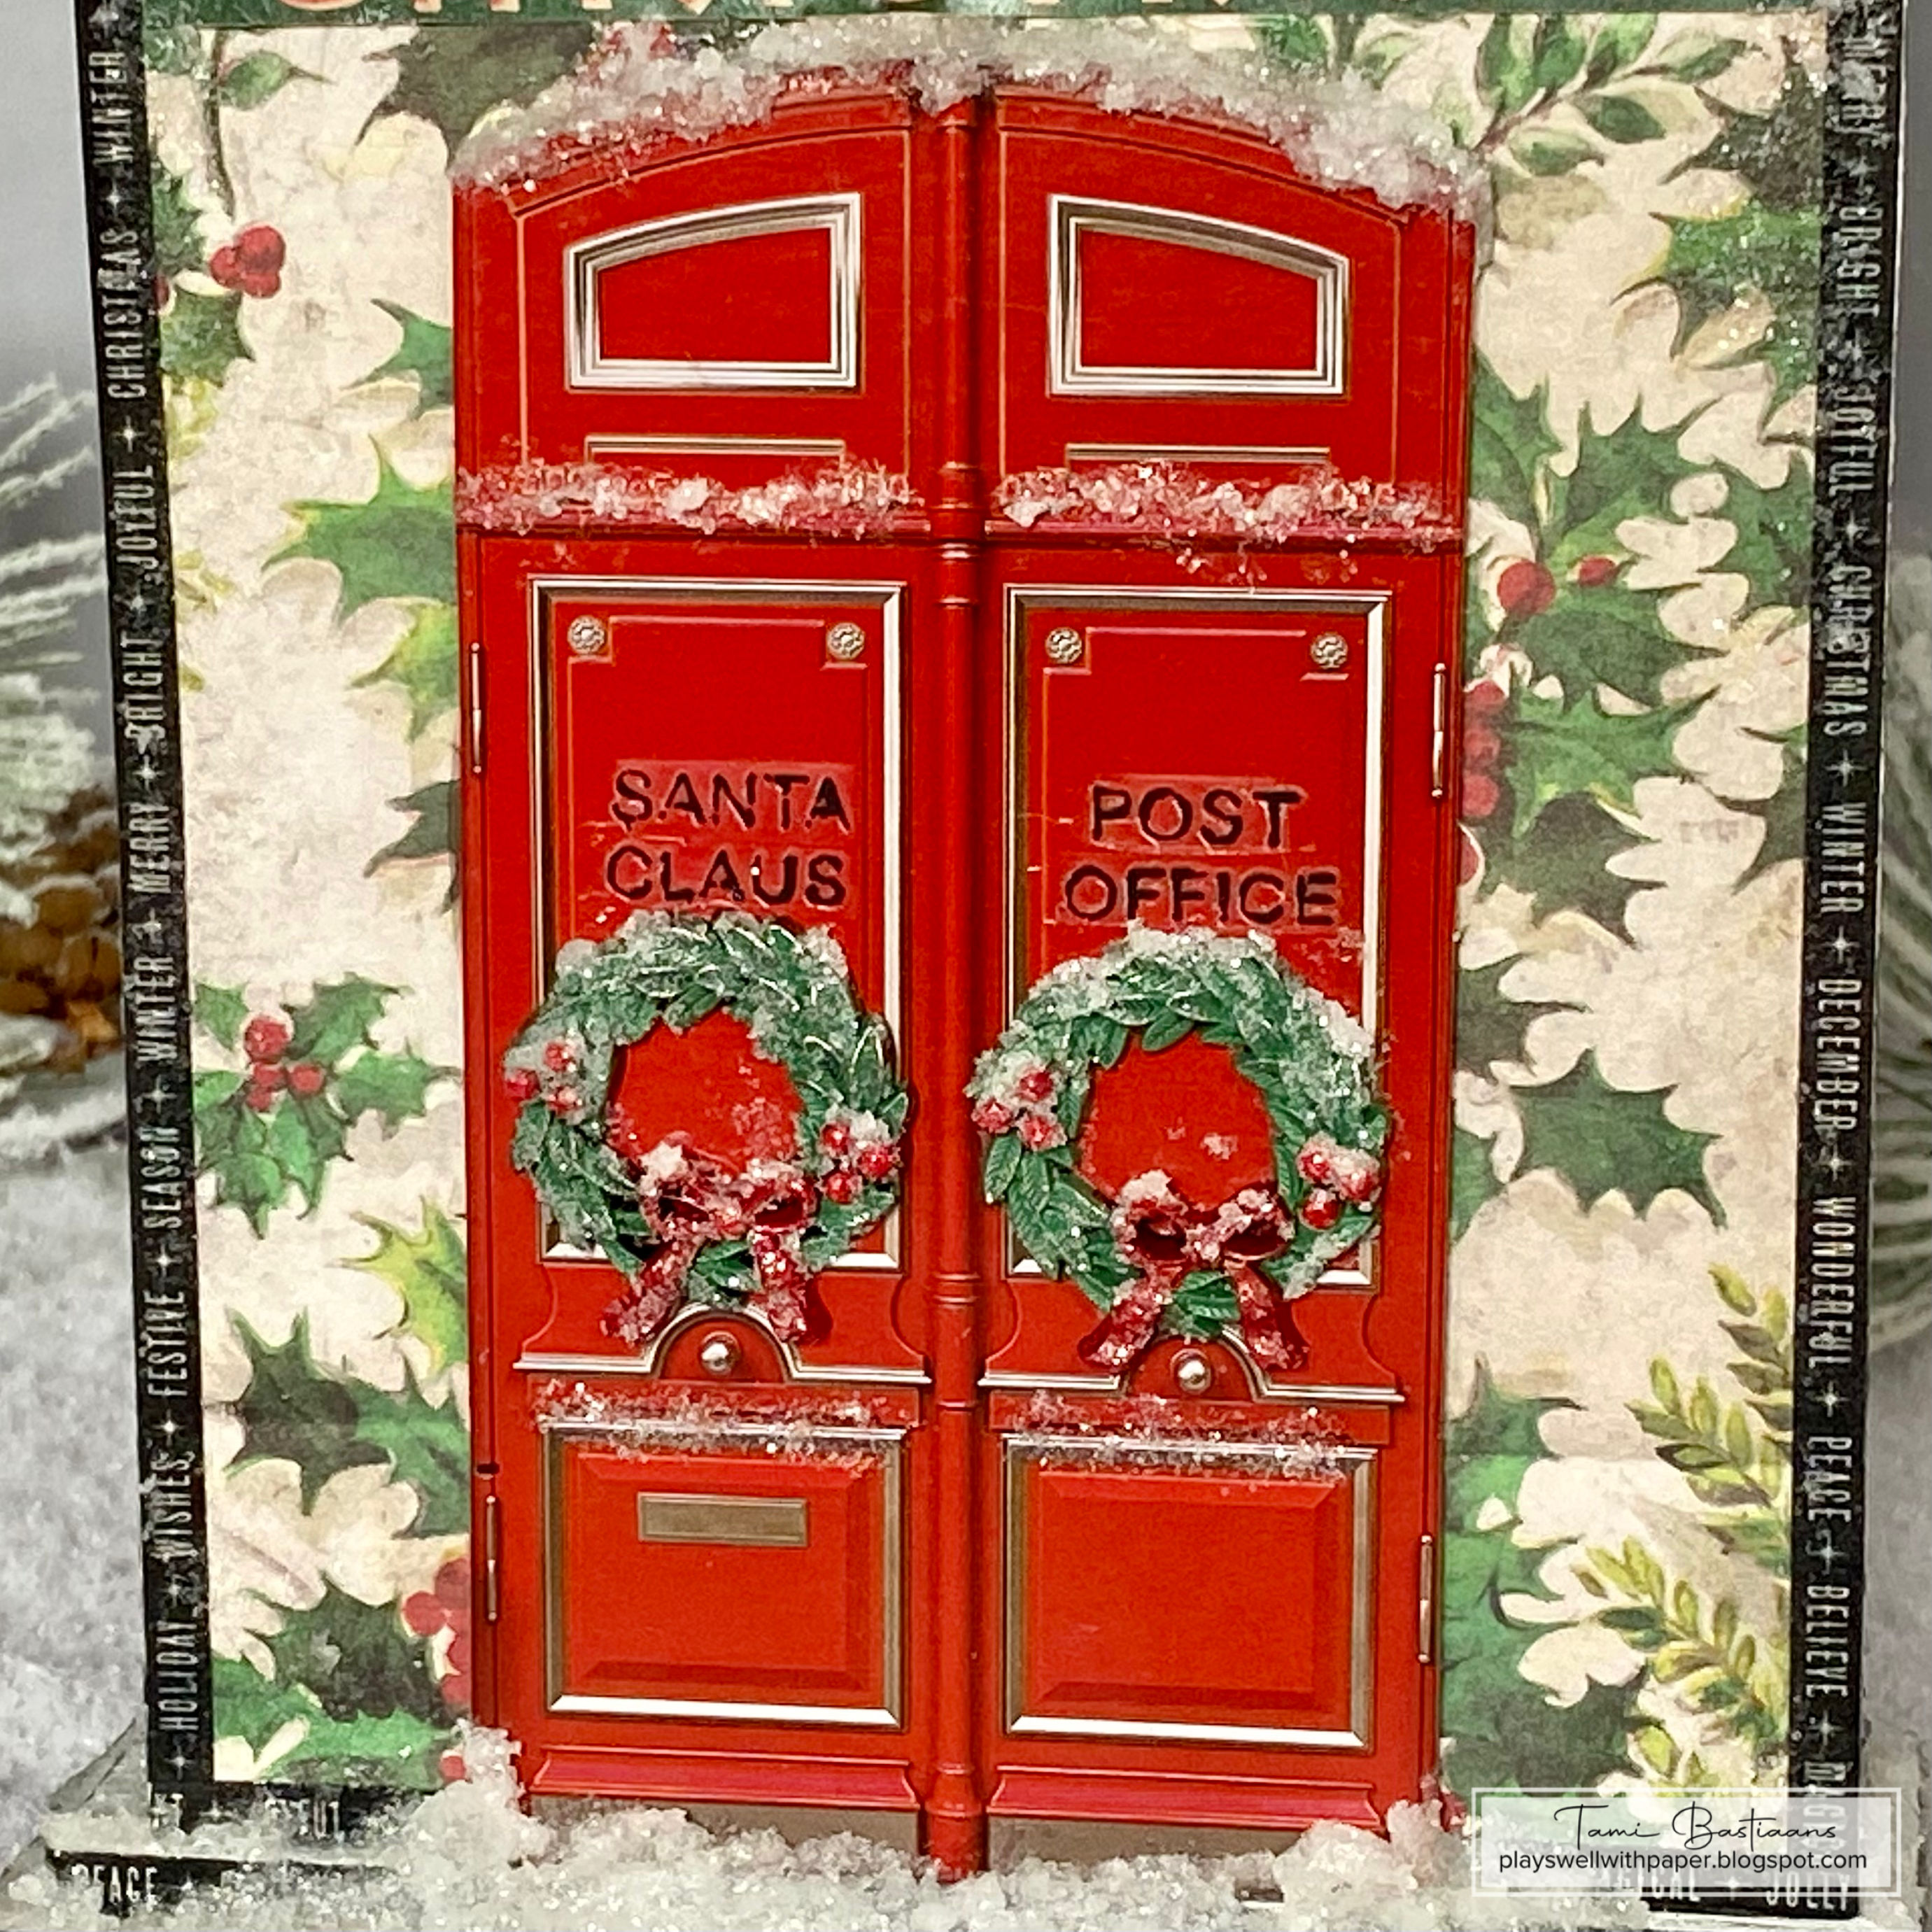
Creating Santa's Post Office from Tim Holtz Idea-ology was so much fun! I love a challenge and this one was delightful.
Here is the video tutorial walk through.
And below are all the close ups. I hope they help to see the details in this piece. The magic is always in the details.
I hope you enjoy this piece and all the little details as much as I enjoyed making it and putting all the little details in it.
Have a festive, creative day!
Tami
I am an affiliate with Simon Says Stamp and Scrapbook.com so the links
below send you to one of those stores depending on which logo you
choose. If you wish to purchase something from either store and use one
of my links below, I get a small percentage of your order, at no additional cost to you. This helps me to defray the costs of this blog, the time, the ideas and tutorials I post here.