Friday, July 24, 2020

Cards for Kinda Part 3 - Patchwork

 Another Cards for Kindness post today! This one uses the same Iron-off Embossing Technique from Jennifer McGuire Ink.
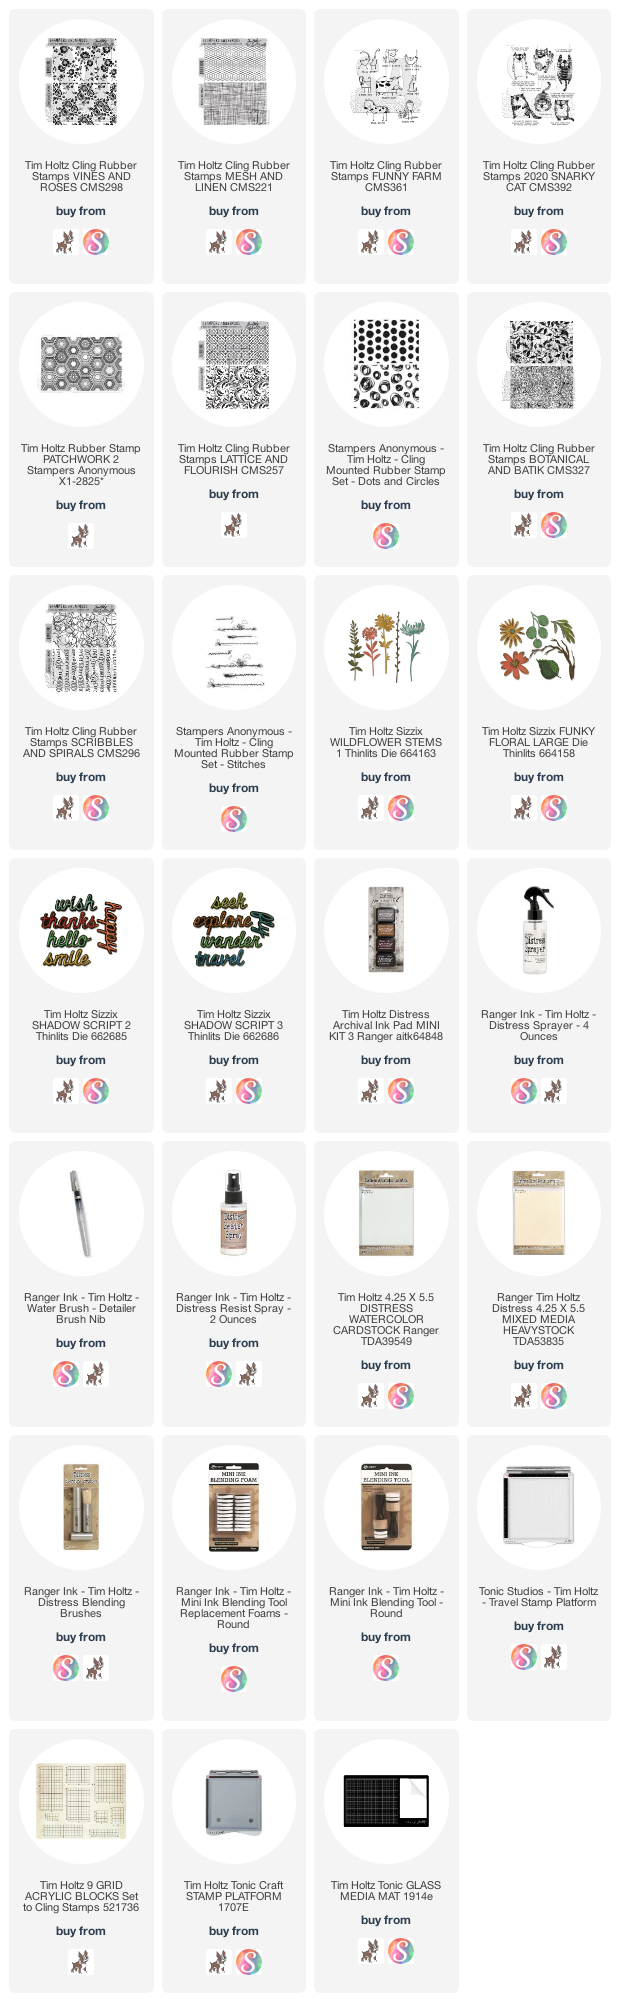
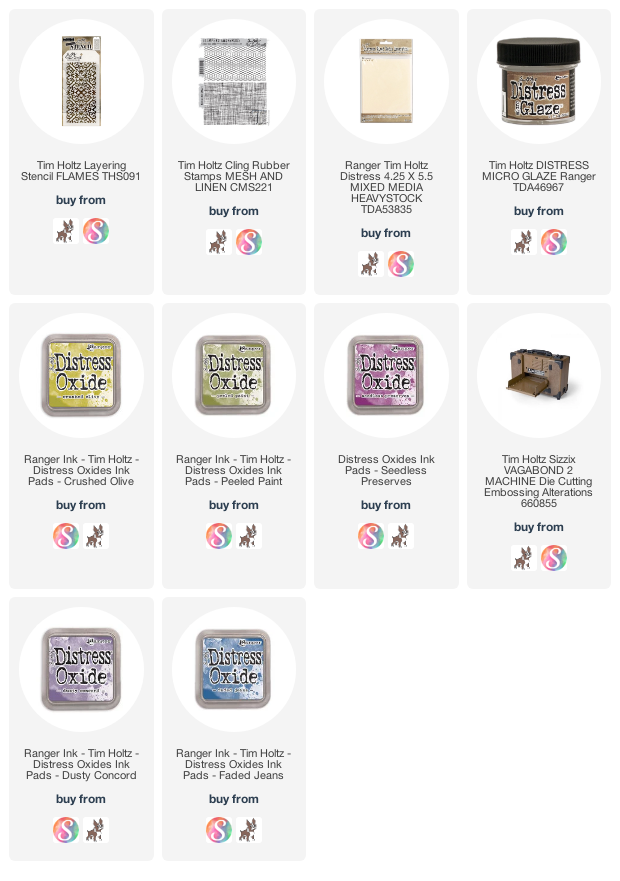
Today's card features a favorite stamp from Tim Holtz and Stampers Anonymous called Patchwork CMS256. It is an older die set and can be purchased directly from Stampers Anonymous.
Begin by stamping the patchwork die in clear Distress Embossing Ink onto the smooth side of Distress Watercolor Cardstock. Then cover the ink in Ranger Clear Superfine Detail Embossing Powder and heat emboss. Using a blending tool, color the background with Distress Ink and then mist with water and set aside to dry. Work on some other backgrounds in the meantime.
When it is dry, take a second piece of Distress Watercolor Cardstock, lay it smooth side down onto the stamped image and then iron over it with a hot dry iron. I took my time ironing as I really wanted all that embossing powder to reheat and soak into the second piece of cardstock. You can see the light image of the melted embossing powder on the piece on the right.
After I did the iron-off technique I had the original on the right, which is no longer shiny and has a kind of batik feel to it. The second print on the left has a softer, more washed out appearance once it you apply the Distress Ink with a blending tool and then mist with water. I love the unique look of both, and seeing how the stamped image changes on the second print with this technique.
 To make cards from these prints, I stamped two images and sentiments from Funny Farm CMS361 onto the smooth side of watercolor cardstock. Then using Distress Inks and a waterbrush I colored the images and then matted them.
On each card I added a strip of stamped watercolor cardstock. This was made when I inked the linen stamp from Linen and Mesh CMS221 with the same colors of Distress Ink as the patchwork, and then misted with water and used as a coordinating strip of paper. You can see how they look in the first photo above. On both cards I trimmed the front of the card so that it was thinner that the back and it allowed the piece of linen paper to show. To each card I added a few Studio Calico sequins that I have had in my stash for years.

One last note: There are two sizes of the hexagon patchwork backgrounds in this set. I believe they fit some of the Stacked Hexagons from Tim Holtz and Sizzix if you wanted to cut some embellishments.

Thank you so much for visiting and for your support. I am always so grateful!
Now go out there and spread some kindness!
Tami

I am an affiliate with Simon Says Stamp and Scrapbook.com so the links below send you to one of those stores depending on which logo you choose.  If you wish to purchase something from either store and use one of my links below, I get a small percentage of your order, at no additional cost to youThis helps me to defray the costs of this blog, the time, the ideas and tutorials I post here. Your help is greatly appreciated! Thank you!


Thursday, July 23, 2020

Winter Critters Gift Tags - Sizzix Chapter 3 2020


I don't know about you, but after 16 weeks of awesome tutorials from Tim Holtz, I had a nice supply of backgrounds to choose from for projects.  I grabbed a few that were in the same color family and then used them to make some fun, quick holiday gift tags featuring the new Chapter 3 Winter Critters from Tim Holtz and Sizzix.
For the large base tag on this, I used the large thinlit rectangle die and banner dies that come with the Bigz XL Curio die. The small tag was cut using the Stacked Tags die set, and then I made the little bear a brown bear for this gift tag.
The banner can be used to write the recipients name on the tag.  To give it some dimension, both the smaller green tag and the bear are both popped up with dimensional adhesive.
This gift card bag die is easy enough to cut out and assemble, but you can add a bit of dimension by cutting one of the ovals and the banner, again from the Curio Box thinlits. Then pop the oval and penguin dies with dimensional adhesive.
Then pop up the oval and penguin dies with dimensional adhesive.
I think this one turned out to be my favorite. I love how the technique on the large background tag turned out. It was one of the techniques Tim showed where you make a print with a stencil.
For this tag, I again used dimensional adhesive and decided to make the bear into a polar bear.

Being that most of the hard work of making the background papers was already done, the die cutting and making the Winter Critters was actually really simple and these went together very quickly. If you would like to see the techniques I used for making these backgrounds, they were the mono printing from this Saturday demo tutorial by Tim Holtz, and the micro-glaze resist technique from this Saturday Demo.

Thank you for stopping by to check these out. I hope they give you some ideas for quick decorative gift tags. It's a good time to start making now so that they are ready to just pop on presents when the busy holiday season rolls around.

Merry Christmas in July!
Tami

I am an affiliate with Simon Says Stamp and Scrapbook.com so the links below send you to one of those stores depending on which logo you choose.  If you wish to purchase something from either store and use one of my links below, I get a small percentage of your order, at no additional cost to youThis helps me to defray the costs of this blog, the time, the ideas and tutorials I post here. Your help is greatly appreciated! Thank you!

Cards for Kindness Part 2

 Today I'm sharing the first of the cards I made for the Cards for Kindness campaign, using this technique from Jennifer McGuire. I recommend you watch her teach it when you have time because it will inspire you to try this!

I decided to try it with my Distress Inks and Stampers Anonymous stamps, all from Tim Holtz. For this first background I use the Flourish stamp from the Lattice & Flourish CMS257 stamp set.
I stamped the background stamp onto the smooth side of a piece of Distress Watercolor Cardstock in Distress Embossing Ink. Then I embossed it with Ranger Fine Detail Clear Embossing Powder and heat embossed it. I used a blending tool to color in the background with Barn Door, Mustard Seed, and Peacock Feathers, then misted it with water and set it aside to dry while I made more backgrounds.
When it was completely dry, I heated a dry iron (no steam!) and then put the smooth side of a piece of Distress Watercolor Cardstock on top of it. You need to line the cardstock exactly on top of each other. I have them off-set in the photo just so you could see that the colored and embossed side is facing the smooth side of the second piece. Then iron it thoroughly. It needs to get hot enough that it remelts the embossing so that it soaks in to the piece above.
Here you can see what the original piece looks like on the right and the second piece that soaked in the remelted embossing powder.
Then I used the blending tools again, and colored in the second piece, misted it with water and quick as that you have two card backgrounds. Don't you love how the original remains detailed, crisp, and white, while the second one has more of a softer, watermark feel to it.
This card uses the first print paired with an additional piece I stamped with the Linen stamp from Linen and Mesh CMS221. I used the same Distress Ink colors on the Linen stamp and then misted it with water, then stamped it on a piece of Distress Watercolor Cardstock.  This card opens along the diagonal. The front flap is only that diagonal piece.  The linen bit is on the back/inside of the card.
This is the card made from the second print and using the other half of the linen stamped piece. The focal and sentiment pieces on both cards are from the Funny Farm CMS361 stamp set. I stamped them onto the smooth side of Distress Watercolor Cardstock, and then watercolored the image with Distress Inks and a waterbrush. This card also opens along the flap. so the front of the card is about 2/3 the size of the card.

I hope you are as inspired by Jennifer McGuire's technique as I was. It is such a great way to get two prints out of one stamp at a time.

Now go out and spread some kindness,
Tami

I am an affiliate with Simon Says Stamp and Scrapbook.com so the links below send you to one of those stores depending on which logo you choose.  If you wish to purchase something from either store and use one of my links below, I get a small percentage of your order, at no additional cost to youThis helps me to defray the costs of this blog, the time, the ideas and tutorials I post here. Your help is greatly appreciated! Thank you!

Cards For Kindness - Part 1

Have you heard of Scrapbook.com‘s Cards for Kindness campaign?
A couple of weeks ago I posted some backgrounds I made with a technique I saw in a Jennifer  McGuire video where you end up with two prints for every one. That means a lot of cards!
Well, I used my Ranger Distress Inks and papers and paired them with my Tim Holtz Stampers Anonymous stamps (and a couple of old Stampin Up sentiments) added a few Tim Holtz Sizzix dies, and when I was finished I had 24 cards. Scrapbook.com would like them in sets of 10, for this campaign, so I grabbed a couple of other cards I had recently made and voila! 30 cards ready to go.

I split them into three sets and they are going out tomorrow with a tag on each stack noting that they are being sent in honor of three of the kindest people I know, Tim Holtz, Mario Rossi, and Zoe Hillman


Below are three cards I made awhile back with the Speckled Egg Distress Glaze and Spray Stain. Ooooo I love that Color!
The stamp I used on these first two is called Wallpaper and Wood CMS126. I couldn't find it in my affiliate stores listed below, but you can get it directly from Stampers Anonymous. Tim's Stamps never retire, but some of the older ones are easier to get if you just order them from the source.
The card below was made using Distress Glazes and the stamp Marble and Doily CMS184. It is another older stamp, so it also needs to be purchased directly from the source, Stampers Anonymous.
I will be posting the other cards a few at a time so you can see them, see the stamps better and see the technique I learned from Jennifer McGuire.

Now go share some kindness,
Tami

I am an affiliate with Simon Says Stamp and Scrapbook.com so the links below send you to one of those stores depending on which logo you choose.  If you wish to purchase something from either store and use one of my links below, I get a small percentage of your order, at no additional cost to youThis helps me to defray the costs of this blog, the time, the ideas and tutorials I post here. Your help is greatly appreciated! Thank you!

Tuesday, July 21, 2020

Trick or Treaters! Sizzix chapter 3 2020

If you have followed me for long, you know I make a lot of little scenes from Sizzix dies and these fun Halloween dies from Tim Holtz Chapter 3 were no exception. Once again I found that I needed to make a silly, spooky little trick or treat scene.
To begin I covered a large Vignette Tray with some paper from the Idea-ology Dapper Paper Stash. Then I took a piece of dark paper from the Lost and Found Paper Stash and sprayed it with some various dark Spray Oxides to darken it even more. Lastly, I flicked some Picket Fence Distress Paint onto the background paper to mimic stars. I laid the paper in the tray and creased the corners and sides.
Then I put the Haunted base die and the moon where I thought they should go and lightly drew around the inside of the moon. I folded the sides of the paper in on themselves and then ran the moon through the die cut machine, lastly I backed it with vellum. This set also comes with three bats to add over the moon.
The house needed to be near the top of the vignette box to kind of make it seem like it was up on a hill for a bit of forced perspective since the Gatekeeper gates were so tall and the Trick or Treater dies were so large. It kind of makes the seem farther back than it really is. To light up the house, I backed the house with vellum and then ran the lights through the back of the tray and in the area behind where the house would be. Then put dimensional adhesive all around the outside to keep the light from escaping.
For the hill, I just took some chipboard and glued it on an angle, then I got some black heavy cardstock wet and molded it around the chipboard with Collage Medium, kind of like a paper mache hill. When it was dry I spread Transparent Grit Paste all over the hill and all over the gate. Let it dry and then color the hill with Peeled Paint Distress Crayon and the gate with Rusty Hinge Distress Crayon. The little steps are cut from some woodgrain scraps I had. Then fill in on the sides of the hill with some moss. I get mine by the bag from the floral department in any hobby store.
Here you can see on the Gatekeeper some of the grit paste with Rusty Hinge on it to make it look old and decaying.
If you look behind the Trick or Treaters you will see a wall. I made it from the Chapter 2 3D Brick Texture Fade. I used Distress Heavystock for the paper, colored them with Pumice Stone and Hickory Smoke Distress Spray Stains and then added a little Peeled Paint and Walnut Stain with a blending tool. I cut one piece in half making to short walls, and the other one into strips. I also cut some 3/4" strips of chipboard. Then I just adhered one brick strip to one chipboard strip with Collage Medium. I also attached the half pieces to some chipboard and then decided where I wanted to cut away some of the bricks to make it seem like the wall was crumbling. I did this along of the top of one and the bottom of another.
Here you can see one pillar with some moss at the top and bottom. The little pirate outfit was cut completely from scraps from my Abandoned paper pack. You can get various shades of skin tones just by picking your Distress Inks carefully. Anything from Antique Linen and Tattered Rose, to Vintage Photo and Gathered Twigs. I sometimes add a bit of Abandoned Coral. There are lots and lots of wonderful skin tones to be created with a little blending.
I wanted to point out two things in this photo of the Jack-o-Lantern. First, he is cut completely from papers in the Abandoned paper pack. Secondly he is sitting on the wall. If you look carefully, you can see that it looks like mortar on the top of the pillar and under the pumpkin. Once I had the wall in place, I carefully took a little texture paste knife and added some Transparent Grit paste all along the top of the wall, even where I had cut away the bricks, and on the tops of the pillars. Once dry I touched it up with a tiny detail brush and some Hickory Smoke Distress Paint.
In front of the wall I have this little vampire. If you peek behind Batman you can see more of the  rumbling wall. Use that moss along the top and bottom to cover up any weird areas of imperfections.
Batman's costume is cut from Abandoned scraps, and I wanted to do something fun on his shirt so they all didn't have stripes, so I cut another mouth for the Jack-O-Lantern, and just turned it upside down to make kind of a batman symbol.
More peeks as the wall work.
And here is the crumbly part at the bottom. I don't know if walls crumble at the bottom in real life, but in my make believe vignette scenes they do.
My last little Trick or Treater was destined to be another super hero. I cut his costume again from my Abandoned scraps. Then I cut a second pirate eye patch and cut the strings off it so it formed a circle. Then cut an r from the lowercase Tiny Type dies. I was loosely going for a Robin to back up Superman.
There are quite a few steps to this along with building the Haunted House and all three of the Trick or Treaters, but it's a really fun project to make and if you have any kiddos visit, they will thoroughly enjoy looking at it an imagining a story.

Thank you so very much for stopping by and sticking with this project explanation. I hope it gave you a starting point for making something of your own with these great dies.
Tami

I am an affiliate with Simon Says Stamp and Scrapbook.com so the links below send you to one of those stores depending on which logo you choose.  If you wish to purchase something from either store and use one of my links below, I get a small percentage of your order, at no additional cost to youThis helps me to defray the costs of this blog, the time, the ideas and tutorials I post here. Your help is greatly appreciated! Thank you!

Wednesday, July 15, 2020

Sizzix Charity Dies 2020 - Rainbow and Good Vibes

I was pleased to be asked to design a card with two new charity dies by Sizzix, Rainbow and Good Vibes. I was feeling a different color scheme than the normal rainbow. So I set to work with some of my favorite products from Tim Holtz and these two dies were the outcome.

The two die sets are really special because for every Sizzix® Thinlits® Die Set purchased,
Rainbow 8PK 
or Good Vibes 6PK
Sizzix will donate $10 to Feeding America® COVID-19 Response Fund. Through the purchase of this product you are helping to support their vital work with food banks and leading the fight against hunger. For more information visit:  https://www.sizzix.com/donatetomake
I got busy with a bunch of my favorite Tim Holtz products from Ranger Ink and Stampers Anonymous to make some bright, happy background papers. Then I used those backgrounds to cut out shapes from both of the Rainbow and Good Vibes die sets to make two cards that I will be adding to my Send Handmade Kindness stack of cards.

Thank you for stopping by,
Tami