Showing posts with label Distress Oxides. Show all posts

Tuesday, October 7, 2025

Happy Halloween Mini Slimline Card - Distress Oxide Release #2


 Hello Makers! I'm busy getting caught up on my posting from a very busy making season and a summer and early fall filled with technological challenges. 

How exciting is it that we now have two new releases of Distress Oxides in MINIS! Something we have long awaited right? For the release of the first set, I made this very quick mini slimline Halloween card with a favorite Distress technique I learned from Tim many years ago.  I posted a photo tutorial on my Instagram account -- if you aren't following me there, I highly recommend it. I have also been working on my facebook page if you are more comfortable over there. It is Plays Well With Paper Kits (I made it over a decade ago when I was making scrapbook kits, and now Facebook won't let me take the kits out of the name. Hahahaha!)

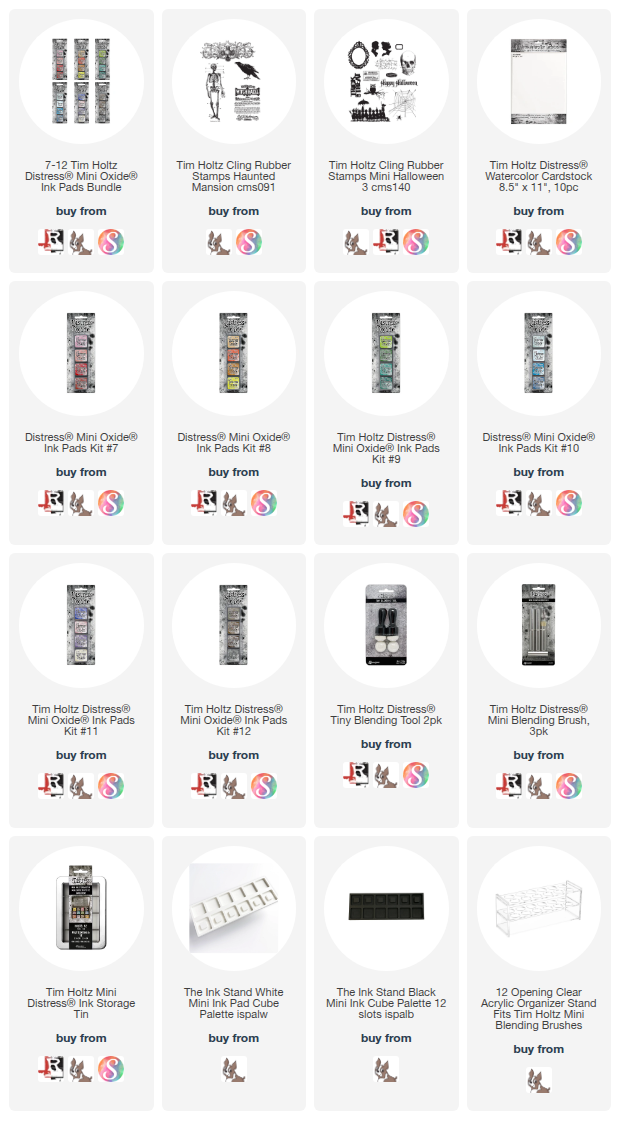
Below I have posted the photo tutorial just as you see it on Instagram. The products are listed at the bottom of the post.


Thanks so much for stopping by and checking out this photo tutorial. Hooray for Mini Distress Oxides!
Have a Creative Day, 
Tami

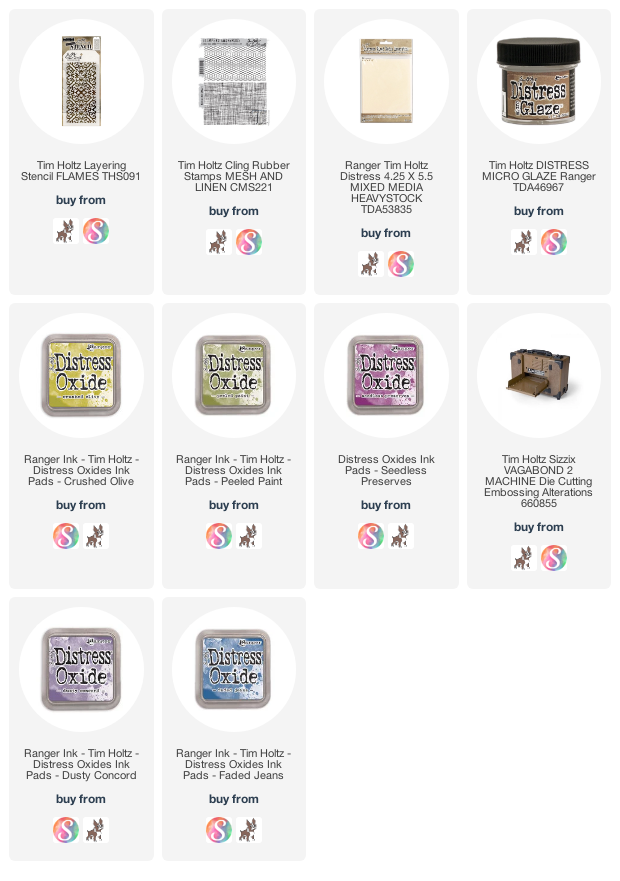
I am an affiliate with Simon Says Stamp, Ranger, and Scrapbook.com. The links below send you to one of those stores. If you wish to purchase something and use one of my links below, I get a small percentage of your order at no additional cost to you. This helps me to defray the costs of this channel, the time, the ideas and tutorials I post here. Your help is greatly appreciated! Thank you!

Wednesday, July 15, 2020

Sizzix Charity Dies 2020 - Rainbow and Good Vibes

I was pleased to be asked to design a card with two new charity dies by Sizzix, Rainbow and Good Vibes. I was feeling a different color scheme than the normal rainbow. So I set to work with some of my favorite products from Tim Holtz and these two dies were the outcome.

The two die sets are really special because for every Sizzix® Thinlits® Die Set purchased,
Rainbow 8PK 
or Good Vibes 6PK
Sizzix will donate $10 to Feeding America® COVID-19 Response Fund. Through the purchase of this product you are helping to support their vital work with food banks and leading the fight against hunger. For more information visit:  https://www.sizzix.com/donatetomake
I got busy with a bunch of my favorite Tim Holtz products from Ranger Ink and Stampers Anonymous to make some bright, happy background papers. Then I used those backgrounds to cut out shapes from both of the Rainbow and Good Vibes die sets to make two cards that I will be adding to my Send Handmade Kindness stack of cards.

Thank you for stopping by,
Tami

Saturday, March 14, 2020

Make a Wish - Stampers Anonymous

Disneyland has a new parade called Magic Happens and I LOVE it! The last float in the parade is the Sleeping Beauty float. It’s gorgeous! My favorite. So I decided to use it as inspiration for a birthday card.
Here is the gorgeous float, Flora, Fauna, and Merryweather rotate.
Look at that beautiful gown of blue and pink!

Not only do I love the parade and this float, but the last song is awesome! So I posted a video of it on my YouTube and you can see it in the link below.
https://youtu.be/-ZXrXmYpTmM
I stamped the fleur-de-lis from Baroque in each corner, and one of the Ornate Trims around the outside edge then applied gold embossing powder. Then stamped and embossed the ornate frame from Baroque.
Once it was embossed I applied Victorian Velvet and Stormy Sky Distress Oxide with a Blending Tool. Then I sprayed the entire background with Distress Resist Spray Rock Candy Distress Glittery to make it all sparkle.
On a separate piece of Distress Heavystock, I stamped my sentiment from Tiny Text and the crown from Baroque. Embossed them and colored them pink with Victorian Velvet.  They are both also sprayed with Distress Resist and Rock Candy Glitter.
To finish it off, I fussy cut the crown and popped it up, matter the sentiment, then mounted the whole piece on a card base.

This is a really basic card. Not really any technique and it goes together fairly quickly. PlusDistress Resist and Glitter, two of my faves!!

Thanks for stopping by to see this card and I hope you enjoyed a bit of my favorite new parade.
Tami


I am an affiliate with Simon Says Stamp and Scrapbook.com so the links below send you to one of those stores depending on which logo you choose.  If you wish to purchase something from either store and use one of my links below, I get a small percentage of your order, at no additional cost to youThis helps me to defray the costs of this blog, the time, the ideas and tutorials I post here. Your help is greatly appreciated! Thank you!


Monday, February 24, 2020

Limited Edition - Stampers Anonymous

You know how sometimes as crafters we get on a certain kick and we keep creating things with a certain color scheme, or technique, or product? Well, that happens to me a lot. One of the creative kicks I was on when I was making samples for Creativation 2020 was canvas. I made several things with canvas and this card is one of them.
Begin by cutting a piece of cotton canvas fabric (usually buy several yards when I'm at the fabric store so that I have it on hand) just a bit smaller than the size card I want, as well as a small piece for the focal point and a small strip for the sentiment. I used Flower Shop, Faded Type and Tiny Type stamps for this project.
Lay the large piece of canvas in a Splat Box and spray it with some water to prep it so it will soak in color.
Then spray it with Distress Oxide Sprays in whatever color you choose. I believe I used Crushed Olive, Stormy Sky, Peeled Paint and then splattered some Chipped Sapphire and Ground Espresso here and there. You might need to spray it with a little more water to make sure it softens the splatters.
Completely dry the piece. (I think this takes the longest.)
NOTE: I always have people ask me what colors I used on things and often I'm so in the moment when I'm creating that I don't stop to take photos and then by the time I can blog about the project it's been months, I don't have the sample, and I can't remember. Sorry. But honestly half the fun is just coming up with your own color combos as you create, right?
Once the piece is dry, I attached it to the large Stamping Platform with Sticky Grid.
Then arranged various stamps from Faded Type CMS397 over the piece.
I applied Ground Espresso Distress Paint to my Glass Media Mat and then ran a brayer through it to apply the paint evenly to the stamps with the brayer.
Then stamp the paint onto the canvas. Repeat with more paint if needed until you have nice coverage.
Immediately remove the canvas and rinse the stamps thoroughly to get all of the paint off of them. Then dry the stamped canvas.
I really love the way it looks!
I had cut a smaller piece of canvas to fit in the center. I colored this piece of canvas by spraying it with Antique Linen Distress Spray and water and then letting it dry.
Then I stamped over the background using the script from Flower Shop CMS401 in Hickory Smoke Distress Oxide.
You don't want the entire image, so just press your fingers down on the parts you want to show.
You can see it makes just light bits of script here and there.
Part of one of the flower stamps from Flower Shop was stamped on the canvas in Distress Oxides using colors from the background. I situated the stamp where I wanted it, again using the Sticky Grid to hold the canvas in place.
I first loaded the Peeled Paint Distress Oxide onto the stamp and then wiped the ink away in spots where I thought the flowers were in the image. Then I sprayed the stamp with a mist of water and stamped. Repeat if needed and dry.
Once the Peeled Paint was stamped I put the Chipped Sapphire in a few areas and misted it with water and then stamped it.
I cut a small strip of canvas for the sentiment from Tiny Text CMS394 and then stamped it in Ground Espresso Distress Oxide and dried it thoroughly.
Once both the background and focal piece were dry I inked the edges with some Walnut Stain Distress Ink. 
As you can see they still needed a little something before I adhered them together. 
So at this point, I sewed around the edges of the larger pieces and sewed a zig zag stitch across the ends of the sentiment strip before I adhered them together.
I adhered the pieces to a black cardbase and to each other, then added a final little touch of two vintage cream buttons.
In the top right corner I added an Ideaology Mini Pin.
I really love all of the color and texture on this piece and how many imperfections and inconsistencies there are in color.
It just adds to the vintage charm.
If you look closely you can see some of the splatters of Ground Espresso and Chipped Sapphire, as well as the light Hickory Smoke script in the background of the flower.

I really love this card and I hope it inspires you to try stamping on fabric.
Tami

I am an affiliate with Simon Says Stamp and Scrapbook.com so the links below send you to one of those stores depending on which logo you choose.  If you wish to purchase something from either store and use one of my links below, I get a small percentage of your order, at no additional cost to youThis helps me to defray the costs of this blog, the time, the ideas and tutorials I post here. Your help is greatly appreciated! Thank you!