Mr. Frost tuning in to his favorite TV show while he decorates is a picture of how I decorate too. I love watching George C Scott's A Christmas Carol, While You Were Sleeping, and Elf to name a few. What are your favorite must watch Christmas shows?
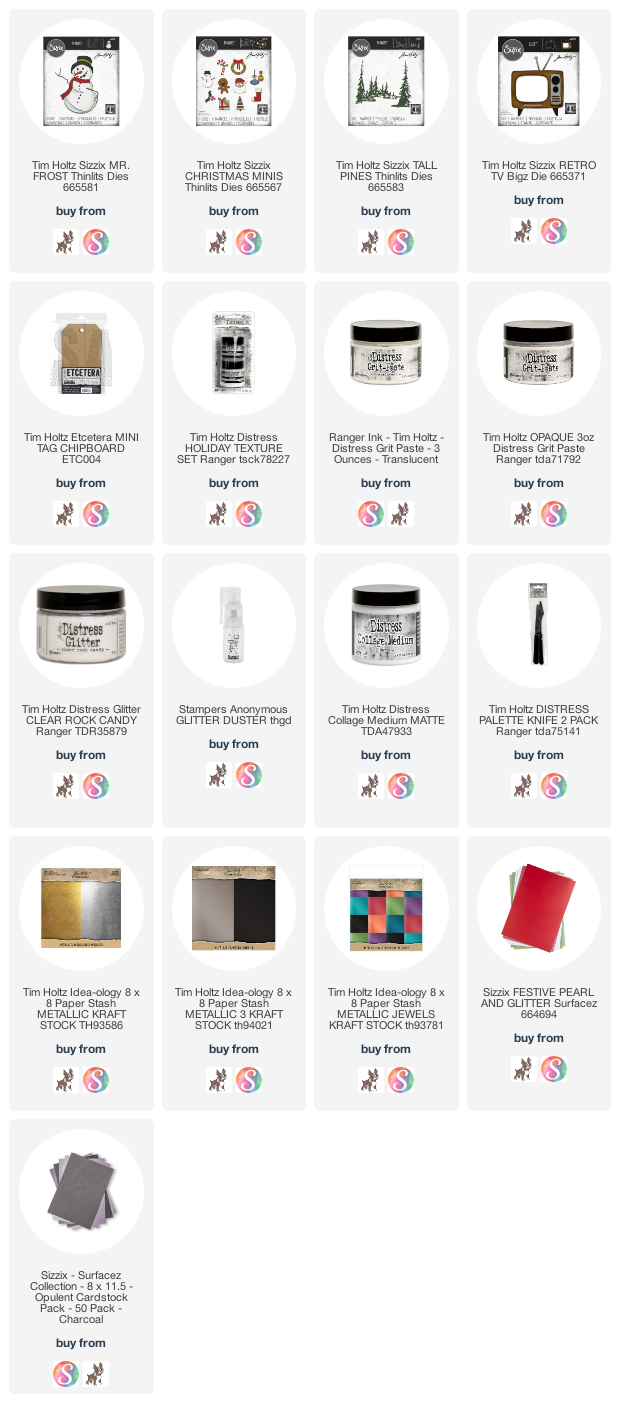
Of course, this Etcetera Tag was made as a sample for the Tim Holtz Sizzix Holiday 2021 release and it features Mr. Frost, Tall Pines, Christmas Minis, and the Retro TV, plus lots of Distress Products for icy snowy effects.
The video walk through of this project will be far more helpful for you than the rest of this blog post, but the still photos below will allow you to really see details I discuss in the youtube video. I also discuss several additional things in this video, including a past project with the Retro TV. I hope my little side diversions prove to be helpful as well.
First, Mr. Frost is certainly cute! I love his twiggy arms and smile. He is a simple Colorize die and you'll have no trouble putting him together.
His little hat is so cute. I used some Sizzix Opulent Cardstock from the Charcoal pack for his hat. I have a link to several of the Opulent packs in my affiliate links below. They are a great deal and have a variety of paper types from glitter to metallic and pearl like this one. 50 sheets in each pack! The little bit of Holly is from the Christmas Minis die set.
Since I wanted to use the Christmas Mini dies on this project, I thought it would be good to have him holding one or two of them as if he was decorating his place for Christmas. This little candy cane is very easy to assemble.
As I said earlier, I decided to have him watching his favorite Christmas show while he was decorating and funny enough, he loves Frosty the Snowman. ⛄
His twig arms are not only perfect for holding things, but also perfect
for turning channels and turning up the volume on the Retro TV which is how we had to do it back
in the day, right? Somebody actually had to get up to turn the knobs. 😁
I used the tree and snowman Christmas Minis for the scene in the Retro TV. I tried to make it one of the scenes in Frosty the Snowman when his hat blows away.
I layered first Icicle Texture Paste and then Snowfall Grit Paste on the Silver and Gold Metallic Kraftstock on the TV. Because Mr. Frost lives outside his TV needed to be cold and icy too.
I added some of the present and wreath Christmas Minis all around the TV as well.
A little close up of the Icicle Texture Paste and Snowfall. I love these Holiday pastes! I'm glad I ordered extras.
Because I used the Holiday Mica stains for the Christmas Minis, I wanted to test out how the various Grit Pastes reacted with it, so I took longet to make this post than originally intended.
When the Holiday Mica Stains were released in September, I had made these little Gift Tags with them . I set them aside to use for Christmas gifts, but then decided they would be perfect for snow swatches of Mica Stains.
Snow Flurries reacted much like Tumbled Glass and didn't really change much. I had used Hickory Smoke and Walnut Stain Distress Ink around the edges of the tags.
The Holly Branch turned them all green, even with two layers of each grit paste.
Winterberry turned the pastes pink, but the Snowfall still looked icy which was impressive!
Peppermint Stick as always, the red bled through them all, BUT the snowfall still looks snowy. I am so impressed with Snowfall!
Now on to something you might have been waiting for....
The timing of your post is perfect! I am getting ready to color some
bottle brush trees and I was looking at all my greens and trying to
determine which colors I want to use - your trees were very helpful with
that. And the snow on the trees... Happy to see which stayed white and
which ones did not. You inspired me to try the opaque paste with the
mica flakes on top - snowy and icy. So much wonderful information and
seeing your makes in the video with the samples really help to visualize
what you were sharing.
BTW... I live in Ohio and we just had
our 1st snow yesterday. Snow definitely looks like opaque paste. The
translucent looks more like ice here when the sun shines on it.
Looking forward to see what else you share this week!
Tami thanks so much for showing your snow making techniques. I have
always wanted to try these but wasn’t sure where to start. I see all of
the beautiful snowy projects and think that I want to do this too. I
love the little elf house so that will be my next project with all the
snowy goodness. Thanks so much for your demonstration. Catherine
(Australia)
I loved this blog post! I am new at learning how to use these products
and every single part of your blog was so informative; I loved your step
by step method and your explanations. I will be referring to this blog
post on many occasions for your techniques, etc. As a beginner, I so
appreciate the time you have taken on this particular subject. Thank
you so much! (SC, US)
If your entry is one of the above, please use the contact line at the right to send me your full name and mailing address.
I hope the quick video walk through and additional snow swatches were helpful!
Have a creative day!
Tami
I am an affiliate with Simon Says Stamp and Scrapbook.com so the links
below send you to one of those stores depending on which logo you
choose. If you wish to purchase something
from either store and use one of my links below, I get a small
percentage of your order, at no additional cost to you. This
helps me to defray the costs of this blog, the time, the ideas and tutorials I
post here.
To kick off my Christmas, winter, holiday blog posts, I thought I would start off by making a general snow techniques video using Distress products. In it I discuss products and techniques for making snowy things, and options for keeping snow white, and even some of the ways I used these products in my seasonal makes.
Fair warning, it is a long video because I tried to cover as much as I could. So settle in with a cup of cocoa or spiced cider and I hope you enjoy it!
This blog post is not going to be a repeat of the video, so if you want details about the photos you will need to watch the video. This post is mostly a recap with photos of the sections from the video.
To begin with, I wanted to test out the Opaque and Transparent Grit Pastes and Mica Flakes on paper colored with Distress Stains and others with Distress Paint. Additionally, I had 4 areas of the swatches that were either unsealed, or sealed with Microglaze, Resist Spray, or Collage Medium to test for wicking or bleeding.
As noted in the video, all of the Distress Stains bled into the Grit Pastes on the unsealed and the Microglaze sections. the Resist Spray and Collage Medium seemed to do the best job keeping the snow white. Note: The swatches were all dry for at least 24 hours and additionally I heat set the Distress Stains right away
On the Distress Paint swatches were also unsealed and sealed with the same three mediums. The Distress Paint did not bleed or wick and did not need to be sealed.
Vintage Photo and Fired Brick both bled through the Grit Pastes again in the unsealed and Microglazed sections.
The Distress Paint didn't need to be sealed again. I determined that for me and my climate that whenever possible I need to use Distress Paint for things I want to put snow on.
Idea-ology Kraftstock colors also do not wick or bleed into the Grit Paste.
Idea-ology Back Drop papers also did not wick or bleed into the Grit Paste.
Next I moved on to the seasonal Crackle Texture Paste and I tried to make some of my own that was a huge fail. LOL!
Here is a sample of the Icicle Crackle Paste on the right and on the left I dusted it with Rock Candy Distress Glitter and it made teeny tiny crackles instead of the big icy cracks on the right.
Here is my failed attempt to make my own Icicle Paste. LOL! I mixed Perfect Pearls in with Distress Crackle Paint. I'm going to keep trying to see if I can use less Perfect Pearls and get it to work but I just don't think it will ever look as good. I'm glad I ordered extra Seasonal Texture Pastes.
Moving on to the Snowfall Grit Paste. It is my favorite!! I love it so much!!
Look at that amazing icy, snowy goodness! I ordered extra Snowfall Grit Paste, but I'm still going to use it sparingly. It is so good!
Here it is on an Idea-ology Metal Gate and isn't it marvelous!
These are my two attempts to make my own Snowfall Grit Paste and again they are fails. On the right I have Translucent Grit Paste mixed with Rock Candy Distress Glitter. It was too dry so I added Collage Medium and that was too wet. One thing I know for sure, I will never be a Ranger chemist. LOL!
Here is my failled attempt at snowfall and you can see it just isn't as wonderful.
Moving on to snowy stencils, my favorite is Speckles THS023.
Opaque on the left and Translucent on the right dusted with a little Distress Rock Candy Glitter.
Grime THS130 and the mini THMS130 in Set 43 THMST043
Opaque on the left and Translucent on the right, bit dusted with Distress Rock Candy Glitter.
I thought Grime might be great behind an Idea-ology Window Baseboard, so I put some translucent Grit Paste on acetate and dusted it with Distress Rock Candy Glitter.
A close up of it behind the window.
Snowcap Stencil THS114 and mini THMS114 in Set 38 THMST038
The top is Opague and Translucent both dusted with Distress Rock Candy Glitter.
Snowflakes Stencil THS050 and the mini is THMS050 in Set18 THMST018
I only have the large size of this but the mini would be great too!
Flurries is a new snowflake stencil released for this Holiday season. Flurries THS151 and mini THMS151 in Set 50 THMT050
I used Transluscent Grit Paste and dusted it with Distress Rock Candy Glitter.
Snowball Fight!!! Ok not really, but let's make some snowballs.
Begin by putting some Glossy Accents or Collage Medium on a Bubble or a Bauble.
You want a nice amount so the whole thing will get covered,
Roll it around in your fingers until the entire Bubble or Bauble is covered then drop in a container with Distress Rock Candy Glitter.
Roll it around in the glitter until all the sides are coated, then roll it out onto something to dry. Avoid picking it up with your fingers while wet or it will leave an indention where your fingers were.
This is a Bubble covered in Glossy Accents and Distress Glitter.
I mentioned in the video that if you are just covering the Bubbles or Baubles with Glossy Accents or Collage Medium and Distress Glitter, I recommend using the real deal. But if you are using Grit Paste with Distress Glitter, it covers up the beauty of the pearly baubles and clear bubbles, so maybe save the good stuff for coloring with Alcohol Inks and things and use a cheap clear bead or pearl bead to cover with the grit paste and glitter.
Here are my Bubble snowballs in this order: Glossy Accents and Glitter, Translucent Grit Paste and Glitter, Opaque Grit Paste and Glitter. The Bubble with Opaque actually looked kind of blue because of the clear base.
The Bubble snowballs. Translucent and Glitter on the left, Opaque and Glitter on the right.
I wanted to use the Snowbubbles in something and I had several extra Idea-ology Cauldrons, so I painted one Candied Apple on the outside, Picket Fence on the inside and Rustic Wilderness on the handles.
Put a little Opaque Grit Paste on a finger and tap it lightly around the edge of the Cauldron so it looks a bit frosty.
Let it all dry well.
Drill a hole in the bottom back of the Cauldron. I use my Dremmel.
Wrap up the Tiny Lights and secure then in the bottom of the Cauldron.
Glue the smaller Bubbles in the Cauldron over the Tiny Lights with Glossy Accents or Collage Medium and you have a tiny Elf Spa!
My Elf Spa needed a house, so I made a little Elf House using the Village Collection.
Isn't it so cute?
Since this post is about snow, I thought I would put some on this Elf House, but I wanted some icicles, so here is how I did that.
Once you get the manor house detail attached, wet the spikey parts.
Bend them down toward the bottom of the house so they look more like icicles.
Using a palette knife, spread snow all over the roof and then dust with Distress Glitter.
Here is the Elf House all snowy and wonderful.
Trees are a huge part of winter makes, so here is how to make them snowy. again, these were completely dry before I started. Left to Right, the colors are: Pine Needles, Rustic Wilderness and Twisted Citron. This side had Opaque Texture paste on the ends of the needles.
This side of the trees has Translucent Grit Paste Dusted with Glitter.
Lastly, the last side has Collage Medium or Glossy Accents pounced on the end of the needles and then rolled in Mica Flakes to make them look icy.
Drippy Christmas Candles? Yes!
First I painted them with Tumbled Glass Distress Paint.
Then I painted them with a coat of Picket Fence Distress Paint. Once dry I wanted them to look icy.
I mixed a tiny bit of Perfect Pearls with Distress Crackle Paint, which as I said before, it was too pearly, but I used it for this anyway. If you have Icicle, that would be a better option.
Here they are finished, They look icy cold and wintery.
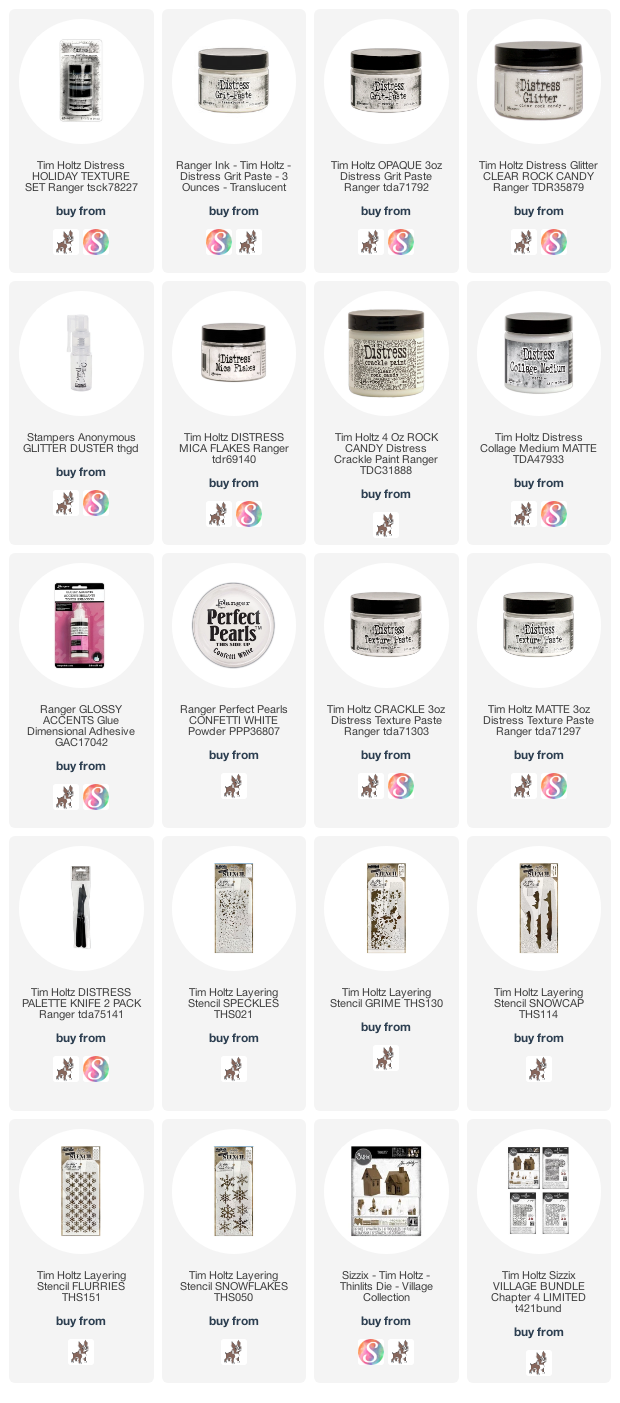
Alright if you made it this far, I wanted to thank you, so I have a couple of giveaways for you! First, I am giving this Snow Making Set to one reader/watcher who lives in the US. All you have to do to be eligible to win is to comment on this blog post with something specific that you learned, were reminded of, or enjoyed about the video. I will pick a US resident on Friday November 19 at 6pm PST.
**Can you please note at the end of your comment US**
For my crafty friends who reside outside of the United States, I will mail two snowy stencils to three of you! All you have to do to be eligible to win is to comment on this blog post
with something specific that you learned, were reminded of, or enjoyed
about the video linked above. I will pick three outside the US names on Friday November 19 at 6pm
PST.
This giveaway is not associated with anyone but myself. I just wanted to do a little something as a thank you for all the support I receive from you all!
And speaking of thank yous, if you got this far AND watched that long video, I can't tell you how much I appreciate you.
Have a creative day!
Tami
I am an affiliate with Simon Says Stamp and Scrapbook.com so the links
below send you to one of those stores depending on which logo you
choose. If you wish to purchase something
from either store and use one of my links below, I get a small
percentage of your order, at no additional cost to you. This
helps me to defray the costs of this blog, the time, the ideas and tutorials I
post here. Your help is greatly appreciated! Thank you