
This last month and a half were such a whirlwind of busyness and activity that I have finally gotten back to posting some makes for Halloween. These were some things I made with the Simon Says Stamp coordinating Halloween Dies with some older Tim Holtz Halloween stamps. Because I was so slammed with things I was making, I didn't take the additional time to film or photograph any tutorials for these. I just made them when I had time. So below are photos and a few details I hope help with any questions you might have.
For this card using the mummy from Monster Reunion, I wanted it to feel like he was walking out of an old tomb.
So I reached for two of my favorites, Crypt Grit Paste and the Stone stencil, CMS086.
The coordinating dies not only cut out the monsters in this set, but also the sentiments. That made it so simple to design this card.
Once the Grit Paste was dry, I sprayed it iwth Frayed Burlap Distress Stain and Brushed Corduroy. I let it sry and then pressed a damp cloth onto the Grit Paste to remove any color that the paste resisted.
I cut out the center portion of the stenciled background, themn popped the backgroun up with 3ml foam tape onto a black card base. Then popped the mummy in front. Super sinple but effective card design.
A couple of years ago I bought some little wreaths with Christmas Greenery for a christmas oroject taught by Tim in his Holiday Hoopla. After tearing off the greenery for the project, I had two wreaths with glue on one side, but I didn't want to throw them away, so I've been moving them from place to place, until now. The dies that coordinate with the Leaf Prinst stamps were the answer.
I wanted to make fall leaves for this wreath, but not just any fall leaves. I wanted them to be a little different.
So I did double stamping on them. I first inked them with Crackling Campfire Distress Oxide. Then I inked up one of the Perfect Plaids stamps with Black Soot Distress Ink and stamped the plaid onto the leave stamps, then stamped onto Distress Mixed Media Heavystock.
I thought they would look like Halloween leaves that I could used with some black and orange ribbon I had, but they were feeling much more autumnal, don't you think? So I sprayed over them with Antique Linen Distress Stain and dried before cutting them out with the dies.
I crinkled them, inked the edges and hot glued them onto the good side of the wreath.
I ended up just using some brown twill ribbon I had for the bow. Despite taking a different direction from the original idea, I actually really like this autumn wreath. It's super cut, small, and perfect for putting in a little space for decoration.
Now for the second wreath, I thought it would be fun to make a dimensional decor piece using The Scarecrow stamps.
When these stamps first came out, I wanted to make a vignette box scene, but I didn't want to cut out all the corn stalks. It was just too much! so when I saw these dies, I was excited to get the chance to finally make that piece. However, I didn't get it made right away for the release, and then saw that Sherri Carroll had made a fantastic one, so I abandoned the idea and mulled over my options.
To cover the glue on the back of the wreath, I cut a piece of Mixed Media Heavystock. Then colored it like a night sky and stamped the bats and cut out the moon for the otherside.
The moon peeks in from the right side. Then I attached it to the back of the wreath.
I obviously stamped multiple corn stalks and cut them out with the dies.
After coloring and cutting out the stalks and the scarecrow, I layered them on the front of the wreath, using the wreath to support them at the top, bottom and sides.
As with the other die sets, the sentiments also have matching dies. This one I popped up on some raffia filler that I got from the craft store. I thought it fit well with the thmeme and it covered the bottom of the stamps where I cut them off
This one is really fun and I still go to make a dimensional scene. This one is just a little different.
Now this stamp set had me thinking up until the last moment. I didn't want to make gift tags or little gift cards, so I was struggling for an idea. Then I started concentrating on the cat and thinking about how to use a cat in a scene.
This pic spreaks for it's self, but again, I am so glad all the sentiments had coordinating dies as well!
I reached for the Haunted House CMS308 stamp set and stamped the little scene with the house and tree and bats. I blended a background and then cut it with the Deckle cutter and attached it to a black card base.
Then for the focal point I stamped the tombstones and the cat and colored them with Distress Watercolor Pencils. Then to make the cat look like a scaredy cat, I attached to tombstones to the card and the cat to an action wobble spring.
So this turned into a fun little scaredy cat Halloween card.
Many thanks for checking these cards out!
Tami
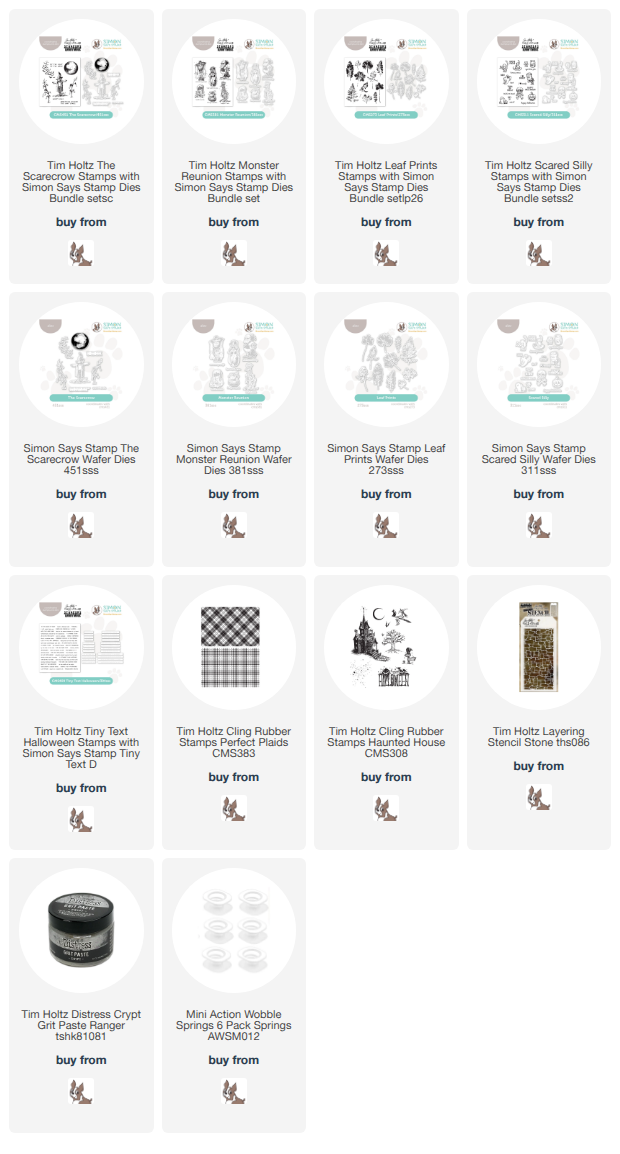
Below are my affiliate links to the products I used. It you use one of my links to make your purchases, I get a small portion at no extra cost to you. Thank you so much for those who shop through my links! I appreciate it!


No comments:
Post a Comment