I was reminded last week that I had never blogged or posted this project, so here is the best I can do. There is a funny story behind it.
Last spring when I was working on Halloween and Christmas sample projects for Tim Holtz Sizzix dies, I made an error and used a Chapter 4 release with it.... the Engraved Texture Fade that makes the amazing snowy drifts on the sides of the Vignette Boxes. UGH! So I made something else with the Thin Ice dies for the Ch 3 release, and left this project on a shelf in my studio for several months until it was time for Sizzix Chapter 4. I made a few additional changes, adding the Darling Deer and the little snowflakes from Arctic background die and sent it to Tim.
Anyway, by the time the reveal finally came, I was in the throes of getting ready for our first trip ever to Walt Disney World, and posting Halloween projects. In preparation for WDW, I deleted a bunch of photos from my phone to make room for my vacation pics, including anything for this project.
Last week when someone asked about it, I realized that not only did I not have a blog post, but I had no photos of it. I was able to find these from a backup photo drive, so nothing in progress but I hope this helps!
On the top box, I used an older die to make the skating rink. It's called Splat. I cut it out of smooth White Heavystock, colored the pieces with very light blue Tumbled Glass Distress Ink, then put them together and sprayed them with a layer of Distress Resist Spray to make it look smooth and shiny like ice on a frozen lake.
Then I put it on the top of the top box with Collage Medium. I used a pallette knife to smooth Distress Grit Paste all around it on the top box and then all around the top edge of the bottom box. Then while it was still wet I quickly used to Distress Glitter Duster and Rock Candy Distress Glitter to add some sparkle to the snow.
You can see that I used some Baubles and I globbed some Collage medium onto them and rolled them into Distress Rock Candy Glitter to make some snowballs. Once they were glued and secured in
place, I adhered some of the trees in the top of the upper box
and attached them to the snowballs. The snowballs really helped to give them stability.
Next I assembled many trees from the Thin Ice die, and adhered them around the upper box to mimic a forest and these two on the bottom front corner with two of the Darling Deer.
To get the one skater to stand up, I added Collage Medium to the bottom of his skate and made sure the one tree and one snowball were attached close enough to him that his skate could be attached to the tree and his hat pom pom could be attached to a snowball. That made three areas of contact so he could be upright.
Sorry I don't have any step out photos to show the process, but I hope the photos with my explanations will help a little bit.
Tami
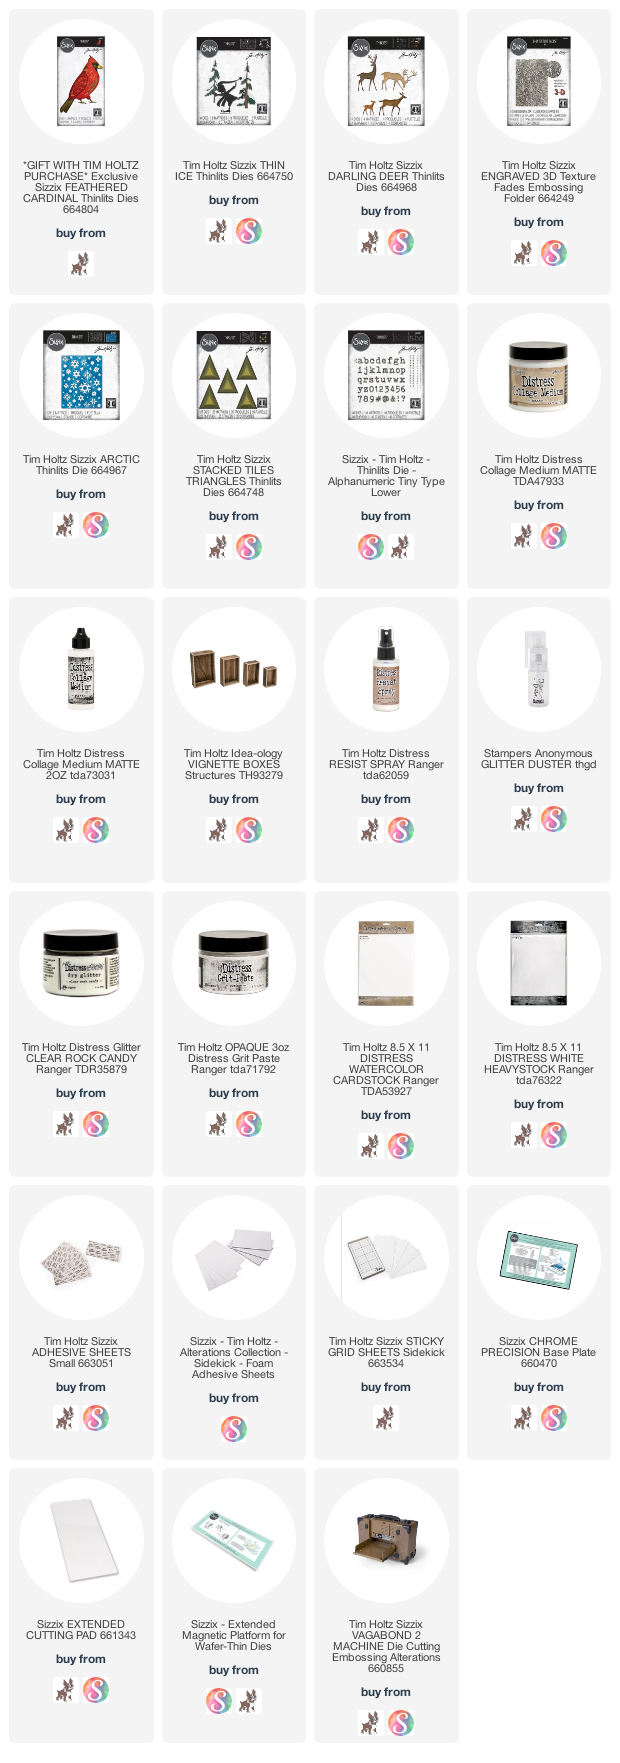
I am an affiliate with Simon Says Stamp and Scrapbook.com so the links below send you to one of those stores depending on which logo you choose. If you wish to purchase something from either store and use one of my links below, I get a small percentage of your order, at no additional cost to you. This helps me to defray the costs of this blog, the time, the ideas and tutorials I post here. Your help is greatly appreciated! Thank you!


1 comment:
Fantastic project...it seems like it has been so long, I forgot about this one...using the Splat Die for the pond is a great idea and the Resist Spray for shine is great, dries much quicker than trying to use Glossy Accents...so many projects, so little time...LOL...I am working on the "Cardinal" vignette box, just need my Cardinal die to ship now...
Post a Comment