Sunday, March 5, 2023

Tea Time - Idea-ology 2023

This Tea Time Clock began as just a celebration of afternoon tea, but as it started coming together, it began to remind me of a special afternoon tea almost 26 years ago. I adore how this piece turned out for the Tim Holtz Idea-ology 2023 release and it is going to be one that I keep.


I painted Foundry Wax Guilded onto the base and rim of the Curio Clock, then attach two Collage Strips to the outside of the clock.
I made brackets and a handle out of the Adornments Silverware and covered them with Guilded and Sterling Foundry Wax as well.

The Transparency Layers have some really beautiful pieces in them, but I chose this round floral transparency for this tea time clock and I think it is perfect. As I started to assemble the shelf inside the clock, I realized it reminded me of the afternoon tea my husband and I had almost 26 years ago on the day we got engaged.

We spent the whole day together in Pasadena enjoying the Huntington Library and Gardens, afternoon tea at the Rose Tree Cottage, and ending with dinner and a musical. He asked me to marry him after breakfast so we were already engaged in this photo. The teacup ephemera in the Palette Ephemera actually looks like a tea cup my husband bought from Edmund at the Rose Tree Cottage several years ago. We had enjoyed tea there individually many times before we were dating and obviously since. 
Once I realized that this piece was taking the turn from just a tea clock to a memory piece, I started adding things to go with that memory. All these Word Tags and the Heart Charm on the Hook Clasp were the perfect addition,

As was the little jam jar. The Rose Tree Cottage has their own jam blend so I had to include that and attach the little 2 Word Tag to it since the saying always goes"Tea for Two."

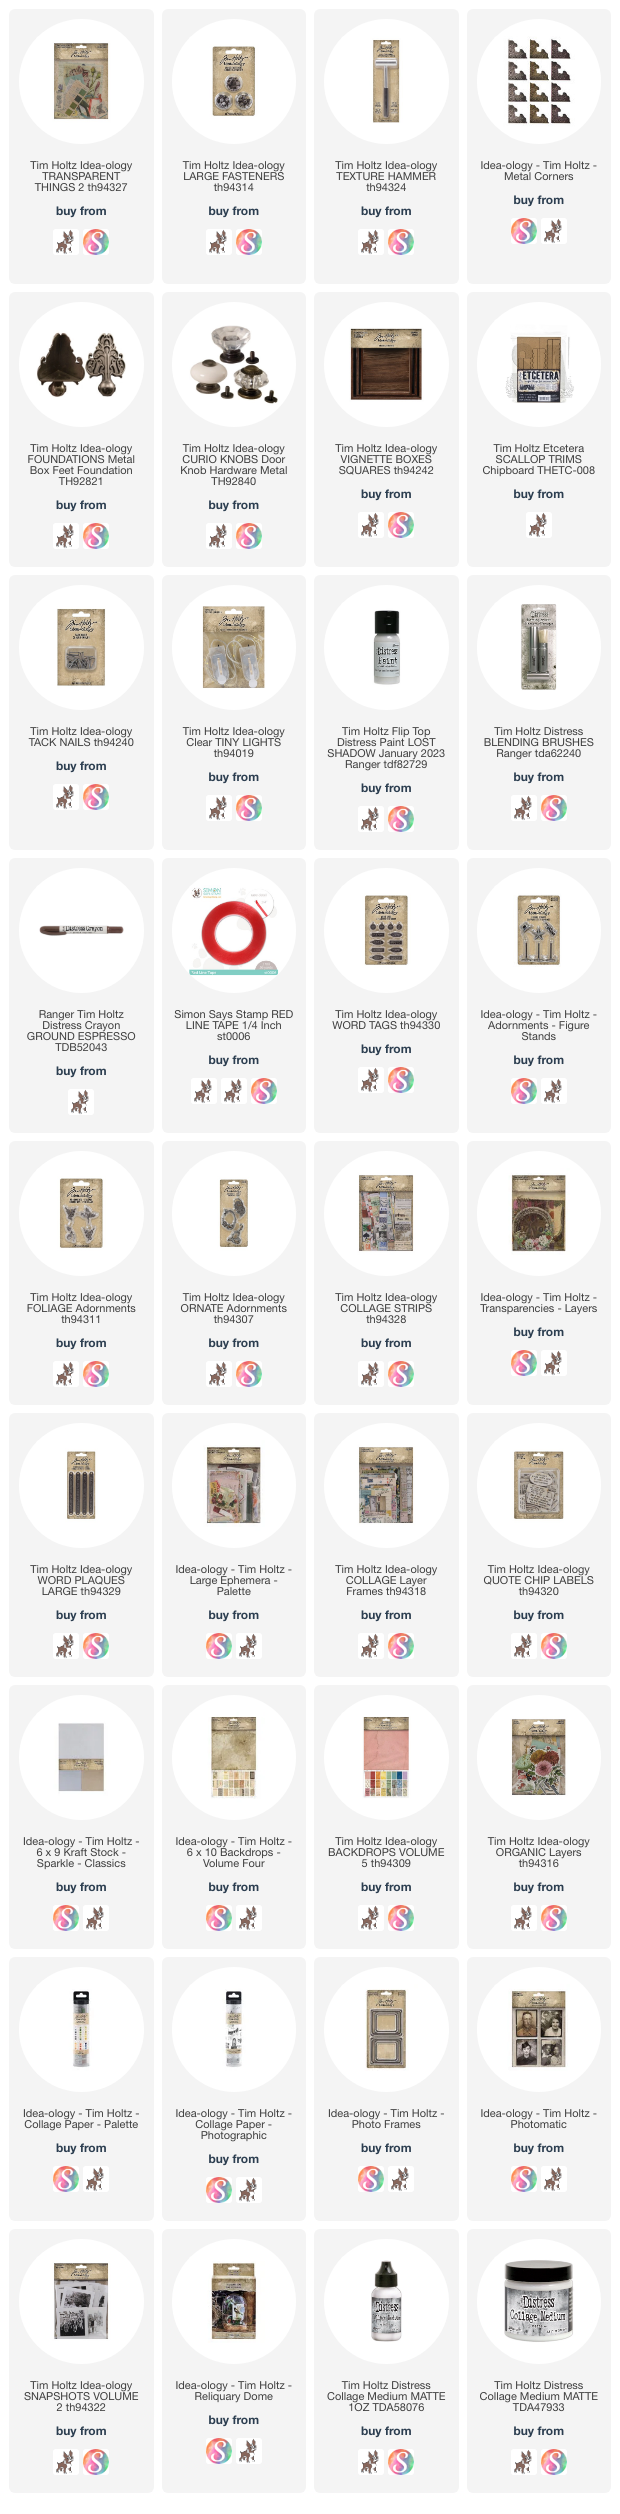
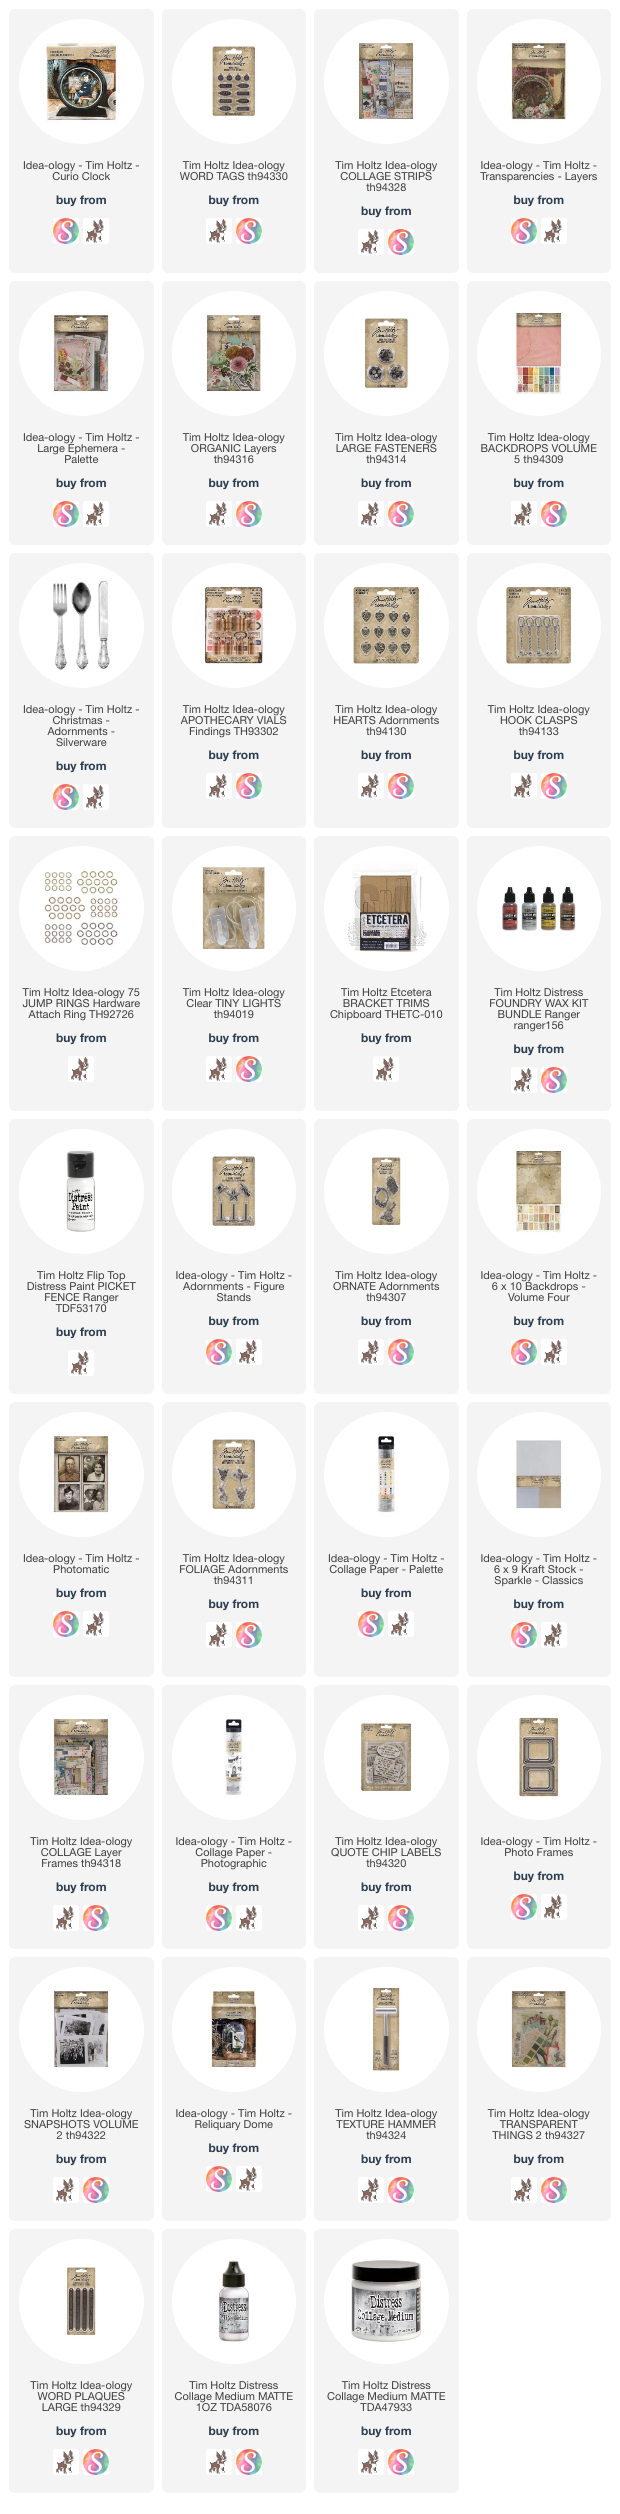
 I think those are all the details. The video tutorial goes into more depth as to all of the things used and I have all the products I used linked below. 

Thank you so very much for stopping by and I do hope you have a very creative day.

Tami

I am an affiliate with Simon Says Stamp and Scrapbook.com so the links below send you to one of those stores depending on which logo you choose.  If you wish to purchase something from either store and use one of my links below, I get a small percentage of your order, at no additional cost to you. This helps me to defray the costs of this blog, the time, the ideas and tutorials I post here. 
Your help is greatly appreciated! Thank you!

Saturday, March 4, 2023

Botanic Luminary - Idea-ology 2023

I made this Botanic Luminary for the Tim Holtz 2023 Idea-ology Release. The four floral panels in the Transparent Things 2 release are gorgeous and I wanted them to shine, literally. So I built a luminary just to showcase them. 

Here is the process video for making this lantern. I hope you find it helpful.


All of the botanic panels in the Transparent Things 2 pack are stunning. Im looking forward to having this on a side table in my home bringing beautiful floral light to the room.
The Texture Hammer is awesome!! Be sure to texturize all the parts of this luminary BEFORE you start to assemble it. LOL! It's much harder to do after assembly.

 Lots of Foundry Wax and Lost Shadow Distress Paint on this project.

Have a creative day,

Tami

The snips I used can be found here: Miter Snips  I am not an affiliate or in anyway associated with this company, just sharing where I got the ones I use.

I am an affiliate with Simon Says Stamp and Scrapbook.com so the links below send you to one of those stores depending on which logo you choose.  If you wish to purchase something from either store and use one of my links below, I get a small percentage of your order, at no additional cost to you. This helps me to defray the costs of this blog, the time, the ideas and tutorials I post here. 

Your help is greatly appreciated! Thank you!

Monday, February 6, 2023

True Love - Tim Holtz Sizzix

I’m celebrating true love on the blog and YouTube today! I used some of the new Tim Holtz 2023 everyday release to make a wall hanging home decor piece that will fit in perfectly with my Valentine’s Day Decor. 


This is a short video tutorial on this piece.

I used part of one of my favorite verses from Song of Solomon. I’ve loved this verse since early in our marriage, because we were good friends for years before we started dating and eventually got married. 
I used just the sides of the True Love die chocolate box for this make. The texture is Distress Kraft Heavystock that was embossed in the Woven 3D texture fade. Then I highlighted a few raised areas with Spun Sugar Distress Oxide. 
TThe verse was cut from both Emporium and Bulletin. I used Watercolor Cardstock and Black Heavystock.


This was a pretty simple make, but I’m so happy with it because it will fit in perfectly with all my other Valentine decor pieces.

Have a creative day,

Tami

I am an affiliate with Simon Says Stamp and Scrapbook.com so the links below send you to one of those stores depending on which logo you choose.  If you wish to purchase something from either store and use one of my links below, I get a small percentage of your order, at no additional cost to you. This helps me to defray the costs of this blog, the time, the ideas and tutorials I post here. 

Your help is greatly appreciated! Thank you!

Saturday, February 4, 2023

Easter Cart - Salvaged Rabbits and Tiny Eggs

This is the third project created with the Tim Holtz Idea-ology Spring Release of Salvaged Rabbits and Tiny Eggs. I wanted to revisit my Christmas Cart a few times this year for different seasons and I thought that Easter would be the perfect occasion to make another cart as soon as I saw the Rabbits and Eggs. I hope you agree.  

 
 This tutorial focuses on the Spring aspects of the cart more than the building of the cart. For a detailed tutorial on making that cart, watch the Christmas Cart tutorial here: https://youtu.be/KiAdNjazn5w
Idea-ology Christmas Fringe was a whimsical way to add floof and charm to the top of the cart. I sprayed a bit of Speckled Egg and Pumice Stone Distress Stain on it and wrapped it around the Tiny Lights wires so it would soften the lioghts and add an Easter grass feel to the top. Attach glittered Tiny Eggs with Distress collage Medium.


I colored the Tiny eggs and Heirloom Florals with Alcohol Inks and Distress Rock Candy Glitter.

 I painted two of the Salvaged Rabbits with brown Distress Paints. I think Vintage Photo and Ground Espresso. The eyes were painted to mimic the sugar eyes on the chocolate bunnies that were in my easter baskets growing up. 

 Thinmbles made very cute Easter Baskets and cupcake containers.


t

  On the backside of the cart you can see a fancy daisy topped cupcake, another thimble Easter basket, and the large Caldron Easter Basket.

Bent knives from the Idea-ology Silverware make great handles. Add some Hardware Heads and paint for the finishing touch.
The bits of ribbon and tiny lace were from my stash and everything from Martha Stewart to May Arts.

This was a really fun make and I hope you enjoyed seeing all the details. I hope you give one of these carts a try. They are so much fun!

Have a creative day,

Tami

I am an affiliate with Simon Says Stamp and Scrapbook.com so the links below send you to one of those stores depending on which logo you choose.  If you wish to purchase something from either store and use one of my links below, I get a small percentage of your order, at no additional cost to you. This helps me to defray the costs of this blog, the time, the ideas and tutorials I post here. 

Your help is greatly appreciated! Thank you!

Monday, January 30, 2023

Lost Shadow Stone Statuaries


The "wonder"ful new Distress color from Tim Holtz and Ranger Ink, Lost Shadow, is a perfect addition to the Distress Family. We needed this new color of light grey. It is perfect for this technique of turning Idea-ology bits and pieces into stone statuaries. So that is the first thing I did with it!

This video focuses on making the statues and not on a completed vignette. The completed piece is in the works for a little later this spring. So stay tuned!

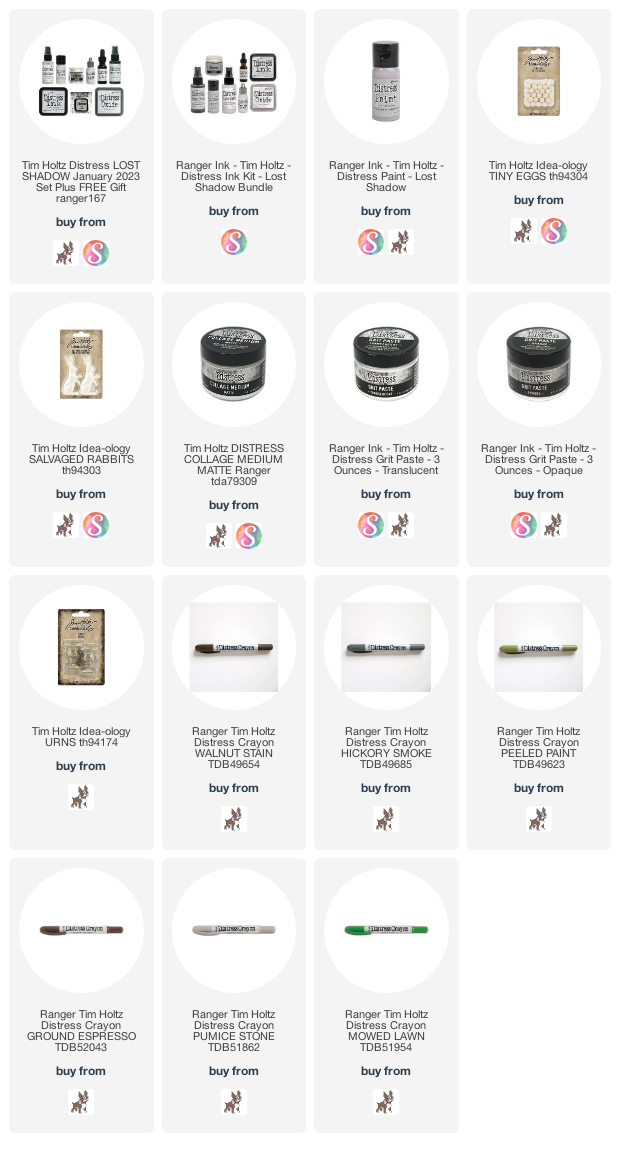
 To make these particular statuaries you will need these products or something like them from your stash or local hobby store. Idea-ology Finials, Urns, Slavaged Dolls, Salvaged Rabbits, Tiny Eggs, Distress Grit Paste, Distress Collage Medium, Distress Paint in Lost Shadow and some Distress Crayons in browns, greys and greens.


Cut the top part of the small finial off and sand it flat. Use this as a tiny base for the Salvaged Doll. Attach with Collage Medium.

 Attach the Rabbit and a few eggs to the top of the large Finial base with Collage Medium.
 
 Attach one egg in the bottom of the urn with Collage Medium. Then attach the other three eggs on top if the first.
 
Once all the pieces are dry and secure using your finger and a tiny brush, pounce Grit Paste over the pieces so they have a weathered stone texture. You want the grit paste pushed down into the little crevices so the separate piece look like they were sculpted.
See how pushing the grit paste into the crevices makes all the pieces look like one?
Including the Rabbit and Tiny Eggs!
When the grit paste is dry you will want to paint the pieces with Lost Shadow. Two coats should do it but more if needed.
You want to cover the entire piece with Lost Shadow paint.
It should look something like this when it is dry and completely covered.
Then add layers of Distress Crayons to color the gritty bits to make them look like moss and aged stone.


 I think they look great! I hope you like the close-ups and details in these still shots.


Here are some blog posts to check out for other statuaries I have made and used in projects in the past.

Garden Dome 

Finial Graveyard Statuaries 

Ghastly Graveyard

I hope you will try making your own statuaries with grit paste and Lost Shadow paint! Please tag me if you do. I love to see you makes!

Have a creative day, 

Tami

I am an affiliate with Simon Says Stamp and Scrapbook.com so the links below send you to one of those stores depending on which logo you choose.  If you wish to purchase something from either store and use one of my links below, I get a small percentage of your order, at no additional cost to you. This helps me to defray the costs of this blog, the time, the ideas and tutorials I post here. 

Your help is greatly appreciated! Thank you!