Here are two simple cards that can be made with some of the new Tim Holtz Sizzix Chapter 3 dies. It's fun to use the dies in over the top, detailed, crazy fun projects, but it is just as fun to use the same dies on simple cards for friends and that is just what these cards are.
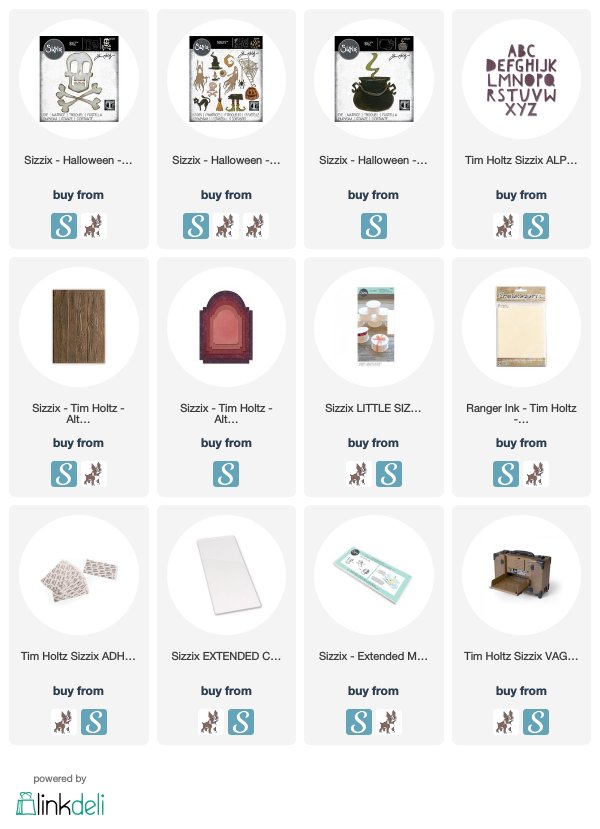
I made this card for a friend who I know loves the musical Wicked. I usually don't use the witch dies and things, but I knew this use of the witch feet and hat from the Frightful Things die set, would make a light-hearted card for my friend. In addition to the new cauldron and Frightful Things dies, I added the Alphanumeric Cut Out uppercase font for the sentiment and a Halloween Story Stick from Ideaology. The cauldron is cut from black kraftstock and the feet and hat were cut from Distress Mixed Media Heavystock and layered and colored with Distress Oxides.
This card was for another friend who loves Disney. I was inspired by the talking skull above the drop in Pirates of the Caribbean at Disneyland, voiced by one of my favorite Disney imagineers, X Atencio. He also wrote the script, the song and designed the original ride.
I mounted the Skull and Crossbones on one of the Stacked Archway dies that had been embossed in the Brick texture fade. They were both mounted on some kraftstock that had been run through the Lumber 3-D texture fade and colored with Distress inks and oxides.
The skull and crossbones were cut from some Sizzix Mat Board in cream color and then covered with Distress Gritpaste. Once it was dry I covered with a layer of Distress Collage Medium and then once that was dry I added Walnut Stain, Black Soot, and Peeled Paint Distress Crayon to make the bones look old and weathered.
The sentiment on this card was also cut from the Alphanumeric Cut Out Uppercase. To finish it off, I added the four Ideaology Hardware Heads.
So as you can see these are both simple cards that are very easy to replicate and even to duplicate if you were making invitations for a party of some sort. I am an affiliate with Simon Says Stamp and Scrapbook.com so the links
below send you to one of those stores depending on which logo you
choose. If you wish to purchase something
from either store and use one of my links below, I get a small
percentage of your order, at no additional cost to you. This
helps me to defray the costs of this blog and the ideas and tutorials I
post here, and your help is greatly appreciated! Thank you!
Sometimes a die deserves a whole scene and I felt that was the case with Jolly St Nick. This new type of detailed die cut, Colorize, was dreamed up by Tim Holtz and was a showstopper as part of his Chapter 3 release this month. It's such a fantastic concept and I adore the result!
Although this may look like a difficult scene to create, it really is just a matter of enjoying the time cutting, coloring and assembling this piece. There really isn't any technique involved save the assembly of St Nick. With that in mind, I have really just posted a lot of close ups and will add a tidbit here and there that might help in the assembly.
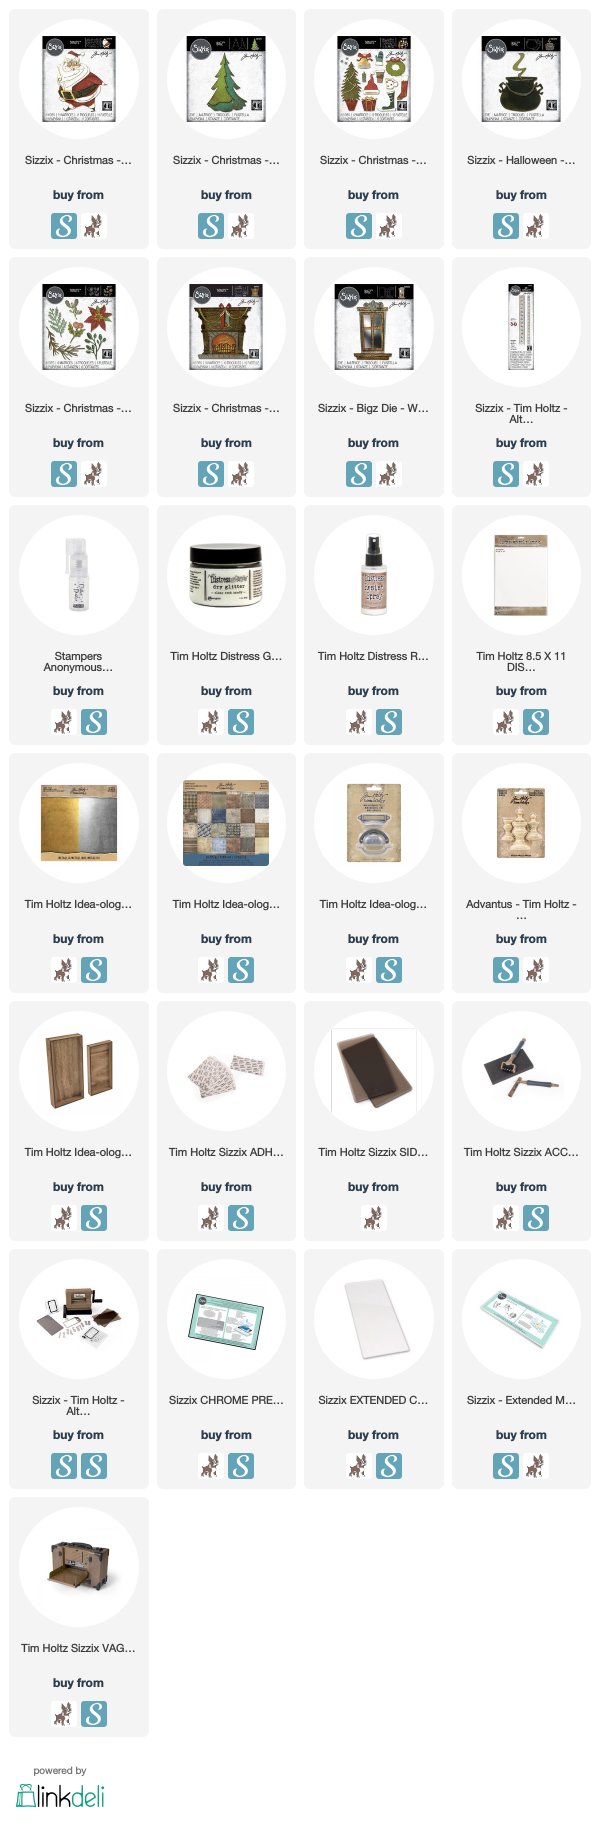
Starting with the basics, it is a large Vignette Tray, two large finial bases, and a pull from Mini Hardware Pulls. I covered the inside of the box with paper one of Tim Holtz's paper stashes.
The tree is one of the Layered Pines. I cut it from chipboard and Distress Water Color Paper. I colored the watercolor paper with Peeled Paint and Forest Moss Distress Ink. Then sprayed it with Distress Resist Spray and dusted it with Distress Rock Candy Glitter. Then decorated it with some of the candles, stars and bows from the Festive Things die set.
This is a Steel Rule Bigz die so it can be cut from all kinds of things. That's why I cut it out of chipboard as well to give it some thickness so it could stand away from the wall. You can see it has a base that was part of the Festive Things set. It is cut from silver metallic Kraftstock and aged with Mushroom alcohol ink.
This Festive Things set was one I used quite a bit in this scene. I used a majority of the dies in the set. I used Distress Watercolor Cardstock, a little bit of the silver and gold metallic paper, and some papers from various past Ideaology Christmas paper pads. I found it easiest with those to back them with Sizzix Permanent Adhesive sheets and then when I cut them they were easier to assemble.
Behind the tree is the new Window Frame. It's a fun, quirky window. In this scene I used Watercolor Cardstock so that it would look like a painted window frame. The night sky was made with black cardstock with Picket Fence Distress Spray to make the stars. Then a thick coat of Distress Resist Spray to mimic the window glass. the wreath is again from the Festive Things set and it is popped up off the window with foam dots.
The Window Frame die is a Bigz Steel Rule die so it can again, be cut out of thick materials for dimension.
The decor over the mantle was made with a few pieces of spruce cut from the Large Funky Festive set. I added two bells cut from metallic kraftstock and a bow. The bells were added with foam dots.
The Large Funky Festive set has some really nice sized florals that can be used for any season depending on how you color them. I used this set on several of my Halloween projects as well.
The Fireside mantle was also made from Distress Watercolor Cardstock to look painted. The bows and swags are part of the die set and it also comes with two small stockings. The stocking I put on the mantle is the one from the Festive Things set however.
Below you can see all of the many detailed parts of the Fireside die set. This is also one of the Colorize dies, so it helps aid you through the cutting and assembly.
The brick surround is part of the die set. I colored the paper with Fired Brick Distress Ink and then Inked the raised portions of the die with Black Soot Archival Ink before I cut it so it would add the detail in the depressions. The bricks in the back behind
the flames are from the Mixed Media 3 set and adhered over some black
cardstock. The grate is part of the Fireside set and was cut from
metallic Kraftstock.
Now to the main attractions - Jolly St Nick. He may look intimidating at first but I have linked to some videos that will help with the concept of Colorize and with assembly. Just cut it out of cardstock with SIzzix Permanent Adhesive on the back. Trust me, this will make it so much easier to put together in the end!
There are several ways you can do this. I cut the white parts all the
same white Watercolor Paper and lightly inked the edges. I colored the
other papers with Distress Ink before I cut them and inked the edges.
In this video Tim discusses these dies and how he puts them together.
You may be curious as to how I got Santa to stand up. Well what I did was after he was basically assembled, I added some scrap pieces of chipboard on the back to hold it all together and to make it sturdier. Then I attached him to a piece of the packing foam that comes in the Vignette Trays that keeps them separate. I adhered the foam piece to the back wall and then to the back of Santa so there was a lot of dimension to this piece.
I always figure that the more I know about something the better, so this is a colorize assembly video by Pete Hughes. I've just recently found out about him. He is delightful and has an interesting technique for this die.
I hope having all three of those videos helped. It's nice to see so many different perspectives.
Now on to the goodies that Santa brings. He has to have something to hold them in, and the moment I saw the Halloween Cauldron die, I couldn't help but see a Santa Sack. I stuffed it full of gifts, stockings, and a tree from the Festive Things set.
It needs to be attached to the base or back wall with a piece of the packing foam and also attached to the side of the tray first, then attach Santa last because he overlaps the side of the cauldron and can be attached to it for stability.
The Cauldron die is a Bigz steel rule die, so I cut it from Watercolor Paper and chipboard. The handle was only cut from gold metallic kraftstock.
Often when working with the Vignette Trays, we use tape to cover the raw edge, but I wanted something a little more fancy, so I made multiple of the small 3-D Star Trim cuts. The I attached them all around the outside of the tray with some Collage Medium. It fits perfectly on the thick edges. I used gold Metallic Kraftstock.
Because this is a 3-D Impresslit die, that embosses and cuts, you have to lightly spray the paper with water, and then run it through the machine three times. Also only use ONE cutting plate.
There you have it. The basics of this Santa's Delivery scene. It was so much fun to put together and I hope you are inspired to make a scene of your own!
Tami I am an affiliate with Simon Says Stamp and Scrapbook.com so the links
below send you to one of those stores depending on which logo you
choose. If you wish to purchase something
from either store and use one of my links below, I get a small
percentage of your order, at no additional cost to you. This
helps me to defray the costs of this blog and the ideas and tutorials I
post here, and your help is greatly appreciated! Thank you!
I thought it would be fun to remake a Halloween card but use different products to see how they work and how much it changes the look of the design. I tried this last Christmas with different papers, but this time I wanted to see how the look would change if I switched Distress Crayons in fall colors with Distress Oxide Sprays in light, springtime colors.
The card on the right is the one I made using Distress Crayons in fall colors. The blog post with the tutorial to make that card is the previous to this one found here. The card on the left is the one I made using Distress Oxide Sprays in spring colors. I love them both and really enjoyed the different feel the two products gave the cards.
Below I have some step-out photos to show how I made the Oxide card on the left.
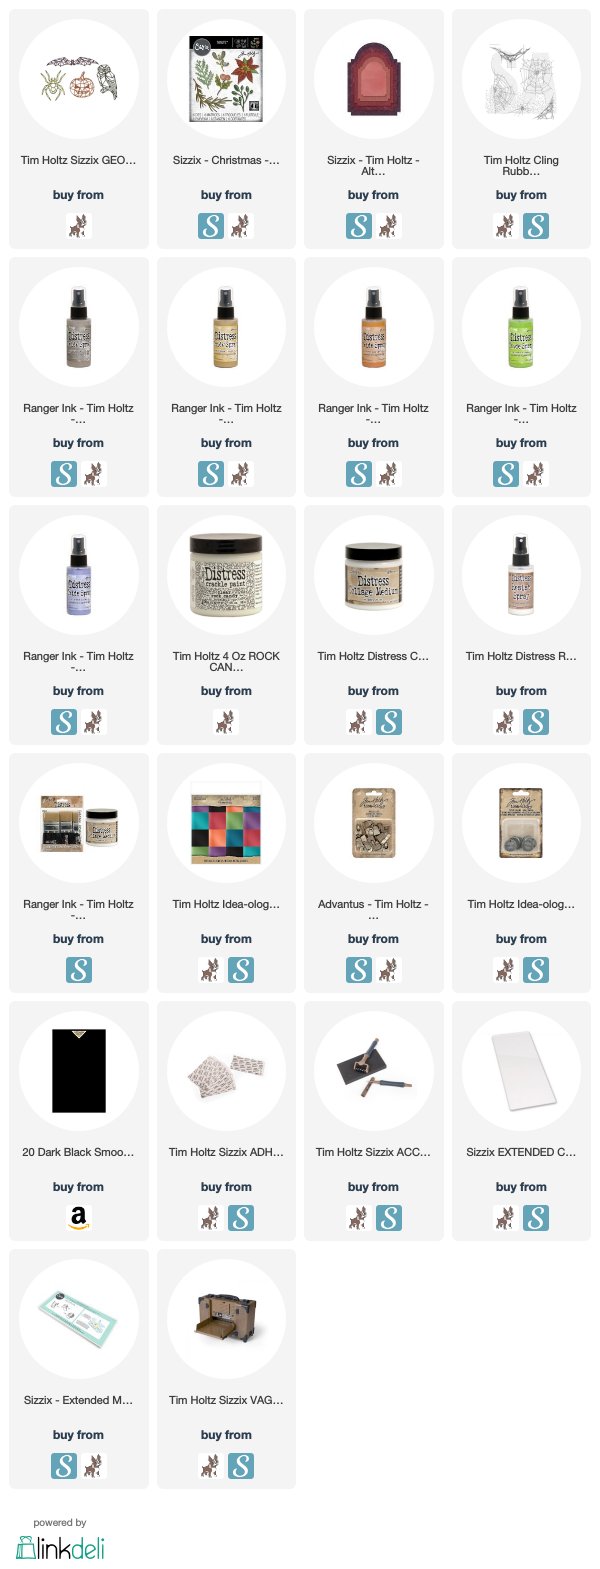
This is a second technique for making the Geo Halloween Spider that is a tiny bit different than the technique I posted the other day. I started by applying a piece of Sizzix Permanent adhesive to the back of a piece of smooth black cardstock. Save the release paper when you do this as we will be using it.
Cut the Geo Halloween spider out of the black cardstock with the adhesive on the back. Then poke the geo part out and remove the adhesive backing, then stick that onto the release paper that you saved.
Cut a second Geo Halloween spider out of the black metallic kraftstock from the Metallic Jewel Kraftstock pad. Then line it up over the black cardstock spider outline and poke the geometric pieces out and into the spaces in the cardstock outline.
It should look like this when you are finished. You may need to push a few of the pieces down into the outline so they are flush and secure.
Place this on a paper towel in a Splatbox and spray it with a nice layer of Distress Resist Spray.
It looks like this when I am done and then I let it dry clear.
Turn it over and spray it again.
Then let the back side dry. That should be enough to hold all the pieces in place.
Once it is completely dry, spray it with Shaded Lilac Distress Oxide Spray. I move it around over the top of the spider with my finger and let it dry some and then lightly wipe it off so there is just a little on the spider.
You can see it has kind of a dusty lavender look to it. Later on, to attach it to the card, I put one foam dot near the back of the body, and two near the head. Then attached each of the feet with with a tiny bit of Collage Medium.
To make the background piece, I cut several spiders from smooth black cardstock and applied them to the background piece of smooth black cardstock with Distress Collage Medium.
Once the Collage Medium was dry, I wanted to add color by spraying some of the spring color release of Distress Oxide Sprays.
I sprayed the surface with Dried Marigold, Twisted Citron, and Shaded Lilac. I let it dry some with a heat tool and then gently patted it with a clean, dry cloth.
This is what it looked like when I was finished.
I sewed around it and then attached it to a card base that had been sprayed with Shaded Lilac Distress Oxide Spray.
To make a stage for the spider, I took the Stacked Archway dies and chose the two shown.
I cut one solid Archway and then arranged the two Archways like this, held them in place with lowtack tape, and then cut the frame.
I also cut a piece of Crochet from black cardstock. For these pieces I colored the solid archway with Antique Linen, then some Dried Marigold. The crochet was Antique Linen and Pumice Stone.
The Archway frame I covered with a layer of Distress Crackle Paint Clear and let it dry.
Then I sprayed it with Pumice Stone and Twisted Citron. I let it dry with a heat tool and then used a clean, dry towel to lift off the excess and here is what it looks below.
I love how the Distress Crackle paint and the Oxides look so crackly and cool! The background arch was stamped with some of the amazing cobwebs from the Tangled Webs CMS346.
I cut several pieces of spruce and berries from the Large Funky Festive from the smooth black cardstock and colored the spruce with Pumice Stone, the berry base with Shaded Lilac and the berry top with Antique Linen and a touch for Shaded Lilac.
Below the frame on this card, I added a Crochet piece.
I really love the very different, soft, spooky feel to this card as a complement to the more ominous first card I made.
I hope this blog inspired you to want to experiment with different mediums and have fun discovering the varied looking outcomes.
Tami I am an affiliate with Simon Says Stamp and Scrapbook.com so the links
below send you to one of those stores depending on which logo you
choose. If you wish to purchase something
from either store and use one of my links below, I get a small
percentage of your order, at no additional cost to you. This
helps me to defray the costs of this blog and the ideas and tutorials I
post here, and your help is greatly appreciated! Thank you!