For
this card, made for the Tim Holtz Stampers Anonymous Halloween 2022
release, I wanted to try an embossing resist technique with
Distress Embossing Glazes that would leave background stamping protected
under the image. I had such a great time trying to figure out how to
get this to work and to look good.
I left my mistakes in the video tutorial so you could
see what I did wrong and my learning process as I experimented. It is a little long, but I
hope you find my struggles to be helpful in keeping you from doing the
same.
I hope you are inspired to try this technique. You are going to be amazed at how using the Embossing Glazes instead of just the clear Embossing Powder makes a big difference.
Have a crafty day!
Tami
I am an affiliate with Simon Says Stamp and Scrapbook.com so the links
below send you to one of those stores depending on which logo you
choose. If you wish to purchase something from either store and use one
of my links below, I get a small percentage of your order, at no additional cost to you. This helps me to defray the costs of this blog, the time, the ideas and tutorials I post here.
I thought The Scarecrow set from Tim Holtz and Stampers Anonymous was a fun set that could be everything from a fun fall harvest card to a spooky cornfield card. I wanted to try adding a light to a card and I thought this would be the perfect one to try it on.
I did my best to demonstrate not only how to make this card, but how to put a light in a card. The lights are from Pear Blossom Press and the style I used for this card is called a One Light.
I love the giant moon in this set!
Here is the fun light up effect!
Here you can see his eyes cut out so the light will shine through the vellum.
So here is the same card made in two diffent sizes, but one is interactive and one isn't. I think anhyone would be happy to get either one.
I want to thank you for coming to my blog. I really truly do appreciate each one of you that takes the time and effort to stop by. Your support means so much to me!
Have a craty day,'
Tami
I am an affiliate with Simon Says Stamp and Scrapbook.com so the links
below send you to one of those stores depending on which logo you
choose. If you wish to purchase something from either store and use one
of my links below, I get a small percentage of your order, at no additional cost to you. This helps me to defray the costs of this blog, the time, the ideas and tutorials I post here.
Tim Holtz Stampers Anonymous Halloween release is finally here! There
are some really beautiful products in this release that can be used all
year long for anything, not just for Halloween. I love that!
I had some fun with The Scarecrow stamp set and I made one mini slimline with the set, then another regular slimline where the eyes light up! So fun! I love that interactive element, but made a plain one for those who maybe didn't want to bother. I recorded a tutorial for these cards and will be editing and posting it soon.
A great fall stamp set that can take on all kinds of feeling from harvest to spooky.
With Gothic Tapestry, I went back to my fave technique, that Iron-off Resist, but this time I added a few twists. I recorded a tutorial so I will be editing and posting it soon!
This card is the one that had the heat Distress Embossing Glaze on it.
This card is the Iron-off Paper that soaked in the Distress Embossing Glaze from the the original card. When you use Embossing Glaze you get the color of the glaze in the ironed off side. Two cards in one technique, but with very different looks.
Alright, more details and more cards to come so be sure you are following me on Instagram where I will post as soon as tutorials go live. The following feature on Blogger is messed up and no one could follow even when I had it in the right hand column. Same thing with me not being able to reply to your comments. I can't get either feature to work. Sorry! I do my best as a technically challenged middle aged woman. LOL
Thank you as always for stopping by my blog. I am so grateful for the support!
Have a crafty day,
Tami
I am an affiliate with Simon Says Stamp and Scrapbook.com so the links
below send you to one of those stores depending on which logo you
choose. If you wish to purchase something from either store and use one
of my links below, I get a small percentage of your order, at no additional cost to you. This helps me to defray the costs of this blog, the time, the ideas and tutorials I post here.
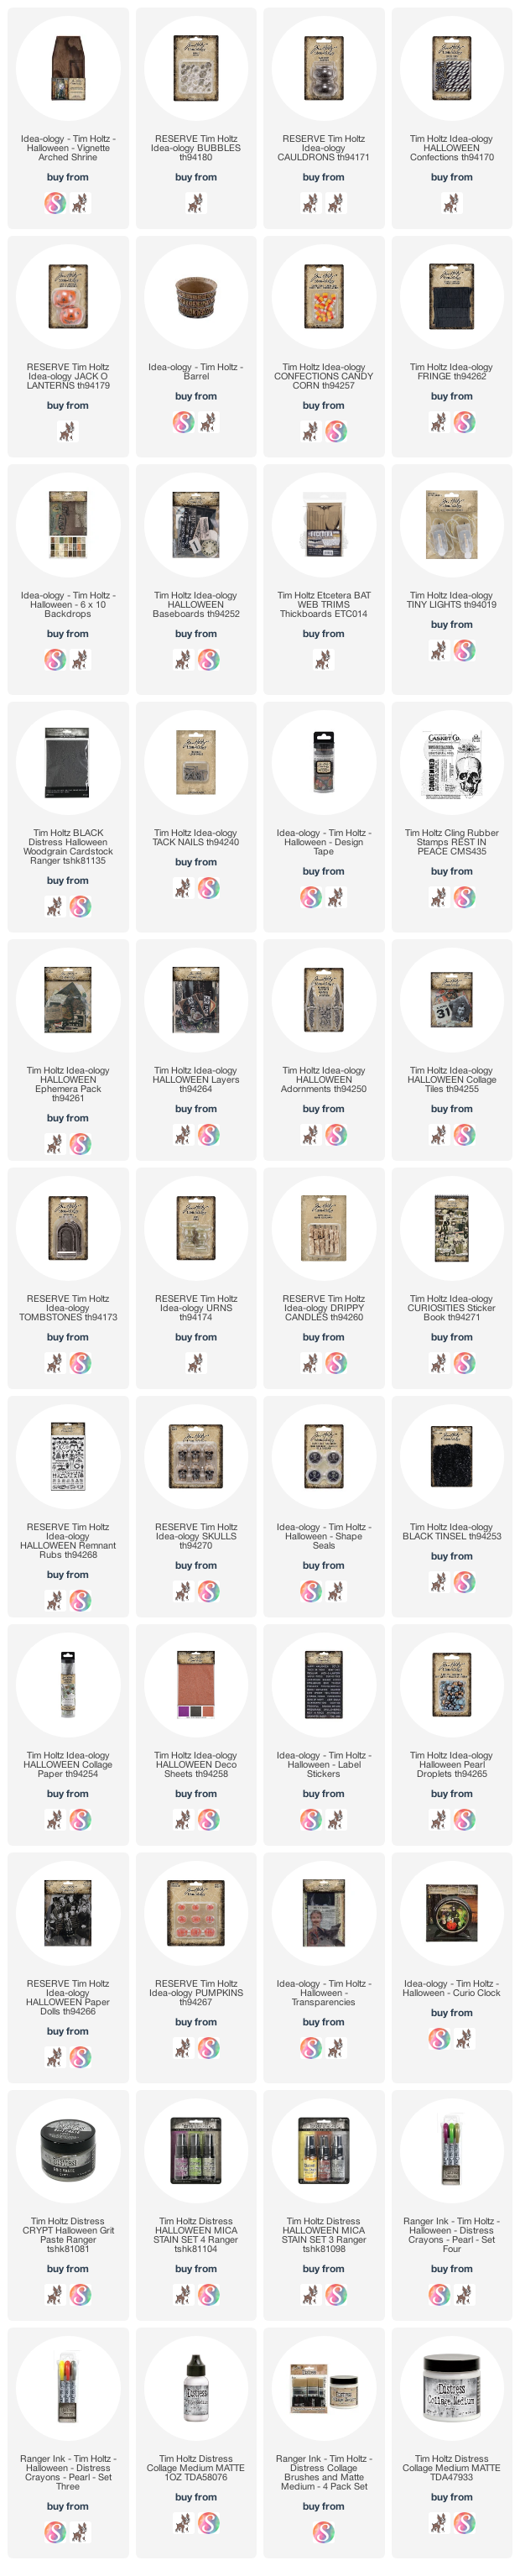
Hello! Today's post is about CANDY! One of my favorite topics. I seriously cannot get over how stinking cute the little Candy Corn Confections are from Tim Holtz Idea-ology. So I was inspired to make an over the top Halloween candy shop. Right away I want to let you know that I purchased several packages of the Confections, the Candy Corn and the Bubbles so that I would be able to have a lot of candy in this make. So I just wanted you to know that right of the bat so there is no confusion if you have one package and your make doesn't look as full as mine.
I did light this up because of my back storhy on this piece. I imagined that a cool, hip young couple saw an old casket company for sale, so they bought it and restored it to be a candy store. Since there were old caskets still in the place, they turned some of them into candy displays like this one. So they added modern elements (like purple lights) to add a modern flair to their store. The story made it a fun project to work on.
Here is the link to a video tutorial I made as I was working on this project. I hope you enjoy it!
Here is how I added the lights...
As you can see, I drilled one hole in the far back corner of the top of the Shrine, then rolled the lights together and adhered them to the top of the box on the back of a piece of Pinked Etcetera Trim and a Baseboard Word Strip..
Here is all is lit from the top.
The sign was made by coloring the Black Two-toned Woodgrain paper from Tim Holtz and Ranger Ink with Walnut Stain Distress Oxide. I cut the shape of the sign from the new Sizzix Postale. Then I used the Theory Alphanumeric dies to cut the name of the shop. I backed the piece with a second piece of the black woodgrain that was colored with Picket Fence Distress Stain.
The first shelf has Confections, Jack-o-lantern and a baseboard.
I colored the confections with a Spiced Marmalade and Mustard Seed Distress Crayon and a Water Brush.
I also colored the basedboard pieces with the same Distress Crayons.
The second shelf has "sugared" Bubbles spilling from a Cauldron.
To color the Bubbles, Add some drops of alcohol ink to a small plastic container. Drop the Bubbles into the container and swirl them around until they are covered. Let dry on a piece of paper, a paper plate, a piece of freezer paper....
When they are dry, then put some Glossy Accents on your thumb and pointer finger, and roll a bubble in the Glossy Accents on your fingers until it is completely covered. Then drop it into a small container with Distress Rock Candy Glitter. Swirl the glitter container until the Bubble is covered with glitter. Leave it in there and continue with several more Bubbles. Leave them in the glitter for 10-15 minutes until they dry. Then continue until all the Bubbles you colored are glittered.
The bottom shelf is covered with that delightful Candy Corn Confections.
In the tutorial video I show how I make this Barrel appear to be full of Candy Corn when it really isn't. You don't want to waste any of it!
I think I used two and a half packages of Candy Corn Confections in this make. I just love it and bough multiple packages as soon as they were available. Also I forgot to add that before I added anything to the shelves, I attached some of the new Crepe Fringe along the back of the shelf to fill in a little of the space.
On the back of the shrine I scrapedtwo lines to make it look like planks. Then added some Tack Nails to the top, middle and bottom of the piece so it looks like an old casket.
At the bottom of the back, I stamped Casket Co from the Rest in Peace stamp set. I stamped it in Picket Fence Distress Paint. I love how it looks old and distressed and worn off.
Here is a view of the side where I added more Tack Nails.
I had so much fun making this Candy Casket and I hope you enjoyed learning about it too.
I am always thankful that you take the time to stop by my blog and support me and my art. So thank you!
Have a crafty day,
Tami
I am an affiliate with Simon Says Stamp and Scrapbook.com so the links
below send you to one of those stores depending on which logo you
choose. If you wish to purchase something from either store and use one
of my links below, I get a small percentage of your order, at no additional cost to you. This helps me to defray the costs of this blog, the time, the ideas and tutorials I post here.
Cats on a Moonlit Roof was a fun little vignette to make for the Tim Holtz Sizzix Hallowen 2022 release. Do don't need a lot of supplies, so I cover those in my intro. The main thing with this make are the fun dies.
As usual, I recorded myself making this project so I invite you along to watch this come together.
I love the way it worked to have the lights shine out from the back of Otis.
This angle shows the different placements of the dies.
How cute is that sleeping kitty? And look at the texture on the roof! Crypt Grit PAste and Wocen Texture Fade for the win!
The outside of the vignette is as important as the inside to me.
I know I do this technique a lot but it really is simple and I love how it carries the theme to the outside of the project.
I am always thankful that you take the time to stop by my blog and support me and my art. So thank you!
Have a crafty day,
Tami
I am an affiliate with Simon Says Stamp and Scrapbook.com so the links
below send you to one of those stores depending on which logo you
choose. If you wish to purchase something from either store and use one
of my links below, I get a small percentage of your order, at no additional cost to you. This helps me to defray the costs of this blog, the time, the ideas and tutorials I post here.