Sunday, August 22, 2021

Skeleton Dance Tribute Ticket

Today is the 92nd anniversary of the release of the Skeleton Dance short so it is appropriate that I post this piece that was inspired by it. I made this Skeleton Dance Ticket as a sample for the Tim Holtz Sizzix Halloween 2021 release. I've been wanting to make a skeleton dance for a long time, but it just hasn't been the right time until Mr. Bones was released. 
If you haven't see the Skeleton Dance before, here is a link to this silly Disney short.
I made a walk through video of this piece explaining how I made it if you prefer that to reading the info under all the step out photos below.


Begin with a Medium Etetera Tag and mark the square end the same as the tag end .


Then cut along the lines. This takes several tries and you just have to keep cutting and stay patient.


I used my Tonic Scissors to hand cut a circle out of the left over bit of corner to fill in the hole from the tag. The layers we add later on will mostly cover this hole, but I needed something substantial to do the lion's share of the work.

Next I painted the sky and hillside in Black Soot and Hickory Smoke, with a few splatters of Hickory smoke on the sky.


To add some texture I roughly spread Grave Texture Paste over the grey part of the ticket.


Then I added the wispy clouds and covered the entire piece with a layer of Distress Collage Medium. 

Once that was dry I added some of the grey Distress Crayons around the edges of the ticket and in the sky to give it a kind of foggy look.

To add some texture to the tombstones I used my finger to pounce some Crypt Distress Grit Paste onto them and let them dry.
 I love those flecks of black and the grey/green color this Crypt Paste turns as it dries.
 
 Once I added the tombstones to the ticket, I put more Crypt paste so that it looked like there was dirt around each tombstone and the harsh cut edge was disguised.
  
 I also added a little Crypt Paste to the fences as well and then crumpled them to make them look old and bent.


I made the school house into a church by adding one of the little crosses from the tombstone vignette on the top of the spire.

I just love how that grit paste turns into such a cool color!
 
Mr. Bones is a colorize die but he is fairly simple as far as colorize goes. Be sure to check out the Sizzix blog to see how to assemble him.
Adding a bit of Distress Crayon behind the hill vignette add a little bit of depth.
I hope that information was helpful and that you picked up at least one tip you can use in your own makes no matter the topic! 

Thank you so very much for stopping by! I greatly appreciate your support!

Tami

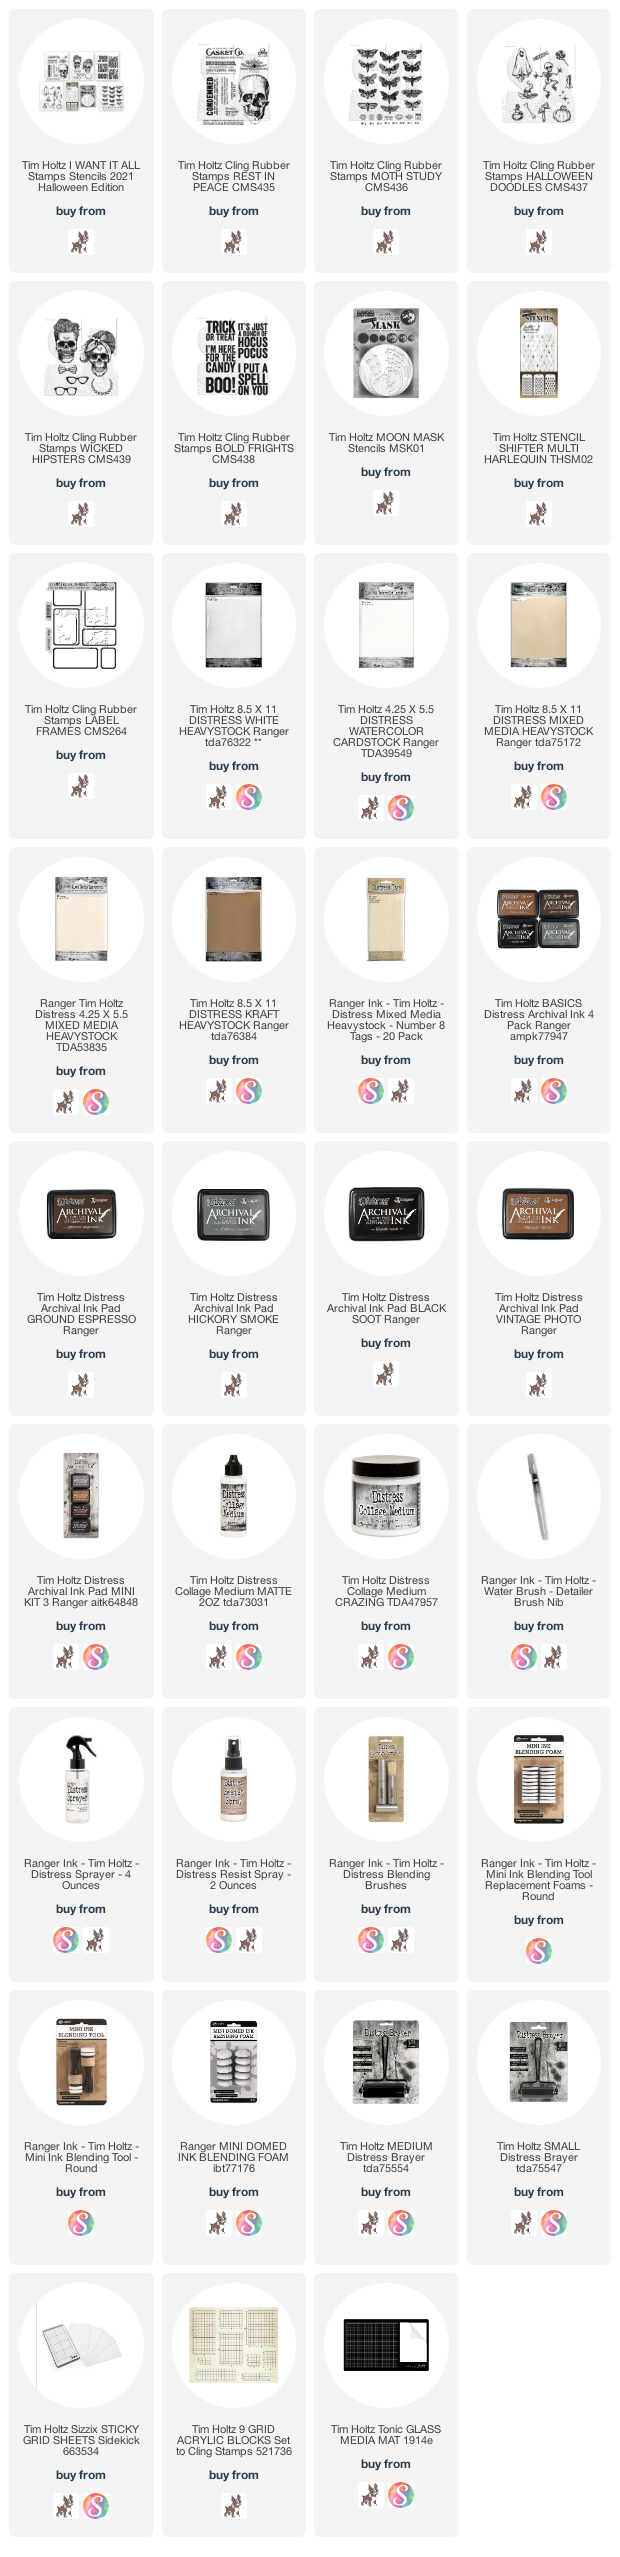
I am an affiliate with Simon Says Stamp and Scrapbook.com so the links below send you to one of those stores depending on which logo you choose.  If you wish to purchase something from either store and use one of my links below, I get a small percentage of your order, at no additional cost to you. This helps me to defray the costs of this blog, the time, the ideas and tutorials I post here. Your help is greatly appreciated! Thank you!

Saturday, August 21, 2021

Tim Holtz Stampers Anonymous Halloween Release

Hooray for an incredible stamp release today from Tim Holtz and Stampers Anonymous!  I am always so grateful to be asked to create with Tim's stamp sets for Stampers Anonymous. He is so supportive of our individual styles and strengths and I can't tell you how much I appreciate the freedom and encouragement to create.
 
I sent three makes for the live and finished two more here in my studio, so I have them all posted here. I will do more detailed posts on each later on, but this over all might be enough to spark inspiration and ideas for many of you. Thank you so much for stopping by to take a look!
I'll do a blog tutorial on this, but it is really easy. I stamped the Rest in Peace images in Distress Paint and then run the paper through the 3D Lumber Texture Fade. It's an 8.5x5.5 card size and I just hand cut the shape.
I wanted to use the same Rest in Peace stamp set but different stamps from it for a different feel. So to make this treat flask, I stamped the Pharmacy stamp , then masked it and stamped the Label Frame to make it look like a pharmacy label. Lastly I cut the Bold Frights Hocus Pocus sentiment in half and just used Pocus as the medicine. I covered the whole thing in Distress Collage Crazing snd added brown Distress Crayon to make it stand out. Then finished with the description stamp along the side and the prescription signature on a tag.
The Moth Study is a great stamp for all kinds of things. I decided to use them on test tubes here for favors. I put M&M's in them as if they were moth eggs for a Halloween party, but you could use loose leaf tea for a garden tea party, or a science/entomology themed party. I got both the tubes and the holder off Amazon.
These two Wicked hipster skulls are fun! I stamped the accessories in Archival Ink and colored in with Distress Ink, then masked and added stenciling and splattering with the Mica Stains.
Then I fussy cut the skulls out and popped them up  on the background so they stood out.  For each of the sentiments I used the Tiny Text Halloween that was released last year.

This card is a very simple slimline card that pairs the Bold Frights sentiment with those fun dancing skeletons from the Halloween stamp set. This is an iron off technique. I added Mica Stain Splatter to black cardstock for the card base to add a little color around the edge.

There you have it, my makes for this release. I hope there is something that inspires you to make...a card, a favor, a decor piece....anything, just get creative! 

Tami

I am an affiliate with Simon Says Stamp and Scrapbook.com so the links below send you to one of those stores depending on which logo you choose.  If you wish to purchase something from either store and use one of my links below, I get a small percentage of your order, at no additional cost to you. This helps me to defray the costs of this blog, the time, the ideas and tutorials I post here. Your help is greatly appreciated! Thank you!
 

Saturday, August 14, 2021

Tim Holtz Sizzix Fall Halloween Release

Oh my! That Tim Holtz Sizzix Fall Halloween release was fantastic! I always come away so inspired by the makers and their creative brilliance, and I hope you do too! 

This post is just a quick overview of my makes for this release and two last minute notecards that weren't for the live, but I'm throwing them in this post anyway. I have already recorded videos for all of these makes and will be sharing them here as time allows over the next few weeks. I'm busy making for other releases and for Christmas (I know right?!) so I'll post as time allows. Until then, here are my makes and the dies and products used for each one are listed under each photo. My affiliate links are at the end of this post for most of the products.

This was a quick card I made with a note for Tim and Mario, but you may have seen it in the live.  

Products used: Toil and Trouble, Stacked Rectangles (to make the window) and 3D Lumber Texture Fade (one of my favorites!!) Decorative Trims.


 This was just another quick notecard I put together with a note for Tim and Mario. 

Products used: Arched, Funky Foliage, 3D Brick Texture Fade, Candlelight, Distress Mica Stains Seasonal, Distress Grit Paste - Seasonal.

I'm going to admit that at first I didn't like this guy, but then I was intrigued by him, and kept hearing Be Our Guest in my head every time I looked at him. I thought I might make a Beauty and the Beast inspired butler scene, but at the last minute, I decided I just needed to do a make with him as he is. I will do a blog post later with how I made the coffin out of a #8 tag and some 3D Lumber embossed paper. It is really easy! 

Products used: The Count, Seal Switchlit, Tiny Type Alphanumeric, 3D Lumber Texture Fade 

Note: The plastic flask for the candies I found on Amazon. If I were having a party I would have used a glass one with a cork, but since I was shipping this I went for plastic.

Pumpkinhead was also a last minute make. I had visions of a scene with a bridge, turning Winifred the zebra into a happy black stallion.....that may happen some day, but the reality is there is only so much time and so I went with a barn door tag and a flask of spare heads. hahahaha! 
 
Products used: Pumpkinhead, 3D Lumber Texture Fade, Seal Switchlit, Tiny Type alphanumeric, same flask off Amazon.

I have wanted to make a Disney inspired skeleton dance scene for a very long time with a few of the skeleton's from past releases, but it just never worked out. So I was thrilled when I saw Mr. Bones! He was just silly enough and just perfect for a skeleton dance! Also shout out to Emma Williams for the Etcetera tag to Ticket idea from one of her makes earlier this year. It was perfect for this make! 

Products used: Mr. Bones, Ghost Town 2, Halloween Vault Series, Distress Textures Seasonal - Grave Textures Paste and Crypt Grit Paste, Medium Etcetera Tag

These little crypt treat boxes were so much fun to make!! Can't wait to share all the details with you. in a future post. 
 
Products used: Costume Party, Mini Mechanics 3D Texture Fade, Mini Foundry 3D Texture Fade, Brickwork 3D Texture Fade, Seal Shiftlit, Tiny Type Alphanumeric, Distress Textures Seasonal - Crypt Grit Paste, Grave Texture Paste, Distress Crayons, #8 Tombstone Etcetera, small Vignette Box, Distress Paint

Yes! I was inspired by Disneyland again ...this time it was the Main Street Pumpkin Festival. I'm super excited to jump into explaining all the details on these fun pumpkins, but for now, here are the products I used. I checked online for some of the older ones and found a few available from online retailers around the world, so if you are interested in the two retired ones, do a search and good luck.

Products used: Pumpkin Patch, Leaf Fragments, Foliage 3D Texture Fade, Varsity Alphanumeric, Stacked Rectangles, The Gent, Potted 2, Potted, Winter Wardrobe, Trick or Treater, Hip Haunts, Layered Jack-o-lantern 662373, Frightening Faces 663090,


If you made it this far, thank you so very, very much for stopping by and remember, I have videos already made for these makes and will be sharing them in future posts with photos and details, so I hope you will stop back by for those in the next few weeks.

Tami
 
I am an affiliate with Simon Says Stamp and Scrapbook.com so the links below send you to one of those stores depending on which logo you choose.  If you wish to purchase something from either store and use one of my links below, I get a small percentage of your order, at no additional cost to you. This helps me to defray the costs of this blog, the time, the ideas and tutorials I post here. Your help is greatly appreciated! Thank you!

Saturday, August 7, 2021

From Regions Beyond - Distress Halloween Release

This is my second piece made with the new Tim Holtz Ranger Ink Distress Halloween release. I used a lot of the Grave Texture Paste and Crypt Grit Paste on this piece as well as some of the Crooked Broomstick and Empty Tomb Mica Stains.

As with the previous piece, I used some inspiration from Disneyland's Haunted Mansion for this one as well, since it is turning 52 on Monday, Aug. 9th.  I should let you guess what part of the mansion I used for my inspiration here, but you can probably tell if you have been on the ride before. This is a loose interpretation of the crypt exit with the mirror wall and Little Leota as you go up the escalator. Little Leota is the face and voice of Disney Imagineer Leota Toombs Thomas, saying "Hurry baaaa-aaack! Be sure to bring your death certificate." She was the first of three generations of female Disney Imagineers with her daughter Kim Irvine and grandaughter Ali Irvine. Maybe her namesake and great grandaughter, Leota, will carry on the family tradition. That would be cool!

To begin with, I used some of my older Idea-ology Halloween stash on this. So if you haven't used your Halloween stuff, get it out and use it.  I started by covering a Mini Etcetera Tombstone with a few pieces of paper from last year's paper pad.
I covered the center of the tag, and the top and bottom, but left the top frame for another item.
Once the paper was attached, I ran some Crypt Texture paste through the brickwork THS038 stencil to give some texture to the piece.
I felt like the edges were a little sharp, so once the paste was kind of dry but not too hard, I scraped some of the edges off with the side of the palette knife.
I covered the top frame with Grave Texture Paste and then added some Crypt Grit Paste once it was dry. I also added Grit paste along all the edges and the base parts.
To make Little Leota, I fiddled with Collage Medium and Mummy cloth to try and make her look like she has that flowing dress and cape thing. This is the best I could do.
Then to make it dark like on the ride I sprayed it with Empty Tomb Mica Stain.
Here she is. I wiped it off her face and let her dry and was really pleased with the result!
She is kind of in a little niche with roots and things growing around her, so this is my attempt to replicate that with Spanish Moss I got from the floral department at the craft store.
Then I needed to make the ghost to follow you home... I picked a paper doll. this guy was part of a pair, but I cut them apart and used his wife in a frame on my last Corridor project. To make him a little transparent, I attached him to some packing tape.
Next I soaked him in warm water until the paper started to come off the tape. Keep rubbing all the paper off the tape until you have a mostly transparent image left. then I colored him with some alcohol ink. Fussy cut him out and he is ready to pop up in the mirror between some unsuspecting guests and follow them home.
I chose this couple but to make them fit in the frame I had to cut them apart and rearrange them. It worked out fine.
I used one of these old frames. I have several of them as well as several of the metal ribbons so I paired them up. The couple and this guy needed to be in a mirror so I backed the frame with a small piece of Mirrored sheet from the Idea-ology line.
Here you go. We have our couple in their Doombuggie, and their ghost in between in the weird turquoise color those ghosts are.
I aged the frame with some Crypt Grit Paste and a bit of Crooked Broomstick Mica Stain. This cracks me up!
As you exit the ride there are tall arm sconces that hold up lights. I didn't have anything to make those, so I made some from two Idea-ology Silverware spoons that are bent and two keyholes that I think are pretty old but I'm trying to use my huge stash. I've been collection a long time!

I put a little grit paste on them and let it dry, then sprayed the frame and sconces with both Crooked Broomstick and Empty Tomb Distress Mica Stain. The ink comes off, but for some reason the mica stays... I don't get it but I think it's cool.

Here you can see some detail on the spoon sconces.
Then I added a skull to each sconce in the spoon.
I made a couple of drippy candles to go on the head of each skull. If you don't know how to make them, you can see my tutorial here: Wherever Candlights Flicker.
I tried to make them extra grungy because is it a dark, underground crypt.
I attached them to the Etcetera Tombstone just below the top edge.
You can almost hear her...hurry baaaa-aack....


The little bat at the bottom I added because of the bats on the stanchions in the hallway after the stretching room.
I enjoyed making this little Haunted Mansion inspired piece and hope if inspired you to use the new Seasonal Distress Items when you get them,

They are just too much fun it would be a shame to squirrel them away and not use them. So give them a try and enjoy the experiment.

Tami


I am an affiliate with Simon Says Stamp and Scrapbook.com so the links below send you to one of those stores depending on which logo you choose.  If you wish to purchase something from either store and use one of my links below, I get a small percentage of your order, at no additional cost to you. This helps me to defray the costs of this blog, the time, the ideas and tutorials I post here. Your help is greatly appreciated! Thank you!