Now that we have learned how to make a pile of Pieces of Eight treasure, today I want to focus on putting the rest of this piratey vignette together using a classic retired die, and two new Chapter 3 dies from Tim Holtz and Sizzix.
Begin by covering a large Idea-ology Vignette Box. I used paper from the Abandoned paper pack. Cut pieces to fit the back and sides. Then brush a nice thin layer of Distress Collage Medium over one side at a time. Adhere the paper, then press in down evenly and push out any air bubbles. Do this to all four sides and the back. once it is dry, I lightly sand all the edges and then ink them with a dark brown Distress Ink.
Do the same thing to the inside of the box, but this time I chose the black and orange paper from the Abandoned pack. Once it is dry, I drilled a small hole in the bottom back of the box near the right side. Thread all of the Idea-ology Tiny lights through the hole. Leave the battery pack on the back of the box.
I make these holders for the Tiny Lights battery packs. They make it easy to turn the lights off and on and to pull the whole battery pack out when it is necessary to change the battery. I made a tutorial on just how to make the Tiny Lights Paper Holder here.
Using an old, but classic Tim Holtz Alterations die called Candlelight, I cut and assembled both candles. Then I stuck them together and lined the back with a piece of heavy cardstock to give them stability as one piece.
I used my Tonic scissors to cut a piece of Little Sizzles Mat Board (white chipboard) so that it would fit perfectly behind the candles. Then I wrapped the tiny lights around the mat board piece.
This piece is going to be adhered to the back of the candles and then the back of the Vignette Box. Attach some foam adhesive squares to both sides.
I always assume that some of the adhesive will quit sticking, so I add drops of Collage Medium to the foam squares.
Here you can see the back side of the lights that will attach to the back of the Vignette Box. This next little step is optional. I did it because I wanted the light to shine through and up from the candles, but not out the sides. If you want both, then skip this step.
I trimmed two pieces of black chipboard about 3/8 of an inch wide and long enough to fit on the sides of the candles. Adhere the chipboard to the sides of the lights.
Here you can see how I added Collage Medium to the black chipboard and the foam squares on the back of the lights. Then hold the lights in place until they stay adhered to the back of the box.
To layer the pieces of eight, I used some retired Bingo chips for thickness. It allows you to lay the coins on an angle so that you can pile them up without having to make hundreds.
Here you can see how the coins are at different angles. See how there is a piece of a bingo chip stuck on a coin? It will give one coin a great angle that will look like there are more coins than there really are.
Once the coins are piled up pretty well, it is time for Skelly! I put a whole Bingo chip on the back of the top of his head for some dimension.
To make Skelly, what I did first was to pull from my stash, or make several neutral colors of cream and brown Distress Mixed Media Heavystock. You can see the bottom two here were used to cut some of the pieces including the teeth.
I wanted to point out, that once I had the pieces I wanted, I used the Craze stamp from Tim Holtz and Stampers Anonymous, and I stamped it on several of the pieces to give Skelly kind of an old, cracked skull look.
See? I love that little detail! Now, once you have all of the pieces cut for Skelly, you will want to line them up and watch the video below to get him together.
Attach Skelly to the back of the box on an angle so his chin is near the front edge of the box.
Cut about 5 of the spiders from the Spider Web die. Then with scissors, trim the web off the back legs of each one. Spray the spiders with Distress Resist Spray to make them shiny.
When they are dry, use something (I used my finger nails) to bend the
legs so that the spiders are kind of 3D. Attach them on Skelly and the
coins.
Cut one of the cobwebs from some dusty color paper. Then trim it so that it fits into two of the corners of the Vignette box. I put them in the top left and bottom right.
The last thing to do is to cut four 1/4" strips of the paper used on the sides and back of the box. Adhere these to the front, unfinished edges of the each of the sides. This gives is a finished look.
Finally, you have a glowing box of pirate treasure.
Thank you from the bottom of my heart for stopping by. I hope you found something to inspire a treasure of your own.
Tami
I
am an affiliate with Simon Says Stamp and Scrapbook.com so the links
below send you to one of those stores depending on which logo you
choose. If you wish to purchase something from either store and use one
of my links below, I get a small percentage of your order, at no additional cost to you. This helps me to defray the costs of this blog, the time, the ideas and tutorials I post here. Your help is greatly appreciated! Thank you!
Yo ho, yo ho, a pirate's life for me! Look at that cool Colorize Skelly die from the Tim Holtz Sizzix Chapter 3 release. He has a definite pirate vibe to me and so I was compelled to make a fitting scene for him.
For those of you who know me, that means I was probably inspired by Disney, and you would be correct. From the time I was a little girl, I loved the musty, wet smell of Pirates of the Caribbean, but even more than that, I really loved going through the caverns with all of the gold and treasures piled high. It was the stuff of dreams, right?
Another inspiration from later in life was the Goonies. It came out when I was in high school, but it is one of my all time favorite movies and I would be remiss if I didn't admit to a bit of One-eyed Willie inspiration as well.
What do both of those have in common? "The Rich Stuff!" to quote Mikey. So let's get started learning how to make some.
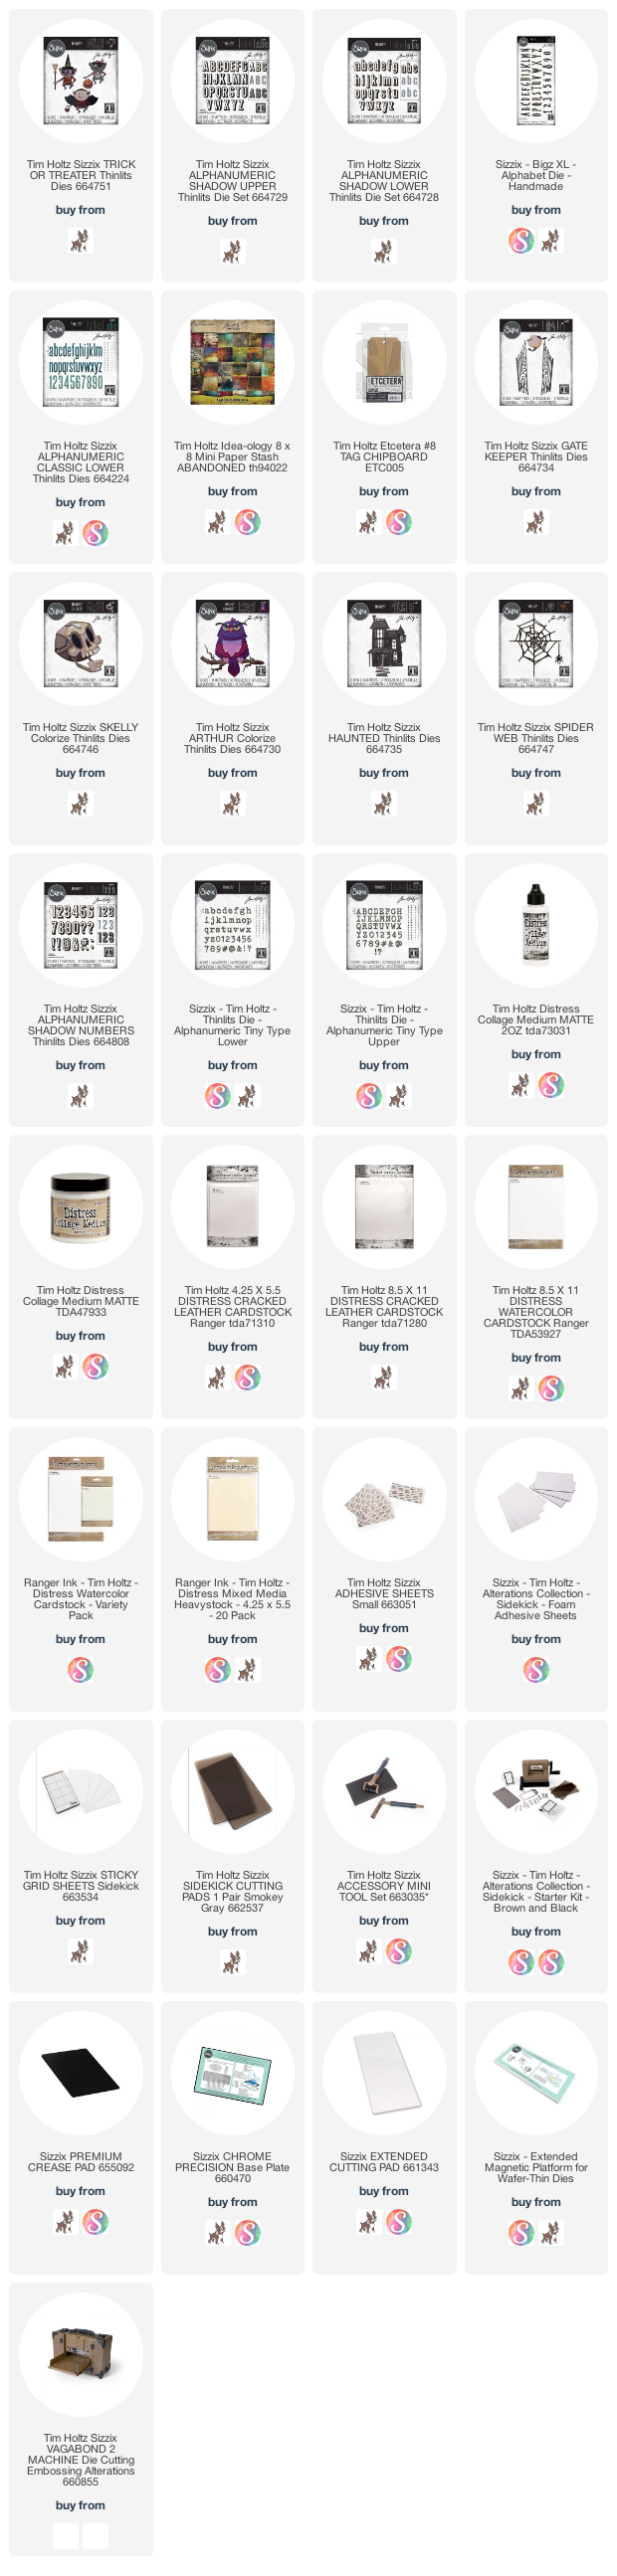
Let's begin with the dies. From the Stacked Circles dies, you need to remove all five of each of the two smallest circles. You will also need the tiny skull die from the Trick or Treaters die set.
As for paper, I colored some Distress Mixed Media Heavystock with Distress Spray stain in Tarnished brass with a little bit of Antique Linen and Brushed Corduroy mixed in. I also made a few with more Brushed Corduroy in the mix so they were darker. You will need a couple of pieces in order to be able to cut enough.
I put the five Stacked Circle dies on some Sizzix Sticky Grid to hold them in place. Start with the larger of the two dies and cut a bunch of circles. I cut about 25, so I ran the dies through 5 times. Then add the small circle to the inside of each larger circle. This will form a ring. I ran the darker paper through and cut 25 rings.
You will be left with spaces between the circles as well as a bunch of the smaller circles left when cutting the rings. Use any of those scraps to cut 25 of the tiny skulls from the Trick or Treater dies.
You will assemble the coins by attaching one ring and one skull to each circle. I used Distress Collage Medium to attach them.
Next I wanted to add some "nuggetty goodness" to each coin so that they looked like old, imperfect coins, not something made in a mold.
Spray the coins 5-6 at a time, making sure to get some good droplets on them.
Put the coins immediately on a different dry paper and sprinkle Gold Fine Detail Embossing powder over them.
Shake off the excess, return it to the bottle and then heat emboss the powder on the coins.
This is what they will look like after that step. They are really cool right here, but I wanted a bit more distress.
Using your fingers, rub a bit of Vintage Collage Medium over the top of every coin. Let them dry.
They will look something like this at the end of that step. Again, pretty cool, but we aren't done yet.
Using a Black Soot Distress Crayon (you could use Walnut Stain or Ground Espresso also) scribble a bit of crayon onto each coin. Then using your fingers again, lightly dampen your fingers with a wet wipe or a tiny bit of water, and rub the crayon into all of the indentions on the coin. it's cool to let the color pool along the inside edges and in the eyes, nose and mouth of the skull. This adds great age and detail to the coins.
This is what you should end up with when you are done. A whole pile of "the rich stuff!"
In the next post I will talk about how to backlight the candles, stack the coins, and add the spiders, webs and cover the box.
Thank you, each of you, for the support by visiting today. I also greatly appreciate those who take the time to leave a comment or order through one of my affiliate links below. I grateful for any an all of the different kinds of support I get here.
Tami (B)
I
am an affiliate with Simon Says Stamp and Scrapbook.com so the links
below send you to one of those stores depending on which logo you
choose. If you wish to purchase something from either store and use one
of my links below, I get a small percentage of your order, at no additional cost to you. This helps me to defray the costs of this blog, the time, the ideas and tutorials I post here. Your help is greatly appreciated! Thank you!
Well, now that we have had a minute to take in all the inspiration from the new Halloween dies from Tim Holtz and Sizzix, I thought I would post this project first. The adorable Trick or Treaters sparked an idea in my head as I was sleeping one night. Why not dress them up to match Halloween treats for a Halloween party? So I set to work finding fun treats and yummy candies to go with them.
I have a bunch of apothecary jars and so I decided that for my Halloween party, the goodie bags with treats needed to be in a jar with a tag in front letting the ToTers at my party choose which treat they wanted.
Of course the Dracula costume had to have fangs and I thought Candy Corn was a natural match to go with them.
Each tag is a #8 thick board Etcetera tag made by Stampers Anonymous. The papers for all three tags and many of the words are from the Idea-ology Abandoned paper pad.
All of the parts of the Dracula Trick or Treater were cut from Distress Mixed Media Heavystock, except for the white shadow on the letters, and eyes. Those were from Distressed Watercolor Cardstock.
I cut the pieces out first and then watercolored them with Distress Inks. You can follow the photo for placement of the parts of the die cut, or you can wing it and do your own thing.
I wanted some dimension so I popped Dracula off the tag with a piece of chipboard behind him and the lettering has dimensional foam dots behind it. I used the inside letters from the Shadow alphabet and cut two so I could offset them.
Every pirate needs and eye patch and some gold mateys!
The words Aye and Patch are both from the Lowercase Shadow font. I used just the outline on the top and just the inside letter on the bottom.
I ordered a dozen eye patches and paired them with rolos for some pretty gold
candies. All of the treats I ordered from Amazon, and supplemental
candies are from CVS.
The blue paper from the Abandoned paper pad was perfect for the pirate.
I changed the pumpkin treat bag to a kind of skull themed bag by cutting it from white and only using the eyes. I backed him with a few small Planks dies to tie in the theme.
That mask needed a superhero to go with it, but I am sorely challenged when it comes to superhero knowledge. So I texted a couple of friends who I rely on for all things comics and superheroes. They helped me choose the Green Lantern. I was surprised to learn that there are many green lanterns, not just one. They are male, female, human, alien... crazy right? But the main thing is, they have a ring.
So I searched the internet and did you know they have superhero rings you can purchase by the bag? Well they do! So I bought an entire bag to share with my treaters. Also, please take note of the Green Lantern symbol on his shirt. It is made with pieces of lettering from the Tiny Type alphabet.
At this point I have to address something I didn't notice until after I had shipped these off to Tim. Sometime between making this and photographing it, the lower part of the Lantern symbol on his shirt shifted. It is driving me nuts, but I'm determined not to "freak my freak" about it. Hahahaha! Just know it was supposed to look like the one in the photo above this one.
I tore some brown paper from Abandoned to serve as a small hill, and again changed the pumpkin treat bag for a green one. The top lettering is the Classic Lowercase Alphanumeric font.
He is also popped up for dimension. I cut the outer drop shadow letters from the new Shadow font from Abandoned paper and some heavy black cardstock so that it would have dimension and stand out better.
Hey thank you so very, very much for stopping by to check out the Trick or Treat buffet. I hope this gets some ideas flowing as we prepare for what might be a little different Halloween this year, but lets not let that deter us from being fun and creative anyway!
Tami
I
am an affiliate with Simon Says Stamp and Scrapbook.com so the links
below send you to one of those stores depending on which logo you
choose. If you wish to purchase something from either store and use one
of my links below, I get a small percentage of your order, at no additional cost to you. This helps me to defray the costs of this blog, the time, the ideas and tutorials I post here. Your help is greatly appreciated! Thank you!
Are you as excited about the Chapter 3 holiday release, from Tim Holtz and Sizzix, as I am?
It has been a pleasure and a delight to get to create some samples with them. I will be posting tutorials and details of the projects over the next few weeks, so if you would like to be notified, follow me here and on Instagram. I look forward to sharing with you and hopefully inspiring you a little as you start your holiday projects.
Tami
I
am an affiliate with Simon Says Stamp and Scrapbook.com so the links
below send you to one of those stores depending on which logo you
choose. If you wish to purchase something from either store and use one
of my links below, I get a small percentage of your order, at no additional cost to you. This helps me to defray the costs of this blog, the time, the ideas and tutorials I post here. Your help is greatly appreciated! Thank you!
"Welcome to a tropical hideaway, you lucky people, you!" I’m sure many of us would love a nice
tropical getaway right about now, but until that’s possible, this tropical
décor piece might help to keep that dream alive.
I have this little tropical vacation project over on the Sizzix blog. I used several techniques that were inspired by Tim Holtz and his Saturday morning demos.
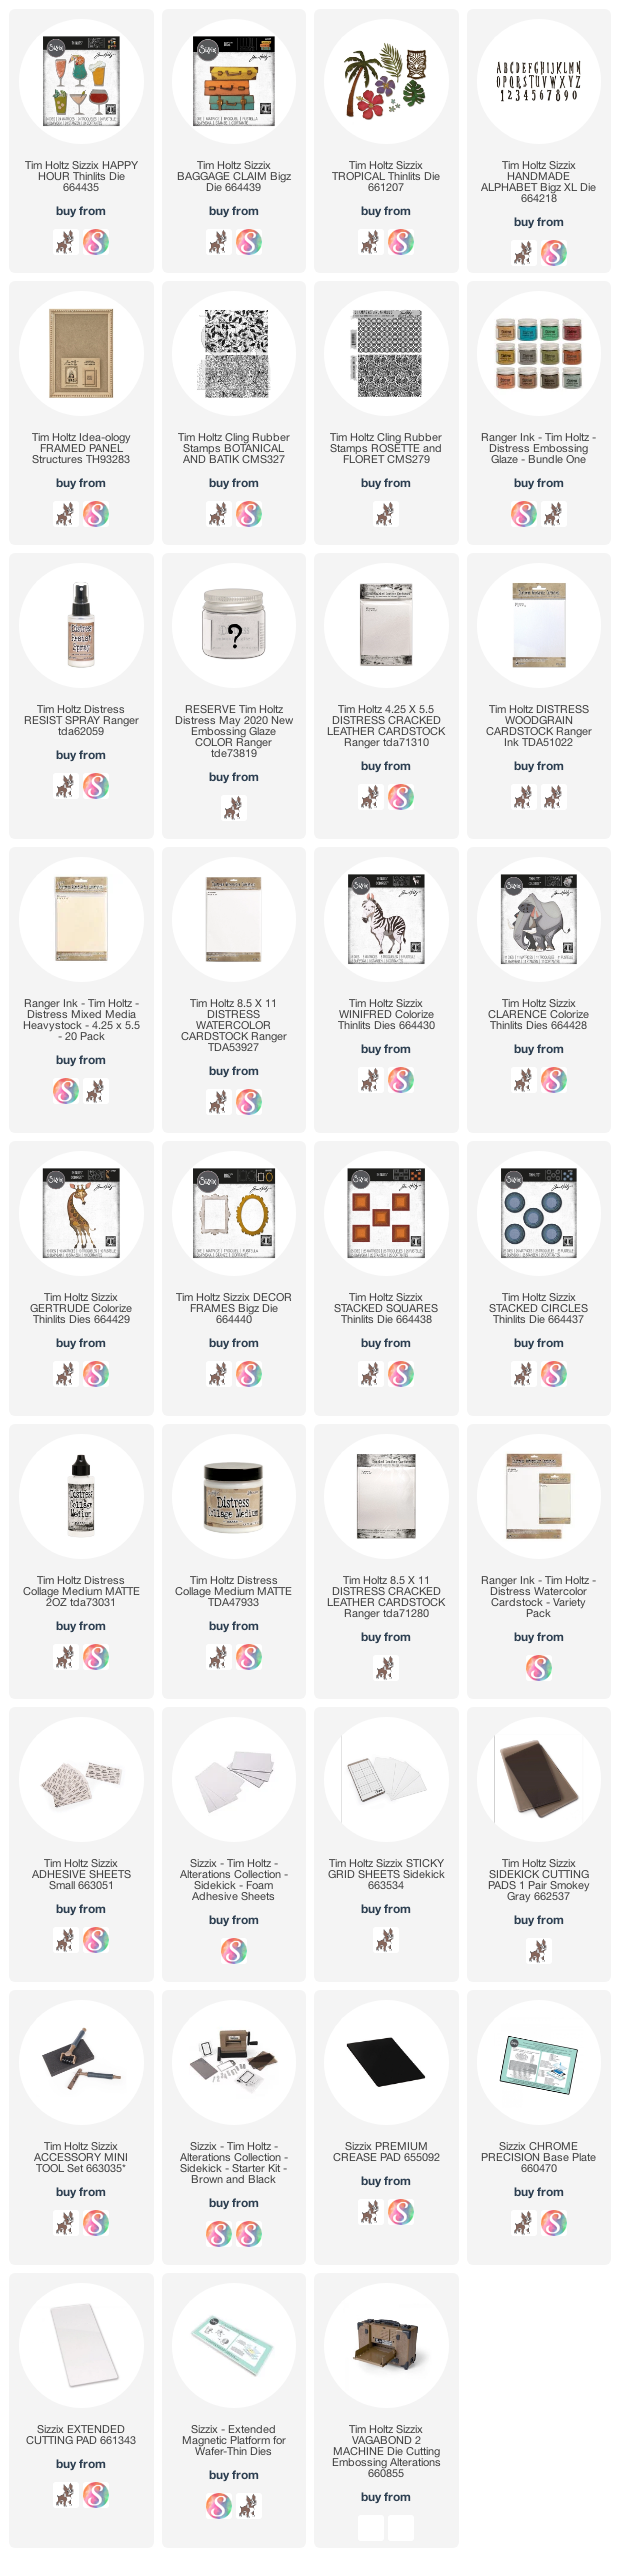
The main dies I showcase on this project are the Happy Hour, Baggage Claim and Tropical dies.
There are many textures and details going on with this
project, so get out your dies, papers, and mixed media products and head over to the Sizzix blog for the full tutorial.
Aloha!
Tami
I
am an affiliate with Simon Says Stamp and Scrapbook.com so the links
below send you to one of those stores depending on which logo you
choose. If you wish to purchase something from either store and use one
of my links below, I get a small percentage of your order, at no additional cost to you. This helps me to defray the costs of this blog, the time, the ideas and tutorials I post here. Your help is greatly appreciated! Thank you!