Showing posts with label Snarky Cats CMS392. Show all posts

Monday, November 16, 2020

Snarky Cat Framelits - Window Card

More Snarky Cats! I feel like these are Apartment Snarky Cats, all peeking out the windows while their humans are at work and most likely getting into a little mischief where they can.

 And surprise, this card was inspired by one of my late night binge session of Jennifer McGuire's youtube channel. LOL! I was fascinated by her Tulle Window Cards episode from 3 years ago. While I didn't use any tulle, I liked her technique for cutting windows and learned some great tips from it. So here is my version.

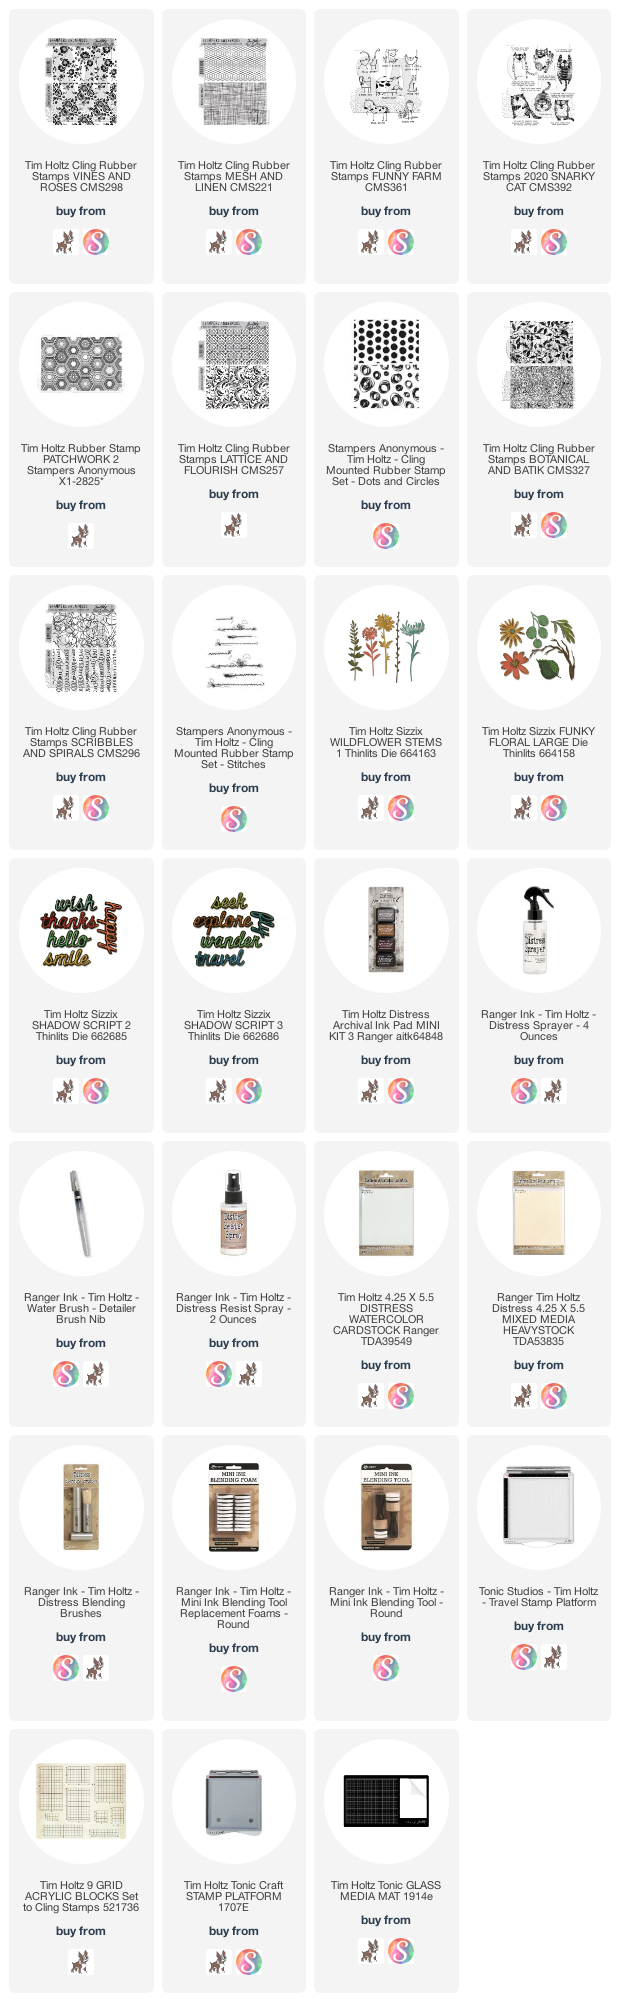
Let's begin with the background panel on the front. This was done using the Micro Glaze Resist technique. I applied some Micro Glaze on a piece of the new Distress White Heavystock through the Doodle Art 2 THS142 Layering Stencil. Then I did the Wrinkle Free Distress technique of pressing the paper into Crackling Campfire, Speckled Egg, and Evergreen Bough Distress Inks on my nonstick Media Mat. I cut a .25" larger mat for it out of White Heavystock using the new Deckle Trimmer and then cut the center out of it making it a mat frame to go behind the front panel. This frame method is so I could sandwich the cats behind the front panel and in front of the Kraft card base, without having big bumps.

While I know that these Snarky Cat framelit dies have eyes, noses, faces, and even a mouth die included, the outside shape dies are the money dies for me. That is all I used on this card, but adding the other details would be great too. I cut two of each cat. One from the Distress White Heavystock, and one from the Kraft Heavystock. This kitty was supposed to be dangling from something high up, and reaching down for the other cat's tail.
The kitty in the middle apartment is trying to be all stealth, maybe sneaking up on some birds outside the window. I made the decision to let her tail stick out the window, kind of being a temptation for the cat in the top floor apartment.
The kitty on the ground floor reminds me of my grey cat, Lady Jane Grey. She is always kind of just observing what my other cats are doing and can often be found just staring at things. I felt like this one felt like her. You can see that I needed to trim parts of the cats off so they didn't show outside of their apartment windows.
I cut the windows in the front panel first so they were equally spaced apart, then I centered the panel on the kraft card base and outlined them on the front of the Kraft Cardstock. Put the dies over the pencil lines and cut them out of the card base. Then I colored the cats and placed them in the windows, cutting off the excess and covering them when I put the front panel on. That way they were sandwiched in between.  
I didn't think of this before I attached the cats, but I should have put the kraft heavystock on the back of each cat before instead of trimming them off which you can see when you open the card. The reason I cut a kraft cat and a whitestock cat is because I stamped and watercolored the cats on the white heavystock, but when you open the card and the back of the cats is white, it looks weird surrounded by the kraft.

Lastly, I cut a white mat for the inside of the card using the Deckle Trimmer. I aligned the sentiment so that it fit hidden behind the front cover and was a surprise when you opened it. 

This card takes a little bit more of planning, but once you get started and measure everything, it's goes together fairly easily. Thank you for stopping by!

Tami

I am an affiliate with Simon Says Stamp and Scrapbook.com so the links below send you to one of those stores depending on which logo you choose.  If you wish to purchase something from either store and use one of my links below, I get a small percentage of your order, at no additional cost to you. This helps me to defray the costs of this blog, the time, the ideas and tutorials I post here. Your help is greatly appreciated! Thank you!
Monday, August 3, 2020

Cards for Kindness Post 7 - Scribbles

Today's Cards for Kindness that I'm focusing on are the two blue card backs in the bottom right corner.  It's not a color scheme I use often so I found this Iron-off Embossing Resist Technique to be a fun time to try some colors I don't usually use.
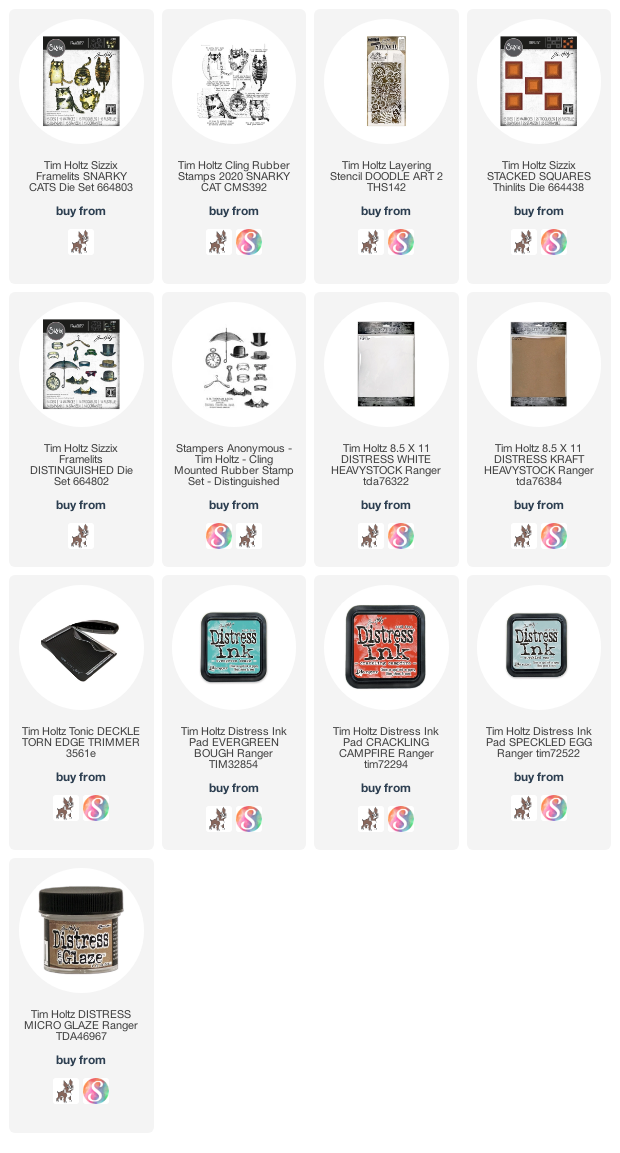
The stamp I picked for this background is Scribbles from Scribbles & Spirals CMS296 by Tim Holtz and Stampers Anonymous. Stamp the background onto the smooth side of a piece of Distress Watercolor Cardstock in Clear Distress Embossing Ink. Then cover with Clear Superfine Detail Embossing Powder and heat emboss. Then color the background with Distress Inks. I used Faded Jeans and Peacock Feathers Lastly, mist with water and set aside to dry.
When it is dry, lay a new piece of Distress Watercolor Cardstock smooth side down onto the inked side of the stamped piece. Thoroughly iron over them with a hot, dry iron until the embossing powder has had a chance to reheat and soak into the new piece of Watercolor Paper.
It should look like the one on the left above.
Ink it the same way you did the first one, mist and let it dry. Notice how the original maintained the detail and white resist, but the second one on the left has a softer, swirly water feel to it.
Both of these cards open from the side and so I cut the front flap short to For a coordinating piece of paper, I used the Linen stamp from Linen & Mesh CMS221 and inked it with the same Distress Inks, then sprayed it lightly with water and did a watercolor stamp onto another piece of Distress Watercolor Cardstock. I Studio Calico sequins that I've had in my stash for years.
For both of these cards I chose images and sentiments from the Snarky Cats CMS392 set. I know these are cards for kindness, but we all have such different personalities, preferences and things we think are humorous. Sometimes kindness looks like reaching out with a little snark and sarcasm to lighten the mood or make someone chuckle.

Let's go spread some kindness,
Tami

I am an affiliate with Simon Says Stamp and Scrapbook.com so the links below send you to one of those stores depending on which logo you choose.  If you wish to purchase something from either store and use one of my links below, I get a small percentage of your order, at no additional cost to you. This helps me to defray the costs of this blog, the time, the ideas and tutorials I post here. Your help is greatly appreciated! Thank you!

Saturday, July 25, 2020

Cards for Kindness Part 4 - Lattice

The Cards for Kindness today took a really bright turn.
On the smooth side of a piece of Distress Watercolor Cardstock, stamp the Lattice stamp from the Lattice & Flourish CMS257 set in clear embossing ink. Then cover it with clear embossing powder and heat emboss. Color over the embossing with a rainbow of Distress Inks using a blending tool. Then mist with water and set aside to dry while you make other backgrounds.
Once it is dry, put a second piece of Distress Watercolor Cardstock smooth side down on top of the first piece. Heat through with a hot, dry iron. Take your time to make sure the embossing powder remelts and soaks in to the second piece of paper. It should look like the one on the left above.
Then color the second piece with the same rainbow colors. You can see how the thin lines and detail remain on the first background on the right, and how the detail blends out on the second one on the left.
I wanted a coordination paper to go along with the Lattice, so I inked the Dots stamp from Dots & Floral CMS220 in the same rainbow pattern. Once the Stamping is dry, use a blending tool and lightly blend the same rainbow background colors over the dots so that it softens it.  Then cut the dots into strips and apply them to the right side of the inside of the card bases. I did a quick machine zig zag down the right side.
Trim the lattice backgrounds to 5.5x3.5 and trim the front of the cards to the same size. That will show part of the strip of rainbow dot paper. Stamp a couple of the small Stitches CMS365 stamps in the top and bottom corners of the lattice piece. Then mat the focal point stamps and you are done.

I'm happy with how bright and colorful these cards turned out.

Now let's go out and spread some kindness!
Tami
I am an affiliate with Simon Says Stamp and Scrapbook.com so the links below send you to one of those stores depending on which logo you choose.  If you wish to purchase something from either store and use one of my links below, I get a small percentage of your order, at no additional cost to you. This helps me to defray the costs of this blog, the time, the ideas and tutorials I post here. Your help is greatly appreciated! Thank you!