


I also stamped the larger tree in the bottom left of the card, as well as onto some Judikins masking paper and fussy cut it out. I masked off the large tree and still had the mask on the cabin stamp. Then I stamped just the tree portions from the cabin stamp in the top left corner of the card. I really felt like this gave the card some depth. To really get some white areas on the trees, I painted a bit of white paint in areas where the stamp looked like it had some snow piled on the trees. Next I stamped the deer in the center and I watercolored everything.

To finish it off, I heat embossed a Christmas Tiny Text onto a thin piece of black cardstock and attached it over the trees in the upper right corner.


I couldn't decide between the gold and silver foil, but I'm glad I went with the gold as I feel like it stands out more on this background.
Thank you so much for stopping by to see these cards. They were a lot of fun to put together and I hope they spark some Christmas Card inspiration for you.
Tami
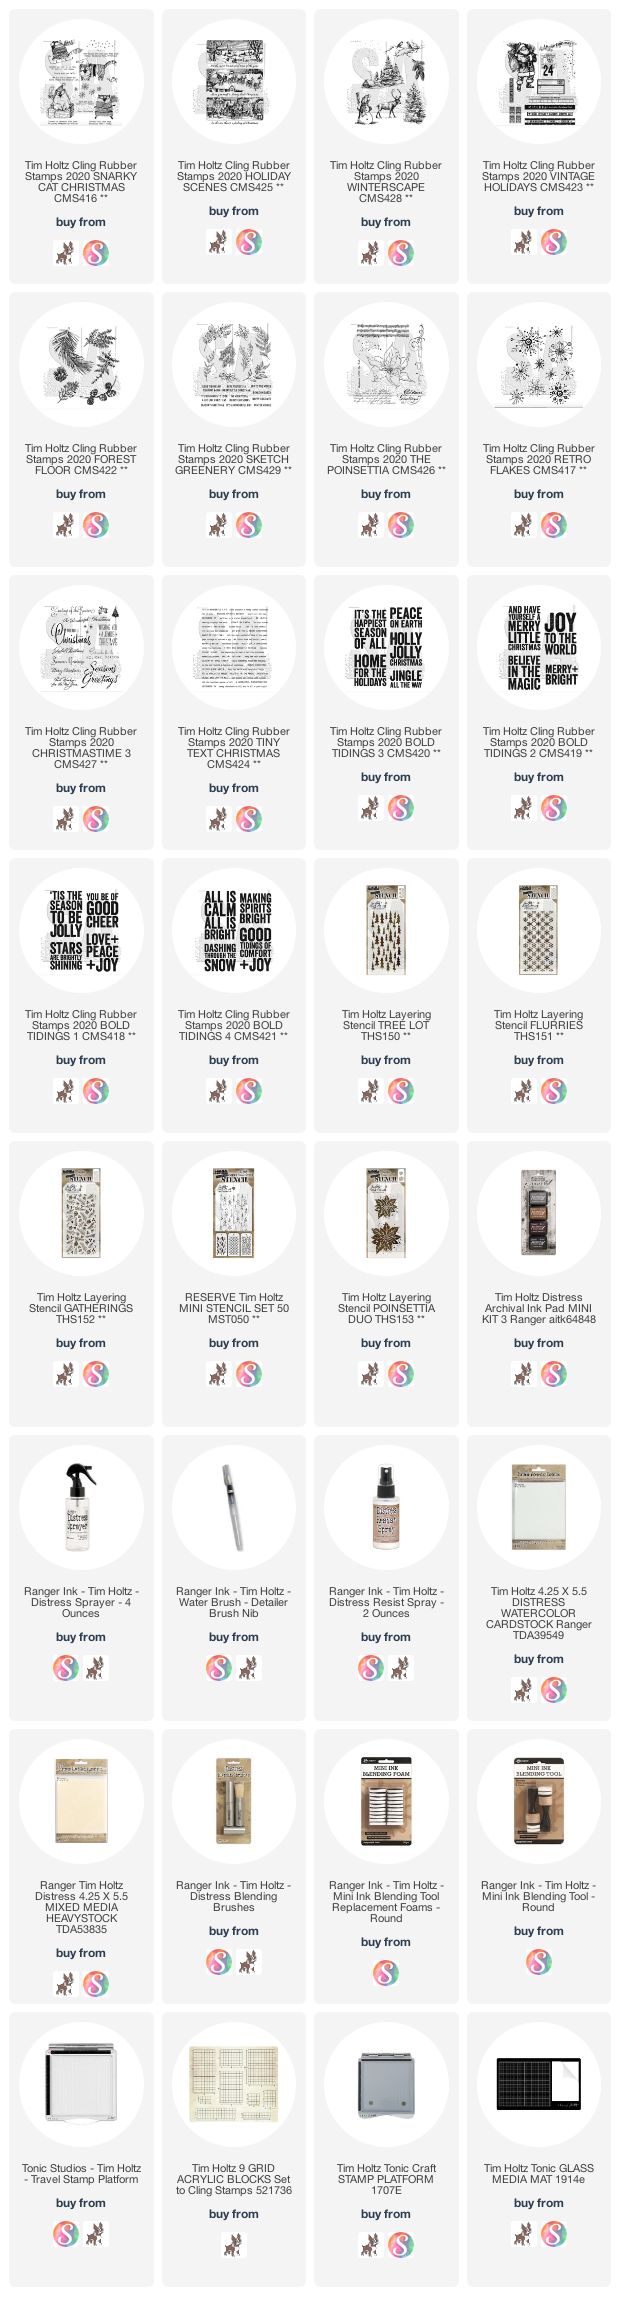
I am an affiliate with Simon Says Stamp and Scrapbook.com so the links below send you to one of those stores depending on which logo you choose. If you wish to purchase something from either store and use one of my links below, I get a small percentage of your order, at no additional cost to you. This helps me to defray the costs of this blog, the time, the ideas and tutorials I post here. Your help is greatly appreciated! Thank you!
1 comment:
Really like the "Minked" one...I finally got my Mink Ink, but haven't tried this technique Yet...got to get it in gear...LOL...
Post a Comment