How about some quick table setting ideas for Christmas parties? I used several of the Bigz Dies from the Tim Holtz Sizzix Chapter 3 and 4 releases to make some very quick nameplates for a festive party, Christmas tea, or for the meal on the big day.
Let's start with the Wood Slices from Chapter 4.
This die has two sizes and comes with an embossing folder. The larger slice is the one I used for this standing nameplate.
You will do the following few steps for each name plate shown below:
The Holly is from the new Deck the Halls thinlit set. So many good bits in that one!
The name font is the brand new Alphanumeric Classic Uppercase. It's so bold, I love it! The shadow effect was just from cutting the letters twice and off-setting them as you attach them. Super fast and super easy
While we are on the Wood Slice, I made a gift tag out of the small slice.
I folded a small piece of Kraft paper cardstock in half, (only in half.)
Again, put the fold just inside the cutting edge and run it through the cutting machine.
Emboss it, punch a hole in the top where the fold is for tying jute or string through to make a tag. Add a few holly leaves and berries from Deck the Halls.
Chapter 3 dies that I used to make name place settings were the Tree and the Cauldron.
Follow steps 1-5 above and then decorate as you see fit.
For these name place settings I used Kraftstock, and sanded the edges.
The alphabet on both of these place settings is the Bigz XL Handemade alphabet.
There you go! A couple of quick ways to deck your table for the holidays.
Tami
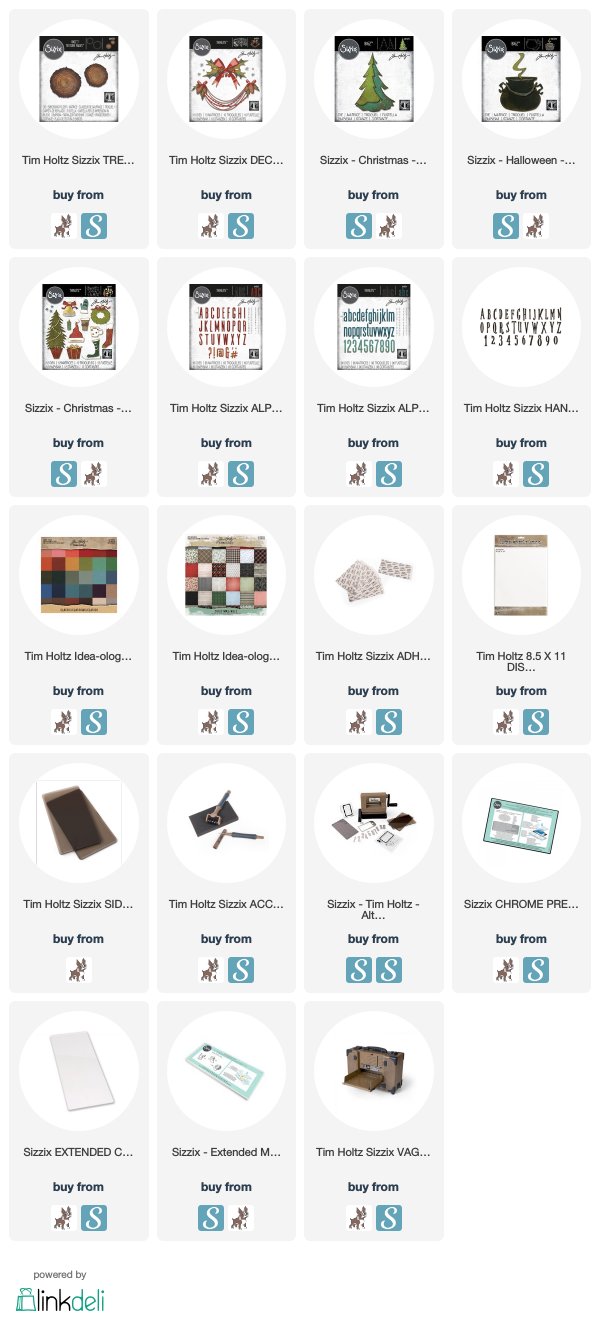
I am an affiliate with Simon Says Stamp and Scrapbook.com so the links below send you to one of those stores depending on which logo you choose. If you wish to purchase something from either store and use one of my links below, I get a small percentage of your order, at no additional cost to you. This helps me to defray the costs of this blog, the time, the ideas and tutorials I post here. Your help is greatly appreciated! Thank you!
Let's start with the Wood Slices from Chapter 4.
This die has two sizes and comes with an embossing folder. The larger slice is the one I used for this standing nameplate.
You will do the following few steps for each name plate shown below:
- Score and fold a piece of kraft paper cardstock in half, then score 1/2" on each side of the fold.
- Fold them to form a W shape.
- Lay this on the die with the fold just inside the cutting edge, and cut.
- Glue the top together.
- You end up with a little base at the bottom that allows the piece to stand up on it's own.
Now back to the wood slice, before you glue it, run it through the embossing folder. Line up the little tab so it's going the right direction.
The Holly is from the new Deck the Halls thinlit set. So many good bits in that one!
The name font is the brand new Alphanumeric Classic Uppercase. It's so bold, I love it! The shadow effect was just from cutting the letters twice and off-setting them as you attach them. Super fast and super easy
While we are on the Wood Slice, I made a gift tag out of the small slice.
I folded a small piece of Kraft paper cardstock in half, (only in half.)
Again, put the fold just inside the cutting edge and run it through the cutting machine.
Emboss it, punch a hole in the top where the fold is for tying jute or string through to make a tag. Add a few holly leaves and berries from Deck the Halls.
Chapter 3 dies that I used to make name place settings were the Tree and the Cauldron.
Follow steps 1-5 above and then decorate as you see fit.
For these name place settings I used Kraftstock, and sanded the edges.
The alphabet on both of these place settings is the Bigz XL Handemade alphabet.
The presents on both of these are from the Festive Things die set .
There you go! A couple of quick ways to deck your table for the holidays.
Tami
I am an affiliate with Simon Says Stamp and Scrapbook.com so the links below send you to one of those stores depending on which logo you choose. If you wish to purchase something from either store and use one of my links below, I get a small percentage of your order, at no additional cost to you. This helps me to defray the costs of this blog, the time, the ideas and tutorials I post here. Your help is greatly appreciated! Thank you!


1 comment:
These are gorgeous and made me smile.I would love one of these at my lace setting!
Post a Comment