The Glorious Gatherings stamp from Tim Holtz and Stampers Anonymous is so beautiful! It is made to be used by stamping only part of the image on cards, but its so lovely that I wanted to use the entire stamp. So here is how I did it.
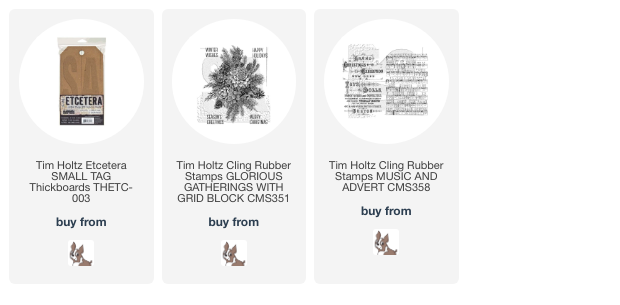
I measured a piece of plain Collage Paper to be big enough to cover one of the Small Etcetera Tags from Stampers Anonymous.
Using the stamp platform and either Black Soot or Ground Espresso Archival Ink, I stamped the image into the middle of the piece of Collage Paper.
Here you can see that I centered the paper and have it secured with the magnets.
I positioned the stamp onto the collage paper.
Then I inked up the stamp and made sure the entire image was clear. If you feel the image isn't as dark as you would like, then add a little Black Soot here and there for definition.
I dried the ink and then pulled out a bunch of Distress Markers in the colors I wanted.
Scribble them onto the Glass Media mat and then water color the image.
Use a watercolor brush and the markers and color in the image.
When that was finished, I painted the Etcetera Tag white, let it dry, and then applied the collage paper over the tag by brushing a generous, but even layer of Collage Medium over the entire tag and then laying the image over the tag. Don't set it down until you are positive it is in the right position. Then gently smooth it down with a soft, dry cloth from the top to the bottom as quickly as possible. There will be NO COLLAGE MEDIUM ON TOP OF THE IMAGE.
As you can see, I sanded around the edges, and inked with brown Distress Ink just on the sides. Then at both the top and bottoms. smear some Grit paste or Opaque Crackle Texture Paste, both from Ranger, to look like snow drifts. Set it aside to dry. Then spray the entire piece with Distress Resist Spray and dust it with Distress Rock Candy Glitter before it dries. You want the entire tag to have a slight shiny, glittery feel but not to cover or overwhelm the image.
Get some seam binding ribbon and dye it green with Shabby Shutters or Bundled Sage Distress Ink. Ink up the Music CMS358 background stamp with Black Soot ARCHIVAL and lay the ribbon over a line of music. Carefully press down so the line of music is centered on the ribbon.
To make a sentiment that looks like it was painted on wood It takes several steps.
Stamp the sentiment on plain Distress Mixed Media Heavystock.
Emboss it with Superfine White Embossing Powder from Ranger Ink.
Color it with various Distress Stains.
Start by swiping several colors from left to right and keep adding until you get the color you like.
At this point it looks pretty good, but it can look even better with just a couple more steps.
You need the 3-D Lumber Texture Fade, Archival Ink and your sentiment.
Ink the raised areas of the Texture Fade with Archival Ink in Black Soot or Ground Espresso.
Spray the sentiment with a little water on both sides, then run it through your die cut machine 3 times for 3-D
Voila! You have a wood grain sign that looks like it was painted and distressed with years in the elements.
It's amazing how much depth you get when you ink the raised areas so that the dark ink is in the woodgrain.
I love how the ink goes into the embossing powder to make it look weathered.
I added more distress around the edges, and cut the ends so it looked like a plank. NOTE: the reason I didn't use my favorite Planks die for this is that the sentiment is too big and it doesn't fit on the biggest plank. I added a few Tiny Fasteners and I was done.
Have a creative day!
Tami
I am an affiliate with Simon Says Stamp. The links below send you to
their store. If you wish to purchase something and use one of my links
below, I get a small percentage of your order at no additional cost to
you. This helps me to defray the costs of this blog and my YouTube channel, the time, the
ideas and tutorials I post here. Your help is greatly appreciated! Thank
you!


5 comments:
I have not tried this technique of stamping onto collage paper, coloring and then attaching it to my project. I can see where that would me of great benefit if you were to mess up on the stamping or coloring, you would not ruin the project. I really like that you stamped the whole image...it is fabulous...
A beauriful tag x
FabUlous and I am going to try the woodgrain word technique. Than you
I have never stamped on collage paper. I usually just try to get a good impression right on the project....I do love the TH stamp positioner for this.
Lovely project.
this has been one of Tim's best ever Christmas releases and I go back to his beginnings. I'm old. so old. your techniques always fascinate me, leaving me with something to try. Just wanted to say a big thank you for everything you have shared through this Christmas season going all the way back to Halloween. I have tried so many of the things you have shared. thank you as always for sharing and Merry Merry Christmas.
Post a Comment