Thursday, July 3, 2025

Eek! Floating Front Card - Whimsy Stamps

 This is my next installation in my Halloween in July blog posts. This was another post that had been lost in my blog post drafts that had never been published. 
 
Last year I enjoyed making a few floating front cards. The EEK! word die from Whimsy Stamps made for a perfect floating card front. 
Here is the video tutorial I made for this card. I did post this tutorial last year, I just never posted this blog to accompany it.  If you watched this tutorial last year, I hope you watch it again this year and get reinspired.

I just love the way the EEK! is so perfect for this card technique. 

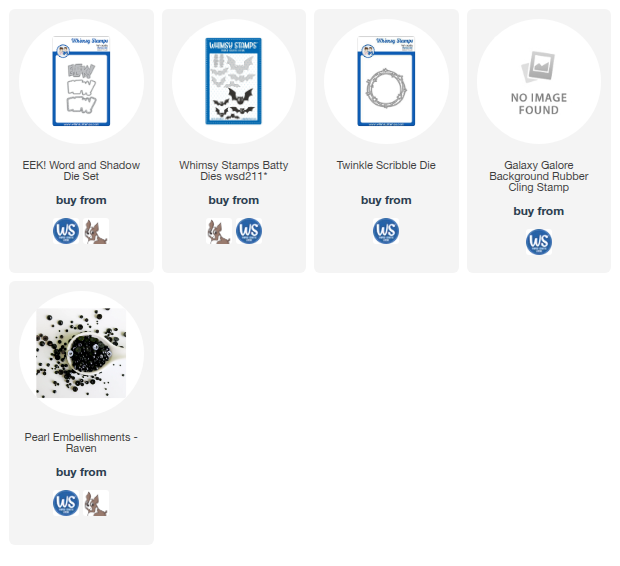
The background was stamped with the Galaxy Galore Rubber Stamp which has since been retired, so lucky for you if you have it. If not, and starry background stamp will do. I stamped it in clear embossing ink and embossed it with clear embossing powder on watercolor paper. 
My next step was to make a blended purple background with Distress Inks and a blending tool. Don't use stains as it will soak under the stamp and the technique won't work. Once you have the background blended, spray it with a matching Distress Spritz and let it dry naturally. Then place a clean piece of paper over it and iron it with a hot iron to remelt the embossing powder and it will soak into the paper you placed on top. Now your background is finished.

The bat is black cardstock sprayed with Empty Tomb Distress Mica Stain which is a seasonal product from Ranger Ink. I added details to the Batty die with a white Signo pen. 

The Twinkle Scribble die was cut from a piece of watercolor cardstock that I had colored with Spiced Marmalade and sprayed with Spice Marmalade Spritz. 

The EEK! letters were also cut from watercolor cardstock colored with Spiced Marmalade and Spiced Marmalade Spritz. The EEK! word die has two shadows. The first shadow I just cut from watercolor cardstock.
  
The second shadow makes the card front float. Your card base must be a top folding A2 card. Align the bottom of the second shadow with the bottom of the card front. Place it on a cutting mat and align the top cutting plateabout 3/4 of the way up the die. Leaving the top 1/4 of the die uncovered as you do not want to cut it out. Run the die through the die cut machine and then trim the sides of the card off even with where the top of the cutting mat was aligned. This will leave just the bottom of the larger shadow hangin below the top square part of the card. Then attach the star background to the front and inside bottom of the card. Add the title and the Twinkle wreath and bat. 
I finished it off with a few Raven Pearl Embellishments from This Calls For Confetti.  
 
Of course the video tutorial does a much better job of showing how all that is done so be sure to check it out.
 
Thank you again for following along and I wish you a most creative day!
Tami
 
I am an affiliate with Whimsy Stamps, Simon Says Stamp and Scrapbook.com. The links below send you to one of those stores. If you wish to purchase something and use one of my links below, I get a small percentage of your order at no additional cost to you. This helps me to defray the costs of this channel, the time, the ideas and tutorials I post here. Your help is greatly appreciated! Thank you!
Wednesday, July 2, 2025

Voyage Journal - Stampers Anonymous


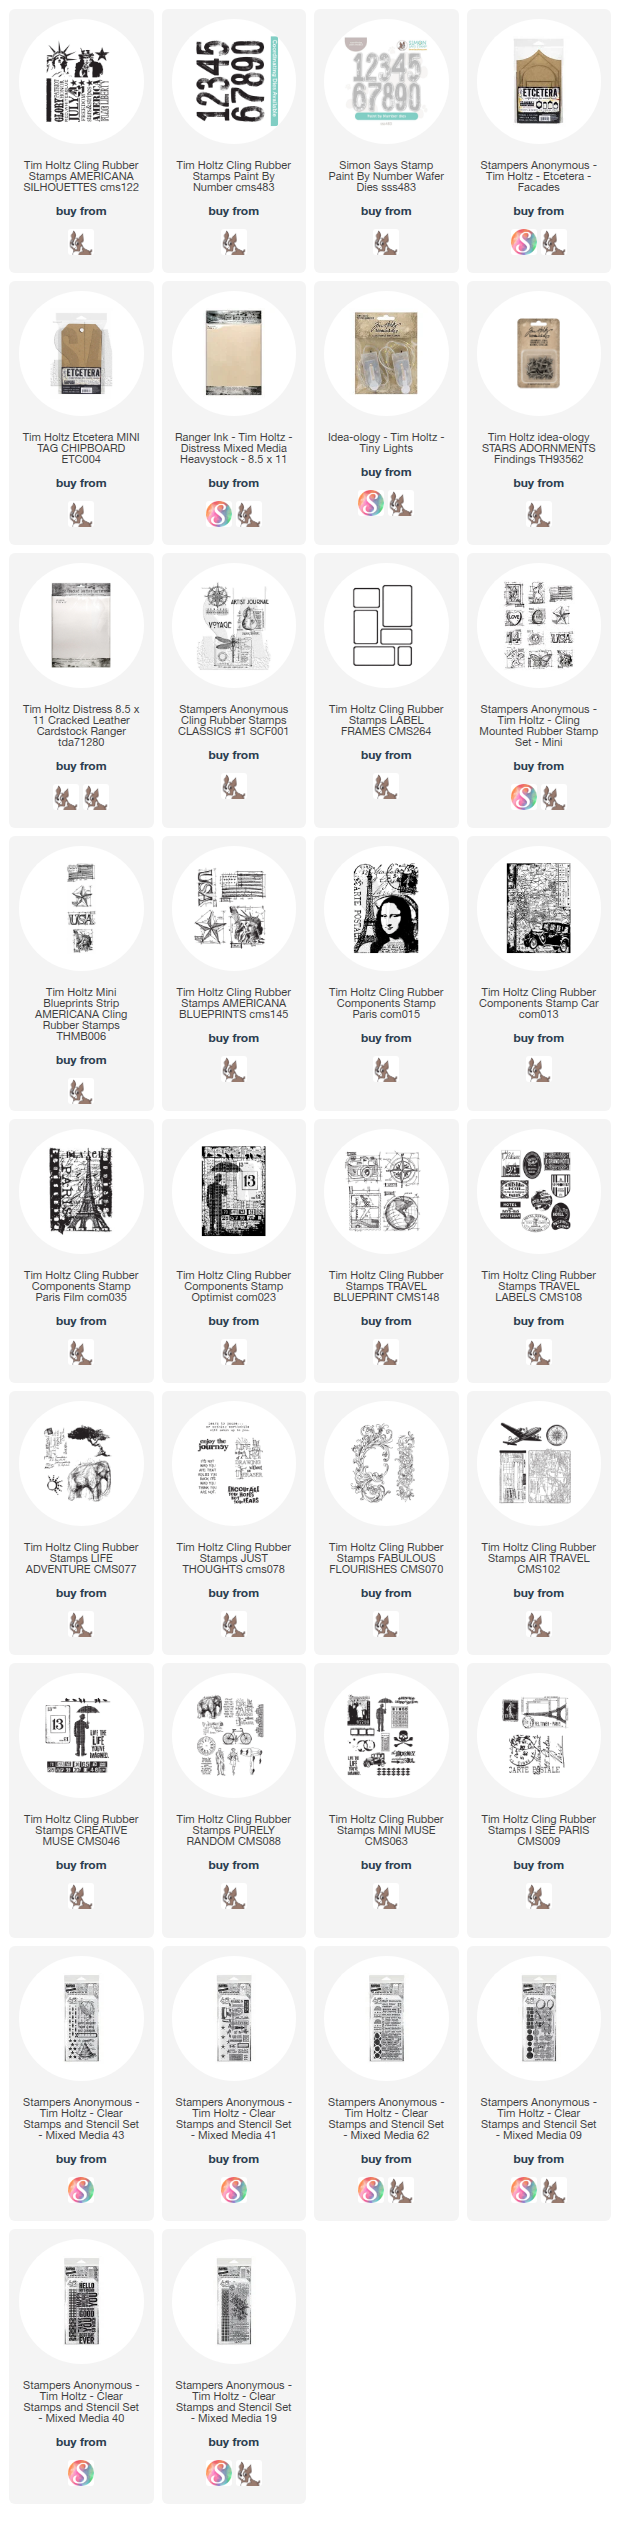
The last of my Stampers Anonymous Tim Holtz Summer Travel Curation projects. Because it was a travel theme, I wanted to make something that could be a travel journal or a place to do a quick documentation of some summer trips or experiences. So I used several of the stamp sets from this curation and added one too.
For the cover I used two Mini Etcetera Tags and covered them with Distress Cracked Leather Cardstock that I colored with Brushed Corduroy Distress Stain. Once it was colored and dry I attached it to the front and back of each tag and reinforcer and sanded the edges. 
Before I attached any labels, I went over the cracked leather covers with Distress Collage Medium to seal them and to make them seem like real leather. 

The next thing was to stamp the images from Travel Labels CMS108. I stamped these with Distress Archival Ink onto Distress Mixed Media Heavystock. Then I cut them out by hand and attached them to the front of the front tag and the back of the back tag.
On the Palace label I stamped it and then I did color it with Distress Inks. 
For some of the labels I had to mask off areas so I could stamp them in different colors. 
The front cover title label is a piece of Distress Mixed Media Heavystock that I stamped the map from Air Travel CMS102 very lightly in Antique Linen. I had also colored the paper with Antique Linen Distress Spray Stain. Then I stamped a label from Label Frames CMS264 in Distress Ground Espresso. I then cut apart the sentiment Artist Journal from Classics #1 SCF001 and stamped both the Journal Voyage onto the label.
Once I had attached the travel labels and the title label with DistressCollage medium, I also went over each label with a layer of Collage Medium to seal them.
Then to finish off the front cover, I added two Idea-ology Machine Heads which are retired, but I have some in my stash and you might too.
On the inside front cover I stamped the ticket from Air travel and attached it to make a pocket to hold other stamped pieces that I can use in the travel journal as I finish the pages of each trip. 
These are some of the elements I stamped from this curation to tuck into the front cover pocket. I used the following stamps : Paris COM015, Paris Film COM035, I see Paris CMS009, and Mini Muse CMS063
To make all of the journal pages, I cut several piees of Distress Mixed Media Heavystock in half and then used the tags to cut to size. I made reinforcers by using circle punches. I edged each tag front and back with Antique Linen Distress Ink before I started stamping. For this sample, I only stamped on the front of each tag thinking I would use the backs for photos, journaling and adding some of the stamped ephemera from the front and back cover pockets.
This first page uses images from Air Travel and a sentiment from Just Thoughts.
The second page uses and image from I see Paris.
The third page features a Travel Blueprint image and the sentiment is from Creative Muse. 
The images on this page are from Creative Must an the sentiment is from Just Thoughts.
This page would be great for a trip to NY. The image and sentiment are both from Americana Silhouettes.
I added this stamp set because I had to have images for either a trip to Africa or perhaps some place like Disney's Animal Kingdom. The images are from Life Adventure CMS077, Purely Random CMS088, and the sentiment is from Just Thoughts.
The inside back cover pocket is made from the same airline ticket stamp. 
The stamped ephemera I tucked inside are from Creative Muse, Mini Muse, I See Paris, Car COM013, and Optimist COM023.

Here is a final look at the back cover, 

I hope you found the details to be helpful. This really went together much more quickly than I thought, and would make such a great way to document your summer trips or travel throughout the year. 

Thank you so much for reading through this far! Now let’s go shine brightly, and have a creative day! 😃

Tami  

I am an affiliate with Simon Says Stamp, Ranger Ink, and Scrapbook.com. The links below send you to one of those stores. If you wish to purchase something and use one of my links below, I get a small percentage of your order at no additional cost to you. This helps me to defray the costs of this blog, the time, the ideas and tutorials I post here. Your help is greatly appreciated! Thank you!

Tuesday, July 1, 2025

Season’s Creepings - Whimsy Stamps

Hey Makers! While I have been posting on my blog recently, I noticed I seemed to have a bunch of unpublished blog posts for projects from last year and even some from years past that were Halloween projects that I started here on my blog, but just never got the post published. So for July, I am going to finish these unpublished posts and share them since July is usually the month where I am busy behind the scenes making Halloween stuff for upcoming releases or assignments. She here is the first of those past projects.
 
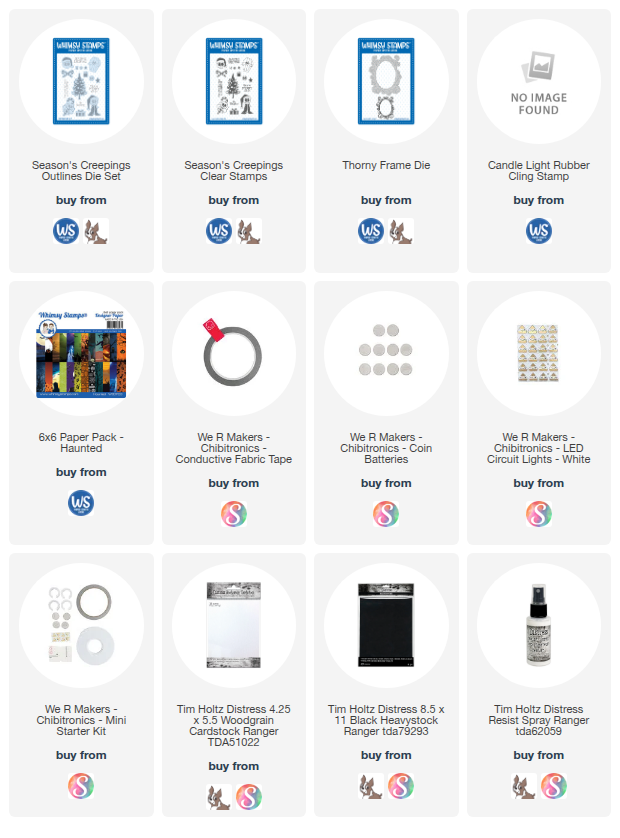
I am looking forward to another fun year of Halloween creations with Whimsy Stamps. That will be starting soon, so before we do I thought it would be fun to look back on some cards I didn't get posted here last year in the craziness of my studio overhaul. so here is the first unpublished blog post I am sharing for Halloween in July - this card was made in 2024 as part of a Whimsy Stamps hop in conjunction with Chibi Tronics. I made a light up Halloween card out of a Whimsy Christmas Stamp and Chibitronics Lights
Here is my video tutorial which I hope makes sense . 😁
I just love how this card turned out. It is obviously inspired by Disneyland’s Haunted Mansion Holiday. 
These drippy orange candles are part of a Christmas stamp from Whimsy Stamps  called Candle Light which is now retired, but if you have it, awesome. 
Here you can see it lit up with the Chibitronics lights. The big frame in the background is the Thorny Frame from Whimsy stamps and it is cut from some long retired White/Grey Woodgrain paper from Tim Holtz and Ranger Ink. You can get a similar look by coloring your own with stains and inks on the regular Woodgrain oaoer. 
I put holes behind three of the flames so they would light up.
The skulls are from the Season's Creepings Stamp set and I just cut the skulls out by hand.
The black greenery was also part of the Candle Light stamp. 

You push on the Season's Creepings tag and that's How you get the lights to turn onl 

Thank you so much for watching and checking out this card.

I hope you have a very creative day!

Tami 

I am an affiliate with Whimsy Stamps, Simon Says Stamp and Scrapbook.com. The links below send you to one of those stores. If you wish to purchase something and use one of my links below, I get a small percentage of your order at no additional cost to you. This helps me to defray the costs of this channel, the time, the ideas and tutorials I post here. Your help is greatly appreciated! Thank you!

Sunday, June 29, 2025

Focus on the Good - Easy Z Fold card

Making this card is actually very easy and it's fun to decorate. I made this for the Stampers Anonymous Tim Holtz Summer Travel 2025 Curation. 
To begin, take an A2 side folding card and fold the front of the card back towards the fold. Then measure each secotion and make patterned, stamped or stenciled papers to fit on those sections,
For my card I stenciled my own patterned paper using the stencil in the Mixed Media Set Bold Sayings THMM140I used Uncharted Mariner and Brushed Corduroy Distress Inks.
On the backside of the front flap (which would normally be the front of the card) I taped off the edges and stenciled right on the Mixed Media Heavystock card base. You don't really see it, but if it is sitting on a desk, from the left side you would be able to see these panels and they would be plain so you do want something on them. This is a quick and easy solution but you could also use the other side of the papers you used on the front of the card.
To make it easier to pull the front panel out, I added this tab from one of my die sets and stamped the word Focus from the Focus on the Good sentiment in the Noteworthy 2 THMM162 Mixed Media Set.
The focal point is the camera from the Travel Blueprints CMS148. I stamped it in Black soot Archival Ink and colored it with Distress Inks.
The main sentiment is from the Bold Sayings Mixed Media Set and is also stamped in Black Soot Archival Ink.

I added a few retired metal embellishments from Idea-ology and there is my first Z Fold card. So fun!

 I sure hope you enjoyed that. Thanks so much for visiting. Now let’s go shine brightly, and have a creative day! 😃

Tami  

I am an affiliate with Simon Says Stamp, Ranger Ink, and Scrapbook.com. The links below send you to one of those stores. If you wish to purchase something and use one of my links below, I get a small percentage of your order at no additional cost to you. This helps me to defray the costs of this blog, the time, the ideas and tutorials I post here. Your help is greatly appreciated! Thank you!

Thursday, June 26, 2025

Rose Masterpiece Card

I'm really enjoying making with the Mixed Media Sets from Stampers Anonymous and Tim Holtz. I hadn't owned one before making for the curations this year so it's been fun to try out something new. These sets have a stencil that is half one stencil in the Tim Holtz line and half of another. Someone commented to me the other day and called it a Frankenstencil which made me laugh but it is a great description. Then the stamps are often resided versions of the signature red rubber stamps normally part of the Tim Holtz Stampers Anonymous line as Stampers has been making red rubber stamps over 100 years in Cleveland , Ohio as a multi generational family business. 

Today's card features one of my favorite Sets, Lady Rose THMM19. To finish this card, I added a few bits of Idea-ology and some twine. This card is very simple. I first stenciled the background using both parts of the stencil. The crosshatch side in Tattered Rose and the Burlap side is Frayed Burlap.
Then I stamped the beautiful rose and the sentiments in Distress Archival Ground Espresso. Archival ink isn't water reactive, so I dried it and then could color it in with Distress Inks in Victorian Velvet, Tattered Rose, and Bundled Sage.
I did stamp some of the speckles from the stamp set onto the background in Ground Espresso Archival as well as some of the gothic text in Frayed Burlap Distress Ink. The text is very light but you can see it in person.
I finished off by stamping a few of the cancellation stamps in Victorian Velvet in a few places on the back ground, and coloring two mats with Bundled Sage and Victorian Velvet over a Ground Espresso base.
 It all came together as a very quick and simple, but lovely encouragement card to send to a loved one.

Now let’s go shine brightly, and have a creative day! 😃

Tami  

I am an affiliate with Simon Says Stamp, Ranger Ink, and Scrapbook.com. The links below send you to one of those stores. If you wish to purchase something and use one of my links below, I get a small percentage of your order at no additional cost to you. This helps me to defray the costs of this blog, the time, the ideas and tutorials I post here. Your help is greatly appreciated! Thank you!