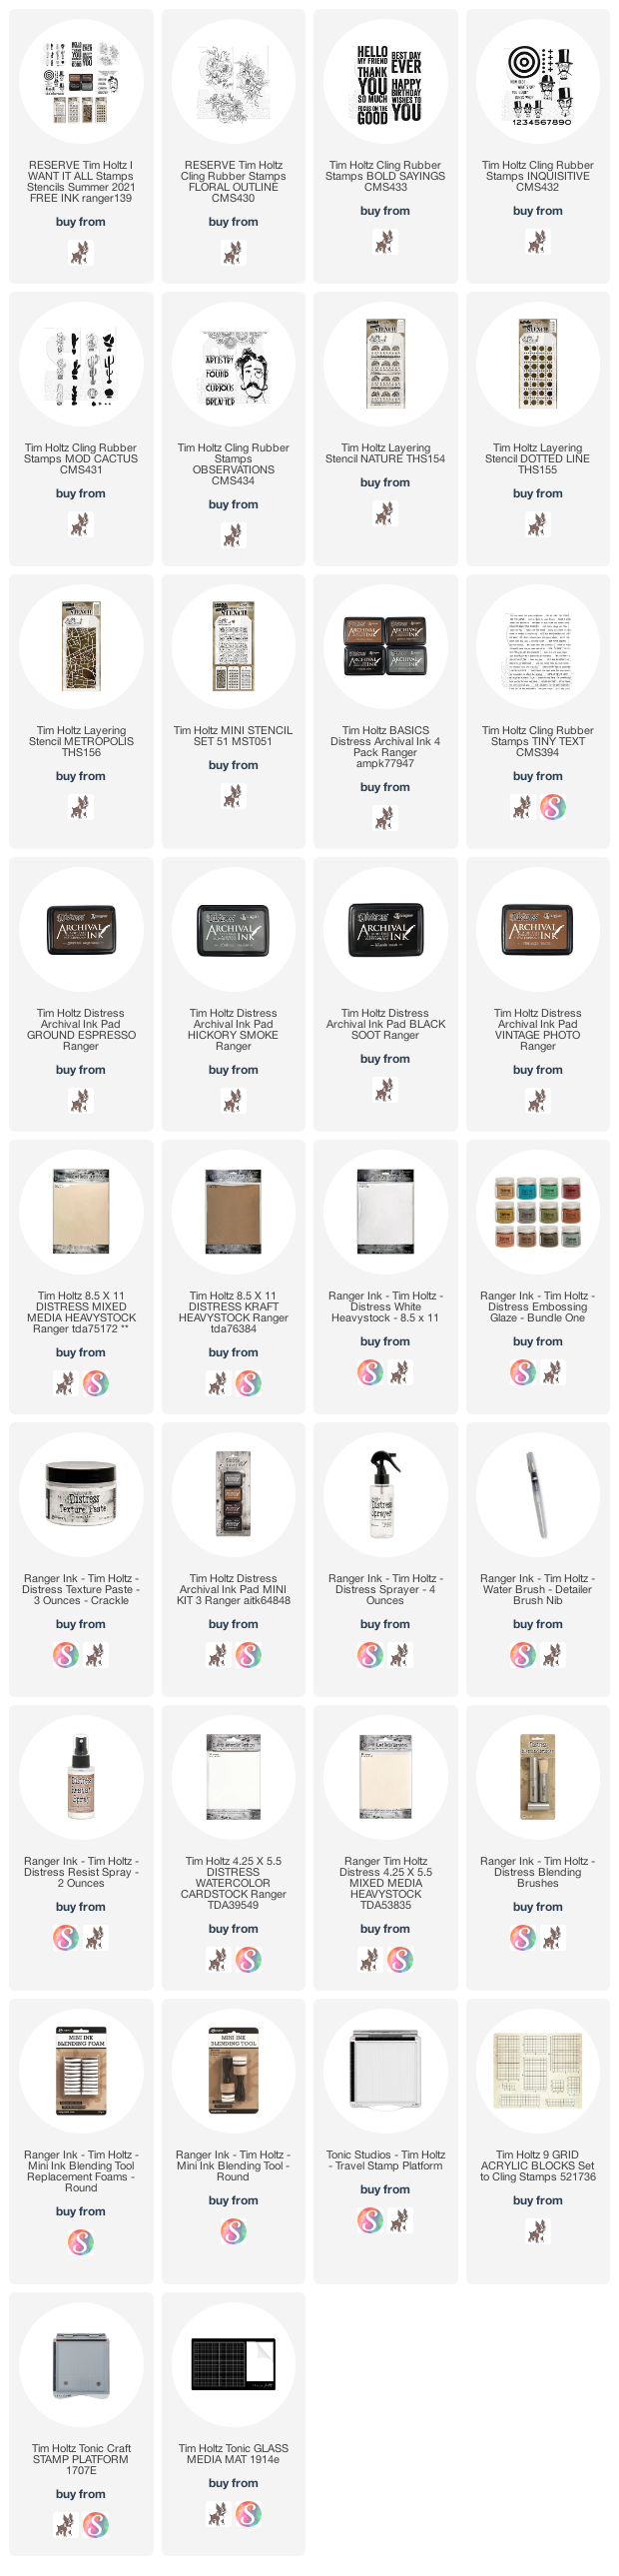
This trio of cards were made using the Flower Outlines CMS430 stamps that are part of the new June 2021 Stampers Anonymous release from Tim Holtz. Below is a casual tutorial video as to how I made these cards.
As I say in the video, I was originally inspired by a card I saw made by Keia Smith @confessions_of_a_paperholic I put my own twist to it by taking inspiration from her idea and then putting what I think of as a Disney Ink and Paint Department feel to it. A big thanks to Keia for the original inspiration for these cards.
Thank you so much for stopping by. I hope you found the video tutorial helpful even though it was a quick, very casual tutorial. As always, I really appreciate your support!
Tami
I
am an affiliate with Simon Says Stamp and Scrapbook.com so the links
below send you to one of those stores depending on which logo you
choose. If you wish to purchase something from either store and use one
of my links below, I get a small percentage of your order, at no additional cost to you. This helps me to defray the costs of this blog, the time, the ideas and tutorials I post here. Your help is greatly appreciated! Thank you!
Wow! The Tim Holtz Stampers Anonymous reveal was today and it was worth the wait wasn’t it? So much inspiration and I am so honored to have gotten to create alongside so many incredible makers.
If you saw it all and you want it all, head over to Simon Says Stamp ( I'd greatly appreciate if you used one of my affiliate links below) and you can get it ALL for one great price which actually means you get the new inks for FREE! They have an amazing I WANT IT ALL Tim Holtz Summer 2021 bundle that can't be beat.
This card was made by putting Distress Crackle Paste through one of the new layering stencils, THS154, then adding Distress Embossing Glaze, and lastly, spraying the whole background with Distress Spray Stains. This is a technique developed by Stacy Hutchinson and demoed by Tim on several of his FB and YouTube lives. You can see him show this technique here starting at around the 1:20 mark
After that I added three of the new cactus stamps from Mod Cactus CMS431 and a sentiment from Tiny Text CMS394 stamped with Distress Oxides and the new regulation size Distress Archival Ink in Ground Espresso.
Thanks for checking this out and enjoy all of the loads of inspiration from all the makers!
Tami
I
am an affiliate with Simon Says Stamp and Scrapbook.com so the links
below send you to one of those stores depending on which logo you
choose. If you wish to purchase something from either store and use one
of my links below, I get a small percentage of your order, at no additional cost to you. This helps me to defray the costs of this blog, the time, the ideas and tutorials I post here. Your help is greatly appreciated! Thank you!
The minute I saw Bernice the hippo was part of the Tim Holtz Sizzix Chapter 2 release, I just knew I had to combine her with the other colorize friends to make a piece inspired by the jungle room from Disneyland's It's a Small World attraction. This is what came out of that inspiration.
I did make a short video walk through of this piece and you can view it here on my YouTube channel:
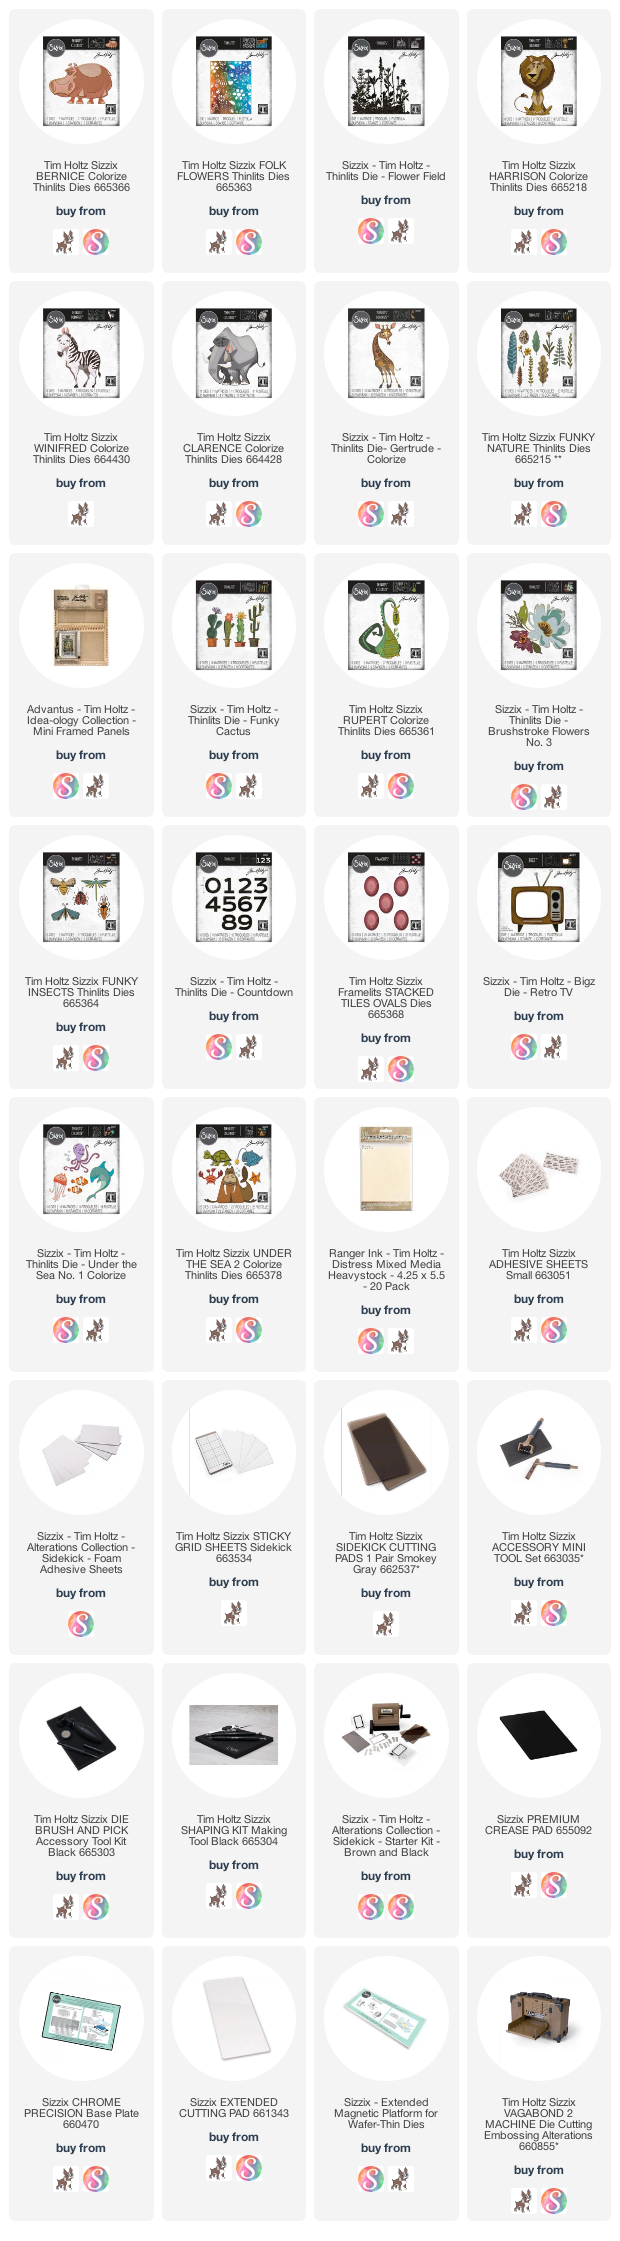
To begin with, I took 3 packages of Ideaology Mini Framed Panels. These have been retired but you can currently still get them. I have links to two retailers below where you can purchase some. Begin by adhering 5 of the panels together on a flat surface as shown above. I put some Distress Collage Medium on the sides of the panels where they joined and then let them dry overnight.
Once the panels were dry, I cut 5 of the Folkart Flowers background die from Kraftstock and adhered one to each panel with Distress Collage Medium.
Make sure that these pieces are completely adhered and dry.
Paint the panels with a layer of Pine Needles Distress Paint.
Once the paint is dry, Cover the entire piece with Distress Collage Medium to seal the paint.
Before the Collage Medium dries, smooth it out with your fingers to get the brushstrokes out of it.
Scribble some Pine Needles Distress Crayon over each panel.
Rub the Distress Crayon into the details of the Folkart Flower dies with a Distress Stencil Brush to make them stand out.
Before adding the frames onto the panels we want to add some layers of vines and greenery to make it feel like the jungle room. Color some Distress Mixed Media Heavystock with various colors of green Distress Inks and Oxides, You want 7-8 pieces and make 2-3 of those differing shades of green.
From 5 of the green pieces, cut 5 of the Flower Fields dies. Two will be adhered from the top going down as you see above, and on the bottom three panels they will be from the bottom up.
To add another layer of vines, I used the Funky Nature die set from the Chapter 1 release. I used this long leafy piece as some additional vines in the top two panels, so cut quite a few of them from a different green paper and adhere them hanging down like vines.
In the bottom three panels I cut the fern looking leaf on the left and adhered it along the bottom of each panel for added greenery.
Here you can see the panels in progress. I adhered all the vines and greenery on the panels before I added the frames onto them. For the frames, I painted them with Shabby Shutters Disress Paint. Then sealed each frame with Distress Collage Medium. Once it was dry, I worked some Walnut Stain Distress Crayon into the indentions in each frame to distress them and to bring out the details. Then I adhered the frames to the panels with Distress Collage Medium.
You can also see that I cut each character out of cardstock scraps so I could see where each would go and where I needed to cut the Gertrudes, Clarence and Winifred so they fit in the frame and fit the characters in the attraction. This really helped so that I didn't ruin the colorize characters once they were finished.
Here is a close look at the Clarence panel. You can see the Flower Field die on this panel has been cut in half and adhered in each corner of the wider panel, then I filled in with more vines and flowers from Funky Nature.
I wanted to tie in all the colors of the animals with the flowers that are in that room in the attractions. I used this one flower die from Funky Nature for all of the flowers on this piece, so you need to cut a lot of them and then water color them individually when you see where you need them to go.
With the flowers on the greenery I also wanted some dimension, so I layered two flowers and used the Tim Holtz shaping tools.
In the Harrison panel, the Flower Fields greenery was left whole, as it fit perfectly across the panel. I added Funky Nature fern pieces on top of the Flower Field, then Harrison and lastly I added some of the leaf dies from Funky Nature all along the front.
The Winifred panel was again wider than the Flower Field die, so I cut it in half and put each half in the corners, with the additional Funky Nature ferns and flowers.
I cut three Getrudes, but flipped one so she would be facing the opposite direction.
The giraffe in the attraction are orange with blue manes and pink flowers so that is what they got. To make room for the pink flowers, I did hand trim some of the blue spots on this colorize layer.
They also have poofy horns in the attraction which I think is adorable so I colored some small pom pom balls I had with Picked Raspberry Distress Ink and stuck them to each giraffe's horns for that extra Mary Blair flair.
One element that is in this section of the small world attraction is the amount of green leaves that are covering up the stage areas. So I cut this leaf from Funky Nature from more of the green Heavystock used earlier. This leaf has a second die for the veins, but I didn't cut that. I wanted it to have a bit of that artsy craftsy feel of Mary Blair, so I drew them in with a white gel pen.
Lastly we have the lovely Bernice. I used a lot of Kitsch Flamingo with these characters and I'm so glad I had it for this piece! Once she was put together, I added the same flower as the giraffe, but in Wilted Violet Distress Ink, and her eyelashes are bits of her tail. I cut two extra tails from black cardstock, trimmed them down and voila! Lastly, her teeth are just leftover pieces of Distress Heavystock. I realized I needed Bernice to have teeth too, so I looked around and found the oval pieces that had come out of her nose. I trimmed the end of each nose oval so it resembled a hippo tooth and then adhered them under her top lip.
I hope the YouTube talk through and these step outs help answer any questions you might have about how I made this fun piece. If you think of something I missed, feel free to contact me through the link on the right.
Thank you so much for stopping by my blog and for your interest in this project. Your support means so much to me!
Thank you, Tami
I am an affiliate with Simon Says Stamp and Scrapbook.com so the links below send you to one of those stores depending on which logo you choose. If you wish to purchase something from either store and use one of my links below, I get a small percentage of your order, at no additional cost to you. This helps me to defray the costs of this blog, the time, the ideas and tutorials I post here. Your help is greatly appreciated! Thank you!
This is an Idea-ology Travel Folio that I made using some of the new and existing Tim Holtz Idea-ology products. It is based on the life of Beatrix Potter. I've learned a little bit about her over the years and when I was looking at some of the new Idea-ology, I thought that many items would be perfect for a little tribute project.
Before I start, if you are interested in seeing a video walkthrough of this folio you can view it here:
For the cover I used a Lace Baseboard Frame. Underneath I added a piece of one of the new Backdrops papers. The butterfly adornment and hardware heads below were both colored by brushing some Distress Collage Medium on the metal and then adding some Distress Embossing Glaze in Kitsch Flamingo.
This paper was a dark beige and I wanted to watercolor the floral bit on the piece. I could have used Distress Inks but seeing as I had been coloring some of the new Engraved Layers with Distress Crayons, I just used that to color the flowers on the paper.
I think the Distress Crayons did a lovely job of adding a bit of vintage color to the paper.
Across the bottom and right side of the frame I added flowers and greenery from the Engraved Layers. These I colored with Distress Crayons.
I cut apart this leaf and put bits on both sides of the poppy to fill in the bottom of the frame.
The Travel Folio is already covered so I just needed to add bits of paper and Ephemera. On the inside of the cover I made a pocket with a piece of Field Notes Ephemera, added a Salvaged Tag, and some Field Notes Ephemera.
On the top inside flap I added more Field Notes Ephemera and Snippets.
And the same on the bottom flap, more Field Notes Ephemera and Snippets.
On the first flap inside the folio I made a little booklet from the cover of the journal that comes in the back of the folio.
I cut the cover the the journal to be 6", then added some Field Notes Ephemera and Snippets, along with this piece of Backdrops paper to the booklet. I also added the large woman from the Engraved Layers.
Inside the little booklet I added a salvage tag, some journaling, and Field Notes Ephemera and Snippets.
I wanted to add this magnifying glass from the Engraved Layers to this piece of Fields Notes Ephemera.
I think it's a fun element.
I began by coloring it blue with some Tumbled Glass Distress Crayon.
Then I added it to the mushroom piece right where the little mushroom snippet was on the ephemera.
Then I added the Type Chips on the right side, I folded them in half so the lower case would show on the other side.
Here you can see the fungi lowercase showing on the back side.
This next page has two elements.
This Collectors Layer postcard is supposed to represent the Lake District that Beatrix so loved, In fact, she loved it so much that eventually she purchased thousands of acres to eventually deed back to the National Trust.
Behind the postcard I added some pieces of Backdrop paper and more Field Notes Ephemera and Engraved Layers.
I tried to represent her artistic side and her fascination with nature on this page.
These Clippings Stickers helped to tell Beatrix's story so well.
I altered these paint tubes by coloring them with Distress Crayons and then adding numbers and images from the Specimen Remnant Rubs.
I love this Engraved Layers Hydrangea and added more Clippings Stickers to continue Beatrix's story.
I knew the back of the hydrangea was going to show, so I used the Ledger and Script stamp from Tim Holtz Stampers Anonymous. It is one of my most used stamps. I stamped some script on the back of the piece in Distress Archival Vintage Photo and then inked it with a little Distress Walnut Stain.
The back of the Postcard and the Salvaged Tag needed some bits on the back so I added some Backdrops paper on the postcard with a Field Notes Ephemera rose.
The back of the Salvaged Tag got a Quote Tile, Hardware Heads, and more Field Notes Ephemera roses.
Here I added some Stencil Chips and some Collectors and Engraved Layers.
I backed the Stencil Chips with mushroom paper from Backdrops, then added some Grit Paste and Distress Crayons to make them look aged. The Tiny Clip was colored with a bit of Broken China Distress Paint.
You can see there is some Fabric Tape along the side, holding on the Collectors Layer, to which ?I added the Clippings Stickers and the teacup Engraved Layer.
On that back of the Stencil Chips and alpha Layer, I added more Field Notes Ephemera, another Collectors Layer, and a butterfly Engraved Layer.
If you look closely, you will see a piece of this same Backdrop paper that I used on the cover. I watercolored this and added just a bit behind the Stencil Chips.
On the next page I put a strip of this lovely Backdrop paper, a Salvage Tag and two Engraved layers with some Clippings Stickers.
The Salvaged Tag is backed by this Ranger Kraft tag.
I stamped more of the Leger and Script stamps on the tag, added some Backdrops map paper on the flap and the tag. Then added a ticket from Ticketbook. The trunk Engraved Layer is supposed to represent the many times Beatrix traveled to her farm in Sawrey.
On the signatures Collectors Layer, I added this large man and pen nib Engraved Layers to represent Beatrix Potter's lawyer and eventual husband, William Heelis.
A Heart Adornment and Clippings Stickers tell the story of him falling in love with Beatrix.
The back side of the signature Layer I used this pocket to put a few things that I felt told part of the story of Beatrix's life.
On the pocket I added the book, a bit of writing and a type writer to represent her life as a storyteller.
This typewriter is part of the Engraved Layers. I pulled this bit of a Snippet and cut it down.
Then using the extended blade, I made a cut on the typewriter so I could slip the typing into the typewriter.
In the pocket, I put some butterflies and the Engraved Layer butterfly as well was a tag.
On the front of the tag is an Engraved Layer mushroom and a Field Notes Snippet.
On the back, I added some details about Beatrix's life.
This flap is to represent the marriage of Beatrix and William.
I colored these small Engraved Layers to represent Beatrix and William.
The Engraved Layers are adhered to a piece of Worn Wallpaper, then covered with a piece of Mica and the 3D Flowered Frames from Sizzix.
This lovely piece of Quote Flair on the Field Notes Butterfly is a favorite little bit.
The bottom frame is done the same as the one on top.
This booklet at the back was made using the journal that was longer and thinner. I made a cover out of Backdrop paper, I used a piece of Field Notes Ephemera.
The inside of the journal I cut down to 6" to fit in the new, smaller cover I made.
Here you can see that I cut the journal down to fit inside the new cover I made.
I sewed the signatures together.
Then I added Distress Collage Medium to the inside binding of the cover.
Here you can see the signatures glued into the new cover.
I didn't do anything too artistic in the journal, just put Beatrix Potter quotes and Field Notes Snippets and Ephemera.
Thank you so much for getting through this very long post. I felt it was important to keep all of these photos together instead of break this apart. I hope there is something in here that gives you an idea, a direction or some inspiration for making your own Travel Folio to document a trip, a memory or a person's life.
Thank you so much for your support!
Tami
I am an affiliate with Simon Says Stamp and Scrapbook.com so the links below send you to one of those stores depending on which logo you choose. If you wish to purchase something from either store and use one of my links below, I get a small percentage of your order, at no additional cost to you. This helps me to defray the costs of this blog, the time, the ideas and tutorials I post here. Your help is greatly appreciated! Thank you!