Tami I am an affiliate with Simon Says Stamp, Whimsy Stamps, and Scrapbook.com. The
links below send you to one of those stores. If you wish to purchase something
and use one of my links below, I get a small percentage of your order at no
additional cost to you. This helps me to defray the costs of this channel, the
time, the ideas and tutorials I post here. Your help is greatly appreciated!
Thank you!
This summer I was watching a favorite YouTuber of ours on a trip to England and he was sharing about his tour of Bath and somethingas about Mary Shelley and Frankenstein. I learned some wierd things about Shelley that day and it tuck with me through the making season I guess.
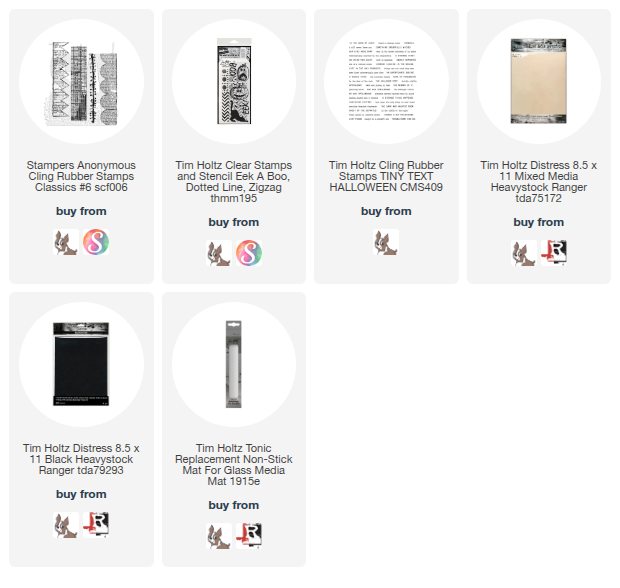
So when I saw this Stampers Anonymous Classic #6 stamp set was part of the Tim Holtz Stampers Anonymous Halloween Curation, I just had to make a Frankenstein monster out of it.
Here is the video tutorial where I show how I made Frank out of the four borders on the Classic #6 set.
That pinked border is the one that inspired this make. I saw it and immediately thought ...Frankenstein's Monster hair!
The eyes took a bit more thinking, and as I often do, I stared at the set for awhile and then went to sleep on it. It's usually while I'm sleeping or showering that I get an idea to work with that's when I realized the scallop border would be a great shape for the eyes.
Of course the scars or stitches stamp was obvious. but the nose, mouth and eyebrows again gave me some trouble.
That's when I realized I could just freehand a few shapes out of that long rectangle border and it would be simple. Last year I sewed a primitive Frank Halloween poke using Tim's Eclectic Elements fabric and I had done that with felt, so I figured why not with paper?
I didn't want to make a card without a sentiment, so I pulled out my Halloween Tiny Text CMS409 for the "peculiar detached fragments" which I thought was perfect for this card!
That's all there is to this card. I hope you enjoyed the tutorial video. Thanks so much for taking time to check this out!
Have a creative day,
Tami
I am an affiliate with Simon Says Stamp,
Ranger Ink and Scrapbook.com. The links below send you to one of those
stores. If you wish to purchase something and use one of my links below,
I get a small percentage of your order at no additional cost to you.
This helps me to defray the costs of this channel, the time, the ideas
and tutorials I post here. Your help is greatly appreciated! Thank you!
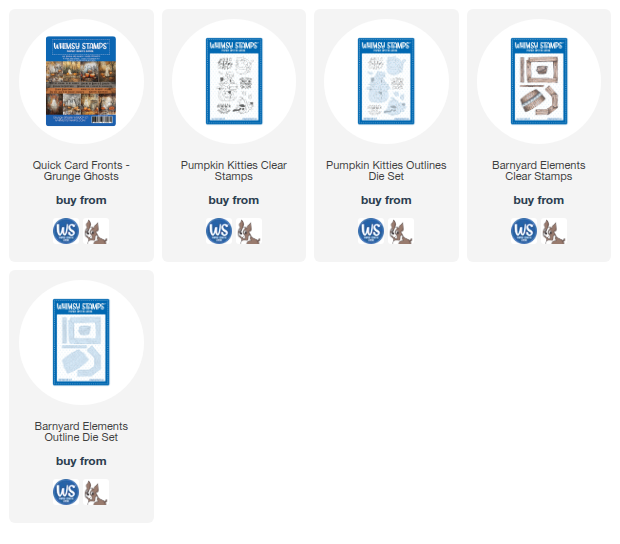
Today I'm share a very short tutorial for this humorous card using Whimsy Stamps and Cardstock Warehouse Products.
Here is the link to the short tutorial
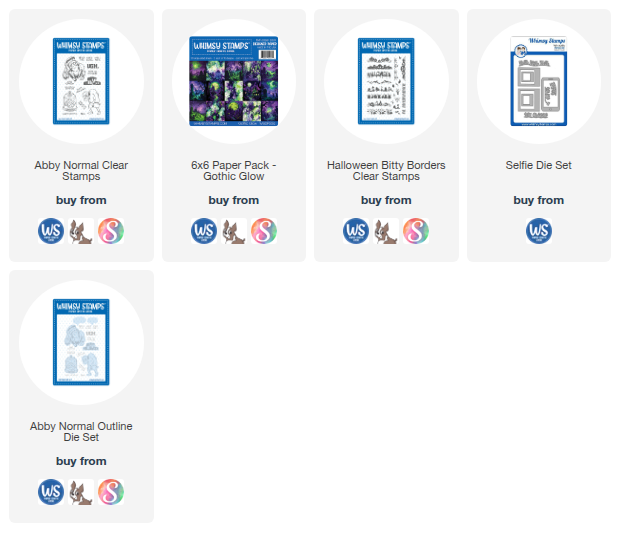
The sentiment banner is stamped on Cardstock Warehouse Onyx shimmery cardstock in Ranger Ink Fine detail white embossing powder. Then I outlined it with a messy line in white gel pen. The messy stiching at the top adds to the Halloween feel of the card. The sentiment and the Frankenstein's monster are from the Abby Normal stamp set from Whimsy Stamps.
The little bats I stamped on the Gothic Glow background are from the Halloween Bitty Banners. I thought they added just the right touch.
My thought for this card was to try and have Frank, taking a selfie in the graveyard with the castle in the background. The tutorial shows how I did it, but I stamped two Franks and cut his arm out to make it look like he is talking the selfie. I did have to color in his hand under the phone so it allowed me to move his arm out just a smidge.
I put a piece of acetate behind the phone as the screen and then inked the edges with Distress Archival Black Soot.
The phone is popped up on foam strips and could even be a shaket element if desired.
The phone is also cut from Cardstock Warehouse Onyx shimmery cardstock. I did some messy outlining of the phone with white gel pen. The button and strip at the top are Cardstock Warehouse Quartz shimmery cardstock. I also put a panel of the quartz inside the card and stamped the Happy Halloween from the Abby Normal set.
That's pretty much it for this very simple card. Thanks so much for stopping by!
Have a creative day,
Tami
Remember if you order directly from the Whimsy Stamps website, use my code playswellwithpaper for 10% off.
I am an affiliate with Simon Says Stamp, Whimsy Stamps, and Scrapbook.com. The links below send you to one of those
stores. If you wish to purchase something and use one of my links below,
I get a small percentage of your order at no additional cost to you.
This helps me to defray the costs of this channel, the time, the ideas
and tutorials I post here. Your help is greatly appreciated! Thank you!
December Dailys have been a thing for years, but last year I started doing an October journal. I didn't really call it an October Daily because I usually can't keep something up every day for a month. I get sidetracked way too easily. But I can do things on and off throughout the month. So with that in mind, I decided to use the Tim Holtz Stampers Anonymous Halloween Curation to work and make an October Journal.
Here is the Tutorial Video for this project. I didn't make every tag in the video, but I made several and then showed all the pages.
The cover technique is shown in the video. But let me discuss the details on the front. I stamped and cut out some images from the Halloween Minis 2 and 3 stamp sets and then cut them out. The flowers and black leaves are just some die cuts I had. I added a little bit of black chunky glitter to the black leaves to add a tiny bit of sparkle.
I just love how the crackle on the cover turned out,
On the inside of the front and back covers, I used a component stamp to make a pocket for some tags for journaling, or photos, or even things like tickets or brochures to events attended.
These are the fronts of the first four pages in the journal. The list if inspiration is at the end of this post. I used three Mixed Media sets to make these pages. All of the things used are linked below.
These are the backs of the first four tags.
The fronts of the next three tags.Again I used the Mixed Media Sets.
And the backs of the tags above. Again using Mixed media sets except for the spider is from one of the red rubber sets listed below.
I hope you found this page and the video toether to be helpful and at least inspirational even if this isn't someting you want to make in it's entirety. Hopefully it inspired you as to something you can use on a card, a travel journal or scrapbook page, or even agift tag.
Here is the list of ideas for your own October Journal and there are enough things to get you through the entire month. Have fun and have a creative day,
Tami
I am an affiliate with Simon Says Stamp,
Ranger Ink and Scrapbook.com. The links below send you to one of those
stores. If you wish to purchase something and use one of my links below,
I get a small percentage of your order at no additional cost to you.
This helps me to defray the costs of this channel, the time, the ideas
and tutorials I post here. Your help is greatly appreciated! Thank you!
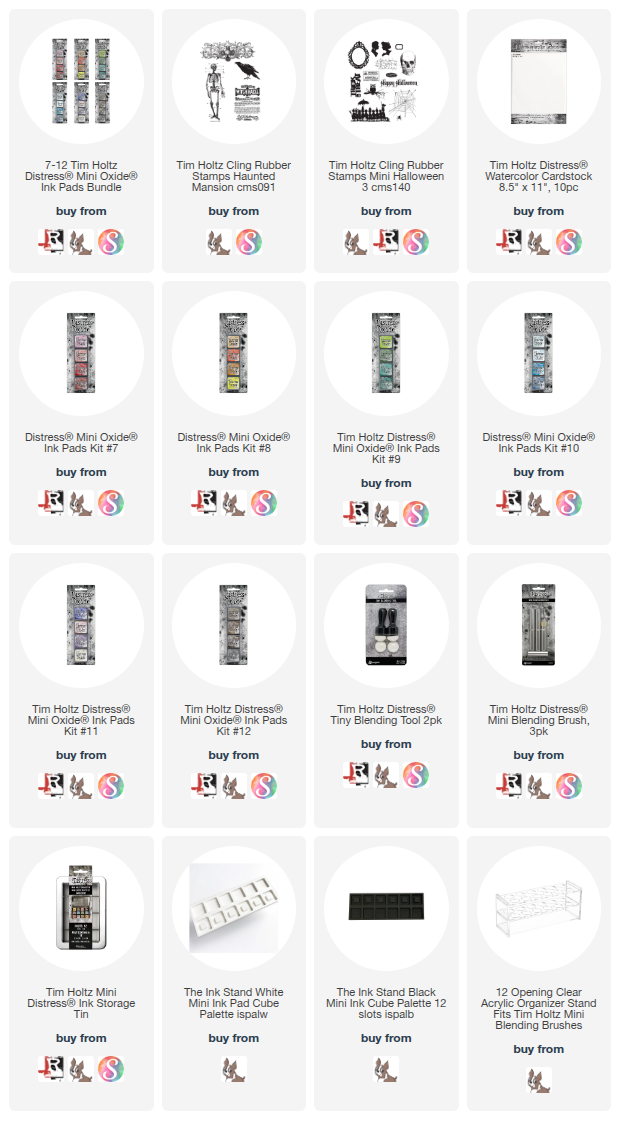
Hello Makers! I'm busy getting caught up on my posting from a very busy making season and a summer and early fall filled with technological challenges.
How exciting is it that we now have two new releases of Distress Oxides in MINIS! Something we have long awaited right? For the release of the first set, I made this very quick mini slimline Halloween card with a favorite Distress technique I learned from Tim many years ago. I posted a photo tutorial on my Instagram account -- if you aren't following me there, I highly recommend it. I have also been working on my facebook page if you are more comfortable over there. It is Plays Well With Paper Kits (I made it over a decade ago when I was making scrapbook kits, and now Facebook won't let me take the kits out of the name. Hahahaha!)
Below I have posted the photo tutorial just as you see it on Instagram. The products are listed at the bottom of the post.
Thanks so much for stopping by and checking out this photo tutorial. Hooray for Mini Distress Oxides!
Have a Creative Day,
Tami
I am an affiliate with Simon Says Stamp, Ranger, and Scrapbook.com. The links below send you to one of those stores. If you wish to purchase something and use one of my links below, I get a small percentage of your order at no additional cost to you. This helps me to defray the costs of this channel, the time, the ideas and tutorials I post here. Your help is greatly appreciated! Thank you!




 t
 t




 t